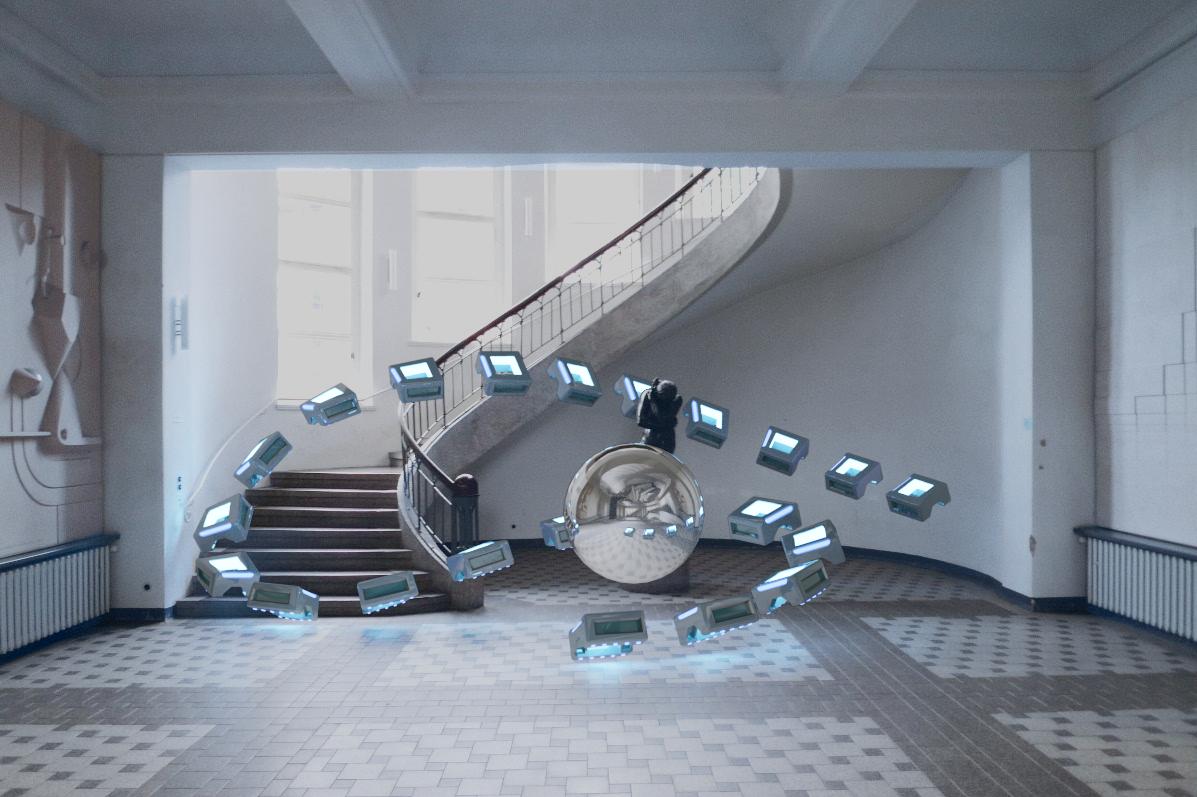
A method to get believable light interaction with the environment, is to recreate the environment.

I have chosen this template image. The process will be the same for moving, tracked footage, but the tracking must be very accurate.
I chose this background image by Hans Weingartz - Self-photographed, CC BY-SA 2.0 de. Click to enlarge.

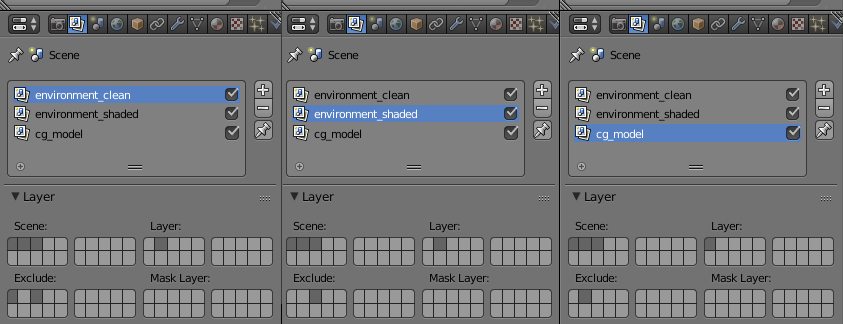
I have recreated the environment with very basic shapes. This result in the following layer setup.

- Layer 1: Cg object, which is inserted.
- Layer 2: Recreated environment with computer generated light. Try to match the reference as close as possible. I used some simple diffuse, glossy and emission shaders, but you can always try to extract color information from your footage. Especially with high contrast areas like checkboard patterns or dark ridges, you should take great care to achieve similiar color values through your artificial lighting of the recreated environment.
- Layer 3: The environment object, but this time with the camera image mapped onto it for maximum accuracy. The background image is just applied as the emission color and this object will be used for the lighting and reflections of the cg object on layer 1.
Now, I create three Render Layers.

- environment_clean This is just the recreated environment with virtual lighting on layer 2. Use the exclude layers to exclude the cg model from layer 1 and also the reflection object from layer 3.
- environment_shaded This is the same environment as above (layer 2), but this time without excluding the cg model. Although the model is not visible (layer 1 is switched off), it is not excluded and will therefore influence the lighting/shading of the environment on layer 2. Exclude layer 3, since the duplicated environment is still not relevant.
- cg model This is the render layer which will render the model on layer 1. The recreated environment with virtual lighting is excluded. The environment with the camera mapped footage on layer 3 will not show up (since it is not checked in the render layer), but will influence the lighting of the model, especially visible in reflections.
Illuminating the background footage
Since we have rendered a virtually lit environment with and without influence of the cg model, we can create the difference between the lighting. We will then apply this difference to the background footage.

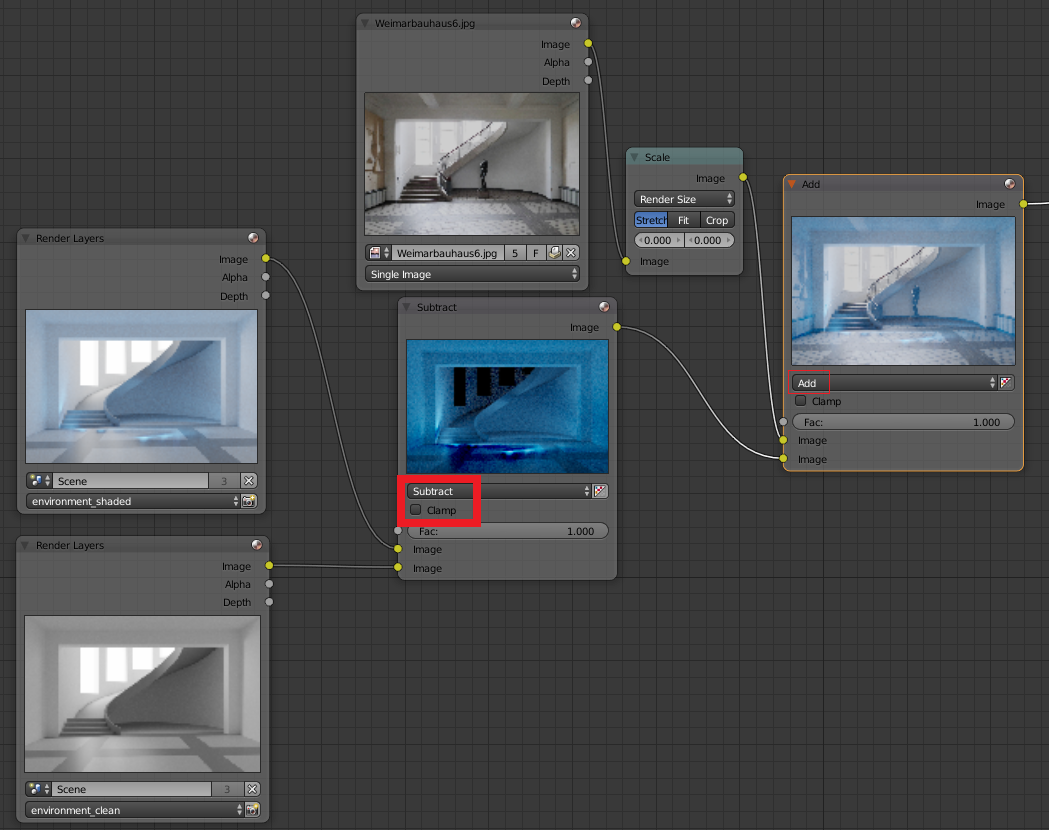
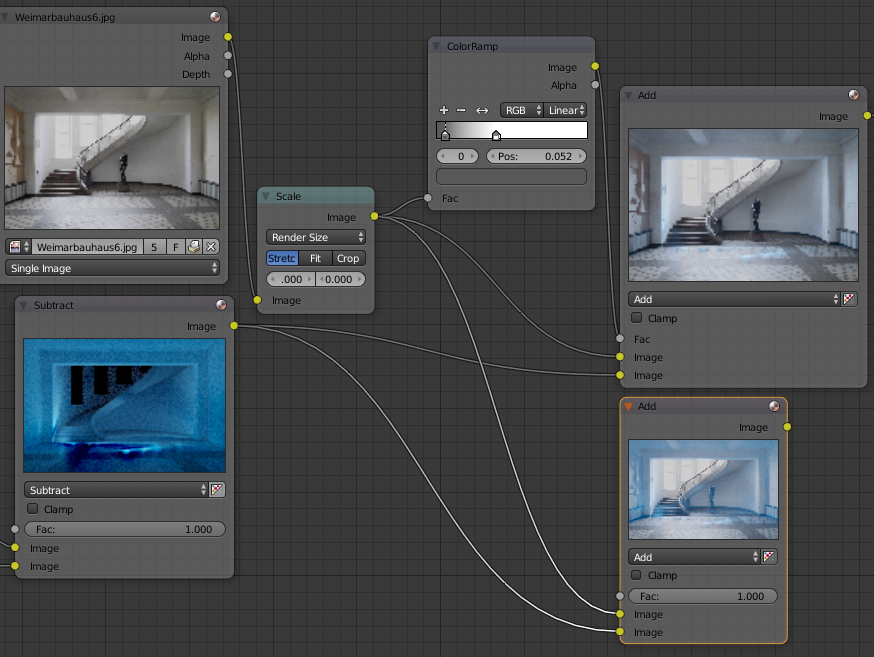
Subtract the environment_shaded from the environment_clean render layer in compositing nodes. It is important the you uncheck clamp, since shadows are going to be values below 0.0 (which we don't want to cut off) and lights are going to be values above 0.0. The subtracted result is the difference in lighting between our environment and the environment influenced by the model. Add this to the background footage. The background image will now appear as if illuminated and shaded by the cg model.
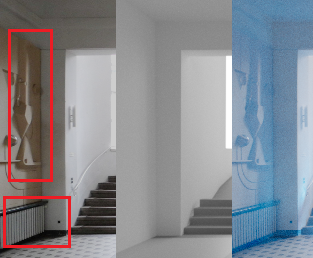
Note, that in the areas, where there are dark colors in the original live action footage, but light color in our virtual environment, the added lighting looks very unnatural.

While shadowy areas would naturally receive light, objects with dark colors won't get equally lighter as object with brighter colors. A quick and easy fix is to only add the light/shadow to already bright areas. We can achieve this by using the original image (modified by a colorramp) as the Fac value for the addition.

Obviously a more convincing image is accomplished by modeling and shading the virtual environment more accurately. (Or combined both.)
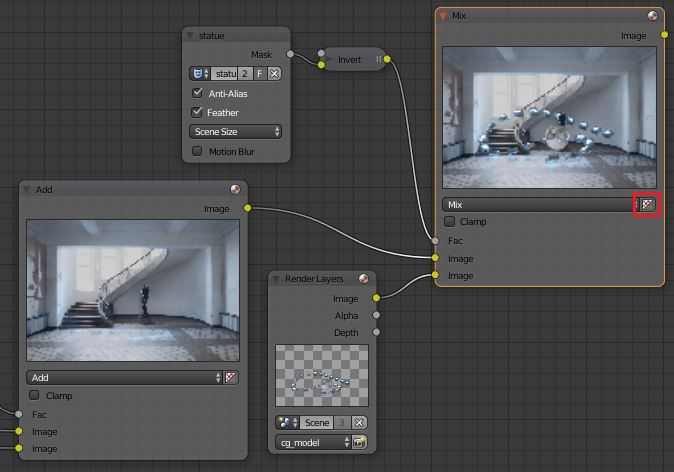
Add the cg model (render layer) on top of this modified version of the background using a mix or alpha over node.

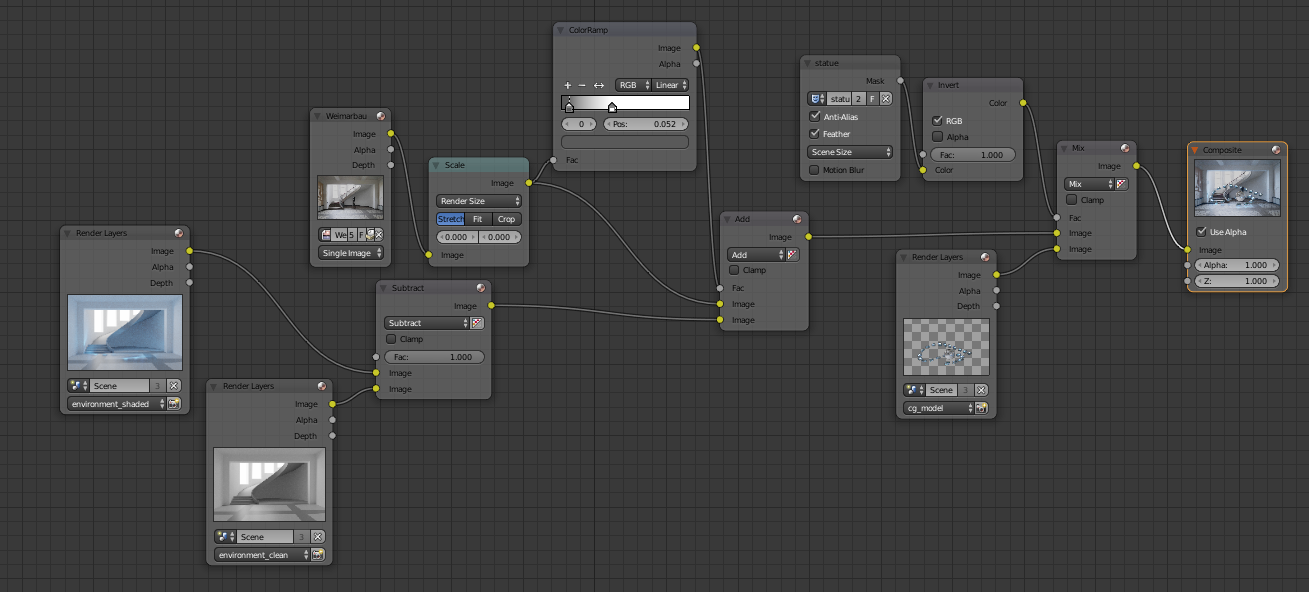
Here is the complete node tree.

Render Time vs Workload
The rendering process will obviously take much longer than a simple shadow catcher or other tricks, because it uses three different layers. The two environment layers will take a lot of render time because their noise will accumulate in the subtraction and they usually need a high sample count for the indirect lighting. The setup will however easily produce a realistic render result in little work time.


