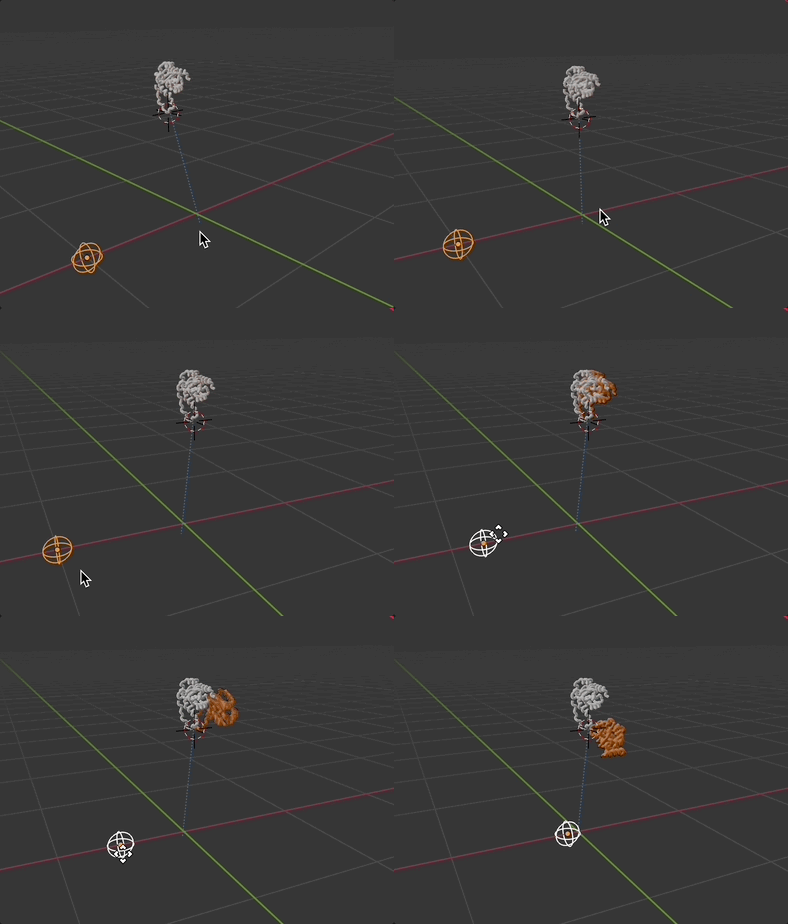
I've received some great support on this channel for using drivers to control an object from initial to final position. In a nutshell, you use keyframes to control the animation on your object > stash it in the action editor > add an empty as a controller > add an action constraint to the object > set the empty as the target and set the empty target channel eg Y location and the range it works within > the action is the animation you created already on your object and the number of frames it runs over > then you key the empty Y channel to control the animation. This works beautifully when animating a test cylinder. I've tried this on a molecular structure in which I've animated it from an inactive (orange) to an active (white) position. See attached file. I changed the object transform to the base of the orange structure so I can rotate it and translate it from that point, then I applied all transforms to deltas to zero it out before animating it from frame 1-25. I then stashed the animation, added an empty as slider and set up the action constraint on the structure. When you move the slider, the animation of the orange structure does not match the active position I originally animated and is instead offset above it. Could this be something to do with changing the object transform and applying all transforms to deltas to zero it out please? Also, is it possible please to have more keyframes in between the start and end keyframe to make a more complex animation, or will those be ignored? Thank you!
$\begingroup$
$\endgroup$
7
-
$\begingroup$ Without a Blend file or any images it's impossible to answer that question! See How to upload an image to a post and How to upload a blend file $\endgroup$– John EasonCommented May 24 at 9:15
-
$\begingroup$ Sorry, system at work is glacial $\endgroup$– mdivjakCommented May 24 at 9:17
-
$\begingroup$ there are several ways to achieve what you want...but for the "easiest" and quickest solution you would have to delete the white item and so we would just replace that with the orange one and then it would perfect easily. But i don't know whether that's ok for you or if there are e.g. hundreds of animation or other things on that item that you don't wanna loose....like shape keys or whatever. $\endgroup$– ChrisCommented May 24 at 10:08
-
$\begingroup$ one hint in common: you should not change the pivot point of two objects, if you want to have them "fit" later. You should then work with empties, which you parent your object to - and then rotate that empties. By this it is much easier to fit the two objects later on. $\endgroup$– ChrisCommented May 24 at 10:09
-
$\begingroup$ so the easiest way is like this: delete the white object. In empty position (x = 1) duplicate your object, apply the action constraint, delete all keyframes. Then apply the white color to it (i assume via GN - you know that tree better than me - don't forget to duplicate your gn node tree as well or connect your material to the group input) and then you have the perfect fit. $\endgroup$– ChrisCommented May 24 at 10:15
|
Show 2 more comments
1 Answer
$\begingroup$
$\endgroup$
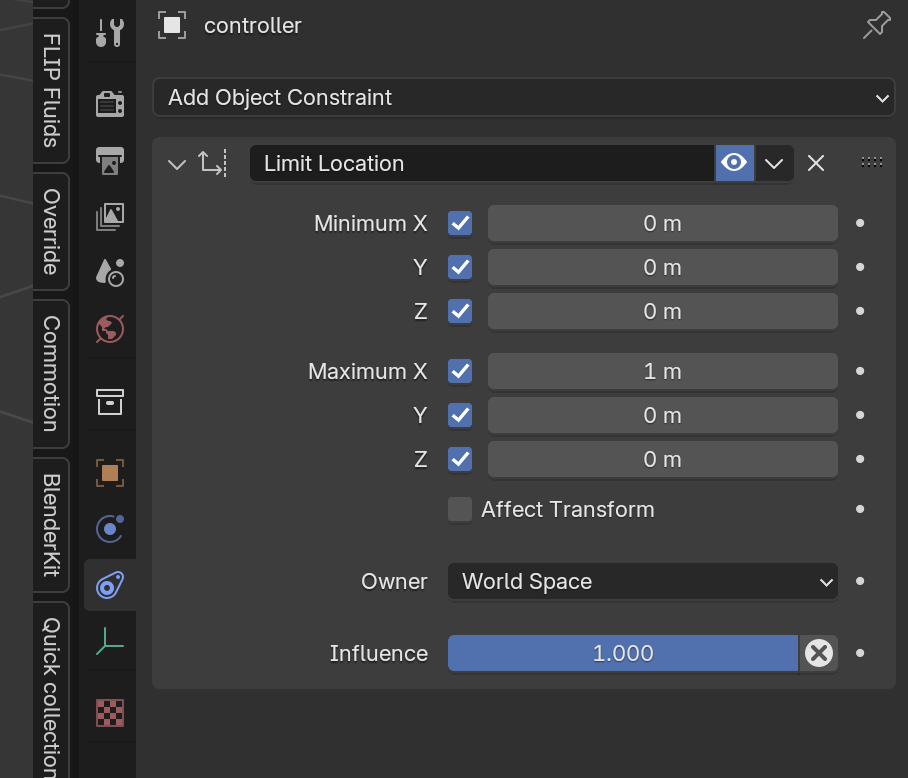
first of all i recommend changing your limit constraint to that:
by this your empty really only move on x from 0 to 1.
turn of autokeying
move your empty to x=1
delete white object
select orange object. -> shift D (duplicate)
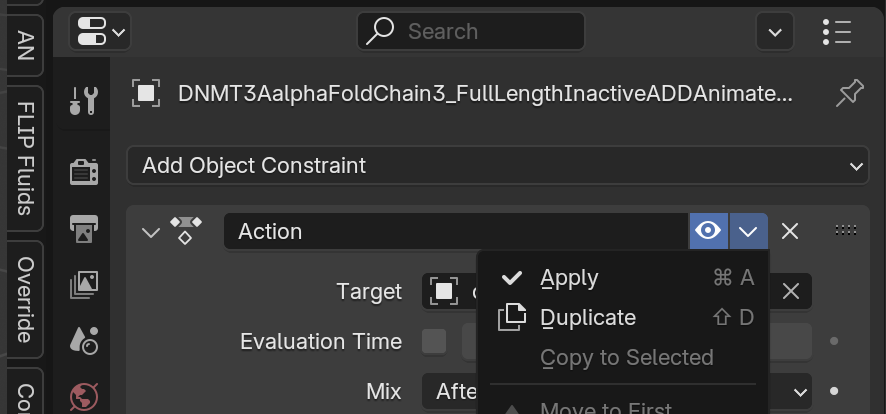
apply action constraint
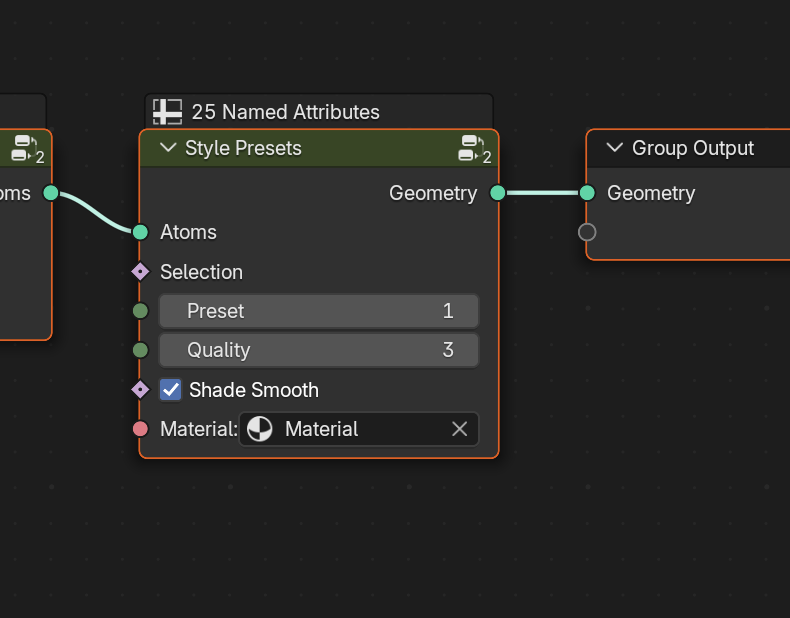
- in geometry nodes hit that duplicate symbol
- choose your white material
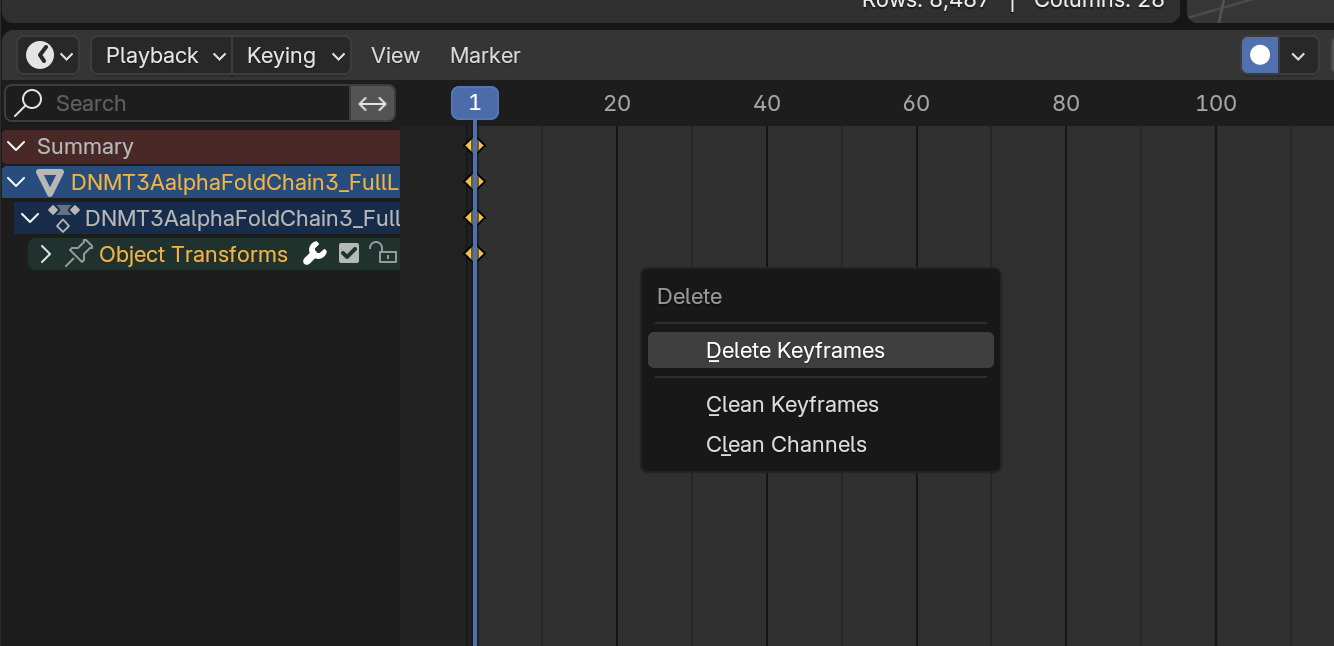
- in the timeline hit x to delete keyframes
result:


