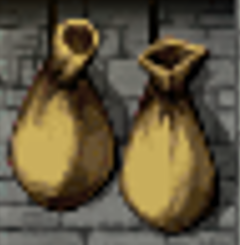
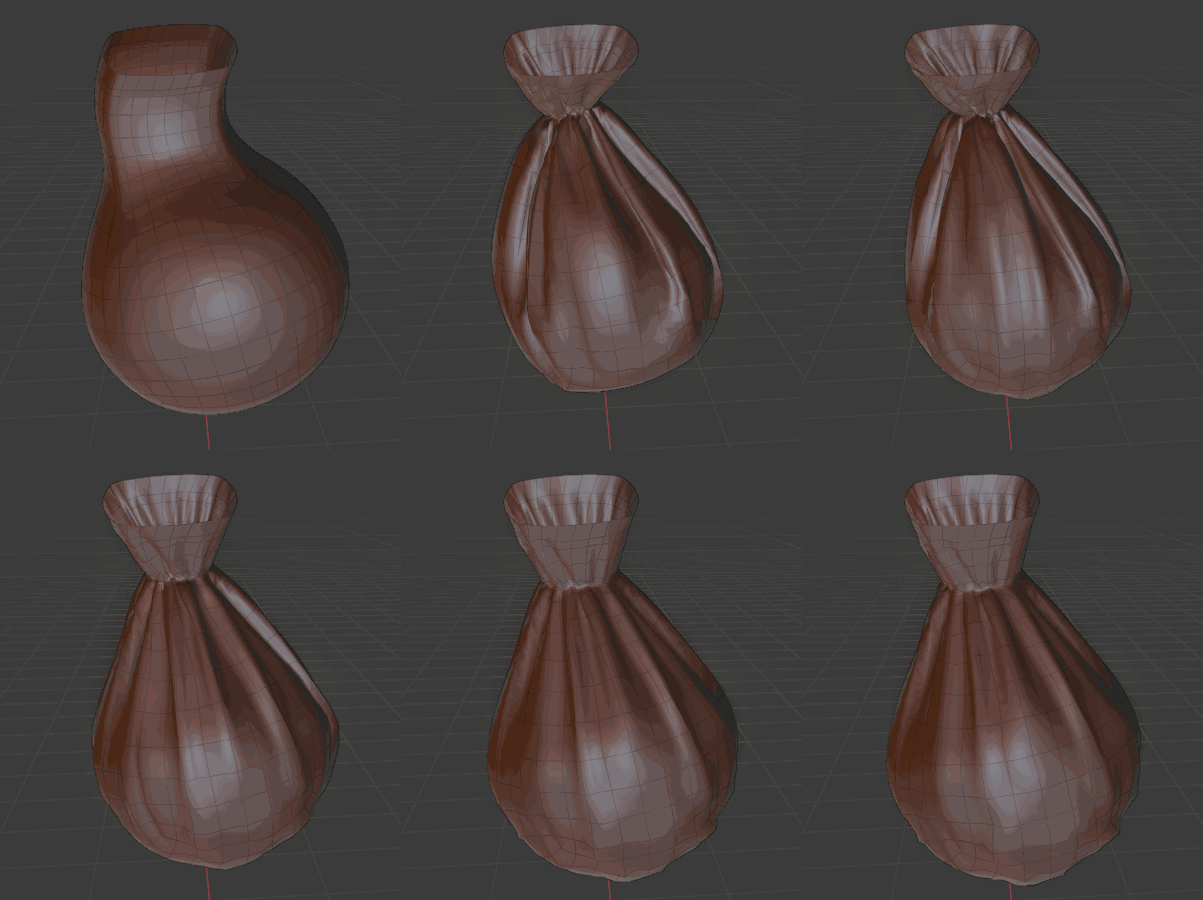
I would do the simulation with the bag upright. Pin the top, let an edge loop below shrink a bit, and place a growing Icosphere in it to inflate the bag.

Create the Bag
Start with the default cube, add a Subdivision Surface modifier with 3 levels (Ctrl+3), and apply it. Add and apply a Cast modifier with default settings (Sphere) to make it more round.
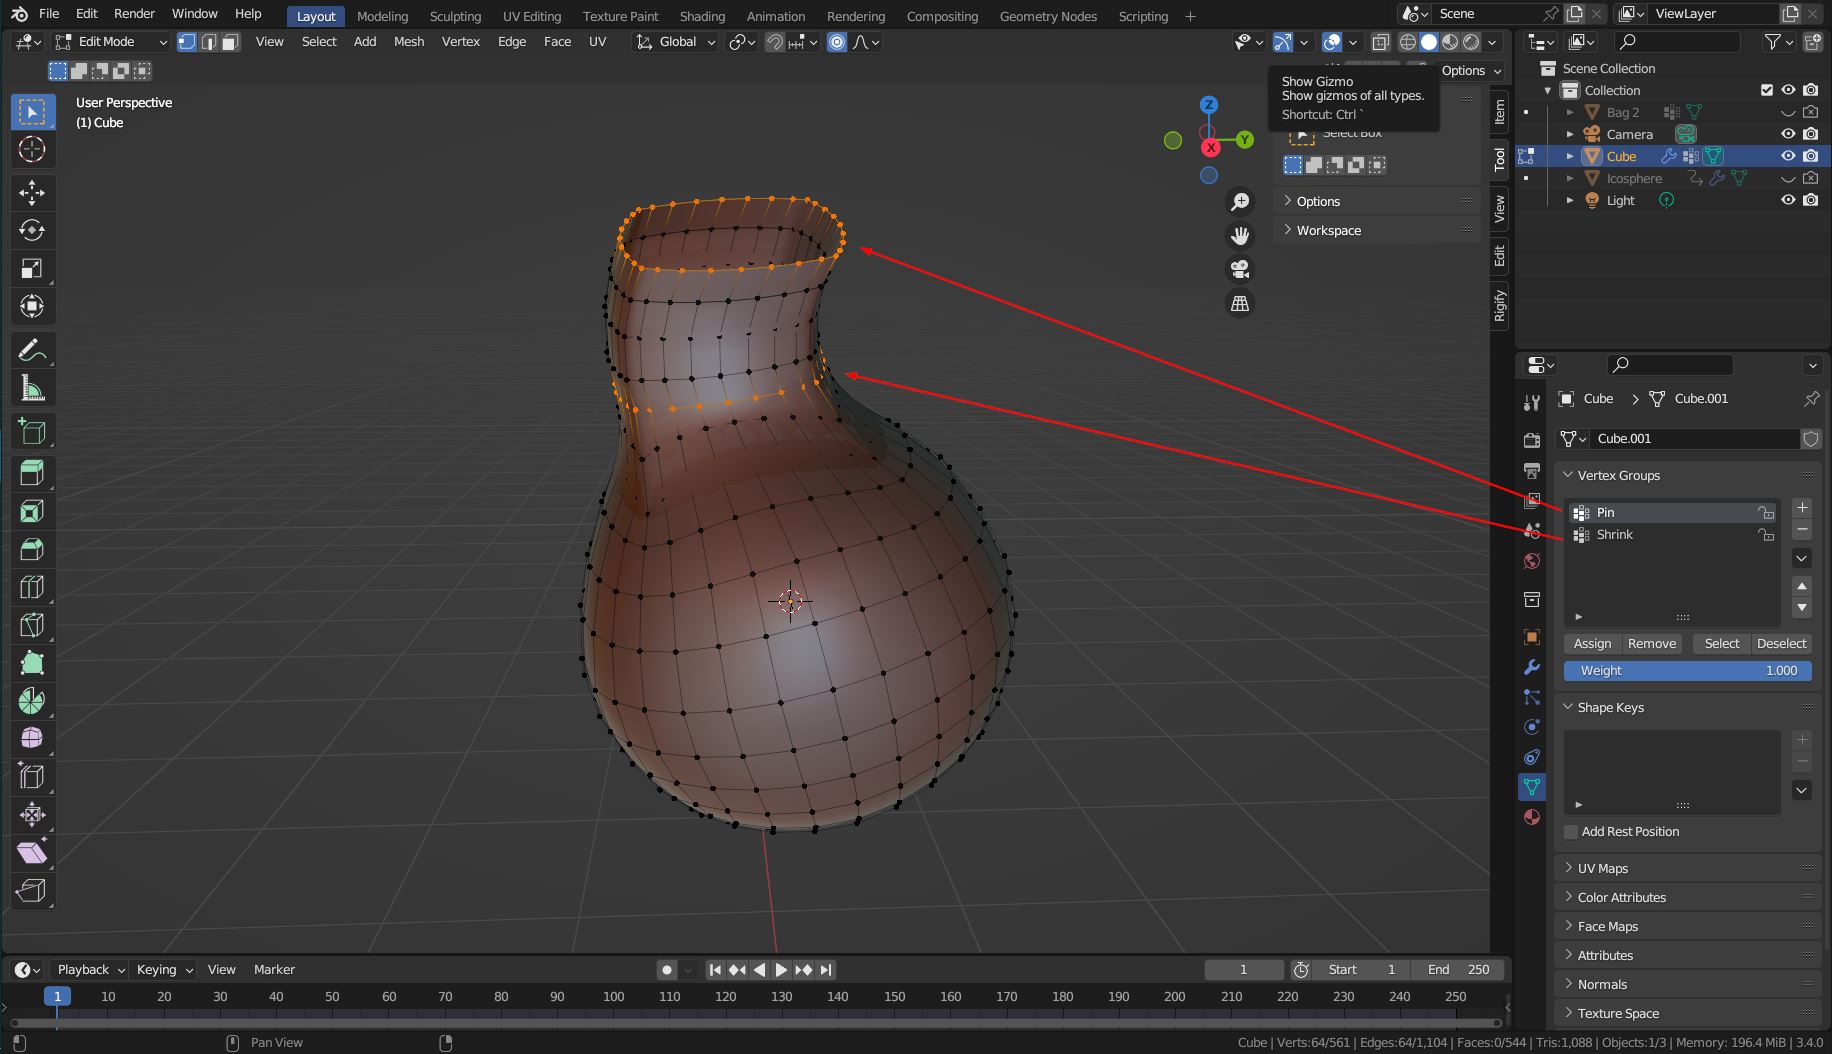
Then edit the cube and delete the top faces. Select the edge loop and extrude it to create the upper part. Create a vertex group named Pin and assign the top edge loop. Clear selection. Create another vertex group (Shrink) and assign one of the lower edge loops to it.

The Stuff (Sphere) Inside
Place an Icosphere in the bag, and keyframe its Scale and Location to make it grow and move it down a little within the first 20 frames or so. You can add a Subdivision Surface modifier and a Displace modifier with a Clouds texture to make it look edgier and more like "stuff". Finally, add a Collision modifier to it (must be the last/bottom).
Bag Cloth Simulation
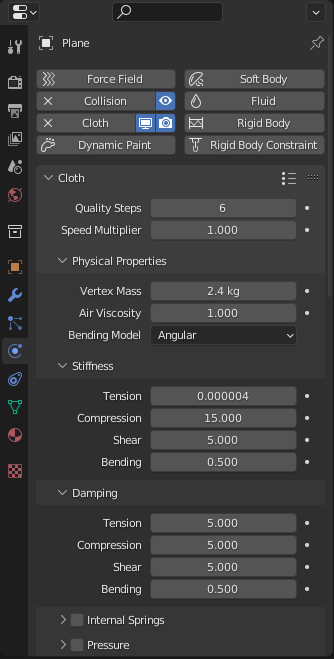
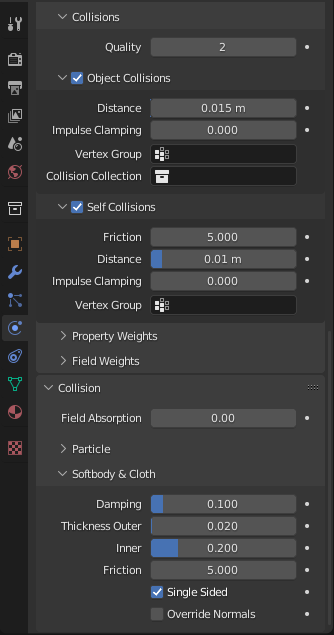
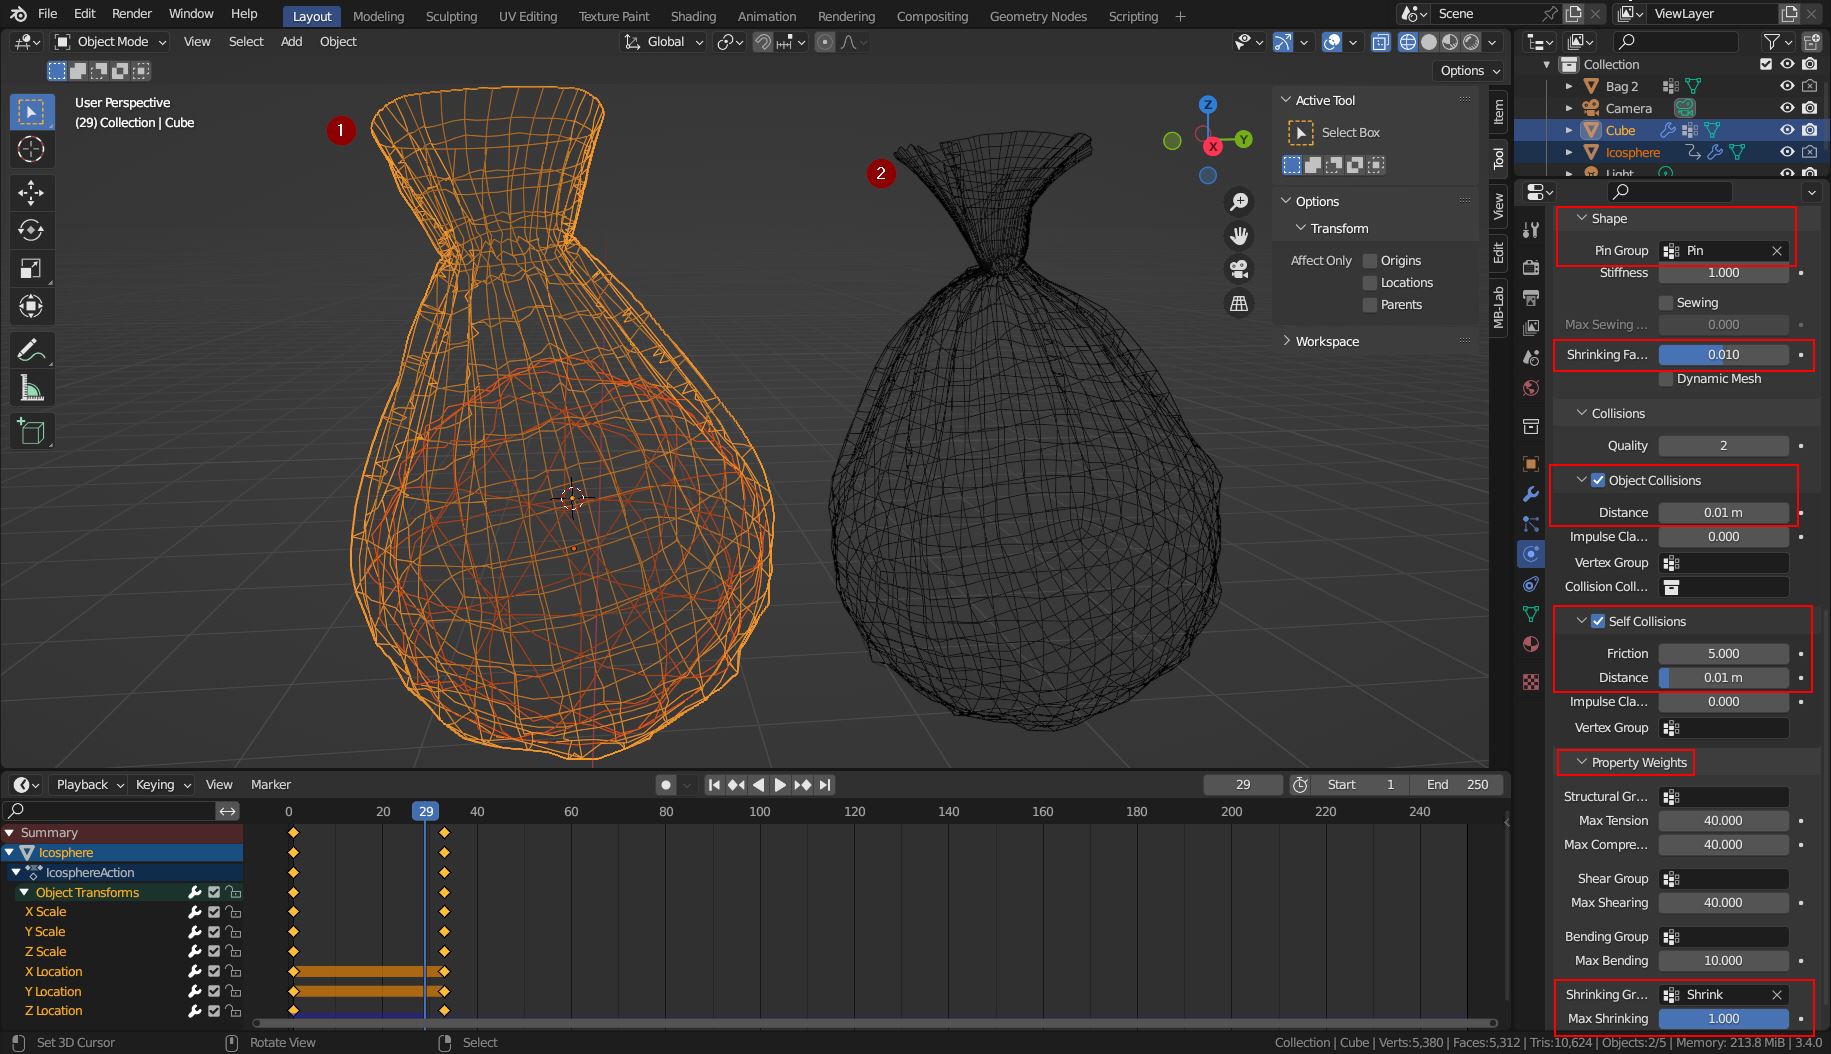
Add a Subdivision Surface modifier with level 1 and a Cloth modifier to the bag. Set the Pin group for Shape > Pin, a low Shrinking Factor, and the Shrink group in Property Weights > Skrinking Group. Here also set Max Shrinking to 1.0 or a lower value. Then enable Object Collisions and Self Collisions and set their Distance value to a lower value like 0.01 m. Run the simulation.

Post Production
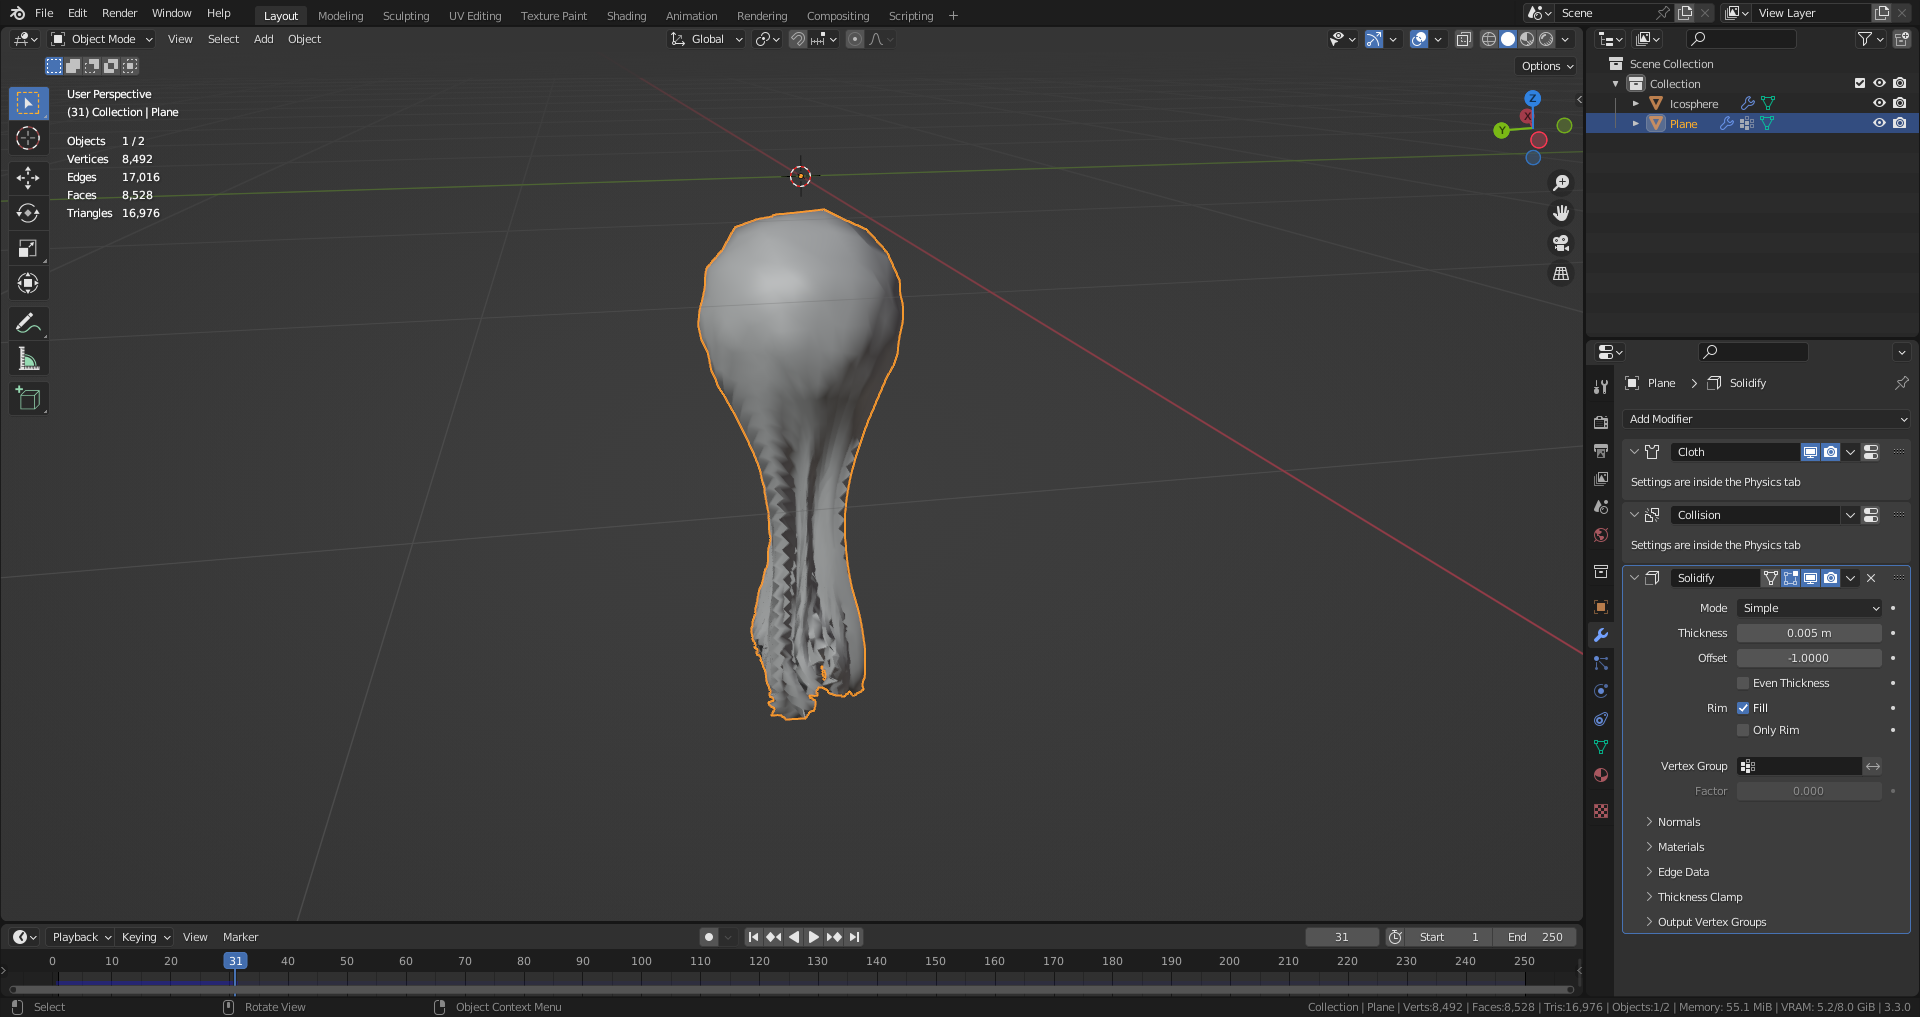
Once you're happy with the simulation (1) you can apply the Subdivision Surface and Cloth modifiers. In the Sculpt mode you can change the upper part or smooth the bag or add more wrinkles (Cloth brush) with the various brushes (2).
