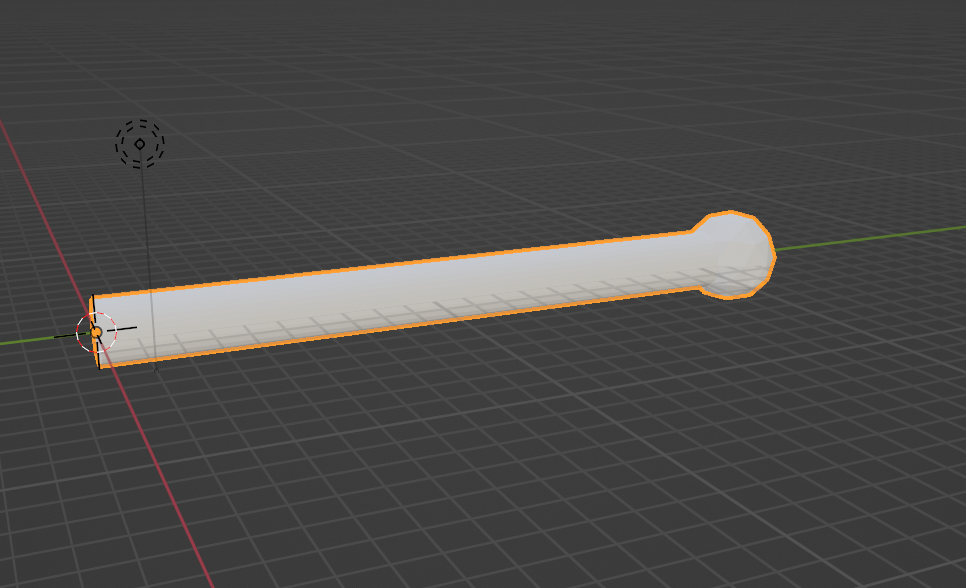
First create your base object (cylinder with icosphere as one object). Important is here that the origin point of the object is at the center (0,0) as here in my picture:

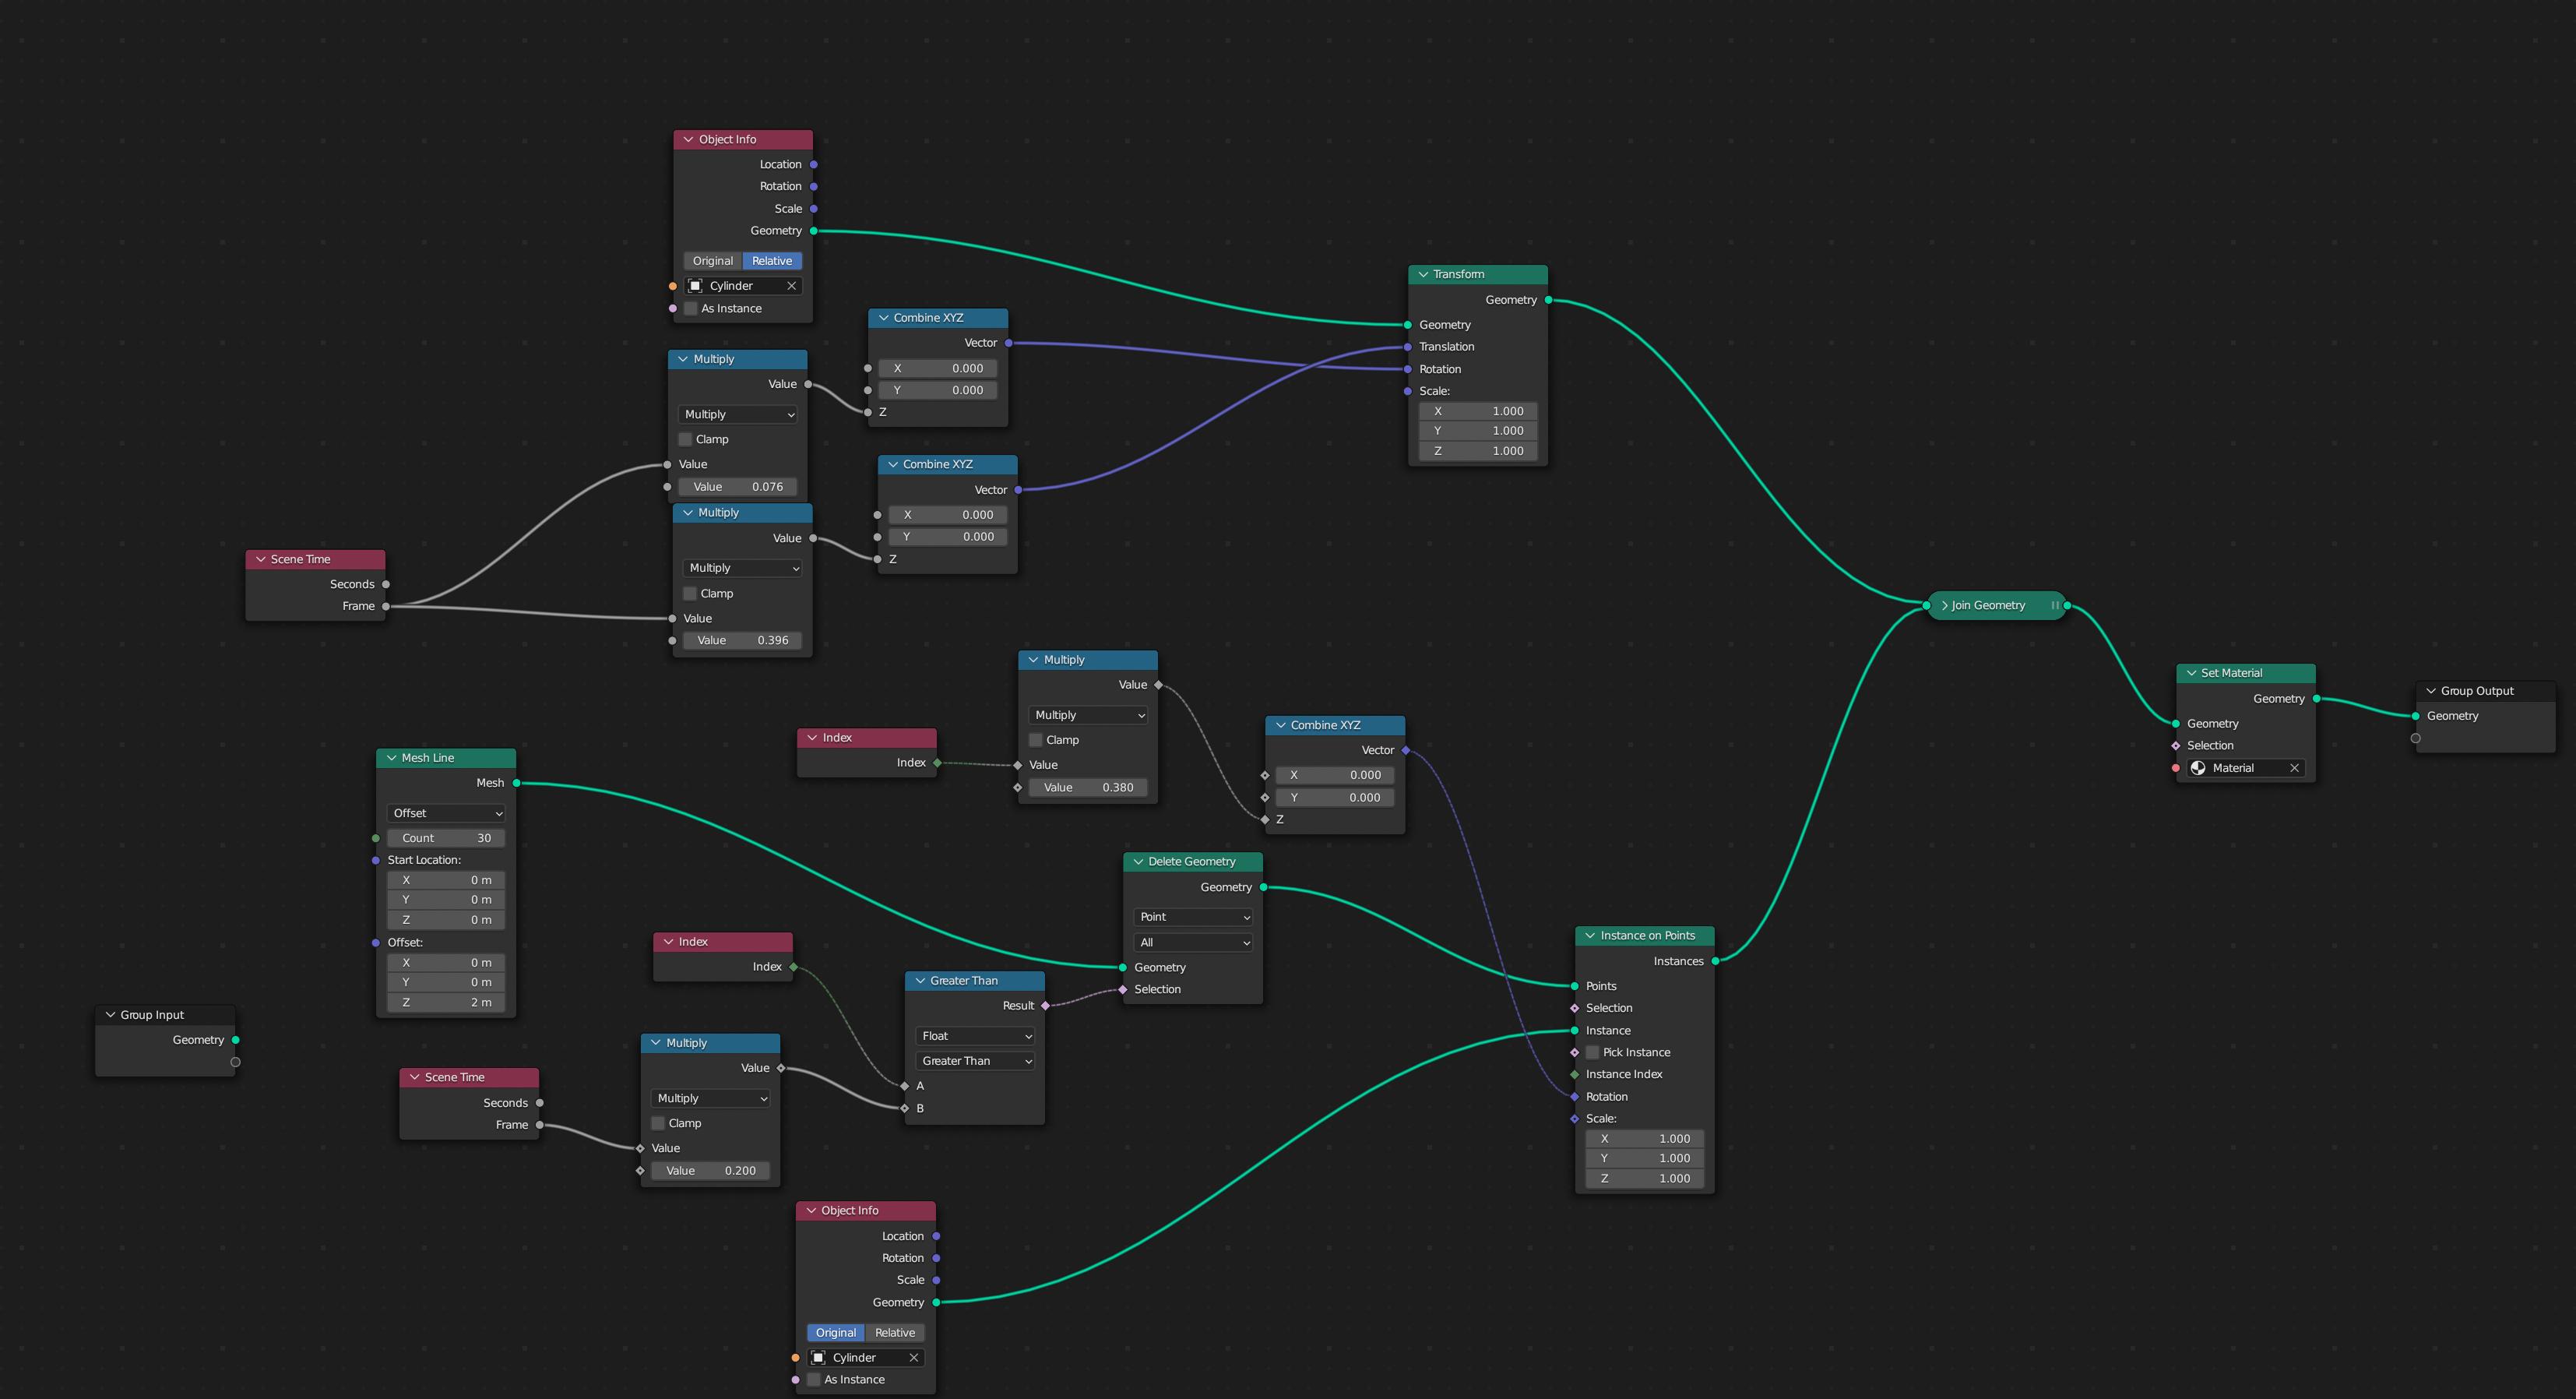
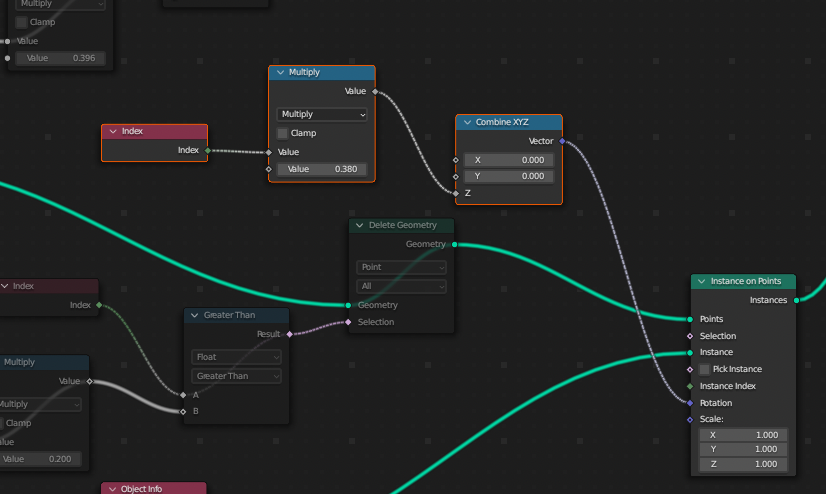
Then create a plane, add a geometry nodes modifier with this node setup:

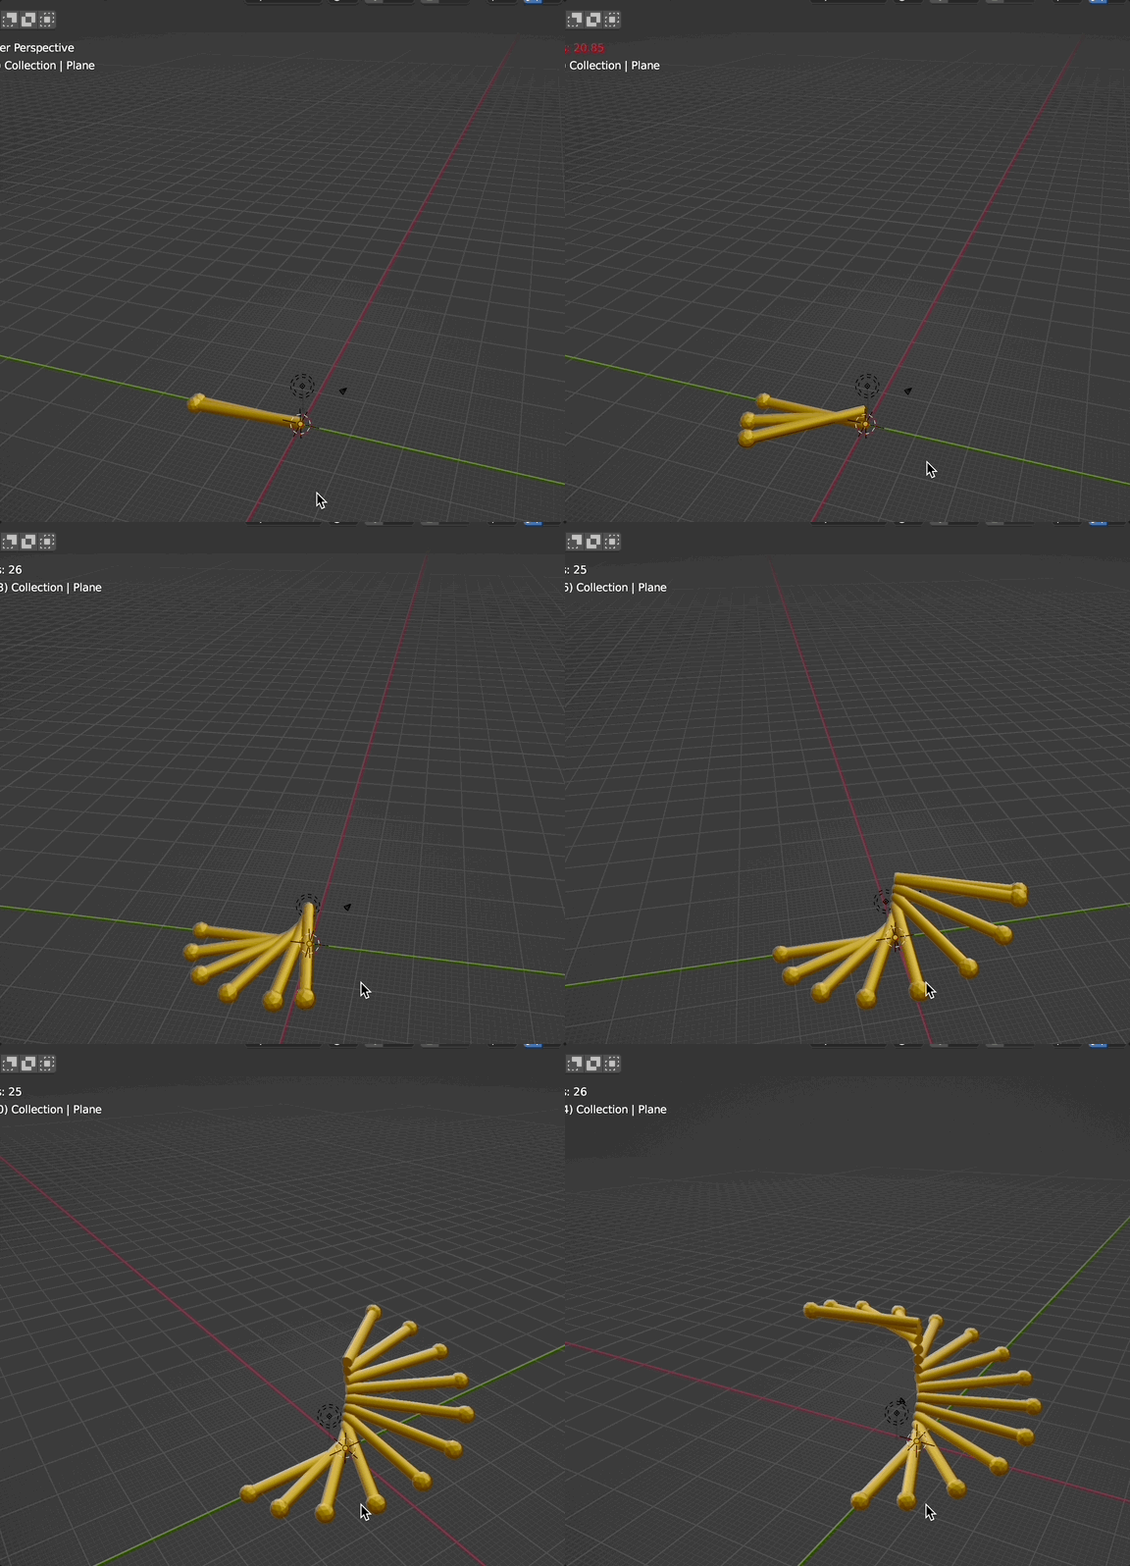
result:


Explanation:
If you want to "debug" or understand a geometry nodes setup, it is always a good idea to mute nodes to see the difference or what's happening.
So here i muted these nodes:

and as you can see the objects will be just stacked on each other on the z axis by the unmuted nodes.
These four nodes here:

are responsible for the z-rotation of the object. Depending on the index they will be just multiplied with a certain value. Of course you can change this value if you want to have different angles. But keep in mind that you have to change other frame dependent values too so that the animation works correct again.

These four nodes make the instances visible after a certain time. So they are responsible for one part of the animation.
The last nodes here:

...are responsible for the animation of the "one" cylinder which is moving all around. It is moved on the z axis and rotated on the z axis as well. To be honest, i did not calculate the multiply-values but i just eye-balled it so that the animation looks ok. You can use calculated values if you want to - i was too lazy for that.


