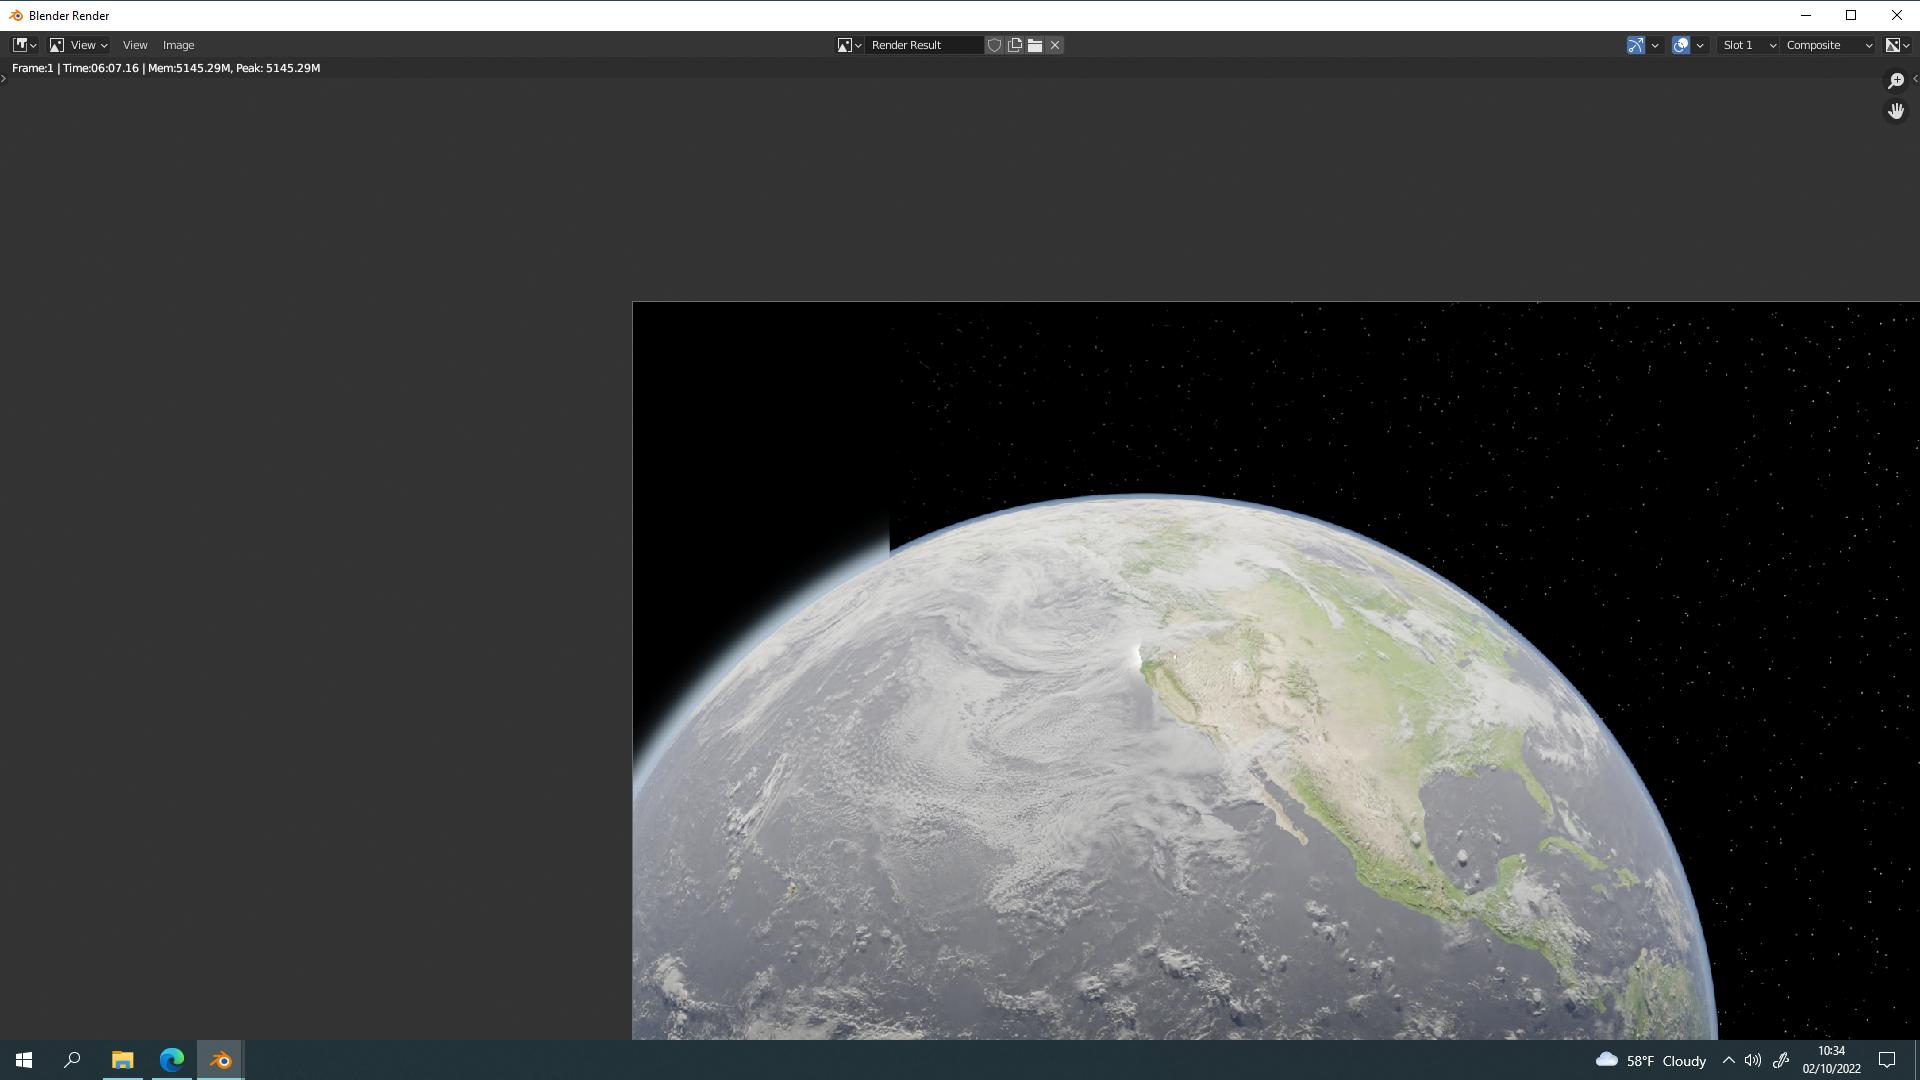
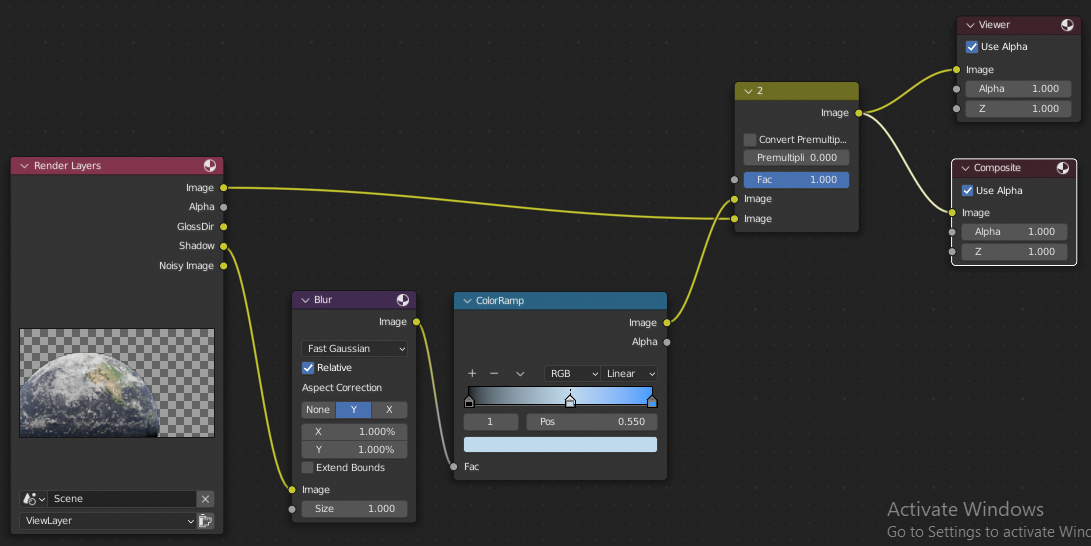
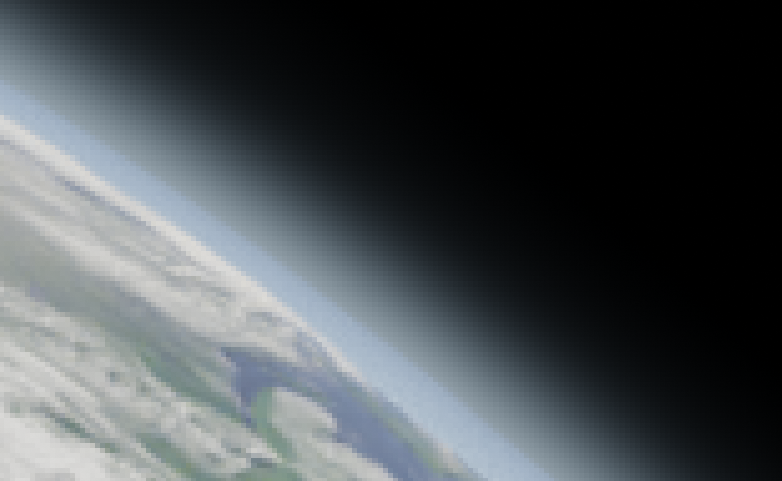
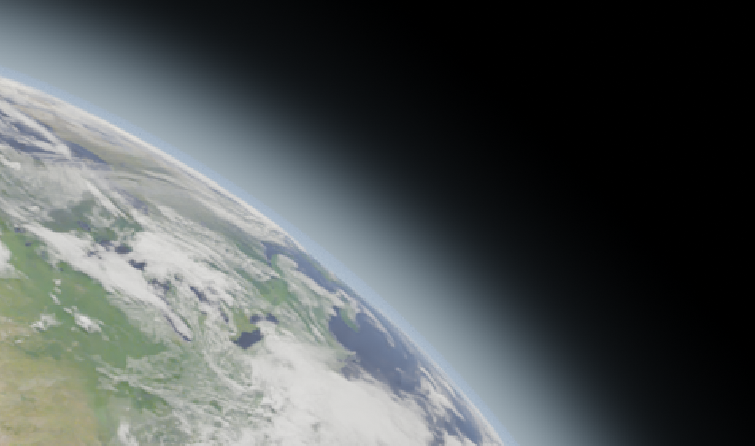
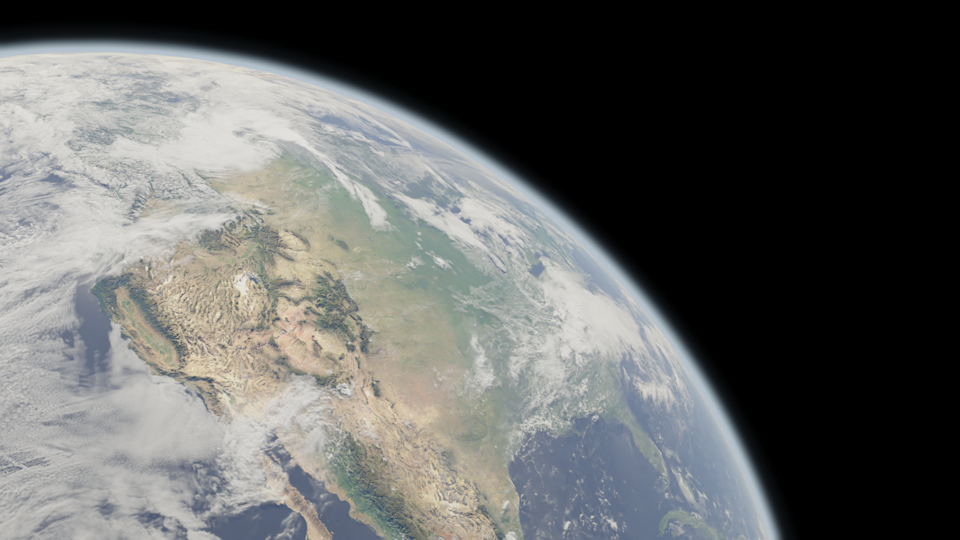
I have been following this guide - https://www.youtube.com/watch?v=0YZzHn0iz8U - to create earth. Got to the section on add the blur to the composite (at 14:12 in the video), I only see it when I have the image is in the bottom of the Alpha Over and the blur in the bottom. But this results in the clouds and surface to get blurred. Can you advise on this?
-
$\begingroup$ Would you mind clarifying: 'I only see it when I have the image is in the bottom of the Alpha Over and the blur in the bottom. But this results in the clouds and surface to get blurred.' I'm not quite sure what you mean here. Can you explain clearly what you are expecting vs. the result you are getting? $\endgroup$– SlickRedCommented Sep 21, 2022 at 22:40
-
$\begingroup$ In the guide the surface of the Earth is visible with a thin line on the edge to show the atmosphere. I have the same settings and the whole earth is covered in blue haze and not the edge, $\endgroup$– Mark_72Commented Sep 23, 2022 at 18:22
2 Answers
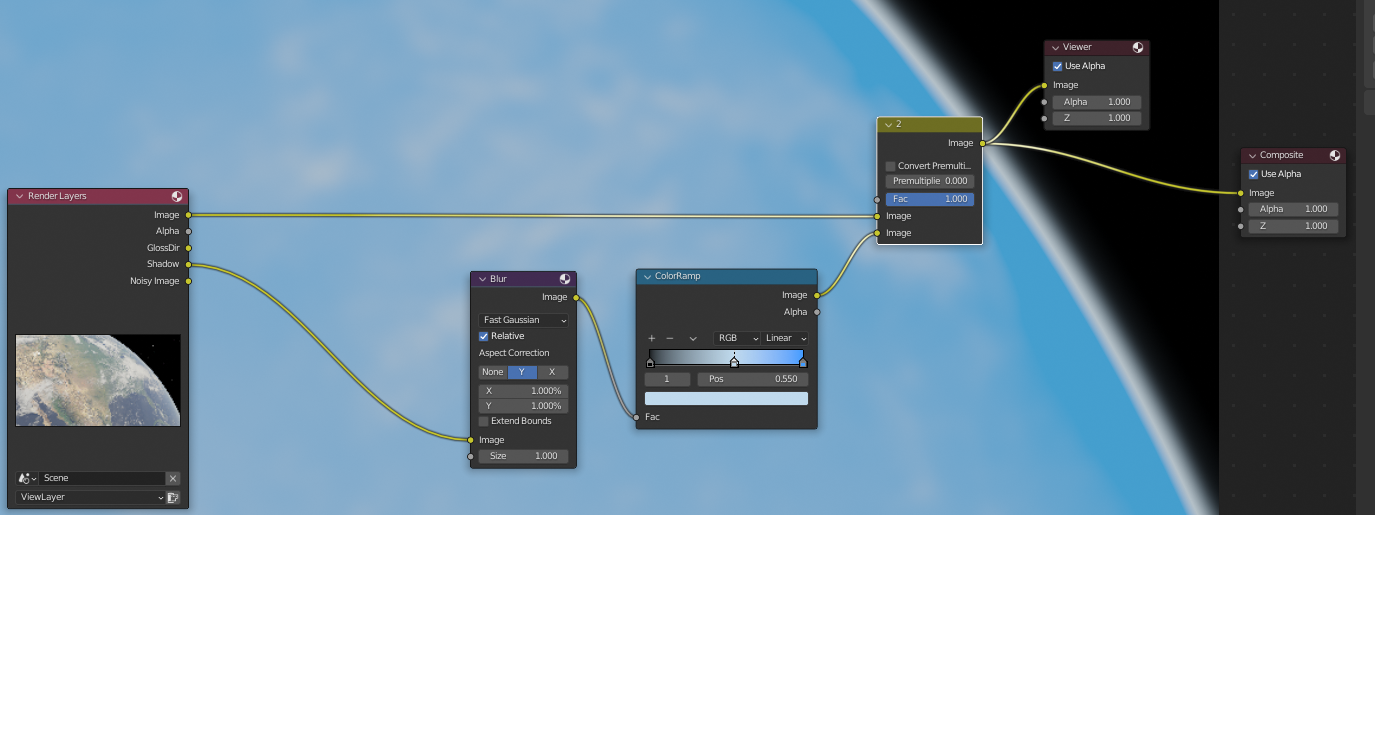
You have the connections on the Alpha over node backwards. Switch the inputs so the Color Ramp is plugged into the top, and the original image is plugged into the bottom.
The Alpha Over node is used to add the original image on top of the colored blur from the Color Ramp. The original image therefore needs to go into the bottom of the Alpha Over node.
If you find you are not getting as much haze as you like with this setup, try increasing the X & Y values for the Fast Gaussian blur.
Edit (as per comments):
I have downloaded your file.
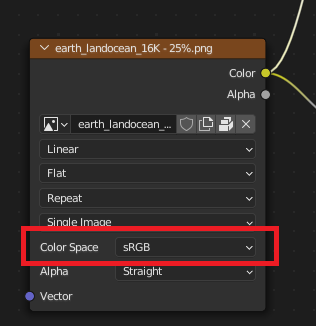
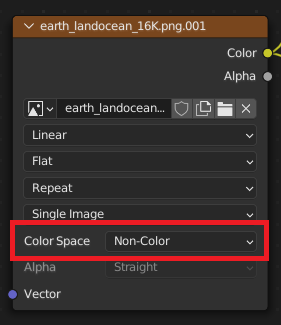
Checking your materials, I found a small issue you should be aware of. The Color Space for some of your textures is set to 'sRGB' when they should be set to 'Non-color':
Texture nodes are set to 'sRGB' by default, but only textures that are contributing to the Color input of your Shader should be set to sRGB.
Every other texture (i.e. Roughness, bump, normals, displacement, etc.) should be set to Non-color.
As for your issue with the atmosphere, if I understand correctly your problem is that you cannot see enough of the atmosphere when compositing.
I have replaced the smaller materials in your file with the hi-resolution materials from the BlenderGuru YouTube video linked in your question.
The following screenshots are taken from your file. The only changes I have made are changing the Texture Space from sRGB to Non-Color for some of the textures in your Surface and Clouds materials, and replacing the textures with the hi-resolution versions.
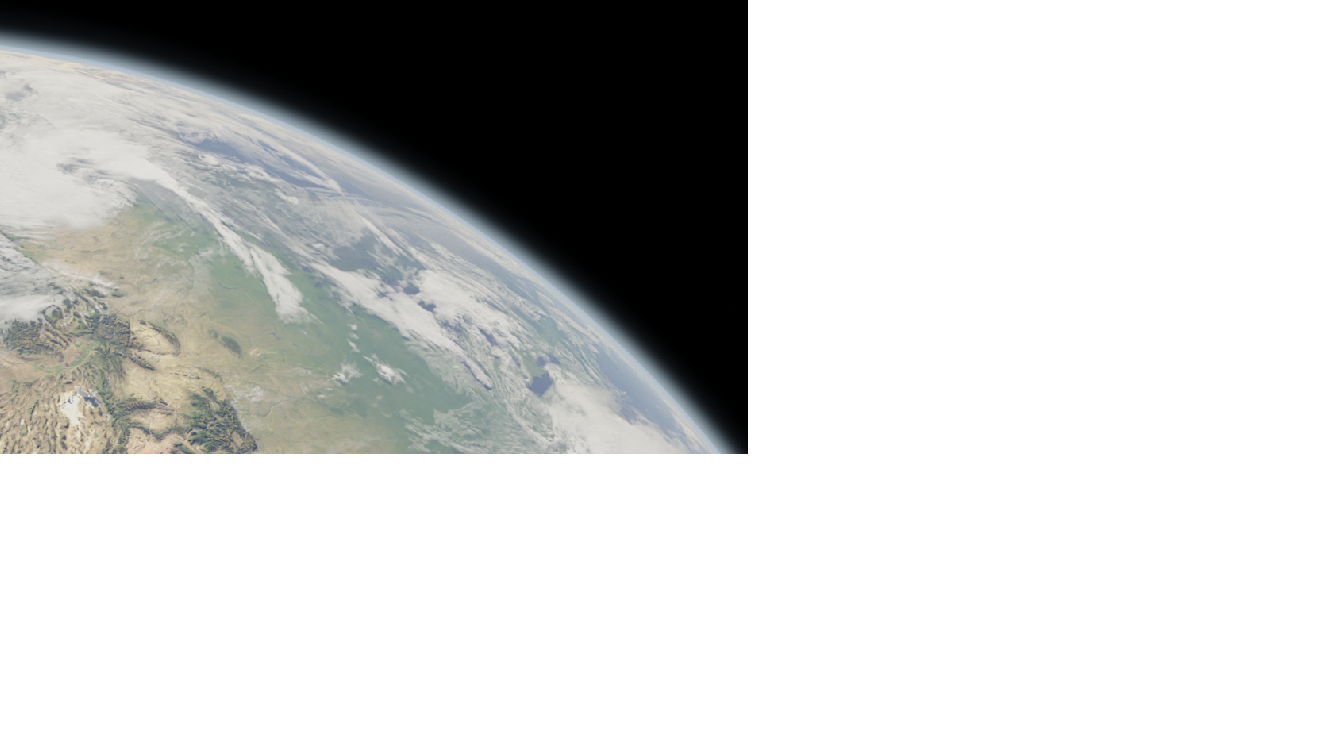
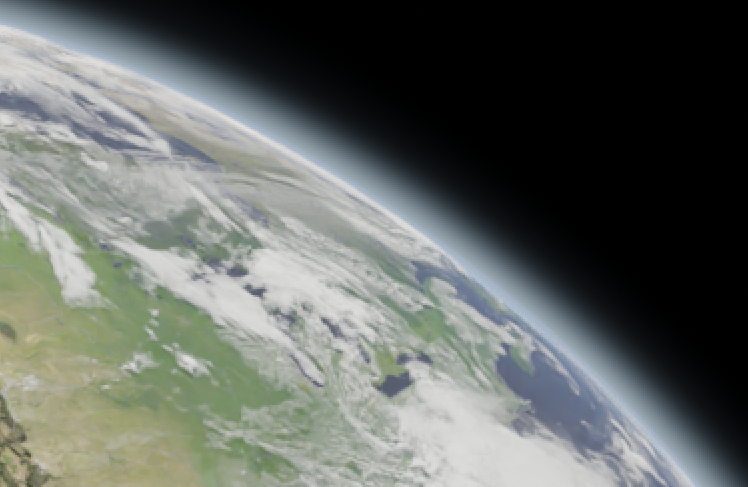
Here is an example using Blender Guru's suggested settings:
Fast Gaussian Blur Amount: 1%
Result:
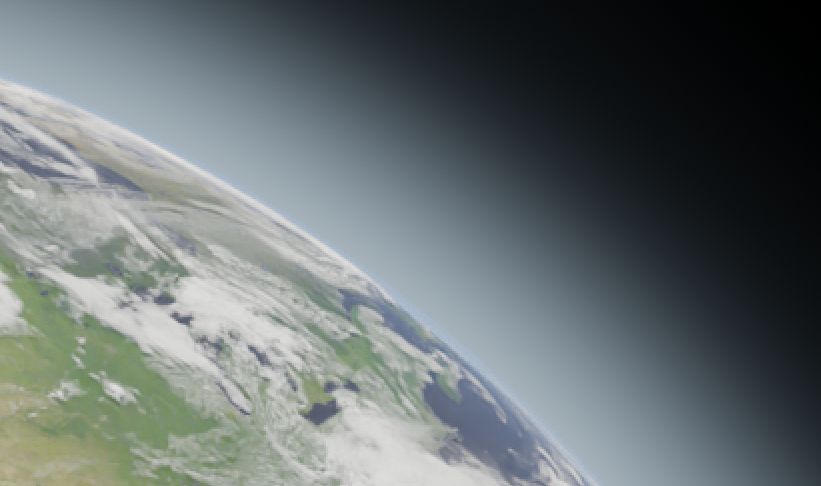
To increase the atmosphere, we can increase the Fast Gaussian Blur Amount:
You can also experiment with changing the size of the 'Atmo' object before rendering (BlenderGuru suggestion 1284m).
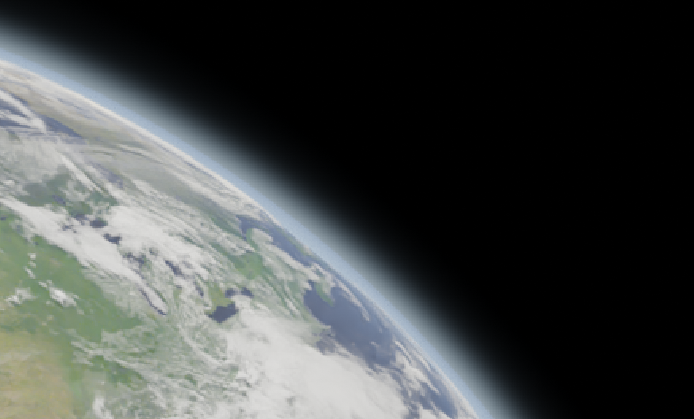
Atmo Size: 1300 m Fast Gaussian Blur Amount: 1%
Result:
Notice that this gives a more solid look to the atmosphere close to the earth, which might be what you are looking for, I'm not sure:
Again, you can mess with the amount of Fast Gaussian Blur:
Atmo Size: 1300 m Fast Gaussian Blur Amount: 3%
Here is a link to your file with the updates I have made. You will need to add the textures back into your materials (make sure the Color Space remains as 'Non-Color' for the Roughness and Displacement textures!).
Edit 2 (as per comments)
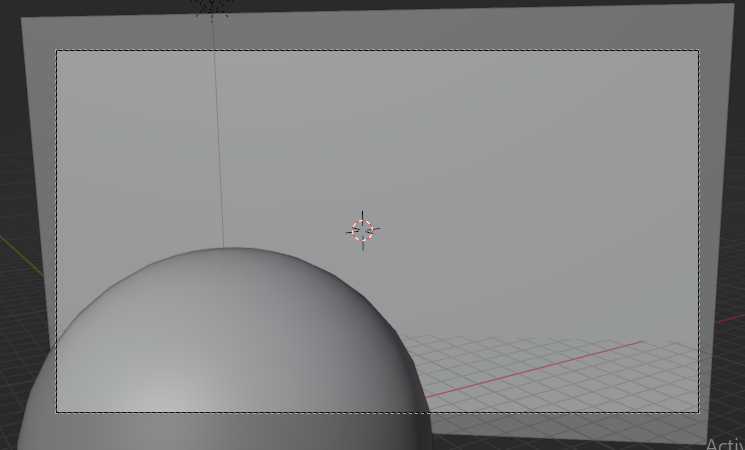
To get the plane object with the stars working correctly, you need to complete a few steps. Firstly, we need to position it correctly in the scene.
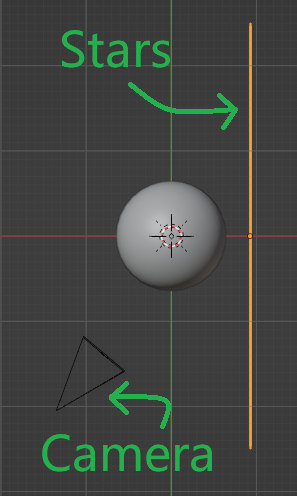
Here is your scene from top view:
Note: I scaled up the camera object so it would be visible
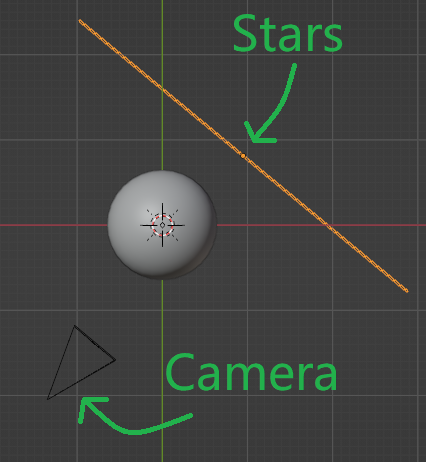
Reposition the plane as so:
You can also scale/rotate the plane from camera view (Numpad 0) to check that it is positioned correctly:
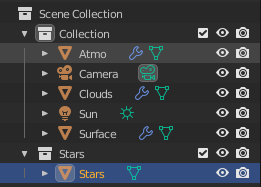
Next, we need to move the Plane object to a new Collection. This will be important for the next step. To do this, select the Plane object and press M > New Collection. Name the Collection 'Stars'. You may also want to take this opportunity to rename the Plane to 'Stars'.
Next, we need to set up a new View Layer.
The reason the Stars object is messing up your compositing nodes is because it removes the transparent background.
We therefore need to do two renders, and composite them together. The first render will be of the Earth without the stars, the second render will be the stars without the Earth.
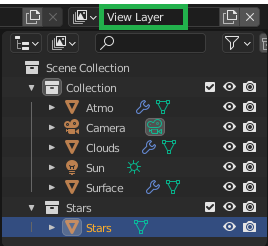
First, find the View Layer section in the top-right corner of the screen:
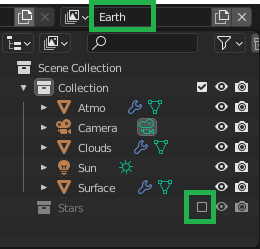
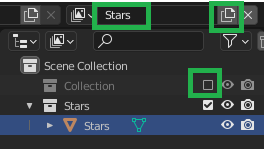
Rename the current View Layer to 'Earth', and disable the Stars collection using the tick box:
Add a new View Layer using the icon to the right and name it Stars. Disable the collection named 'Collection' (containing the Earth, atmo, etc.):
Now when we press render, the 'Earth' View Layer will be rendered first, followed by the 'Stars' View Layer. We will have access to both renders in the Compositor.
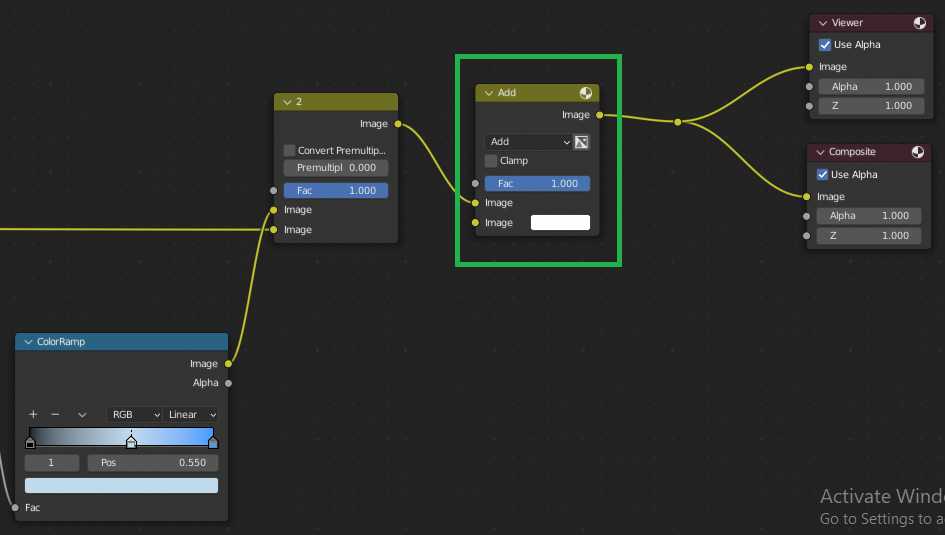
Finally, back in the Compositor, add a Color > Mix node, and set the type to Add. Position the Mix node between the Alpha Over node and the Composite (and/or Viewer) node:
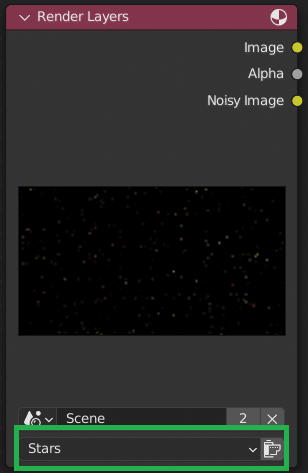
Duplicate (Shift+D) the Render Layers node, and change the layer from Earth to Stars:
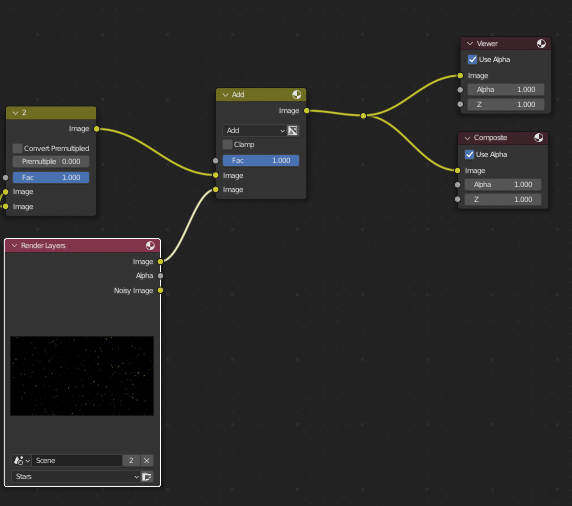
Plug this Render Layers node into the bottom socket of the Mix node:
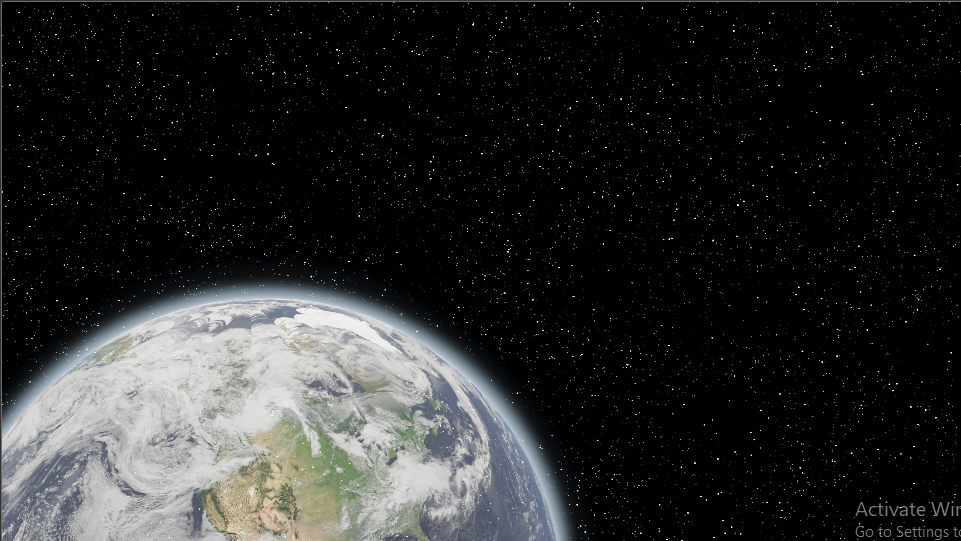
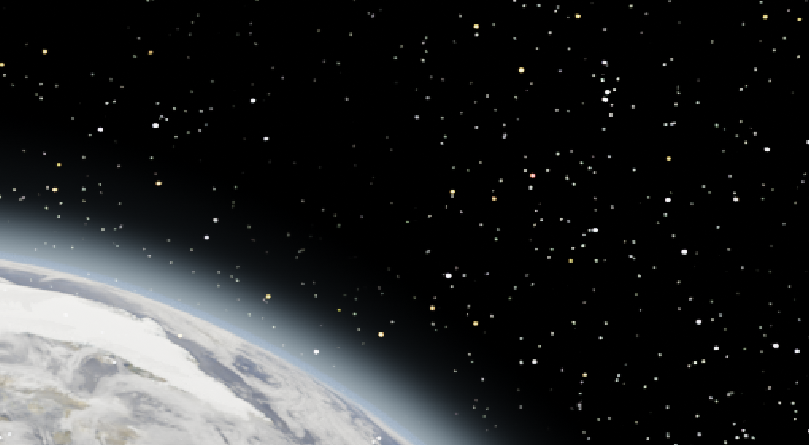
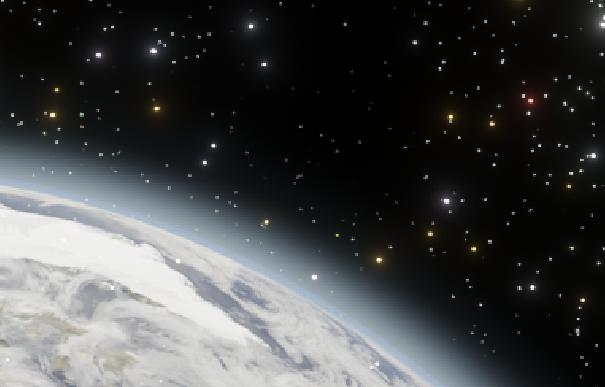
Here is an example with this node set up. (Note: I made some changes to your stars material to introduce some color, and some variation in brightness/size of the stars. Check the file attached below if you want to see the node setup for this material).
Rendered at 250 samples:
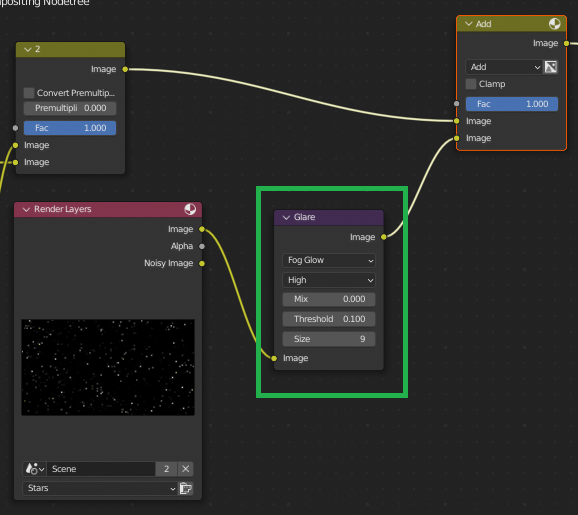
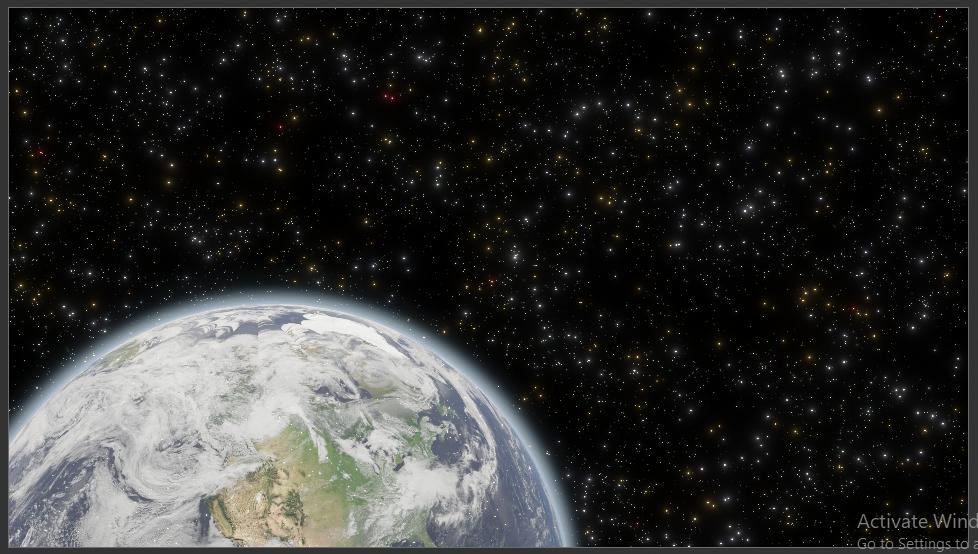
You may also want to add some Fog Glow to your stars using the Filter > Glare node:
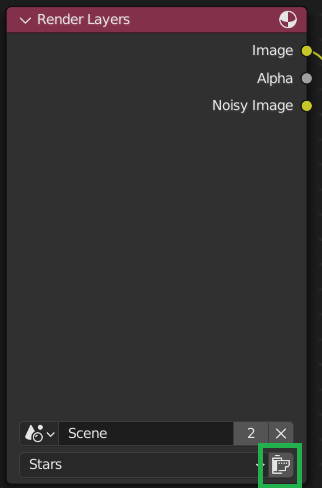
As a final tip, if you are making changes to the material on your Stars object, there is no need to render both View Layers again. You only need to re-render the 'Stars' View Layer. You can do so using this button on the Render Layers node in the Compositor:
If this answer helped you, I'd appreciate it if you could accept the answer using the tick mark on the left, so that others who are suffering the same problem can find this solution easily.
Here is the finished .blend file:
-
$\begingroup$ I made the changes you suggested. The edge of the earth is still has a hard edge. $\endgroup$– Mark_72Commented Sep 26, 2022 at 18:34
-
$\begingroup$ Could you please share your .blend and I'll take a look? Please make sure to pack the textures (File > External Data > Pack Resources) before saving and sharing. $\endgroup$– SlickRedCommented Sep 26, 2022 at 18:48
-
$\begingroup$ how do you share a blender file? $\endgroup$– Mark_72Commented Sep 26, 2022 at 19:36
-
$\begingroup$ blender.meta.stackexchange.com/questions/658/… $\endgroup$– SlickRedCommented Sep 26, 2022 at 22:30
-
$\begingroup$ Stripping all but one texture for the surface gets the file down to 76,406kb. Just too big for the exchange (original file is 111,566kb). with no textures its 937kb. is the no texture version ok for you? $\endgroup$– Mark_72Commented Sep 27, 2022 at 18:28
Looks likes good now.
Will leave off the plane as it is stopping the atmosphere showing. Shame I can't get any stars in the background.
Thanks for all your help.
-
$\begingroup$ This is not an answer, but a comment on an existing answer. Please comment it there, or edit the information into your initial question. $\endgroup$ Commented Sep 24, 2022 at 22:55
-
$\begingroup$ I have updated my answer with instructions on how to keep the stars in the background. Please delete this answer (which is not an answer), and accept my answer above, assuming it resolves your problem. $\endgroup$– SlickRedCommented Oct 3, 2022 at 22:42

