1
$\begingroup$

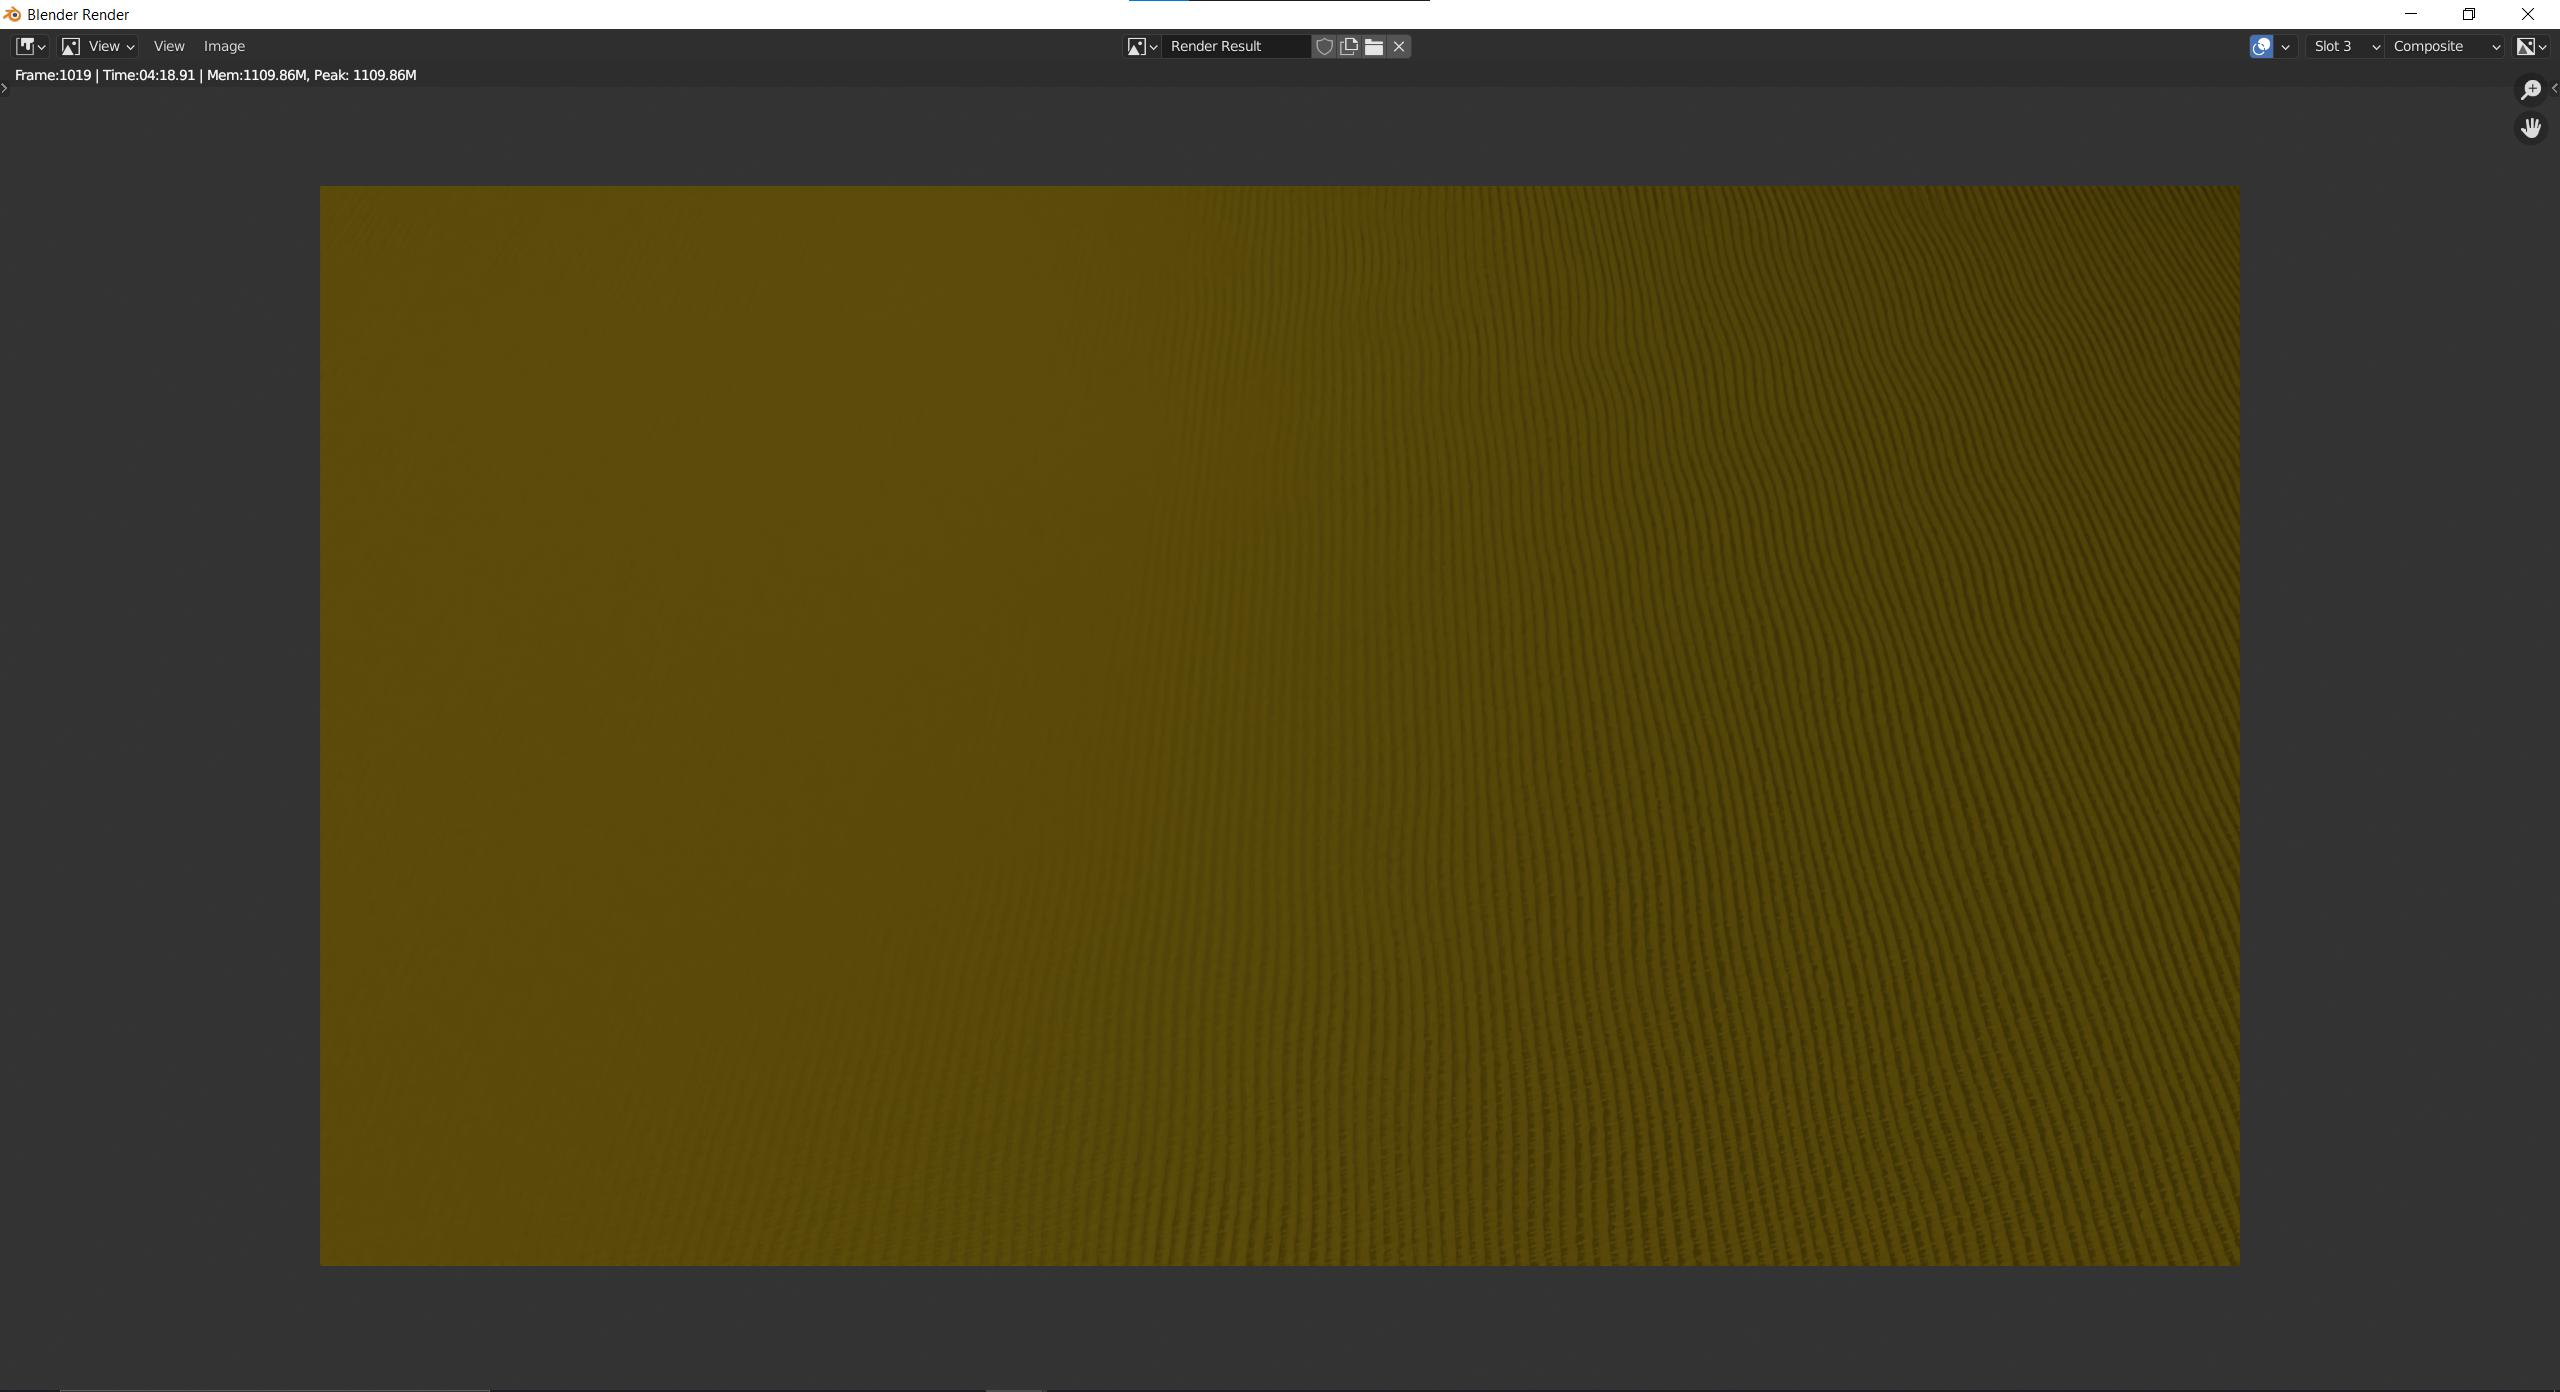
I'm making a backrooms animation and I've stumbled onto a problem, the denoise node is creating washed out patches on the carpet texture I'm using which really removes the immersion

I know a simple fix would be to just increase the samples, but I'm planning for this animation to be around 3 minutes long and even testing it on 4096 samples, the patches are still there, so a way to remove that loss of quality while still keeping the denosing would be awesome!

Image with 500 samples, without denosing enter image description here

Image with 500 samples, with denosing enter image description here

Image with 4096 samples, with denosing enter image description here

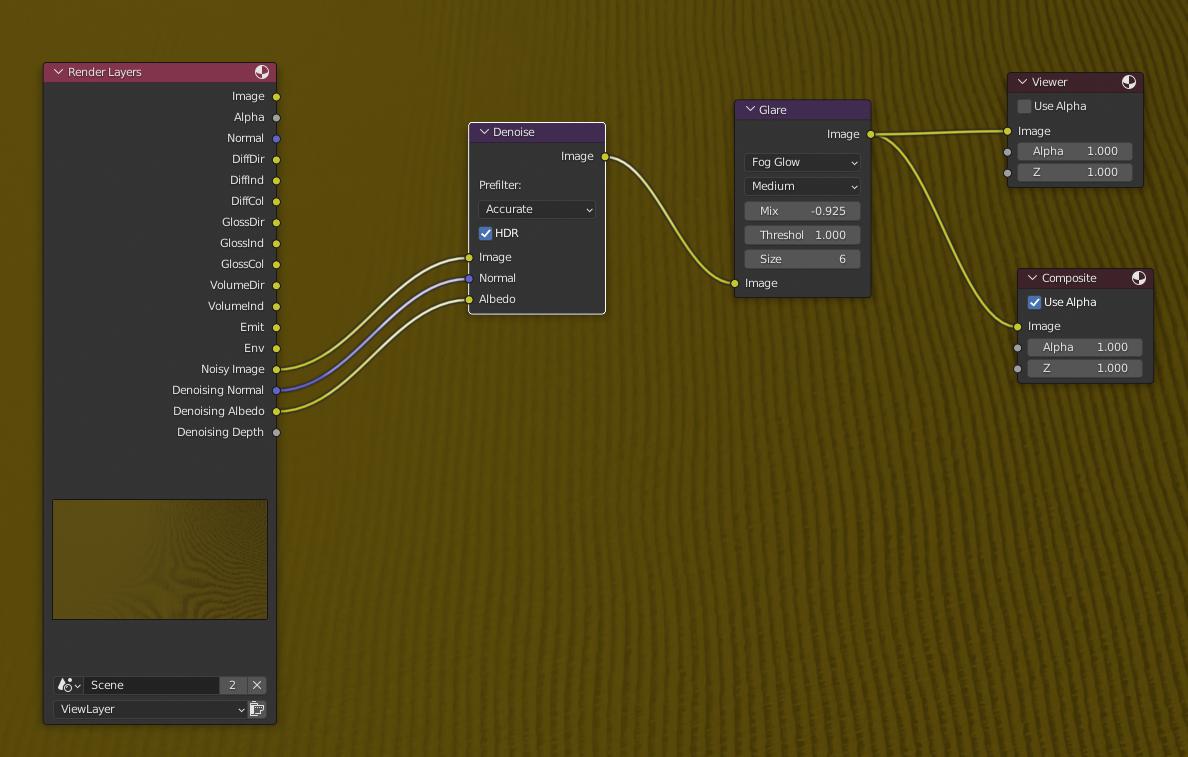
Denosing Compositing nodes enter image description here

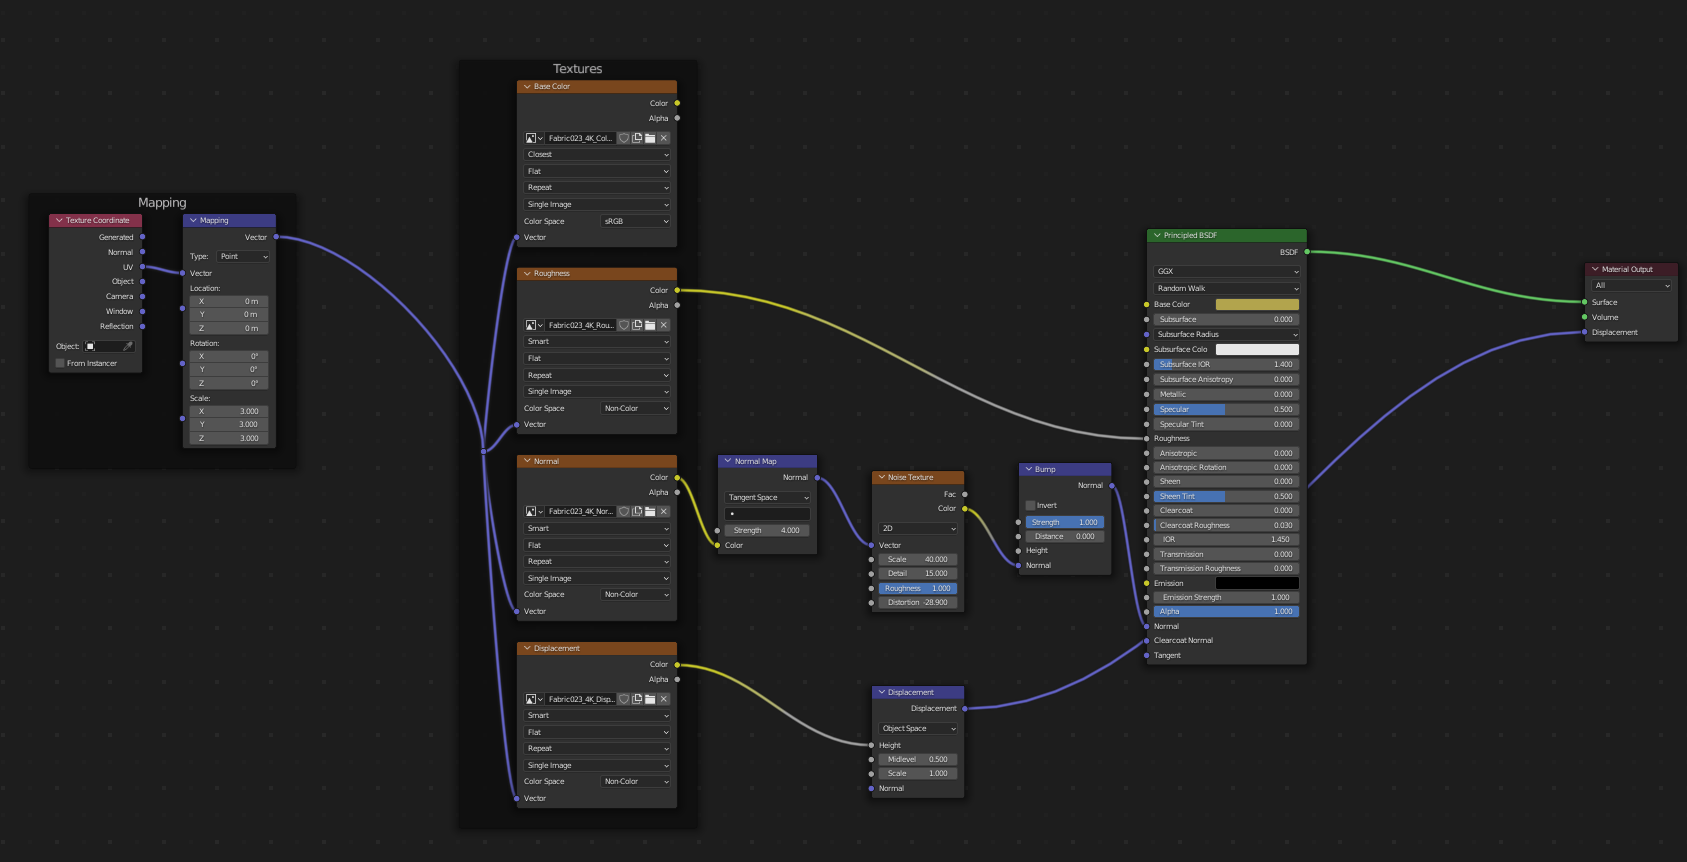
Carpet texture I used enter image description here

(the weird orange stuff on the denosing photos are artifacts of the image compressor I used, sorry)

$\endgroup$
4
  • $\begingroup$ Just a few ideas ... Have you tried to play with Denoiser under Render Properties instead of Compositor Denoiser node? Play with Noise Threshold. Are you sure Glare has no influence on issue? Also since surface structure is based on Normal texture you can try to render also Normal pass and try to restore in compositor. Basically Denoiser if flattening areas with low light or low contrast ... so try to render more contrasty to avoid denier affect those parts and lower it in compositor if possible. $\endgroup$
    – vklidu
    Commented Apr 2, 2022 at 10:09
  • $\begingroup$ Thanks for the response! I have fiddled with the render denoiser before, but I've read that I can get more accurate results if I take advantage of the compositing node instead inwhich I have. My noise threshold is at 0.001 and at default it looks worse. Can you elaborate on the normal pass thingy? I'm having trouble trying to understand sorry. - edit checked and the glare had no influence on the render $\endgroup$ Commented Apr 2, 2022 at 11:30
  • $\begingroup$ Can you share your file with packed textures? So we are working on the same issue? Thanks $\endgroup$
    – vklidu
    Commented Apr 2, 2022 at 11:33
  • $\begingroup$ sorry for the wait, here you go: drive.google.com/drive/folders/… $\endgroup$ Commented Apr 2, 2022 at 11:46

1 Answer 1

0
$\begingroup$

I didn't follow Denoising develop for a while so I'm quite confused now and my thoughts goes totally wrong direction.

I don't have a solution for you ... so probably someone can push it forward.


Viewport vs Render result is quite different

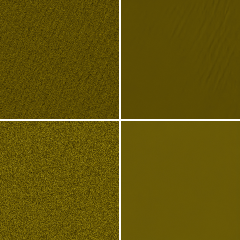
Test_Threshold 0.01, Samples 400, without / with denoiser
Upper row - Viewport
Bottom row - Render
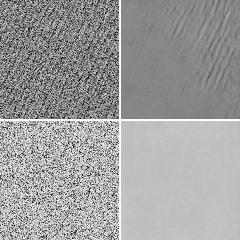
enter image description here enter image description here

It is a segment on left side of camera view where is structure softer (than on right side) so clearly visible what damage denoiser generates. Viewport at 400 samples already produce visible structure, but Output render not even signal.

Here same only with Samples 1000 ... Even for Viewport it seems already solved for Denoiser ...
Render is still completely vanished ... ???
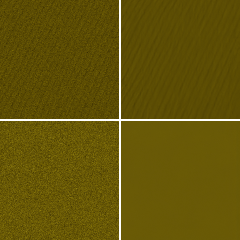
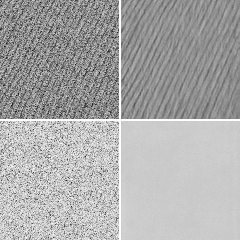
enter image description here enter image description here

Viewport is using Automatic, Render is using OpenImageDenoise solver, but even if I switch Viewport to OID or Render I switch to use Passes only Albedo (without Normal) the result is same.

Expectations - more samples = better denoised result is OK. 1000 samples seems to be fine for Viewport. What is really weird for me is the difference in Render result. The only one thing that came to my mind is they use different Light Path setup ...?

If I take sample from right side of camera view I can't see differences in structure above 400 samples and even without denoiser it looks clear.

Notes:

  • to Duplicate lights it is better to use Alt+D, like that all lights use the same Data, changing values of one light is shared with all light objects.
  • also for such project is probably easier to distribute lights by plane with Array modifier, Parent Light to Plane and enable under Object Properties > Instancing
  • I was wrong with Normal pass to try fake it in compositor, Normal pass takes into account a geometry, not a texture.

Under note - texture itself is quite sensitive for moire artefacts, would be hard to care right anti-aliasing ...
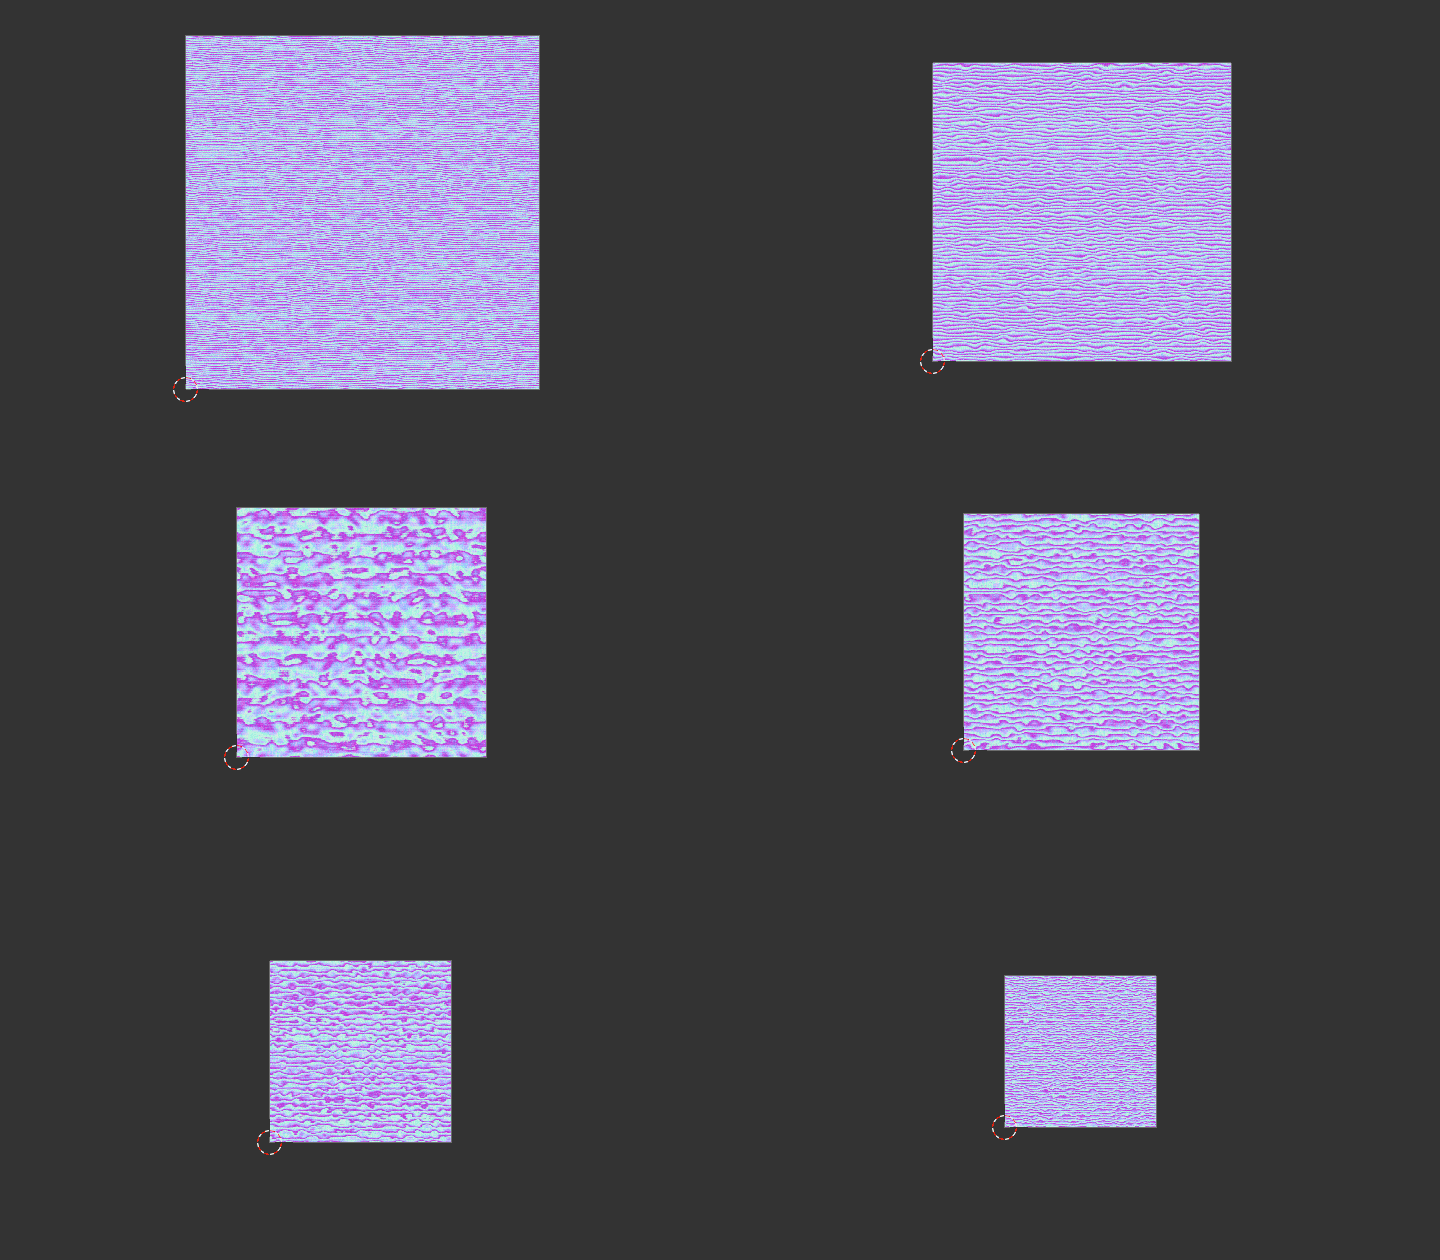
enter image description here

Restore Texture in Compositor

You can try to keep lower samples and map texture in compositor with MapUV node. Under scene enable UV pass. To repeat texture use node tree bellow. Downside of this - render and texture has to be the same proportions ... or someone smarter has to enhance this :)
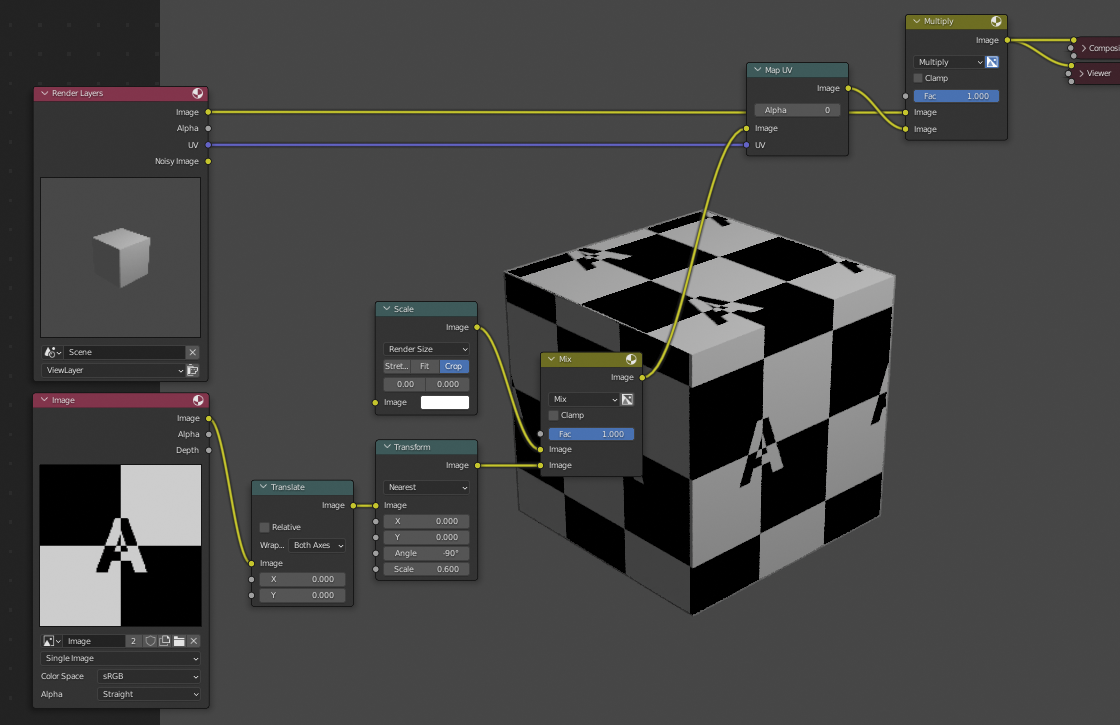
enter image description here Originaly mentioned here, there it works for also rectangle vs square, but there it is used just for flat image.
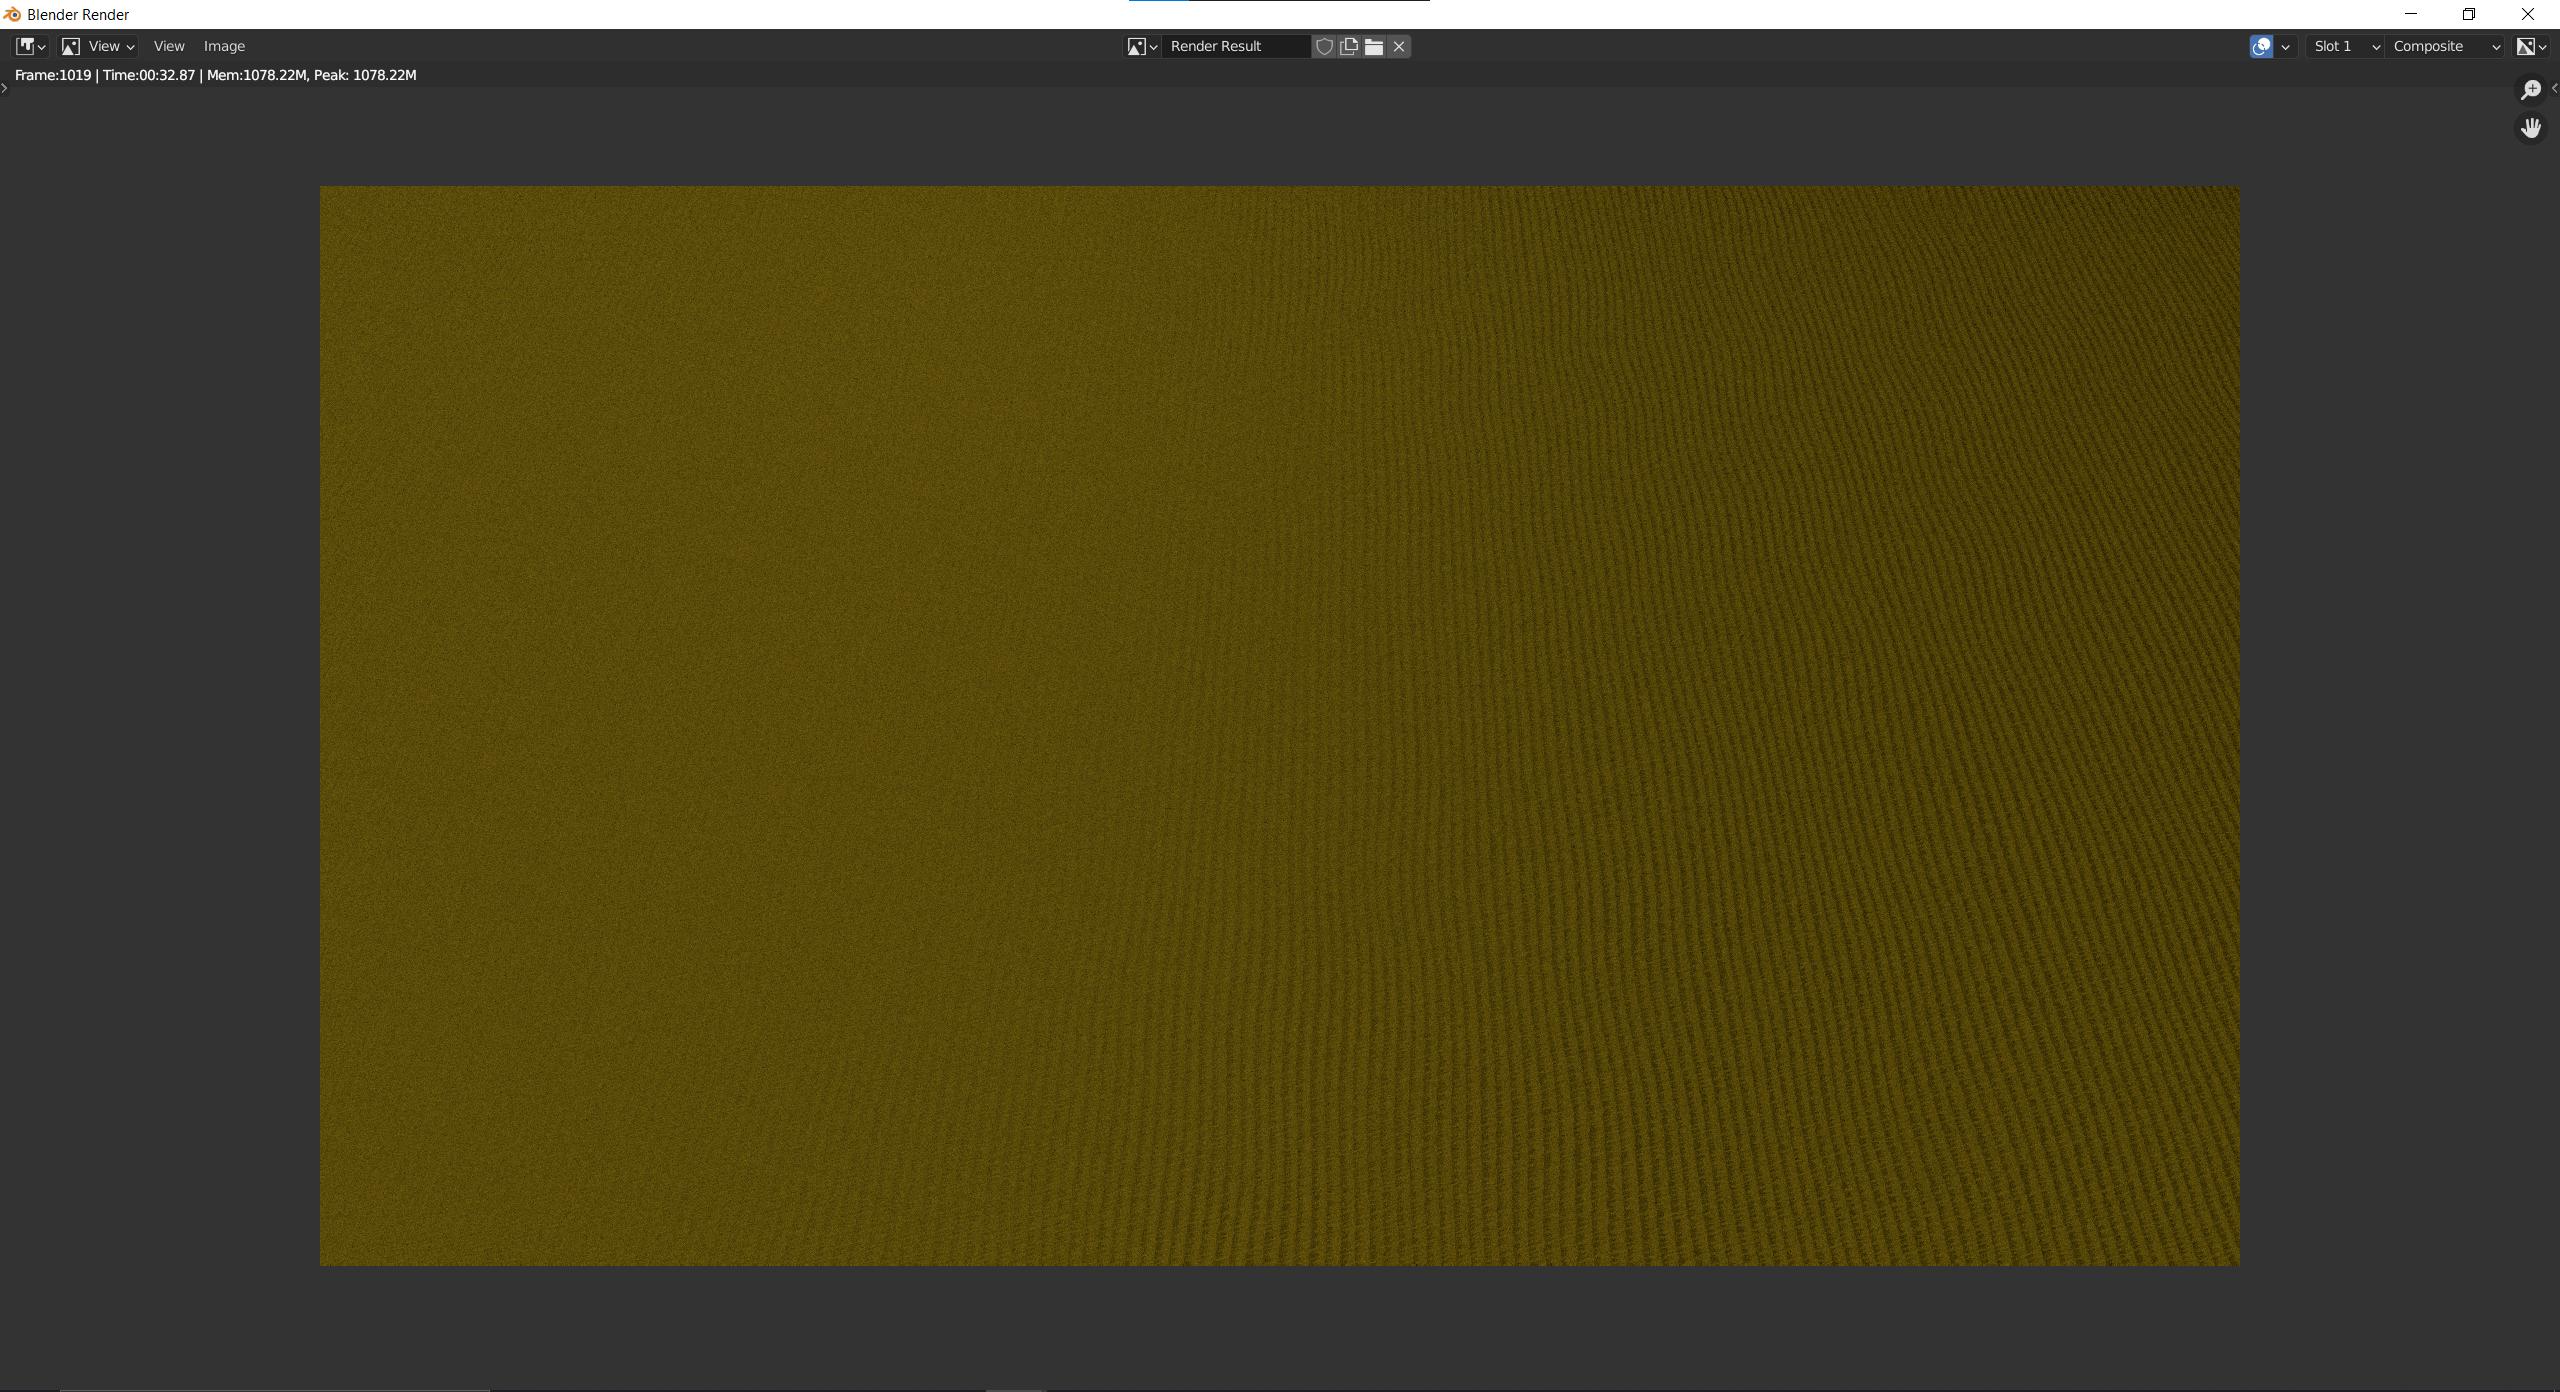
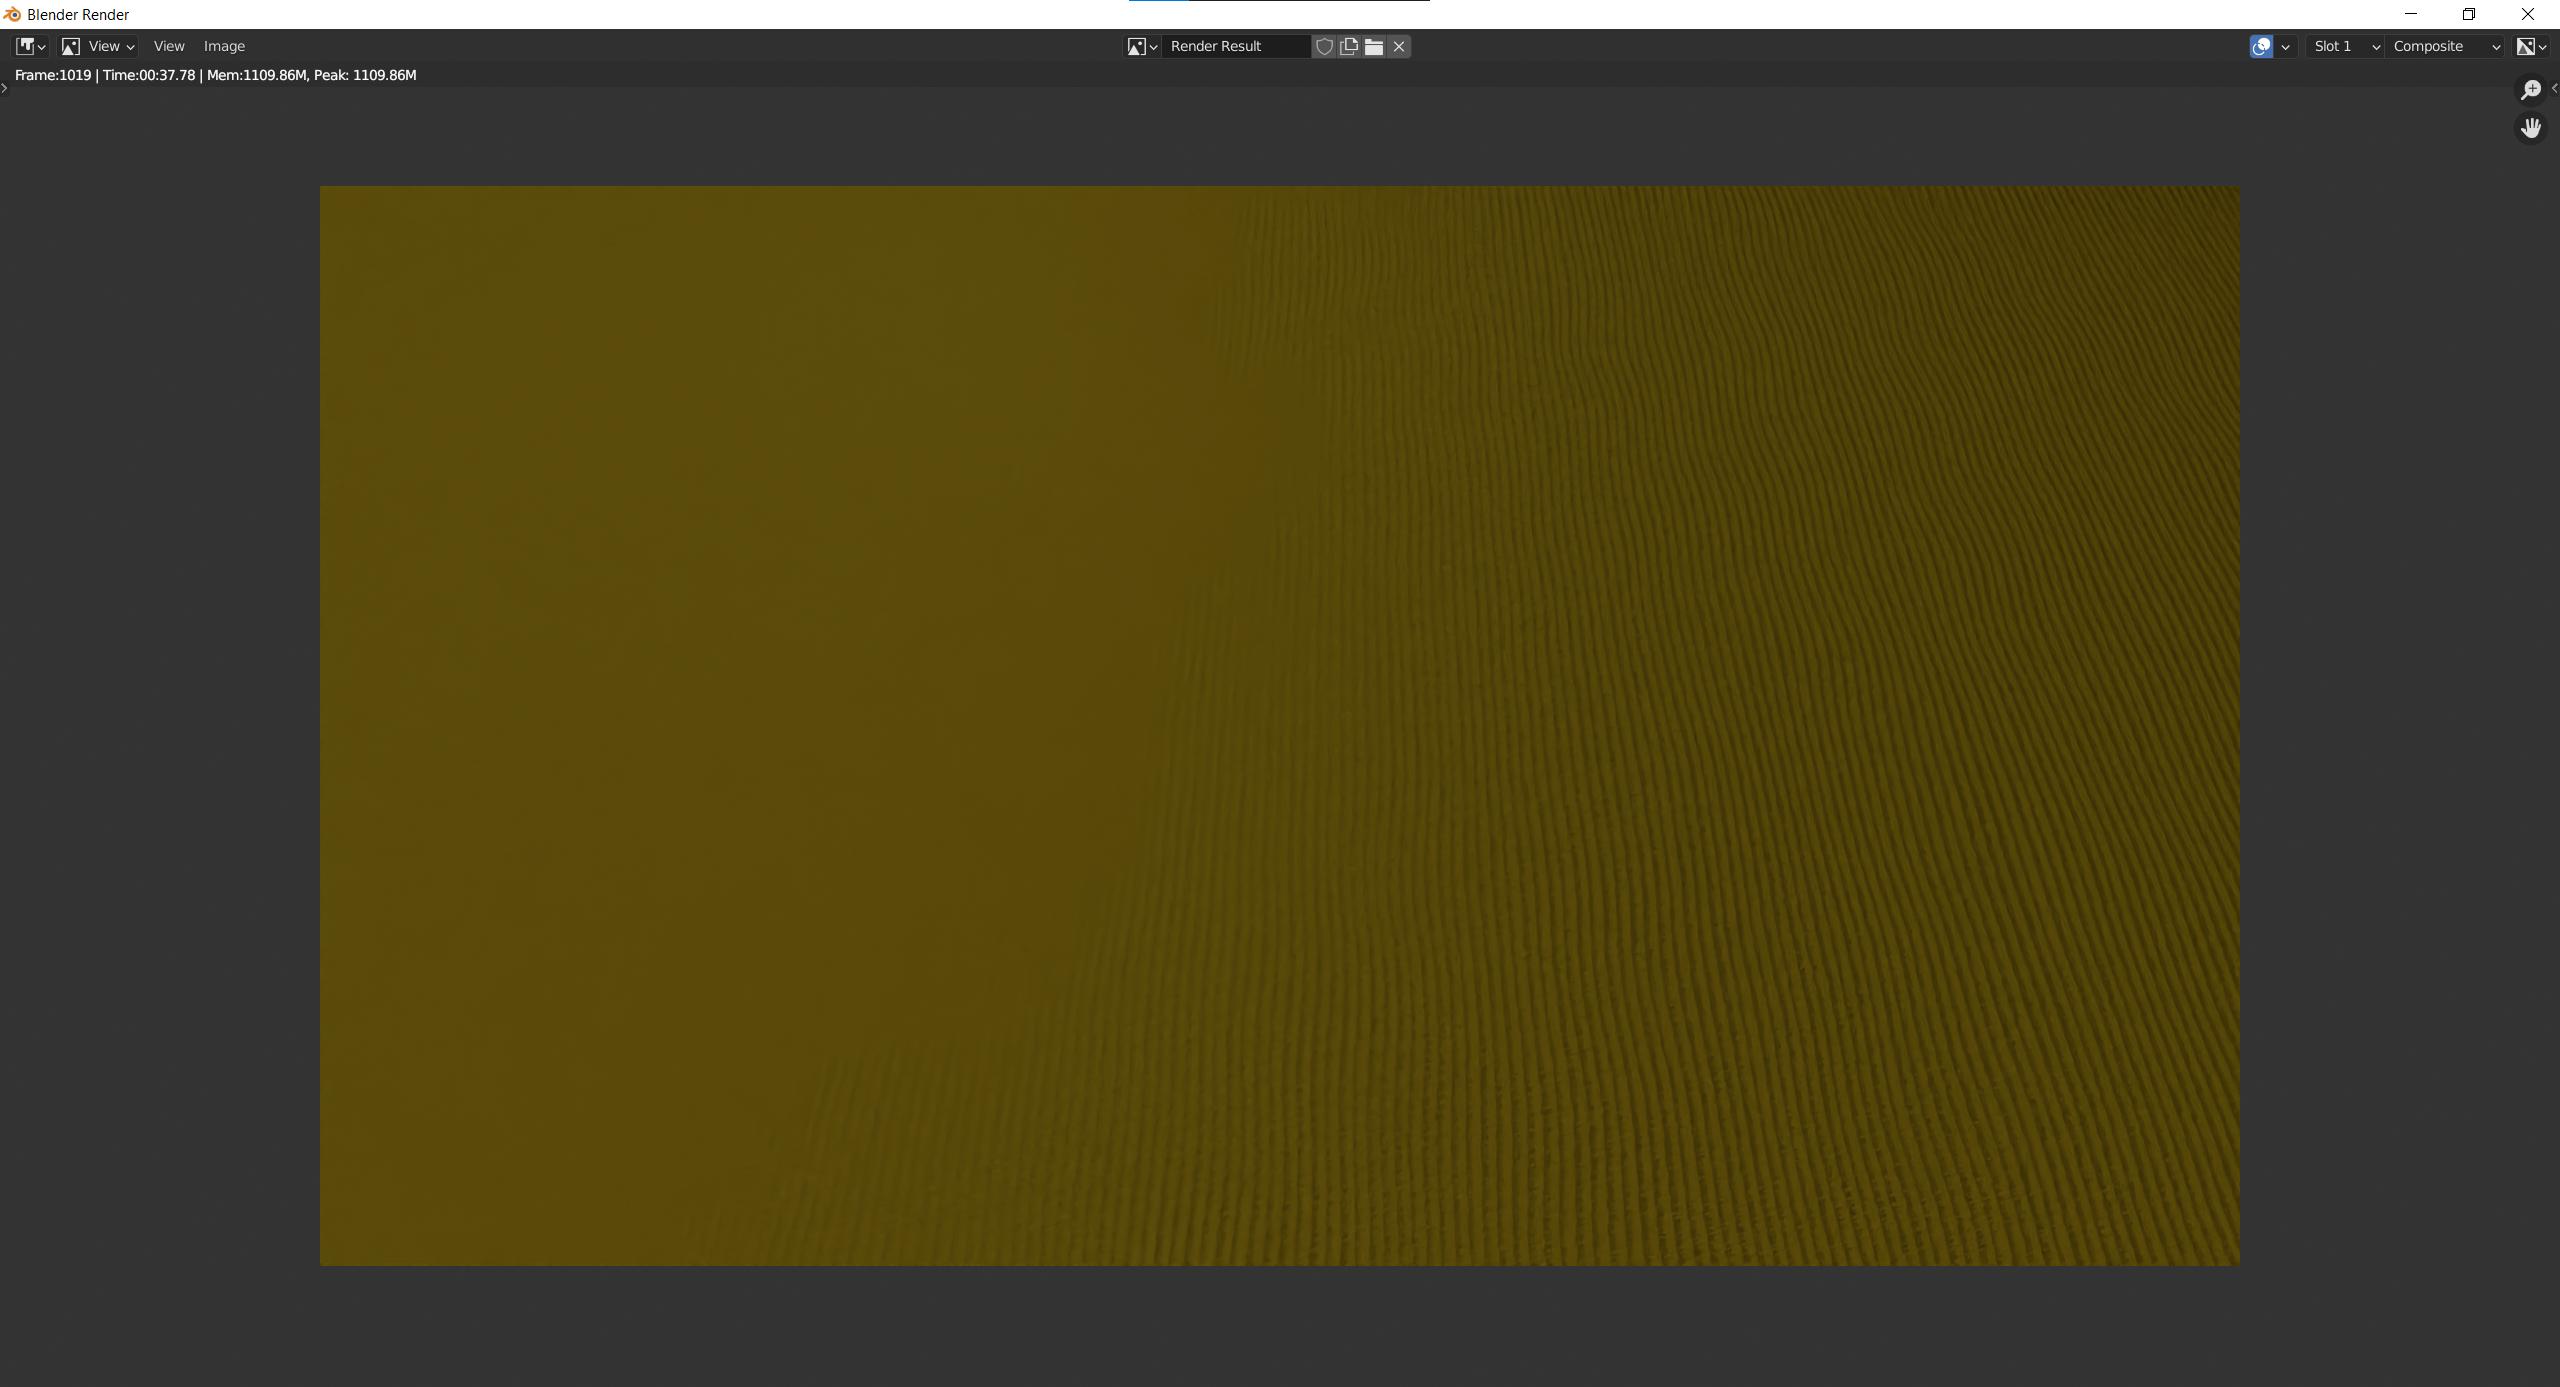
$\endgroup$
2
  • $\begingroup$ Thank you again, yeah this is really confusing. I've tried a different carpet texture and the same effect happened again. My monitor is 1440p and it was rendering at 1080p so I fixed that but nothing changed. I'm still experimenting on what I can do, but I might go back on my word and render it with out the denoiser for now. I've researched everywhere and I have seen people with the same problem but it's always the same answer, "add more samples", in which this occasion it's negligable. Hopefully someone can figure out how to fix this problem, and again thanks for the insight! $\endgroup$ Commented Apr 2, 2022 at 22:01
  • $\begingroup$ I didn't solve denoiser issue ... but instead of my previous suggestion to use Normal pass (that I wanted to use for re-light) you can try UV pass to restore texture structure in compositor. $\endgroup$
    – vklidu
    Commented Apr 3, 2022 at 14:38

You must log in to answer this question.

Not the answer you're looking for? Browse other questions tagged .