2
$\begingroup$

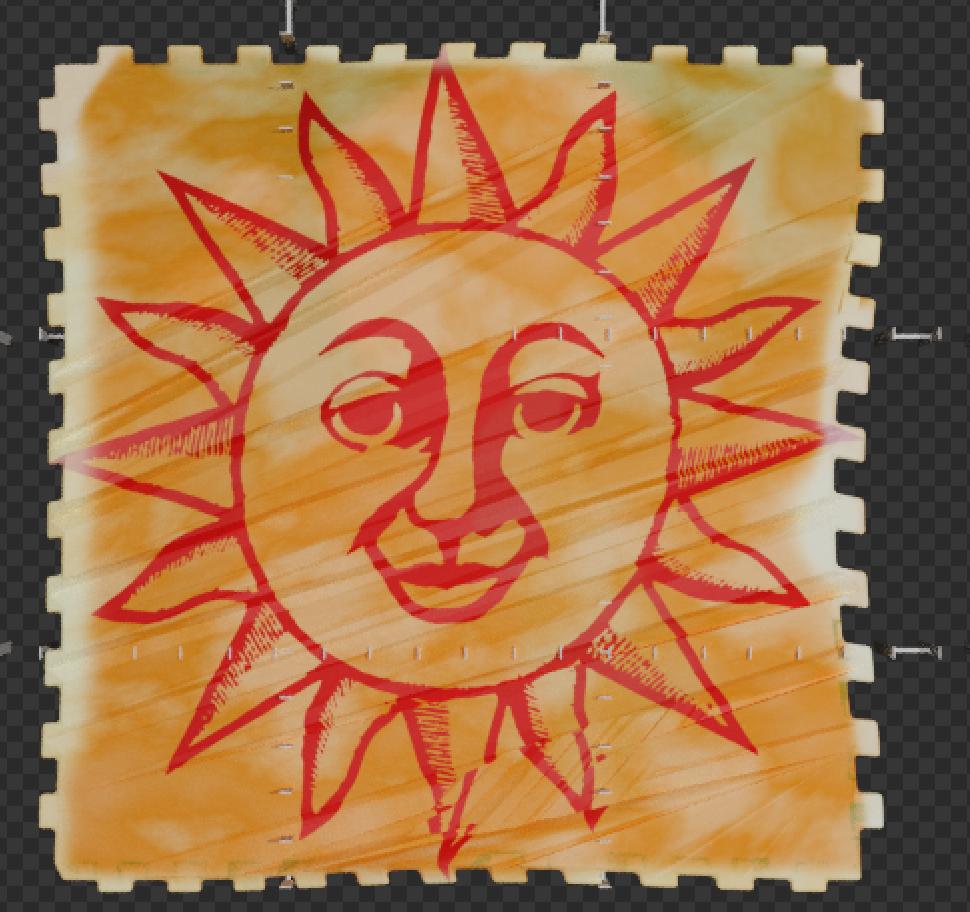
i am trying to add some folds and imperfections to this mesh. After using the sculpt tool, I find artifacts on my mesh. It has its transforms / scaling applied, and re-wrapping it doesn't seem to help.

The material is textured with a procedural noise node.

Any ideas on why it's happening?

enter image description here

File shared here:

$\endgroup$
3
  • $\begingroup$ Any one with an idea why it's happening? $\endgroup$
    – Matthew
    Commented Jan 27, 2022 at 23:45
  • 1
    $\begingroup$ "It has no transforms or scaling applied" - they should be applied, but I imagine that's what you mean (in this case edit to "It has all transforms applied" or just remove "applied"). Uploading your .blend file will help. Marking the "artifacts" on the screenshot will help. For example do you mean those discontinuities? Explaining your workflow (how you sculpt, do you use dyntopo etc.) will help. $\endgroup$ Commented Jan 30, 2022 at 22:03
  • $\begingroup$ @MarkusvonBroady yes, you are correct. Updated comments to reflect that. File attached below. This version is simply the flat geometry before any sculpting has been applied. Dyntopo was played around with but the results were the same in either case. $\endgroup$
    – Matthew
    Commented Jan 31, 2022 at 23:06

1 Answer 1

1
+50
$\begingroup$

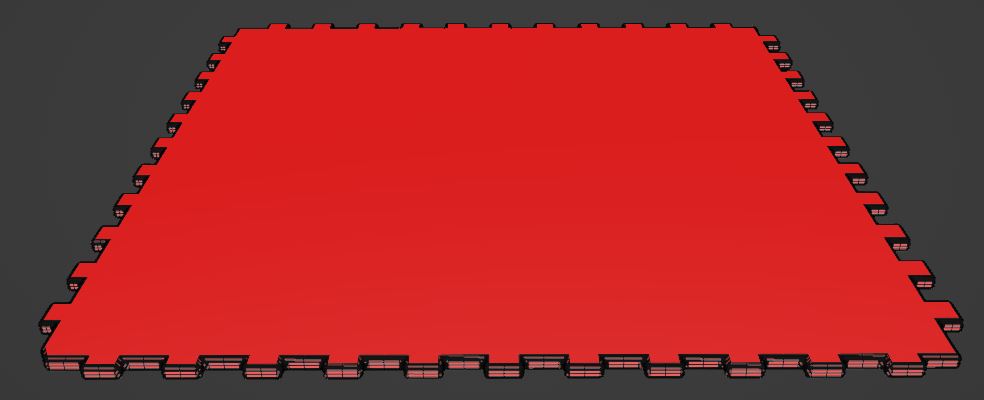
If you activate the Wireframe and Face Orientation overlays in the overlays menu you will see the two problems:

  1. flipped normals, they all point inwards (red) but should point outwards (blue)
  2. the top and the bottom are huge n-gons and there is not enough geometry to sculpt anything

mesh with wireframe and face orientation overlays

The activation of Dyntopo will split the n-gon into large diagonal triangles that causes the artifacts that you see on your screenshot. The Cloth brush does not add geometry when used with Dyntopo. Even when you "touch" (strength=0) the mesh with the Draw brush to add geometry then the Cloth brush effect is fairly weak.

To prepare the model for sculpting, you can do the following:

  • optional: duplicate the model if you want to keep it low-poly and bake the sculpted details into a normal map later.

  • switch to Sculpt mode, press Shift+R to visually adjust the voxel size of the remesher. A grid is displayed where you can choose the size with the mouse. Try a value of 0.0300. Confirm it with LMB or Enter (The Dyntopo option must be turned off for this to work).
    Alternatively, you can enter this value in the settings of the remesher.

  • press Ctrl+R to execute the remesh operation. The remesh will fix the normals and generate a nice grid structure mesh but will also delete all UV maps!

  • optional: if you don't want a low-poly version but keep the texture on this sculpted model you need to UV unwrap it again now. Go to the UV Editor, select top view and do an Unwrap > Project from View. Scale the UV island to fit the texture.

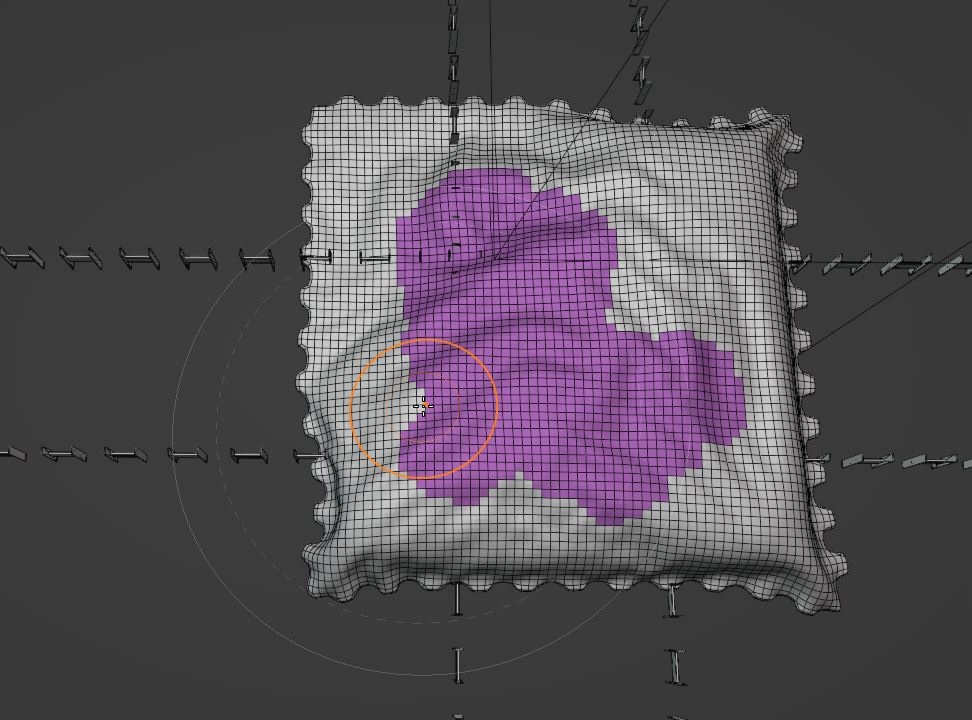
  • sculpt the details. The Cloth and Cloth Filter brushes should work fine. sculpted mesh

  • optional: bake the normal map from the sculpted model to the low-poly model

  • select Shaded Smooth for the object (with the context menu in Object mode)

$\endgroup$
1
  • $\begingroup$ Thank you for your help! $\endgroup$
    – Matthew
    Commented Feb 4, 2022 at 5:21

You must log in to answer this question.

Not the answer you're looking for? Browse other questions tagged .