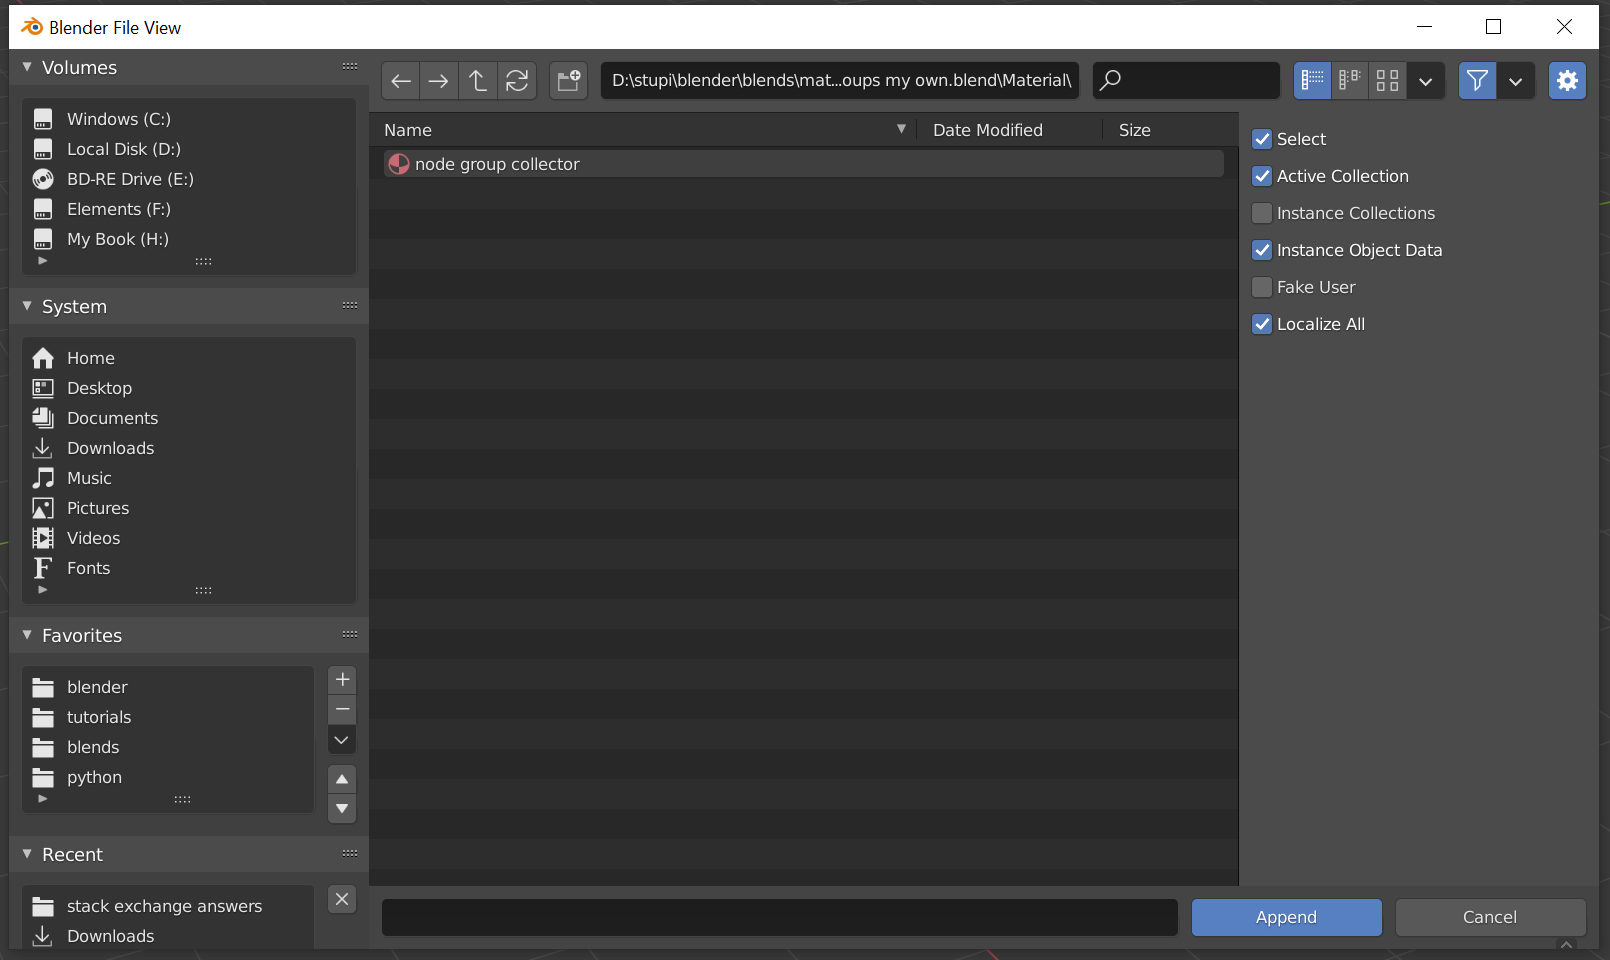
This is the current solution for Blender 3.2+.
You have two different ways to manage your node groups and make them reusable in Blender:
Both do something similar: they make previously created objects available to you for reuse.
Node Presets
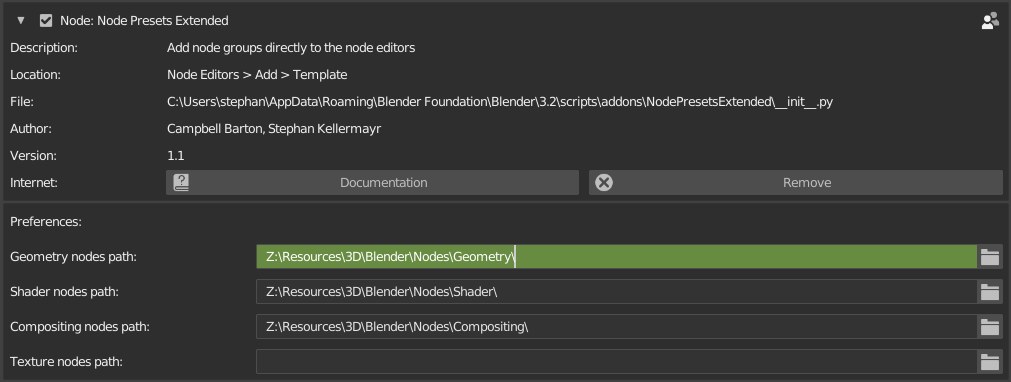
Node Presets are based on the similarly named add-on that comes with Blender.
Your nodes are stored in a separate file in a specific path, and you can access them in other projects.
This variant it optimal if you don't have any special nodes that can be called "Assets", but rather recurring generic nodes.

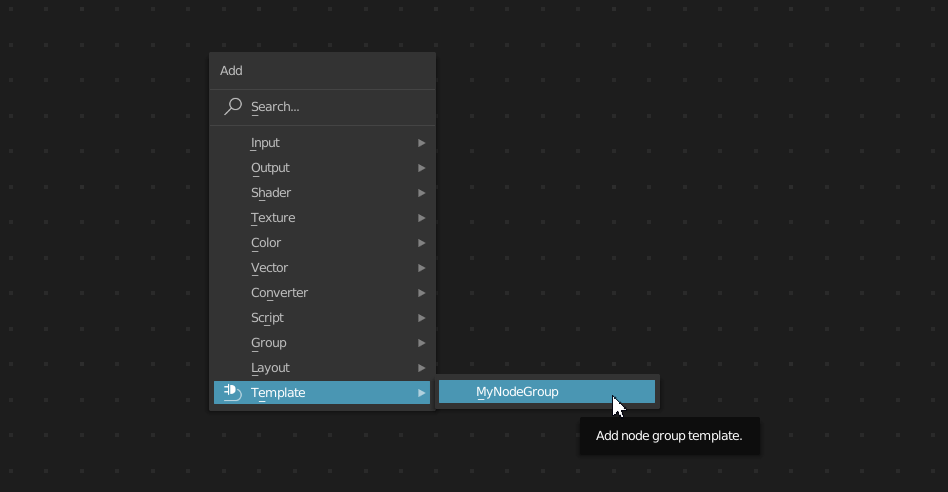
The main difference to the Asset Browser is, that these nodes are available directly in the context menu of the Node Editor:

This is especially convenient if you often want to use individual nodes and need quick access to them.
But be sure to note the following: The names of the node groups must NOT start with underscore. These nodes will be ignored.
There is, however, the following to consider here:
For technical reasons, this mechanism (just like the Asset Browser, by the way) cannot distinguish between different node types.
This has been discussed here before: How do I find out the node type?.
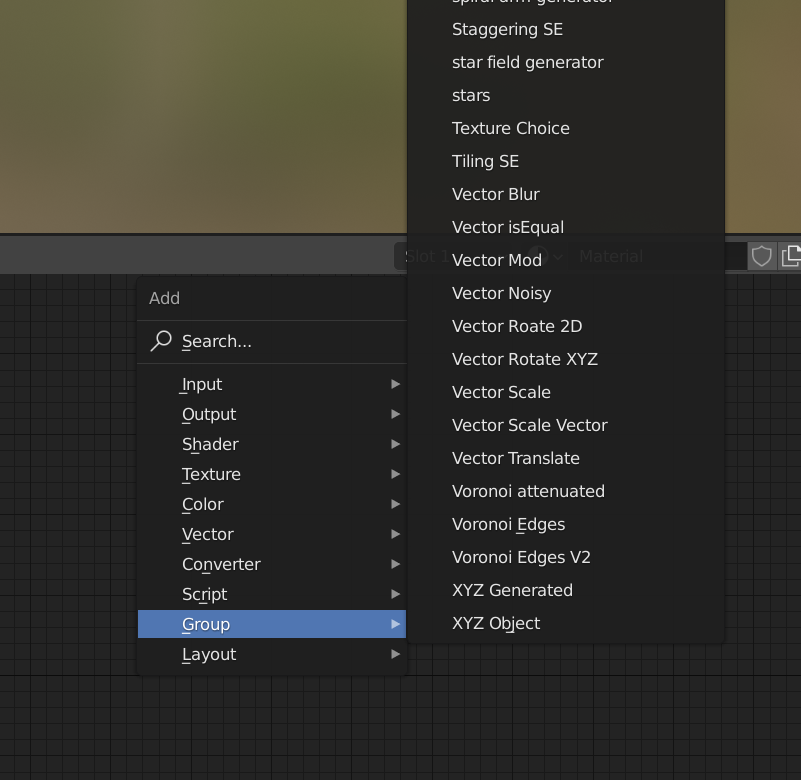
That's why the context menu in the shader also lists Geometry Nodes and vice versa. This can be annoying if you have created many individual nodes in both areas.
The only workaround is currently found here: How can I use custom node groups as node templates/presets?.
This contains a small modification of the existing add-on, where instead of using one path for all nodes, multiple paths are used for different node types. In addition, this add-on mod also fixes a bug so that it can be used in Blender 3.1.

Attention: Changing the nodes here requires a restart of Blender!
Asset Browser
Basically you can use all objects with the Assets Browser, not only nodes.
The basic principle is that you collect your nodes in a separate file, and define the path to it in your settings.
To do this, follow these steps:
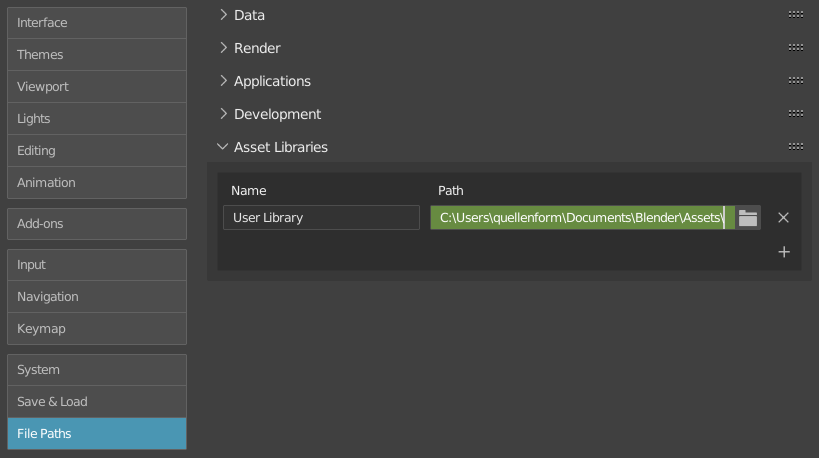
First, make sure that you have created a library in Preferences > File Paths > Asset Libraries, and that the specified path exists.

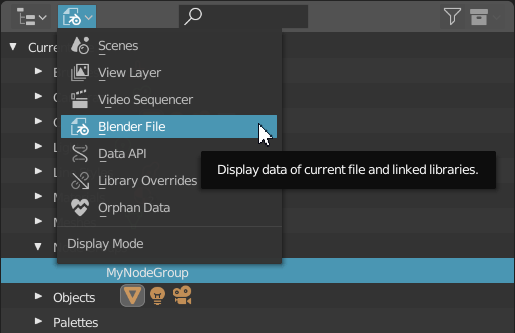
Then switch the Display Mode in the Outliner from View Layer to Blender File. There you will see all objects that are present in the current file.

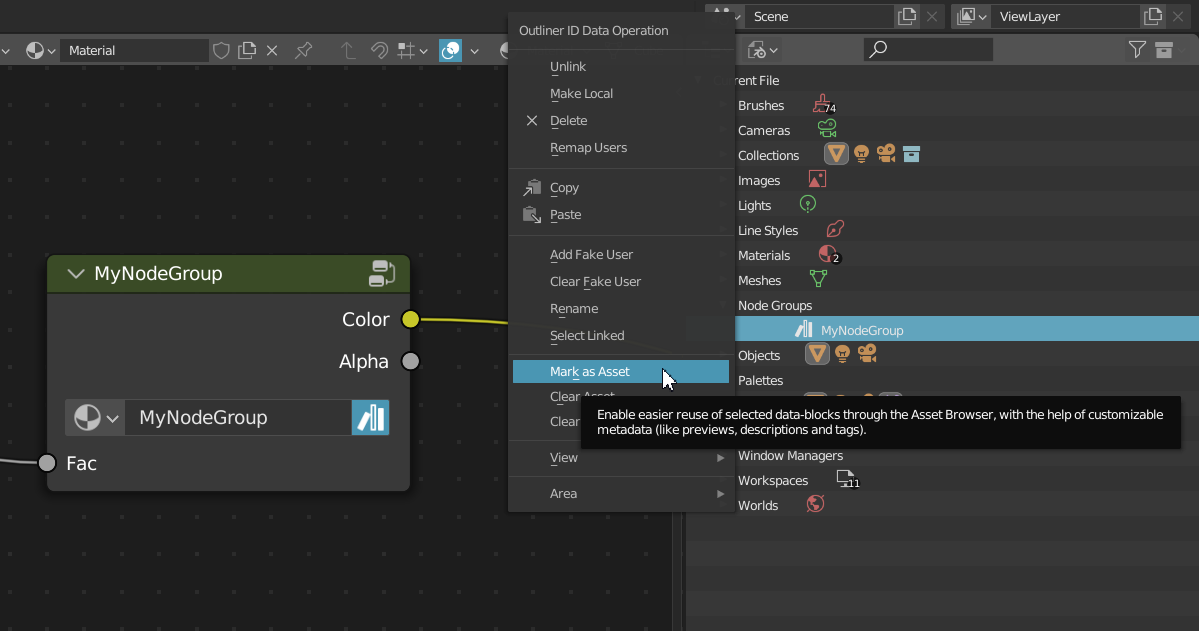
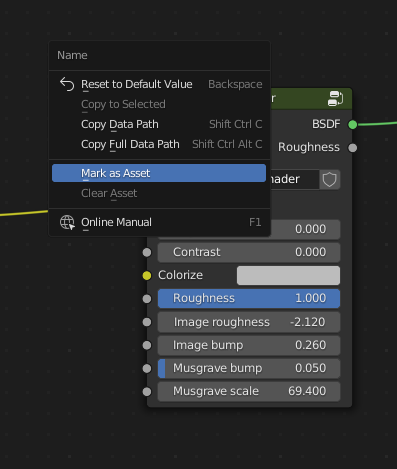
In the object group Node Groups you can now find your node (also Geometry Nodes etc.). Click with the right mouse button on the entry and select the option "Mark as Asset".

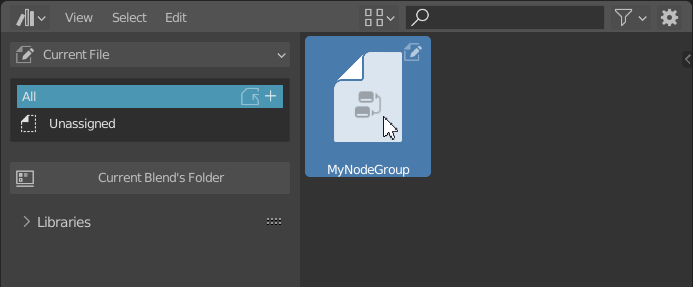
The node you marked as an asset will now appear in the Asset Browser.

To make this node available in the Asset Browser in other projects, save this blend file in the path you specified before.
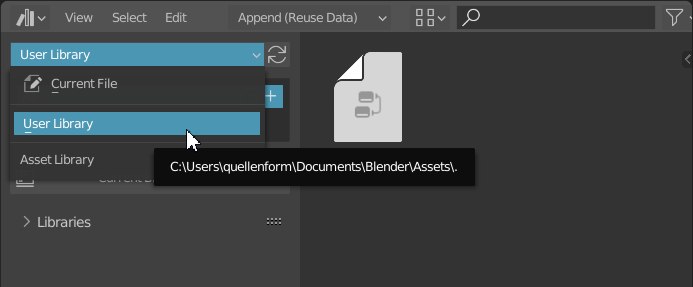
In my example I used C:\Users\quellenform\Documents\Blender\Assets\ and named the library "User Library".
If you now change the entry "Current File" to "User Library" in the Asset Browser, your asset will appear there. You can now simply drag and drop it into your node trees.
