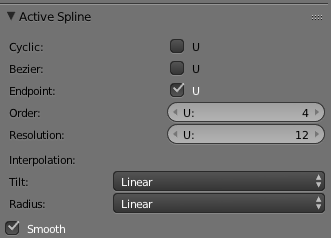
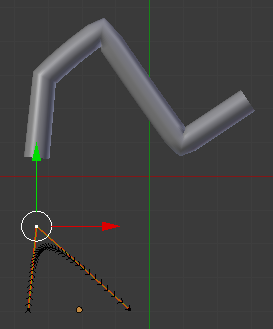
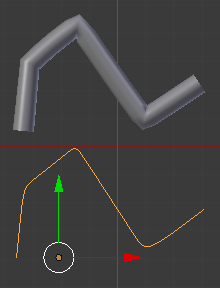
Create a new Nurbs curve. I then click on Endpoint: U so the curve includes the end points.

Move the curve so that the first point is in the right place.

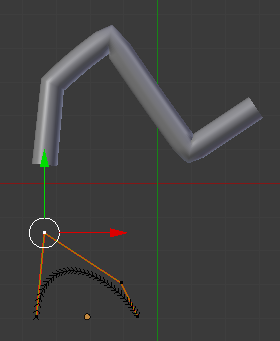
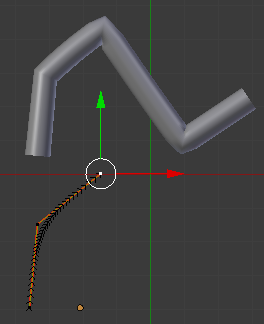
Get into edit mode and move the 2nd control point into place.

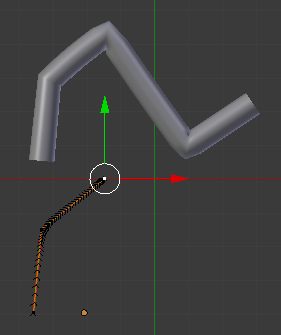
Move the 3rd point to the same location as the 2nd point. Move it close, select both point and type S 0 to make them coincident.

Move the 4th point where you want it.

Now to double the 4th point, type E to extrude and click Enter right away without moving the extruded point to have the 5th extruded point coincident with the 4th point. Look closely to see the curve has been altered by this.

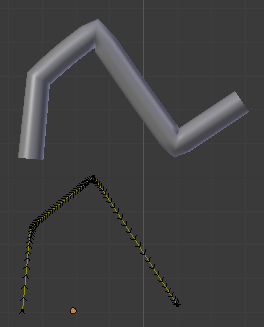
Now for the rest of the curve extrude and drag the new control point to a new location and then use the Extrude and Enter trick to double up the points.

For the last point you do not need to double the point. By clicking on the Endpoint option at the start you are effectively already placing multiple control points at the ends. So extrude once and place the last point:

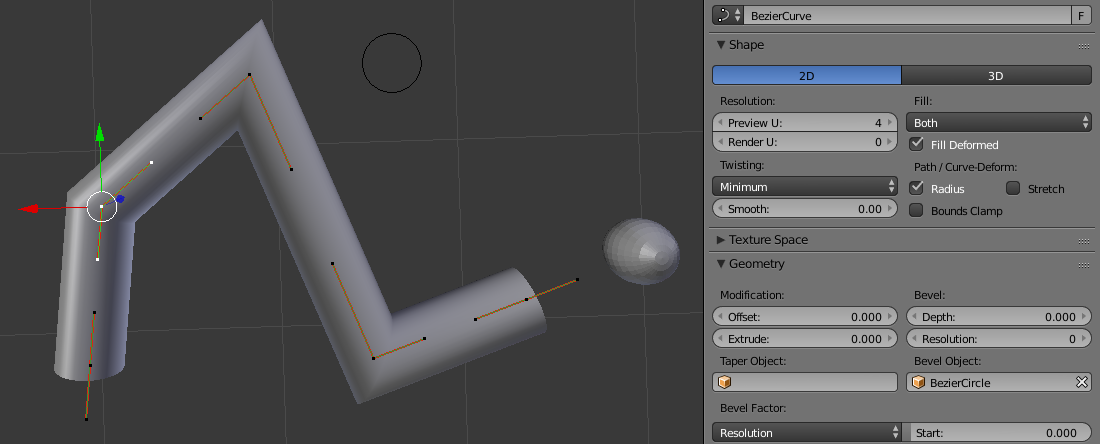
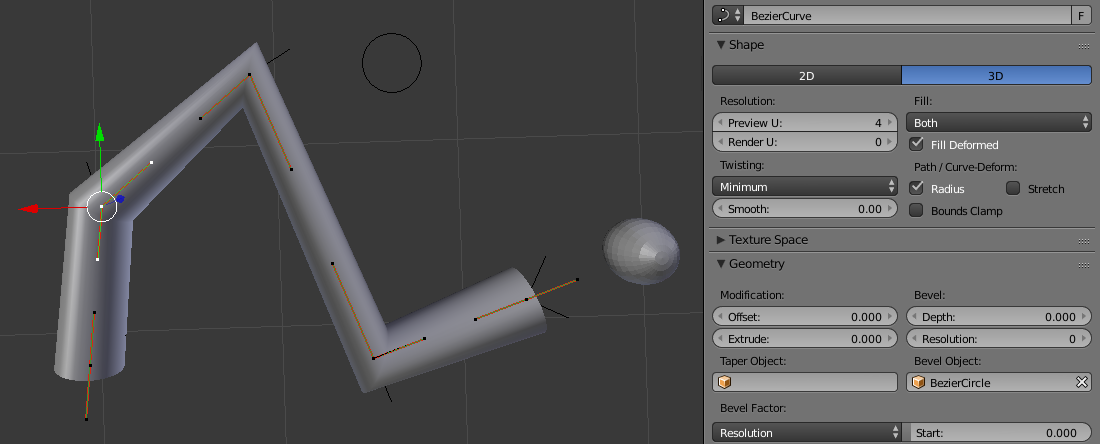
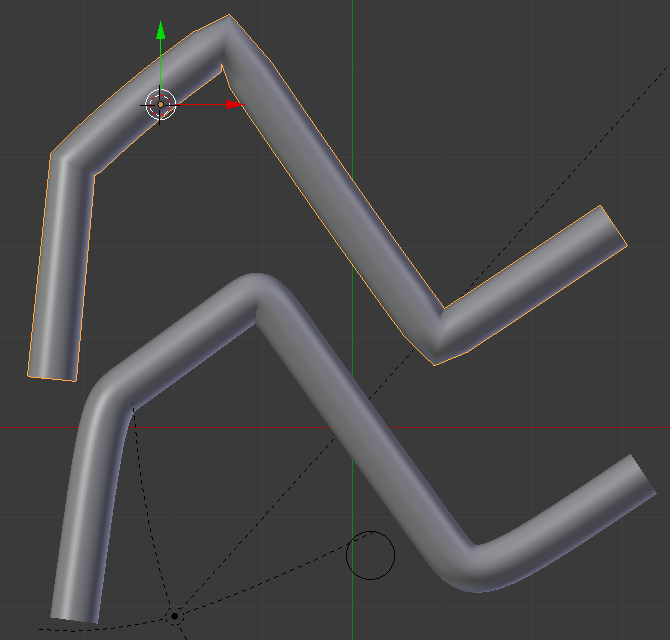
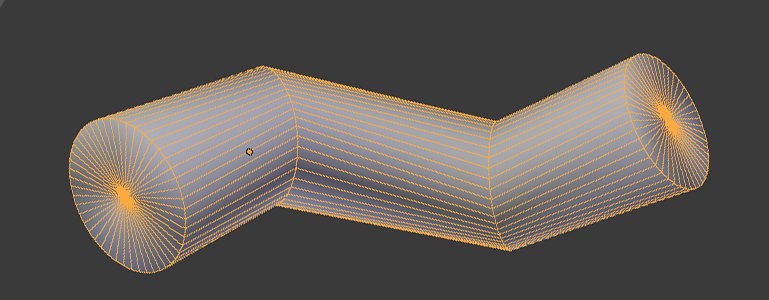
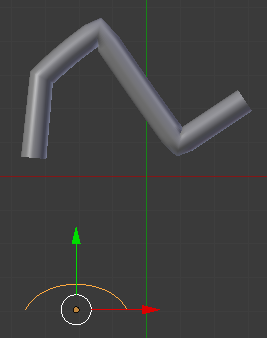
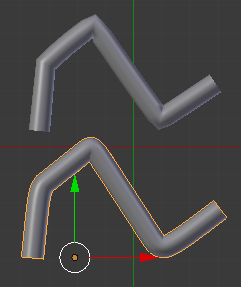
Then add the bevel object to get:

In a real Nurbs tool you would be able to edit the knot vectors or specify replication factors on the vertices (this is different from the W homogeneous coordinate that you can use to pull the curve towards or away from the control point).
I hope this works for you.
