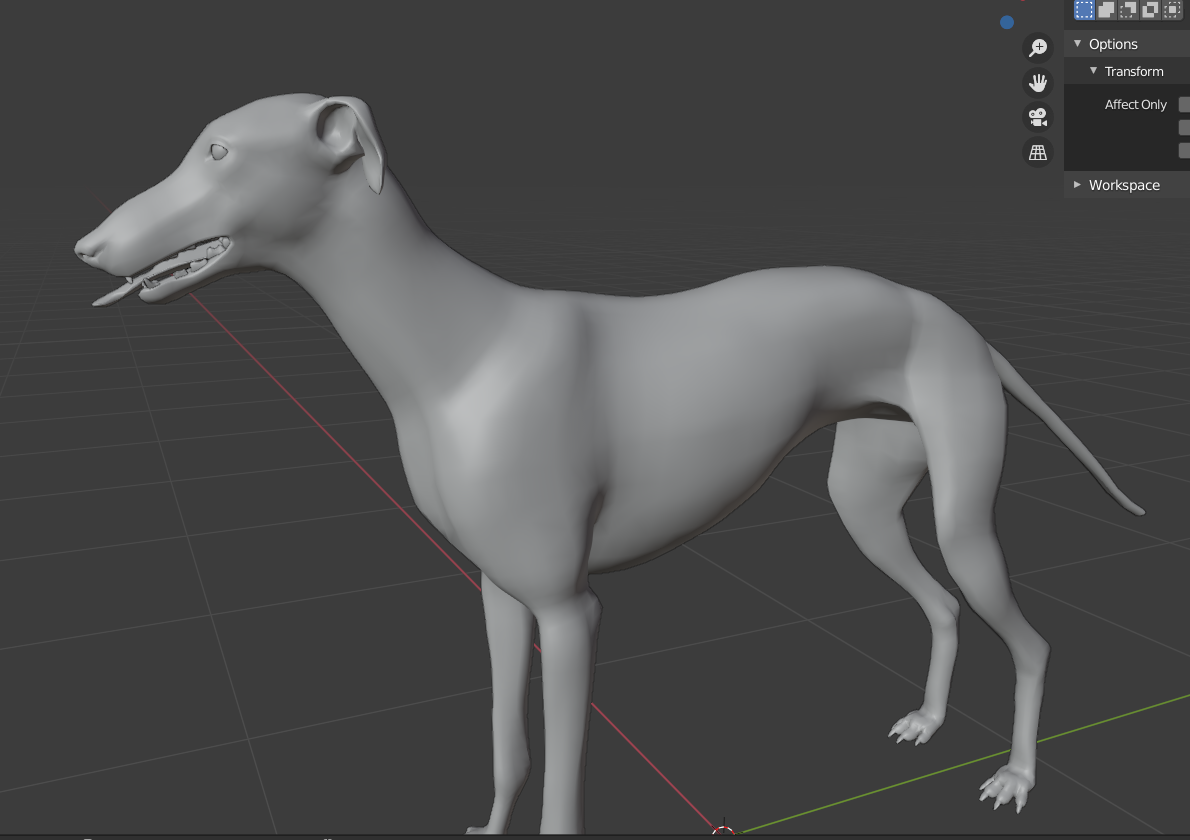
I rigged my dog model, and he is pretty ok for now. But I have jersey on him which has to follow and deform as well.
I tried those simple solutions with data transfer, or weights transfer but it doesn't work and so on but I assume this project will need little more detailed aproach. It transfer weights but not nearly precise as I want, since I want jersey to follow exactly and not to crop inside or out.
So, my dog model has it own deformation bones, and jersey has also it's deform bones. However, when I move dog rig, jersey doesn't follow. What can I do to "tell" jersey to deform same as dog rig + it has it's own bones so I could make Corrective shape keys (with drivers), so when it crops, I can fix it with those additional bones.
My jersey is same shape as dog's body, but separate mesh laying on top of dog's body just a little thicker - so, could I transfer weights from dog rig to jersey, or add some constraints so it follow dog deformation, or any other solution?
Picture 1 - dog with jersey
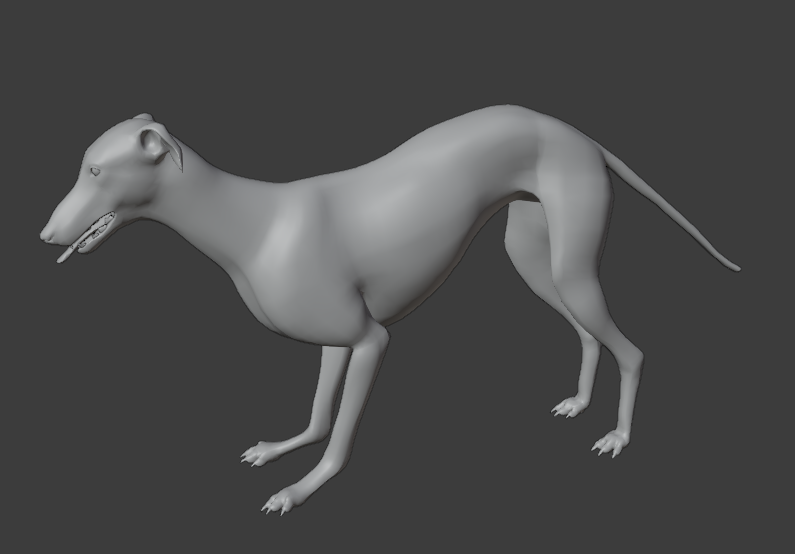
Picture 2 - dog without jersey
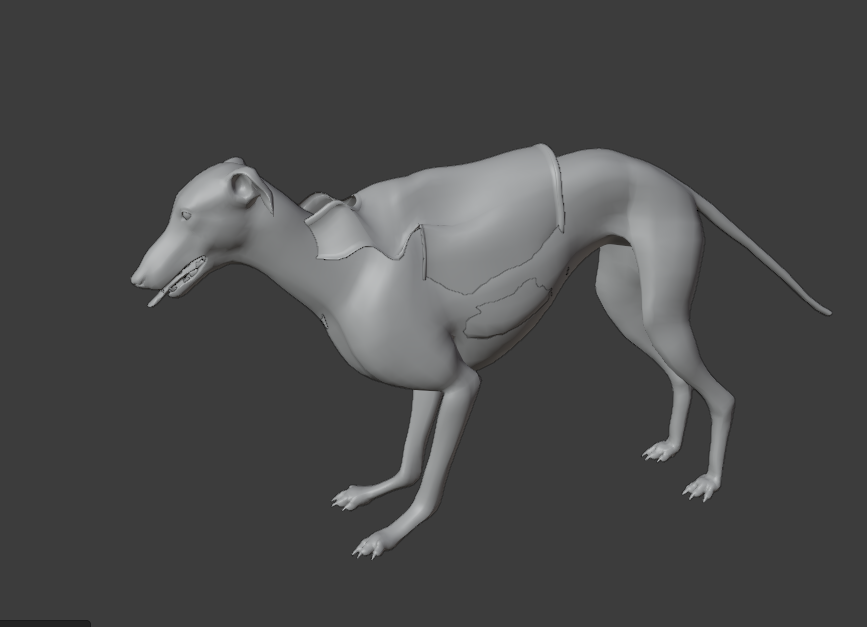
Picture 3 - dog properly bending without jersey
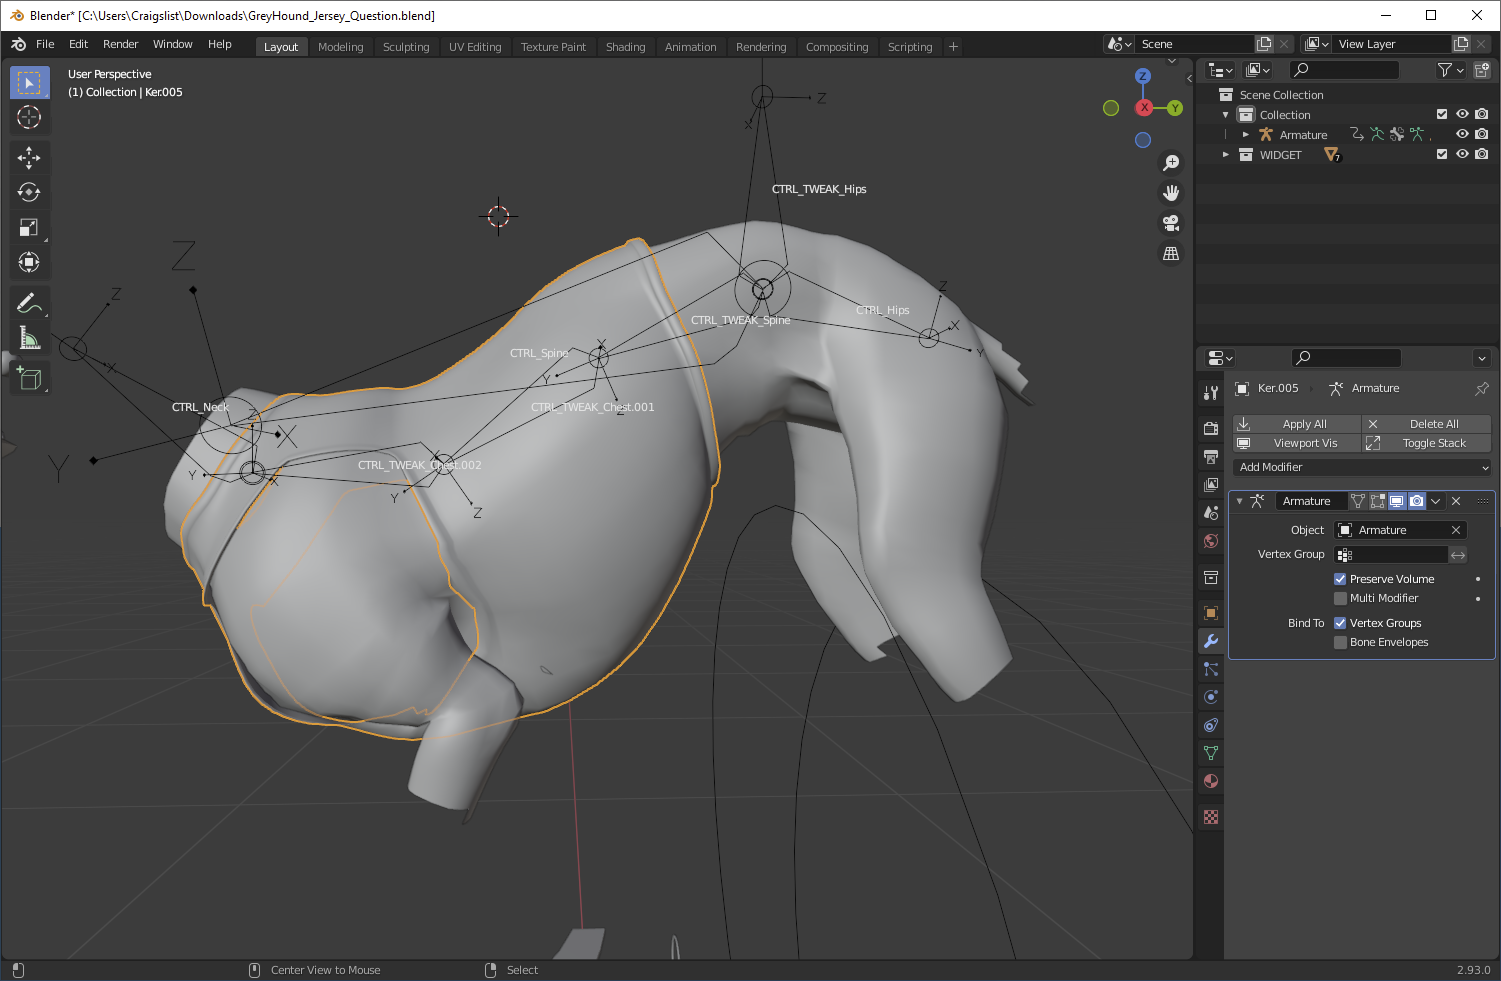
Picture 4 - dog bending with jersey, cropping occurs, I want it to bend like on picture 3 but with jersey this time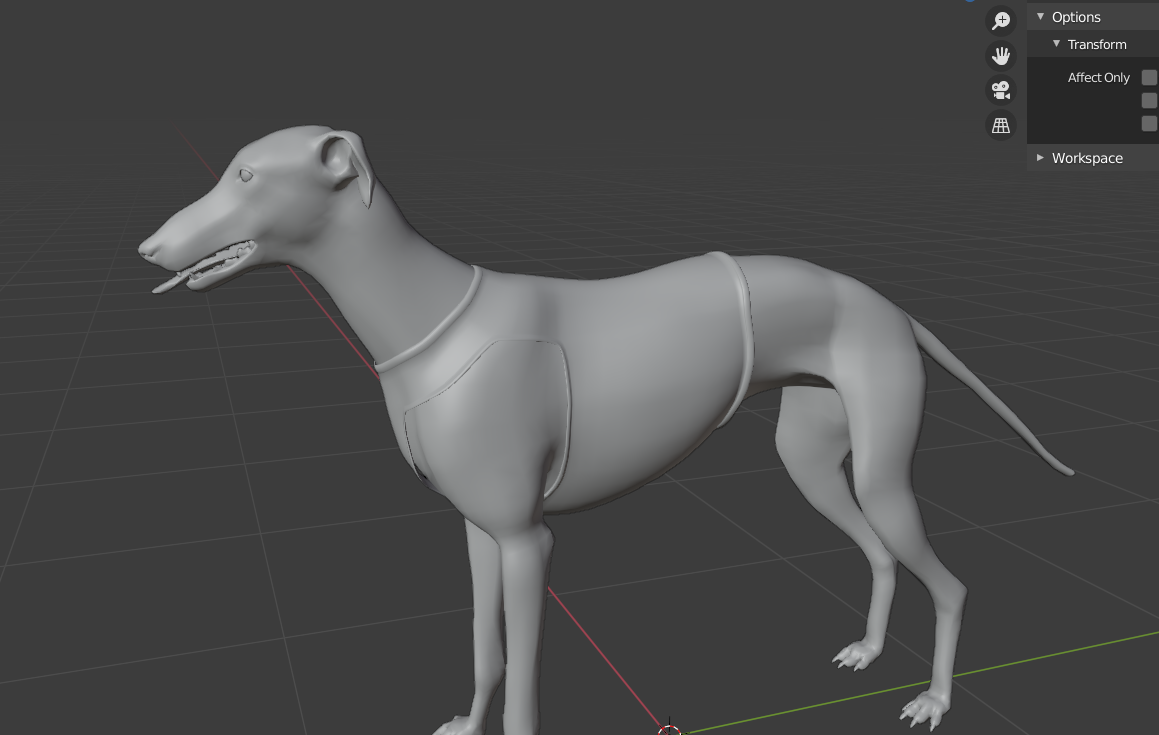
-
3$\begingroup$ Why has the model its own deformation bones, and jersey has also its deform bones? Since the jersey is the same mesh as the dog's body I would go with one armature (bones) and transfer the weights. Why and what did not work with the weight transfer? $\endgroup$– BlunderCommented Jul 24, 2021 at 1:18
-
$\begingroup$ I tried Data Transfer, but it doesn't actually very precise transfer weights, and when I move control bones, some of jersey vertex points lag behind. However, if I weight paint it by hand it can't be enough precise. Also, transfering weights by going Weights-Transfer and so on, doesn't do the job well also. $\endgroup$– RadoonCommented Jul 26, 2021 at 7:55
-
3$\begingroup$ Show how you are transferring the weights and settings you use. Should work fine. $\endgroup$– Jaroslav Jerryno NovotnyCommented Jul 26, 2021 at 15:16
2 Answers
When I do a data transfer, I get a much better result than you:
Here's some specifics about my data transfer:
I disabled all modifiers on source and destination meshes so that they wouldn't affect the data transfer (data transfer will be from modified positions, very important!)
I deleted all vertex groups on the jersey. There are deforming groups on the jersey that don't exist on the dog. A data transfer won't overwrite those, so we need to delete them.
I created the data transfer modifier, set it to nearest face interpolated, clicked generate data layers, and applied the modifier. (We need to apply if we plan to deform the body with an armature-- we don't want it copying weights from the armature deformed positions!)
I re-enabled the armature modifier on both objects. I did not re-enable the corrective smooth on the dog body, because the corrective smooth will take them out of agreement. You can't just corrective smooth both, because a CS modifier will affect each mesh in different ways.
Now, a few comments:
Your dog's basic weights aren't very good. And whenever you have a border, like you have on the jersey, that's going to be more apparent than when you don't, like on the dog. So the jersey is matching the dog, but that doesn't mean it's pretty. If you really need this done via weights (see below), consider tweaking the jersey weights and then copying them back onto nearby body verts.
If rendering in Blender, it is easier to use a surface deform modifier targeting the dog's body than it is to use an armature, and it will look better, because this will work even with the corrective smooth on the body.
If not rendering in Blender, like rendering in a game engine, the most appropriate thing to do here is not to have a dog body under the jersey, but to have a single continuous mesh created by retopologizing the body and jersey together. You can bake normals and other textures from the originals.
If you must do weights, and you must have a body underneath, and the jersey isn't just a straight copy of the body underneath, then some clipping, in some poses, is inevitable. You can't make the surfaces match precisely unless the meshes share not only the same weights, but the same topology.
-
$\begingroup$ Thank you for this answer and also additional tips, appreciated! I will check this on monday and see if I can get it right, but explanations are very precise and good so I think I won't have problems. $\endgroup$– RadoonCommented Aug 1, 2021 at 1:53
I'm not sure if this has been answered or not, but here's my explanation, I recommend that you read it through to the end as depending on the order of your workflow, you have two options.
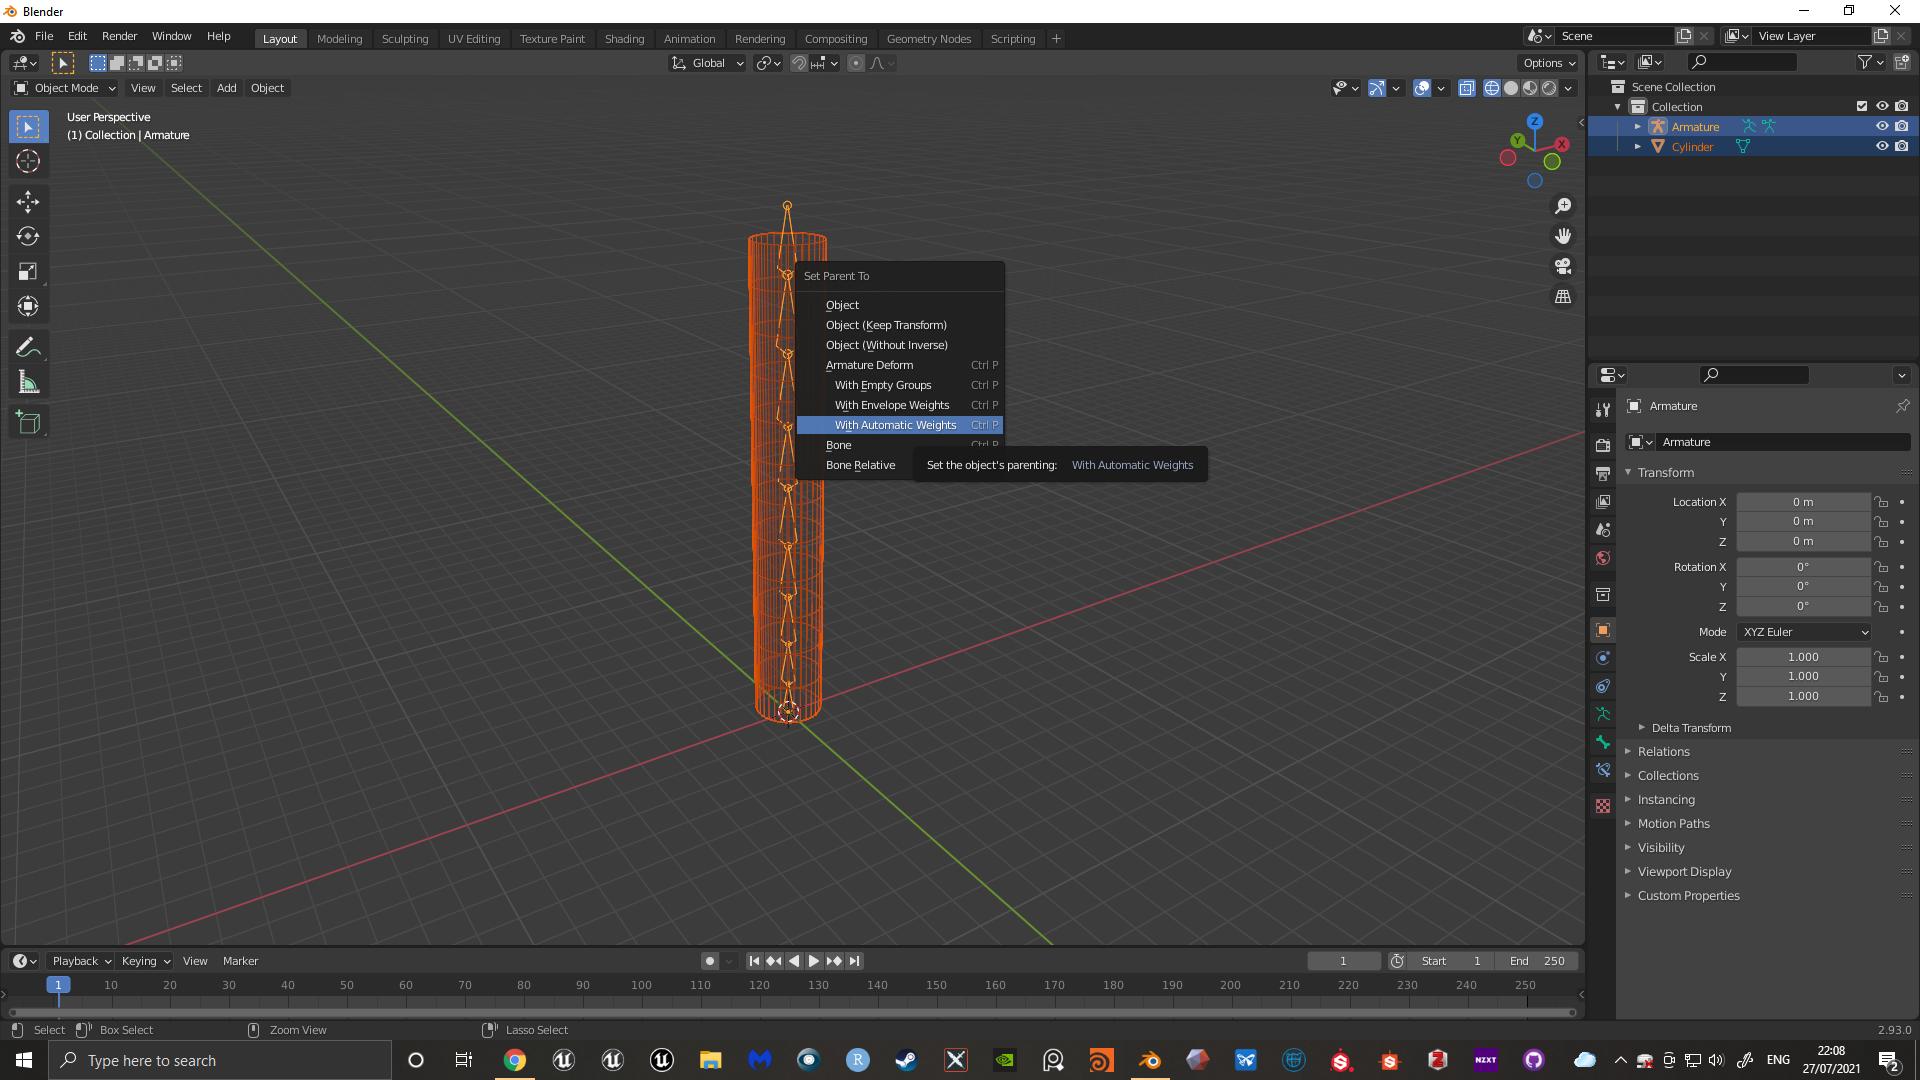
OPTION 1. My explanation is done with a simple cylinder, but the principles are the same. Set up your model and rig. I've paired the weights automatically, but I imagine you have gone into more depth with your weights. Ultimately however you weighted your body mesh for your rig is irrelevant.
As we can see the mesh is deforming nicely
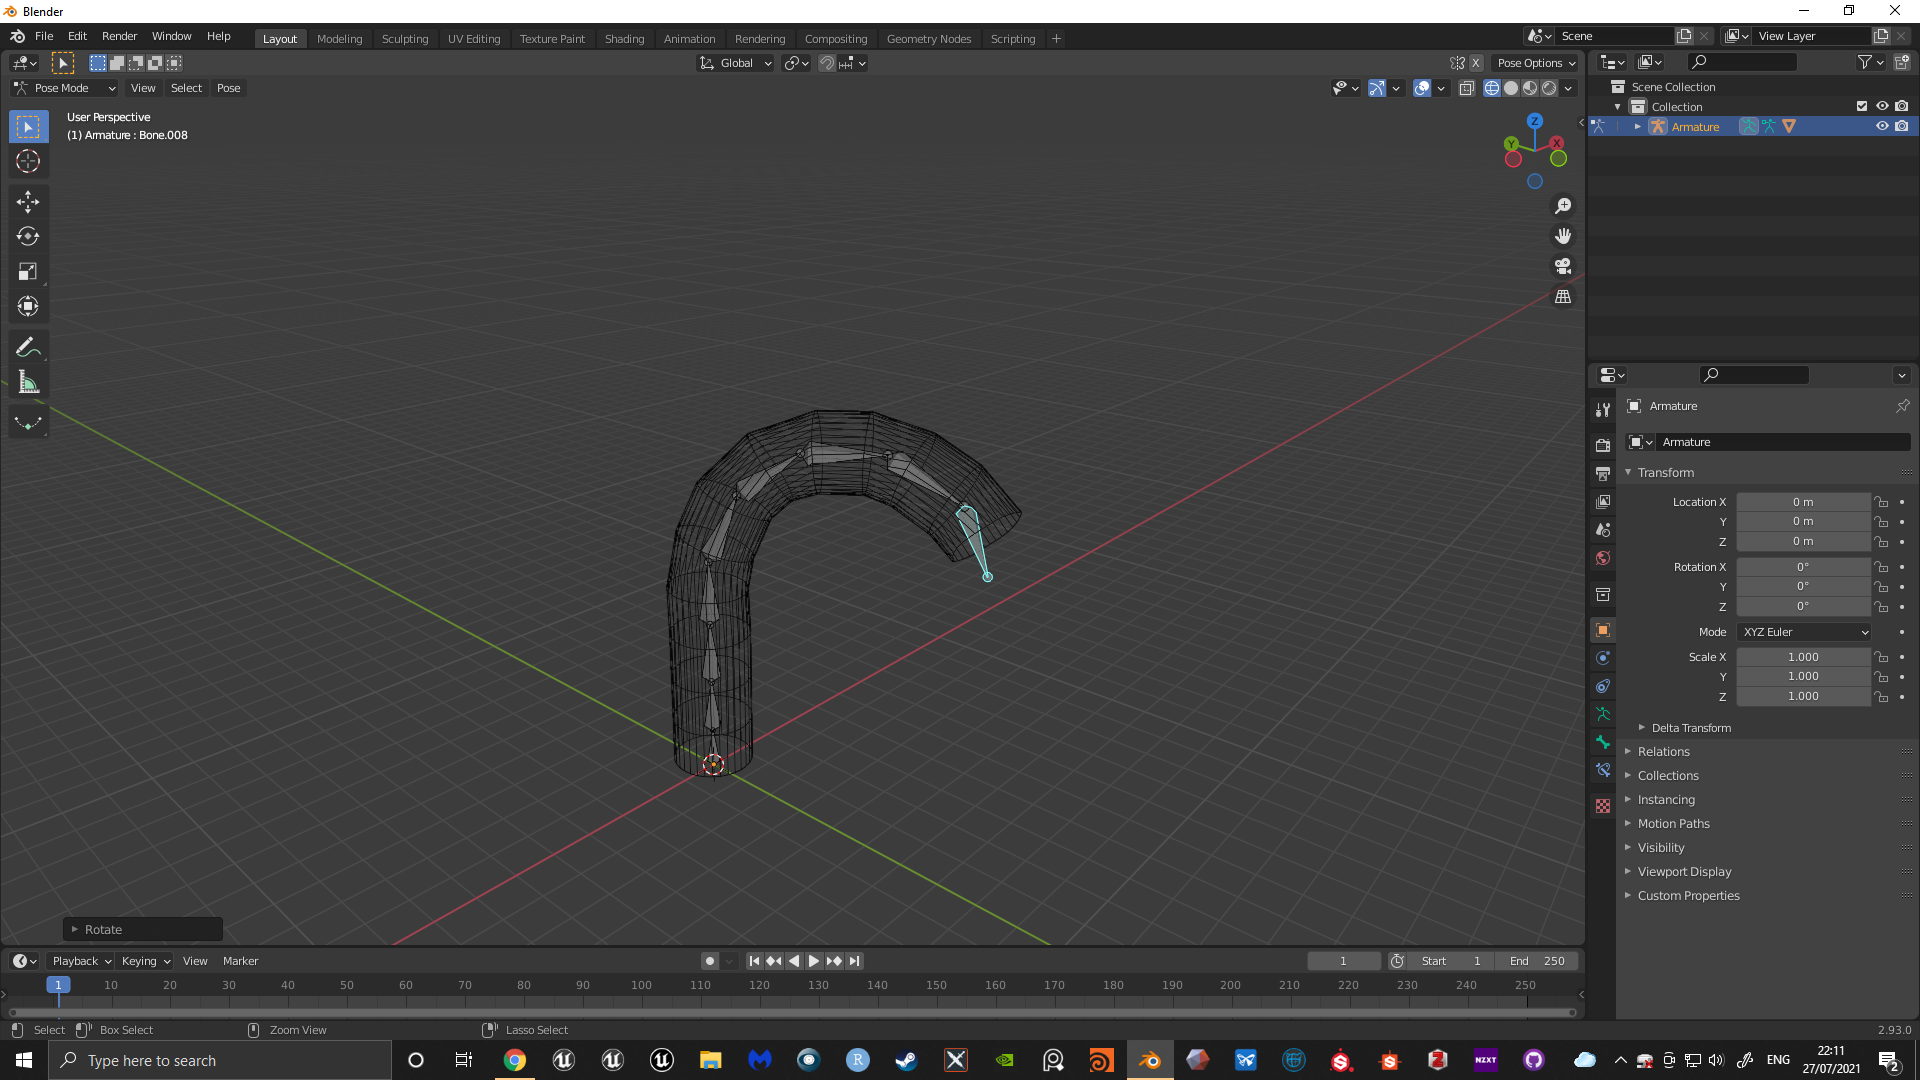
I'm now going to make another cylinder around my original cylinder which will act as the "clothes". I have also reset the deformation of my armature.
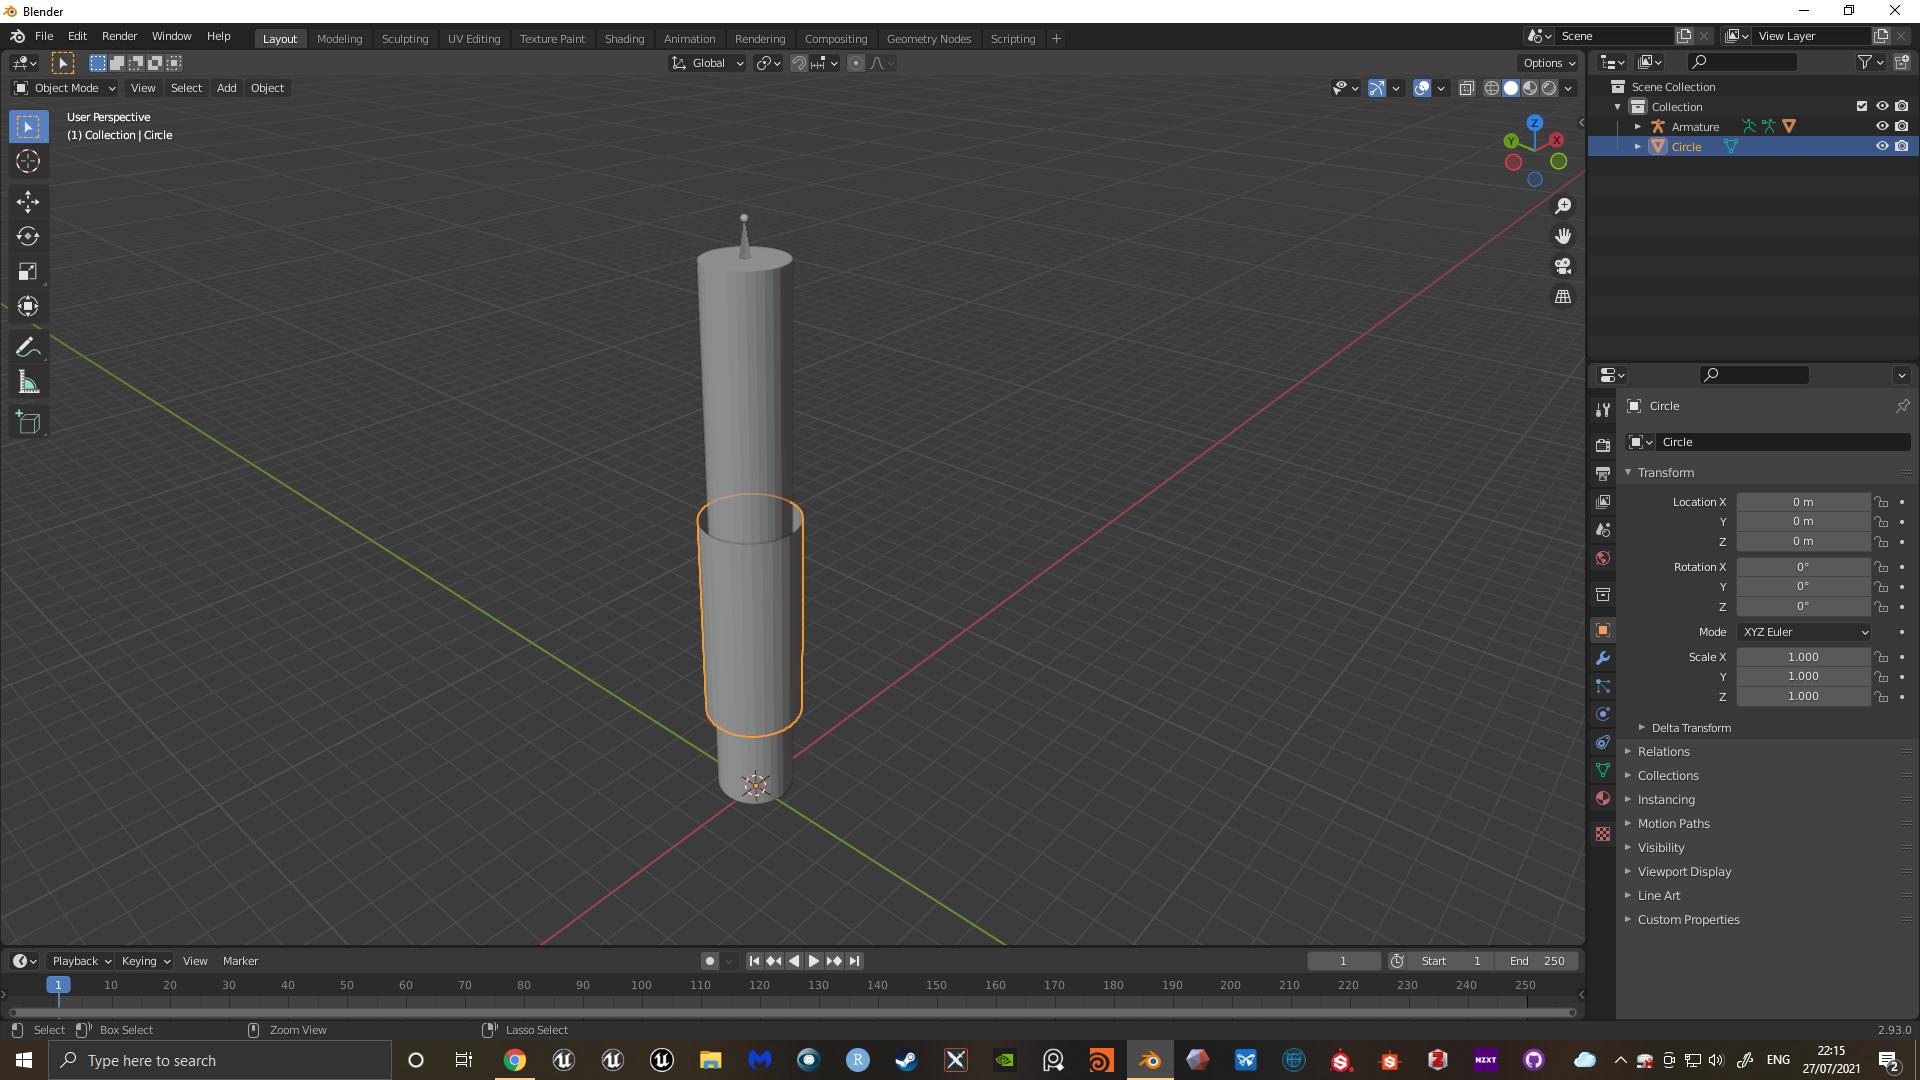
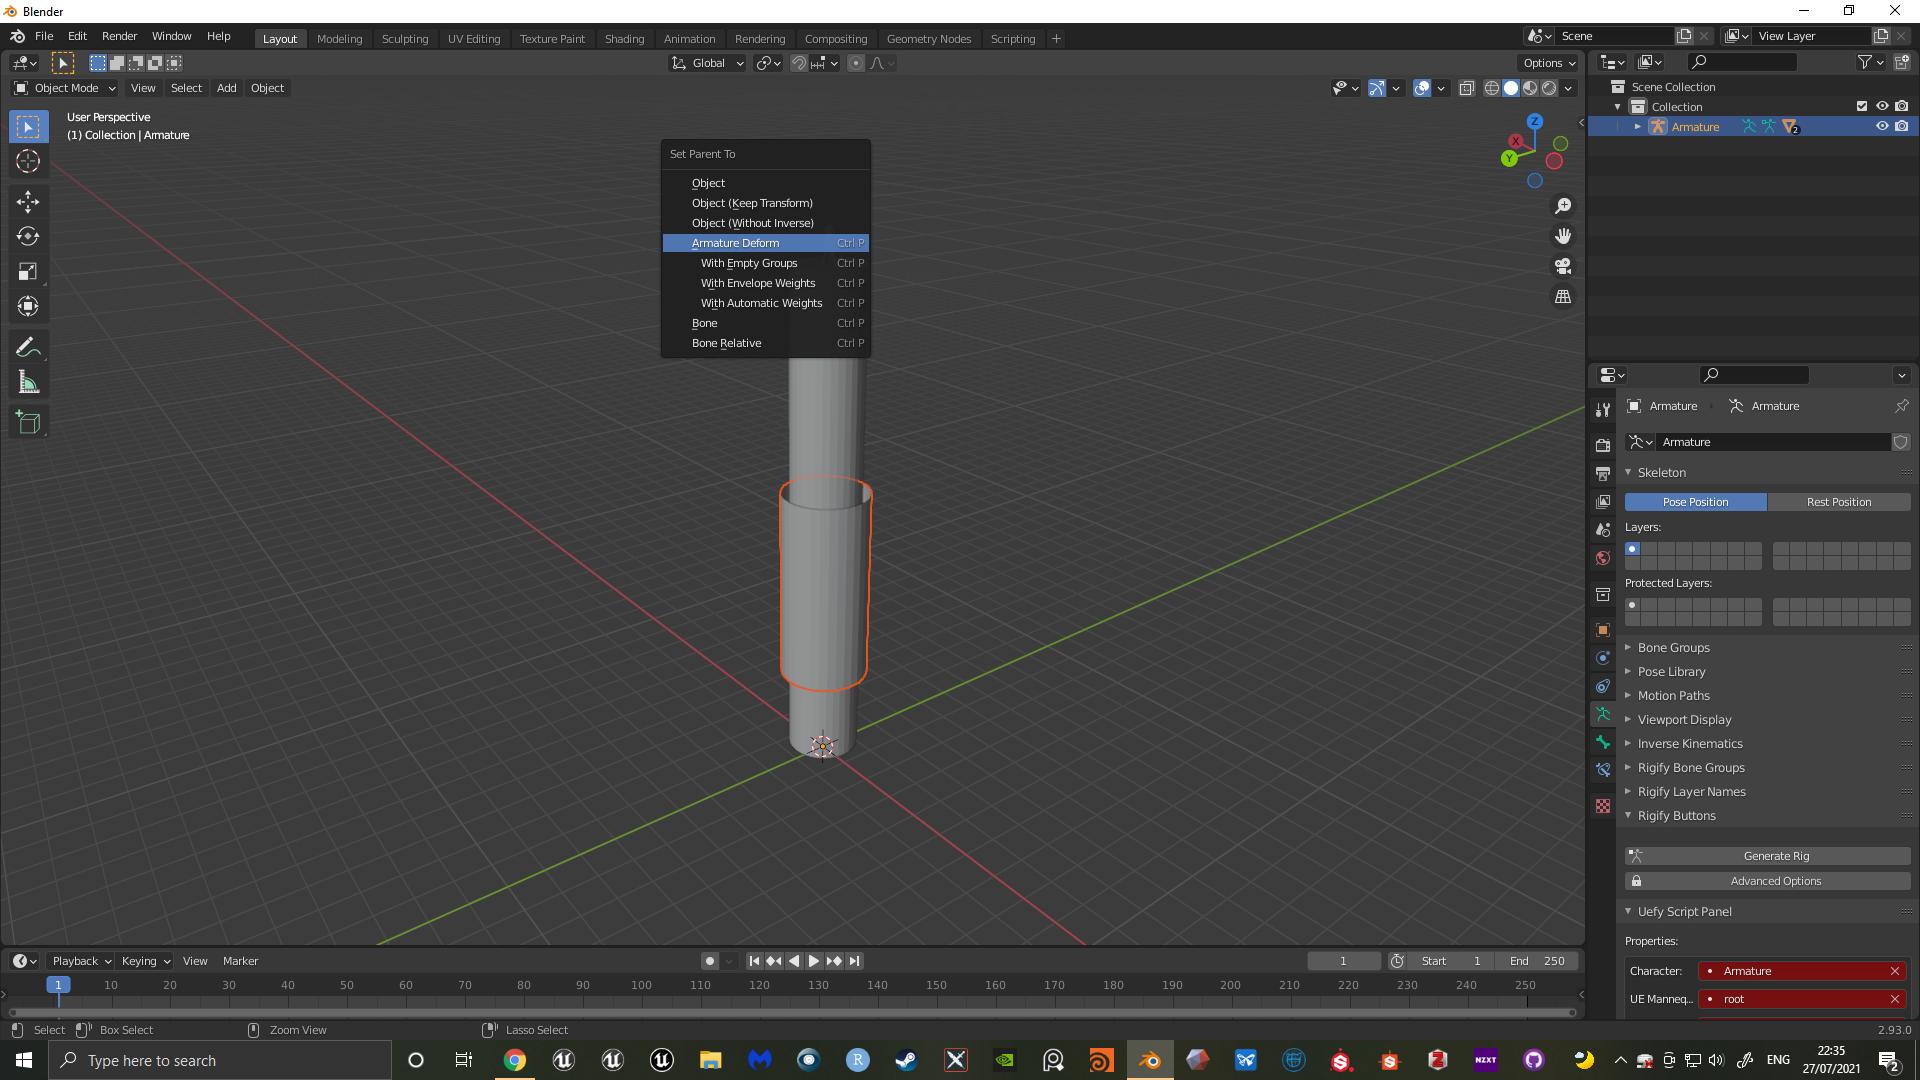
Parent the clothing to the armature, but this time with empty groups. This will build the vertex groups into your meshes data, but will not populate them with any weighting.
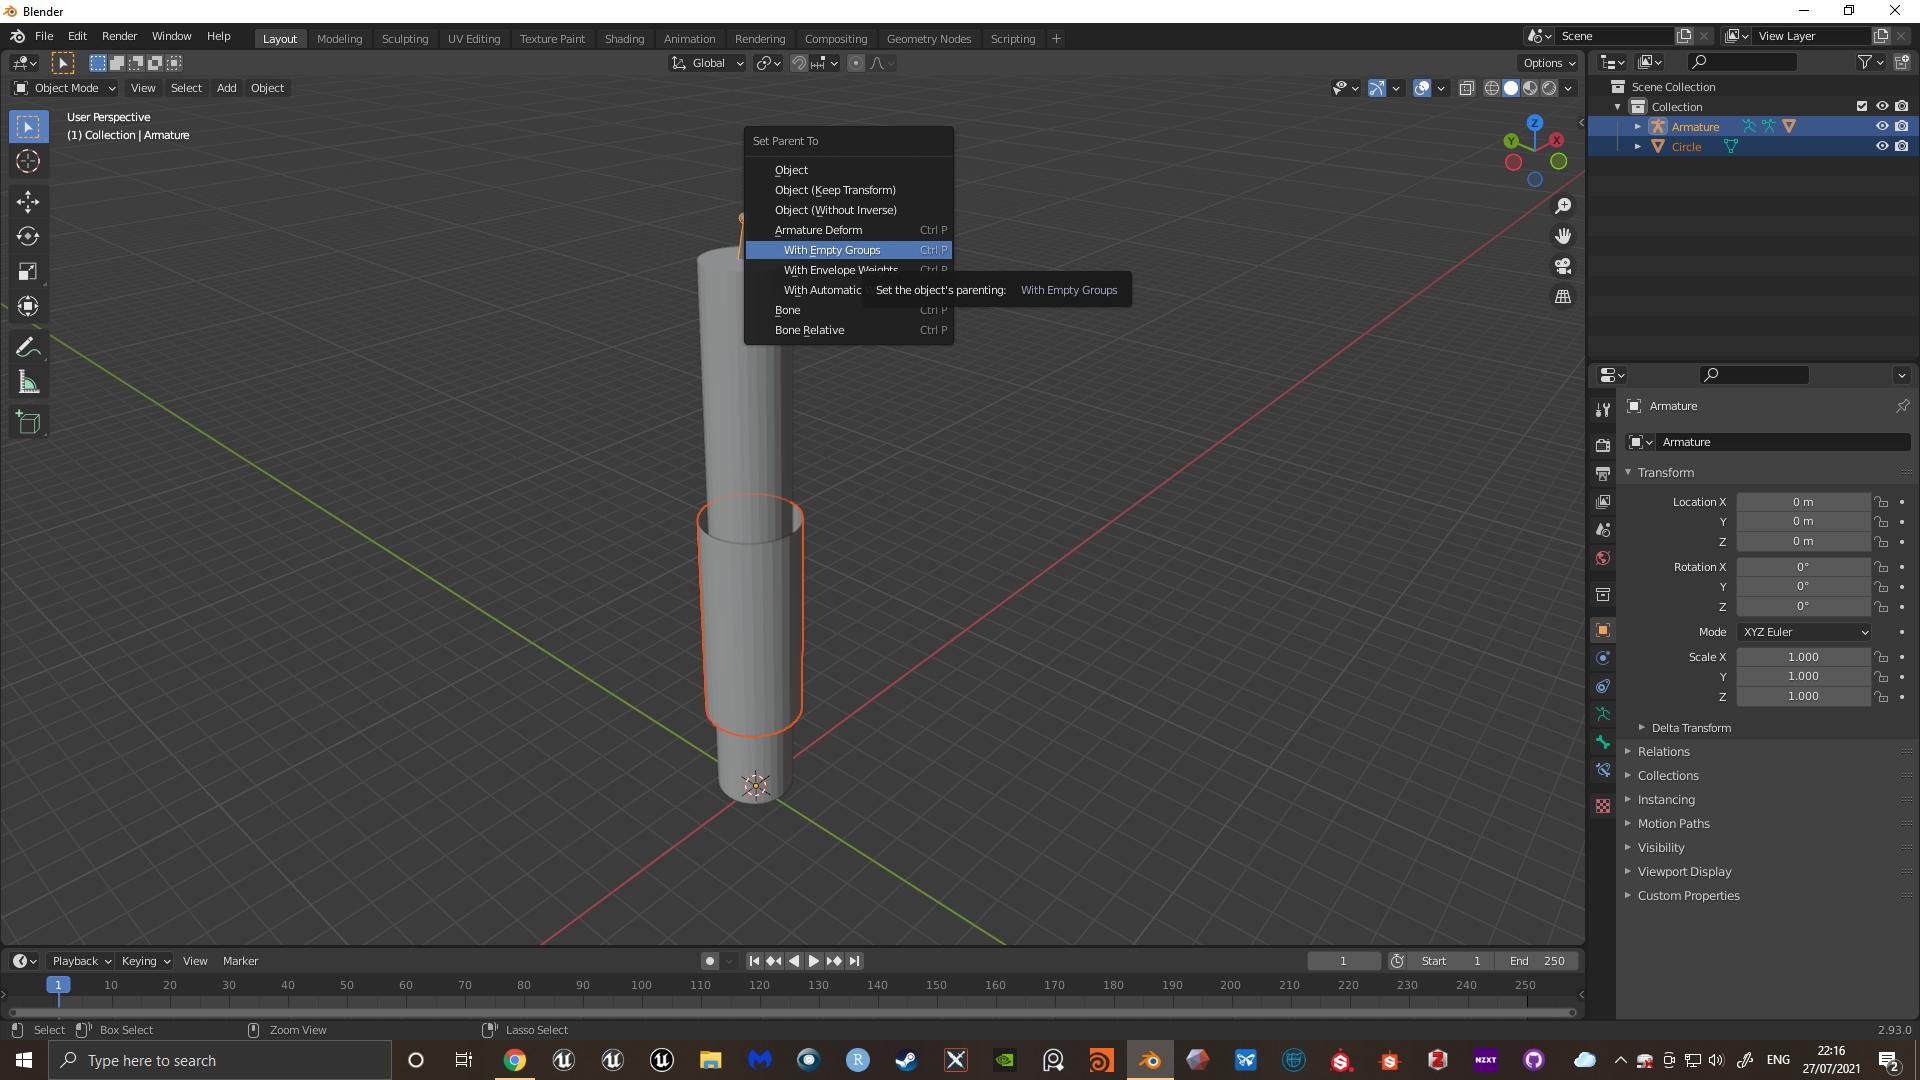
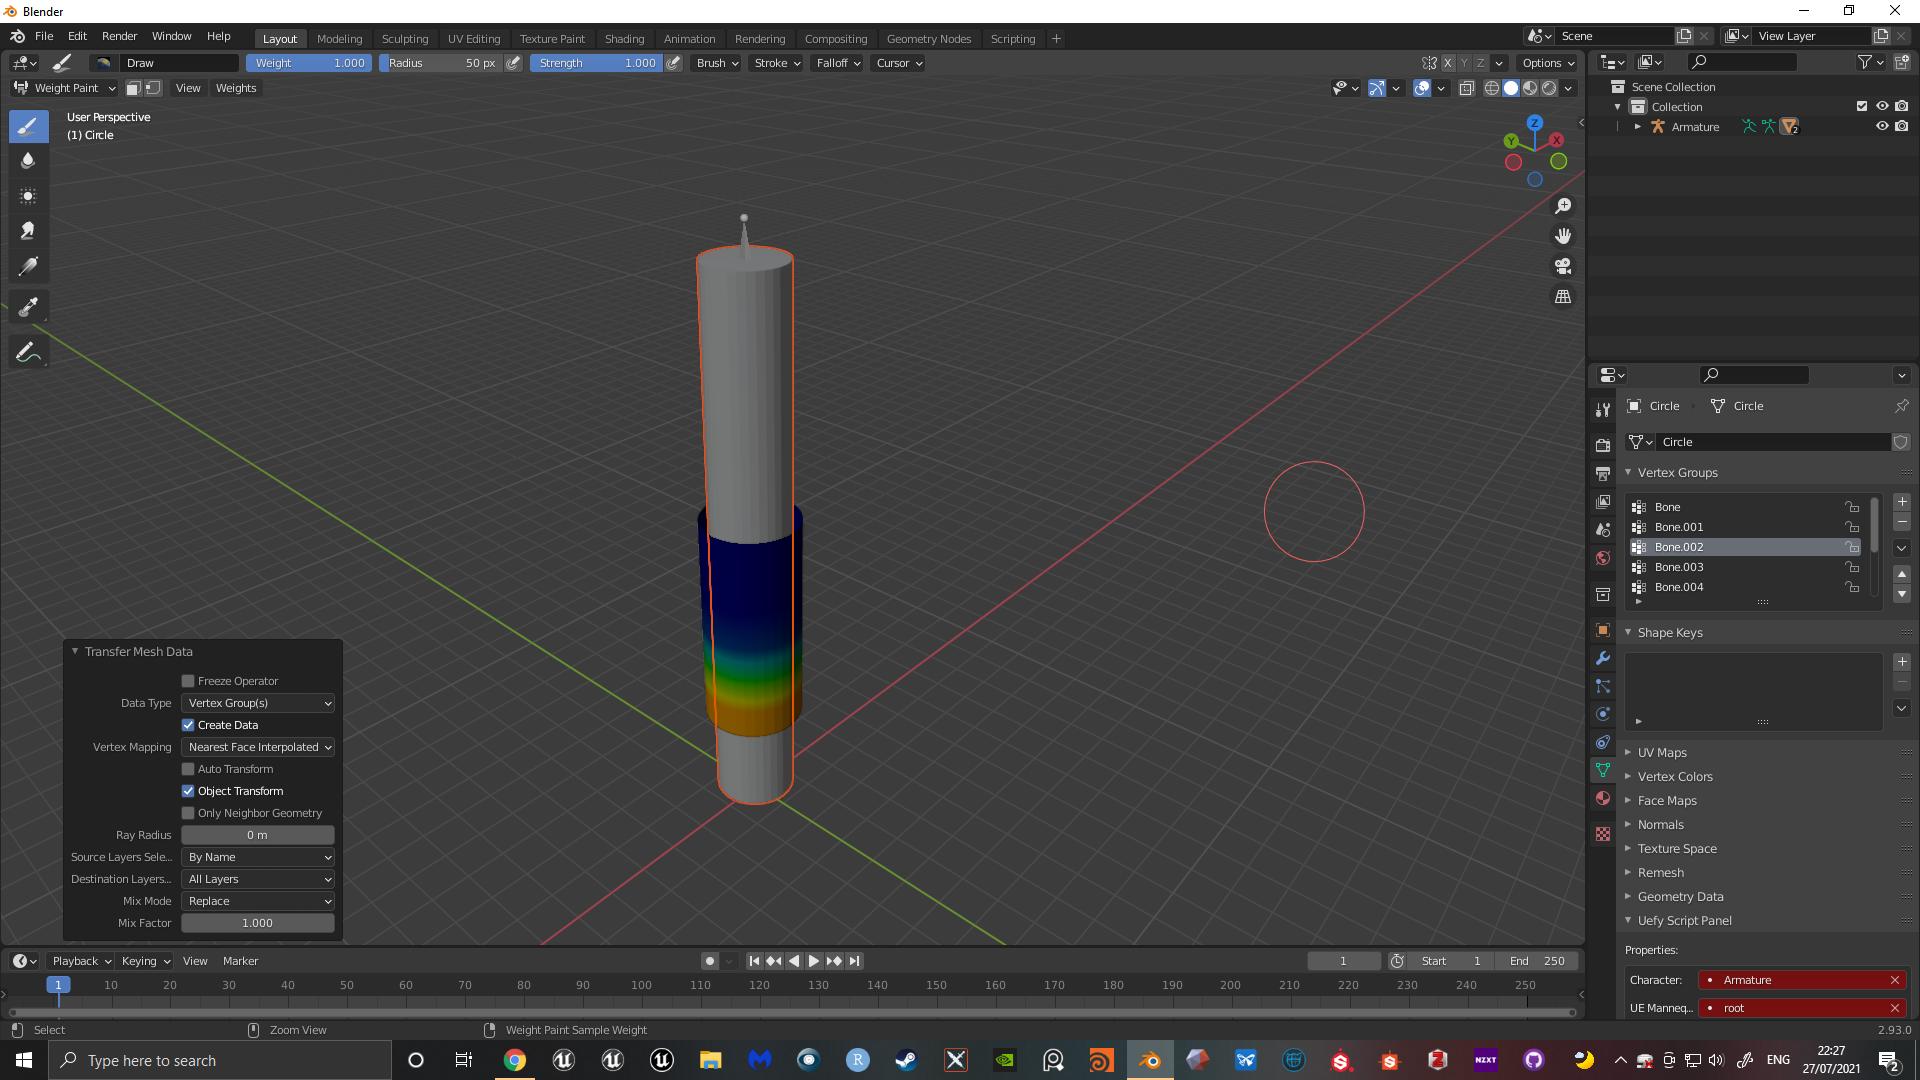
Select your body mesh FIRST in object mode and then the clothes mesh SECOND, and open weight paint mode
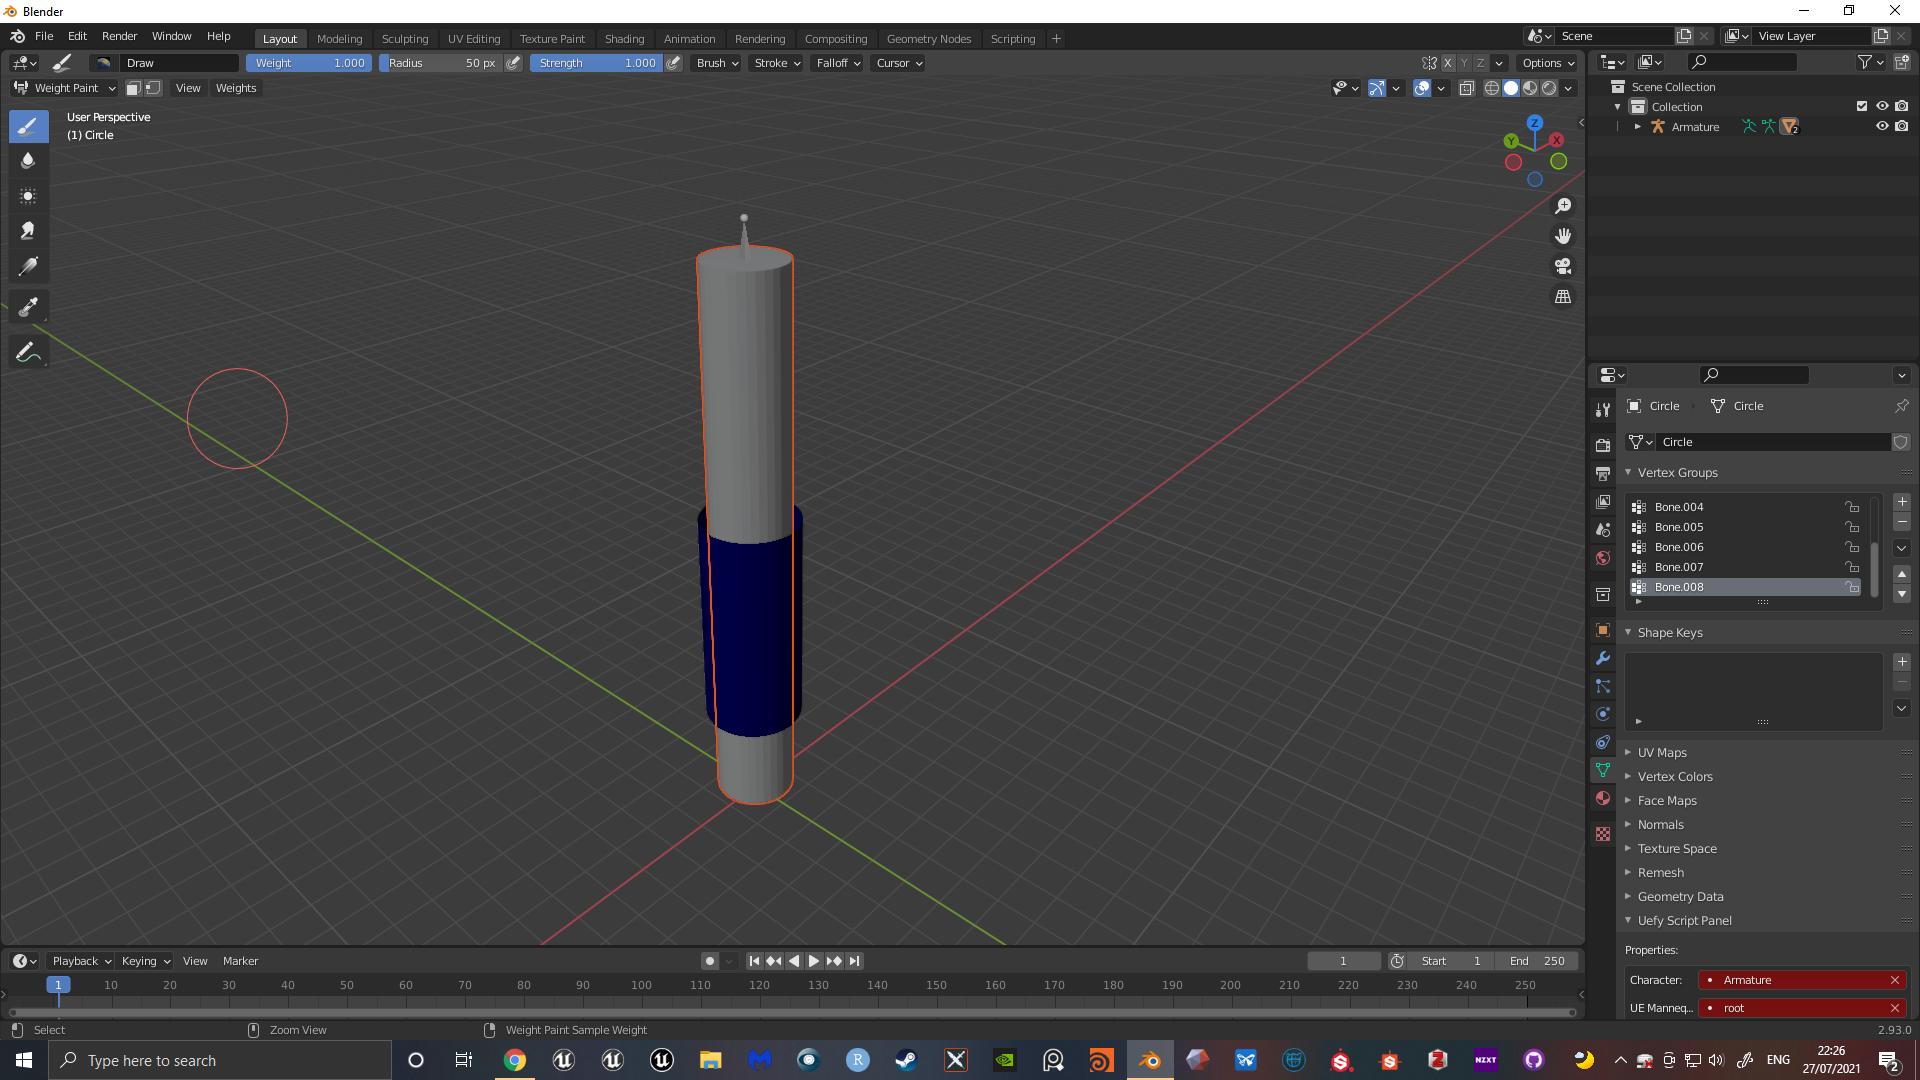
Go to weights > transfer weights and in the options menu in the bottom left hand corner select nearest face interpolated for vertex mapping, by name for source layers select and make sure Destination layers is set to all layers.
If you click through the vertex groups in the object data properties tab, you'll see that they'll now be populated with different mesh weights
And now as you can see, if we manipulate our rig again, the clothes and body move as one. I should also note that this is how you make a master rig and clothes for the master posing system in unreal engine 4.
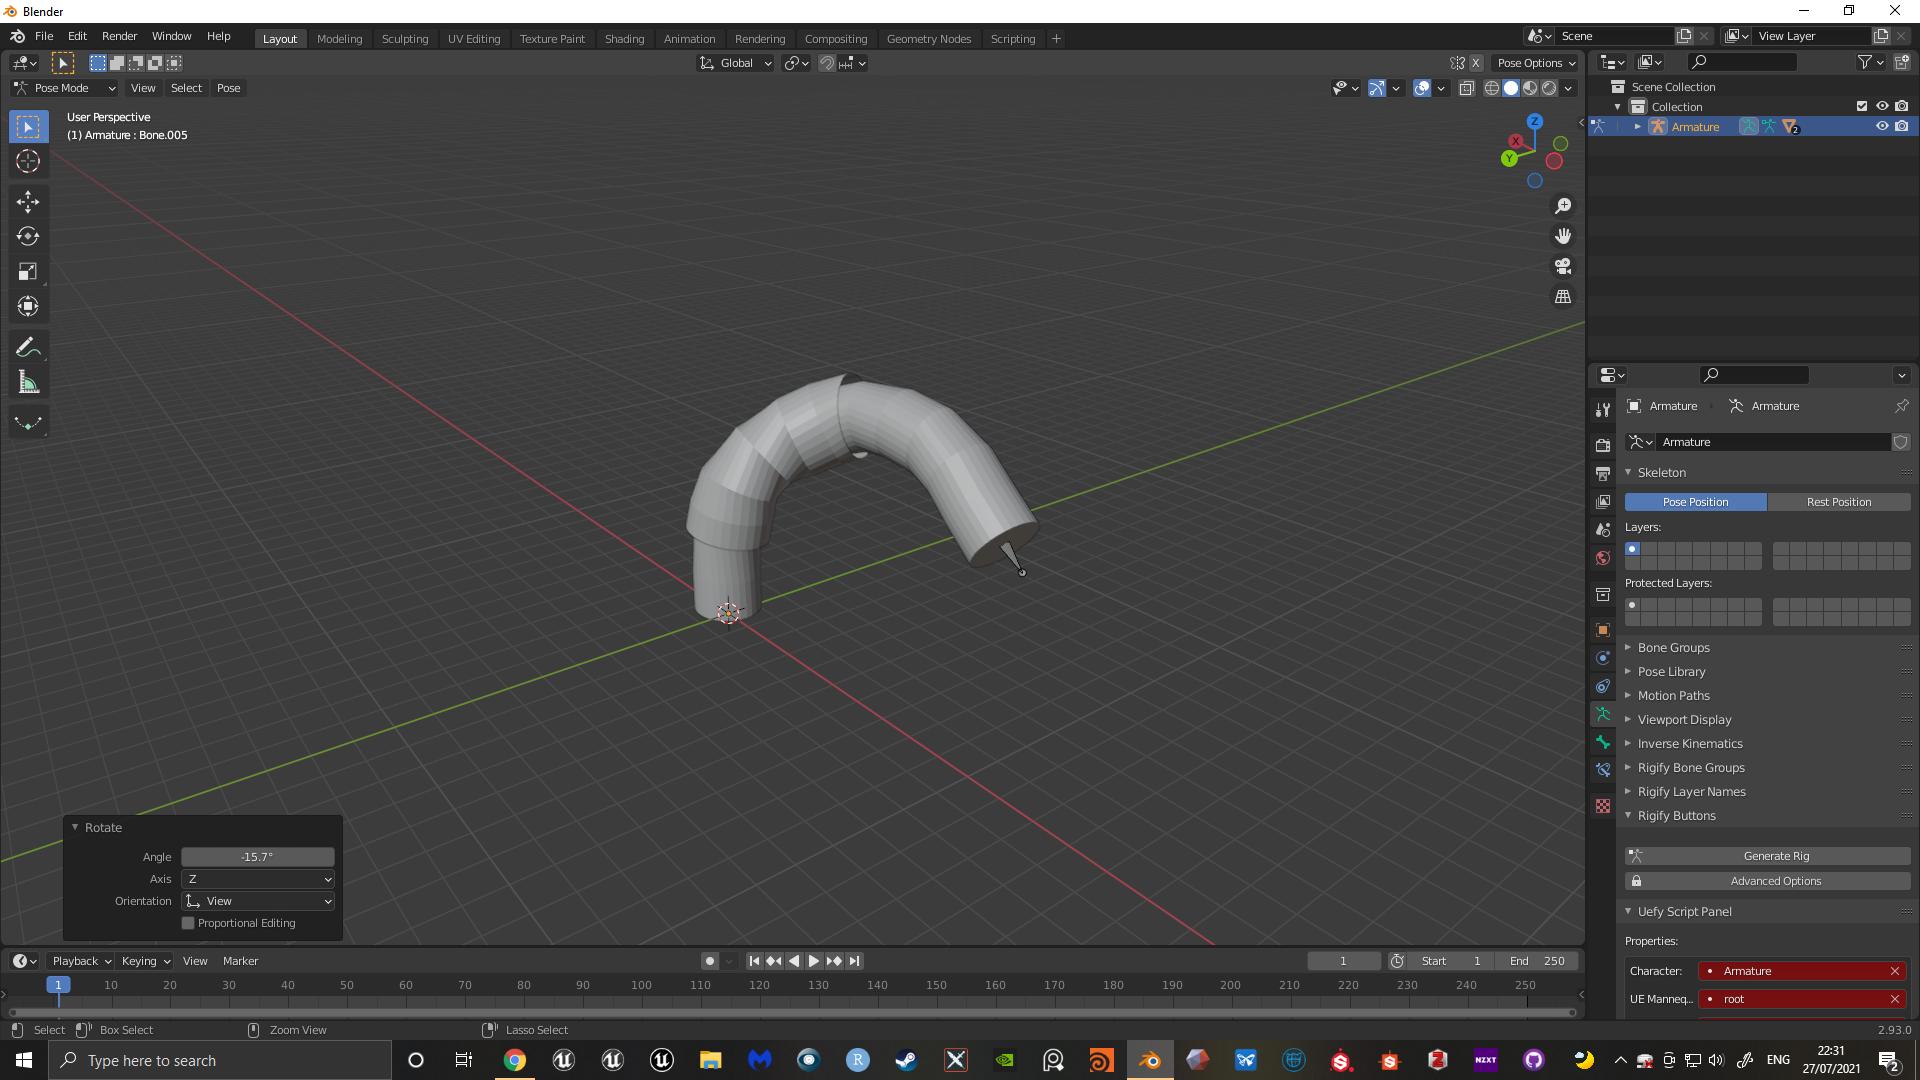
I should note that the quality of deformation will come down to the quality of your topology.
OPTION 2. If you clothing mesh was effectively duplicated from your dogs mesh AFTER you had rigged it up, the vertex groups and weights would have transferred over. If this is the case, when you parent the clothing mesh to the rig just select Armature deform by itself, and that'll be all you need to do.
-
$\begingroup$ Thanks James, appreciate detailed answer. I did that, also tried Data Transfer. However, it doesn't actually do it precisely. It crops again, on screenshot I uploaded you can see weights, probably because those spine. ribs, and chest bones are not enough for jersey, so that's reason I added more aditional bones for jersey, however - I don't know what to do with them to prevent cropping. $\endgroup$– RadoonCommented Jul 28, 2021 at 7:34
-
$\begingroup$ I added .blend file, removed some of mesh since it is project task, hope it doesn't mind. $\endgroup$– RadoonCommented Jul 28, 2021 at 7:43
-
2$\begingroup$ You should only have one rig, expecting one rig (the jersey rig) to follow another rig (the body rig) is quite unrealistic. You might be able to work with rig constraints but you're over-complicating the matter $\endgroup$– JamesCommented Jul 28, 2021 at 8:08
-
1$\begingroup$ I've had a look at your file and my method does work, unparent the clothing from the rig and delete the groups. From their re-parent the clothes to the rig with empty groups, and transfer the weights as described above. Finally touch up your weight painting manually to get the exact results you want. Closely over-lapping bones can often be a pain, tweaking the ray distance can often be beneficial in the weight transfer panel $\endgroup$– JamesCommented Jul 28, 2021 at 8:14
-
$\begingroup$ Maybe that weight tweaking could be solution, but that is my weakest point, I just can't get it right. If you managed, could you upload blend file? $\endgroup$– RadoonCommented Jul 28, 2021 at 8:27

