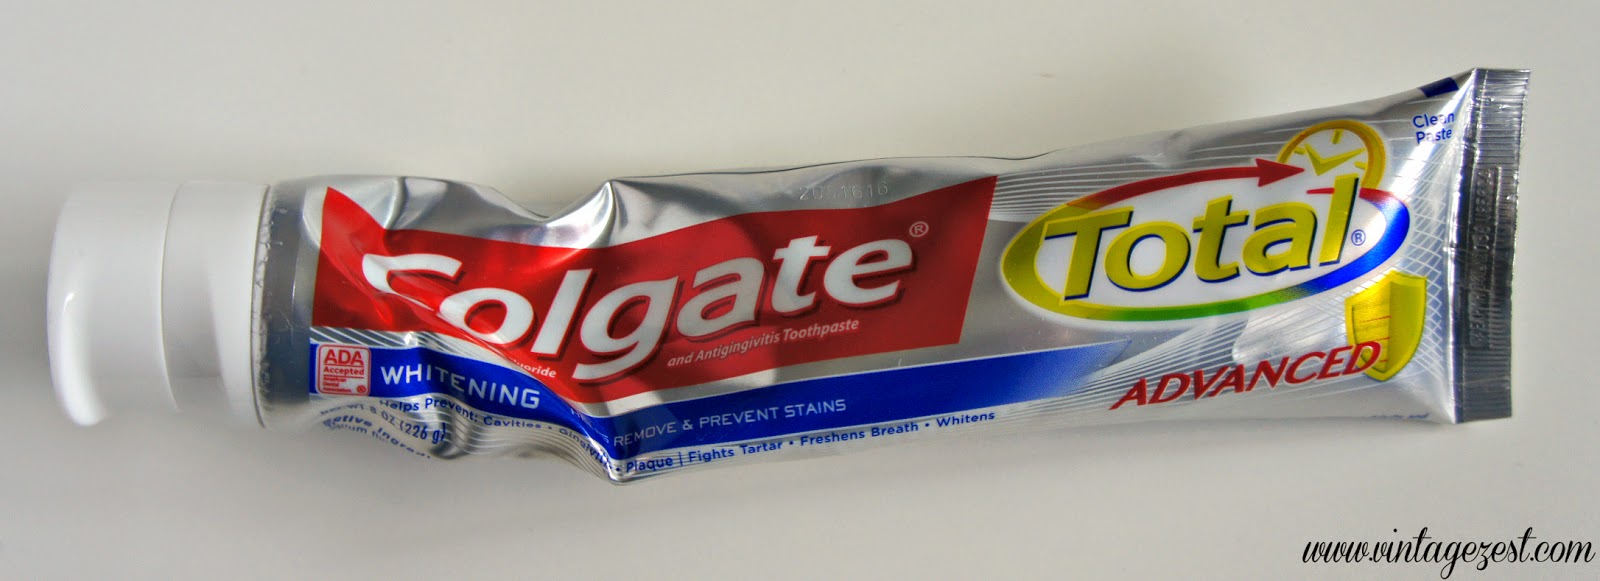
We can achieve this procedurally in the shader editor using displacement in only a few nodes.
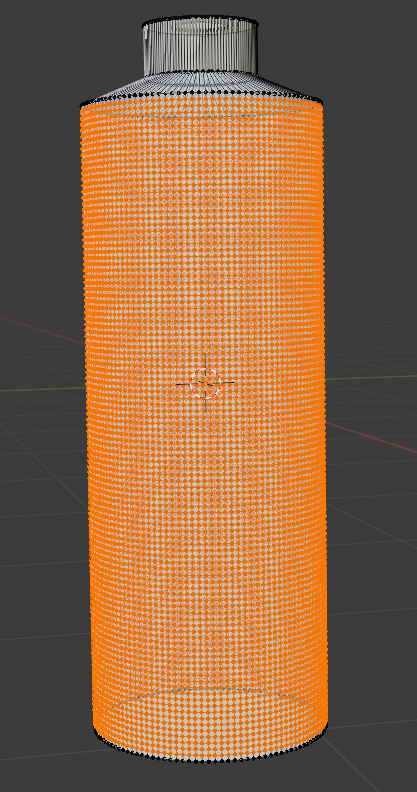
We'll start with this approximation of your model.

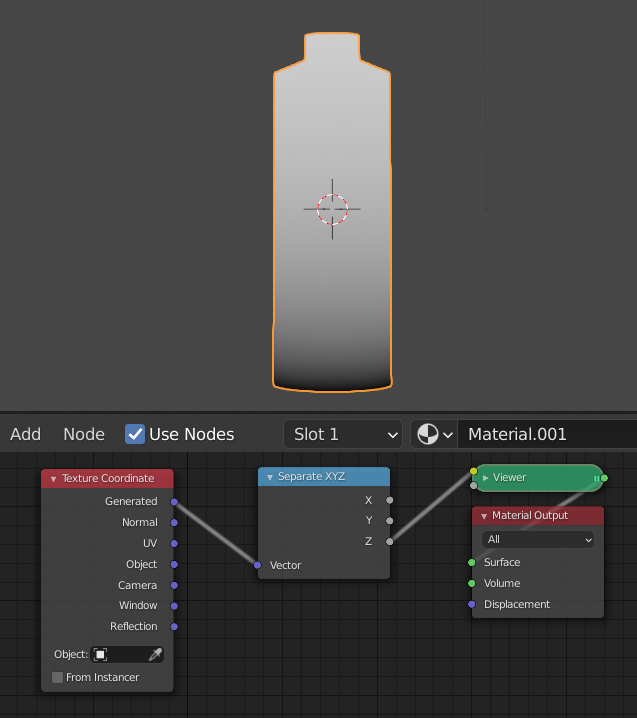
In the shading workspace, we can add a texture coordinate and take the Generated coordinate space into a Separate XYZ node to look at our object over different axes over a 0-1 range. In this picture I'm looking at the Z axis. (Viewer node is just an emission shader, if you don't have Node Wrangler enabled.)

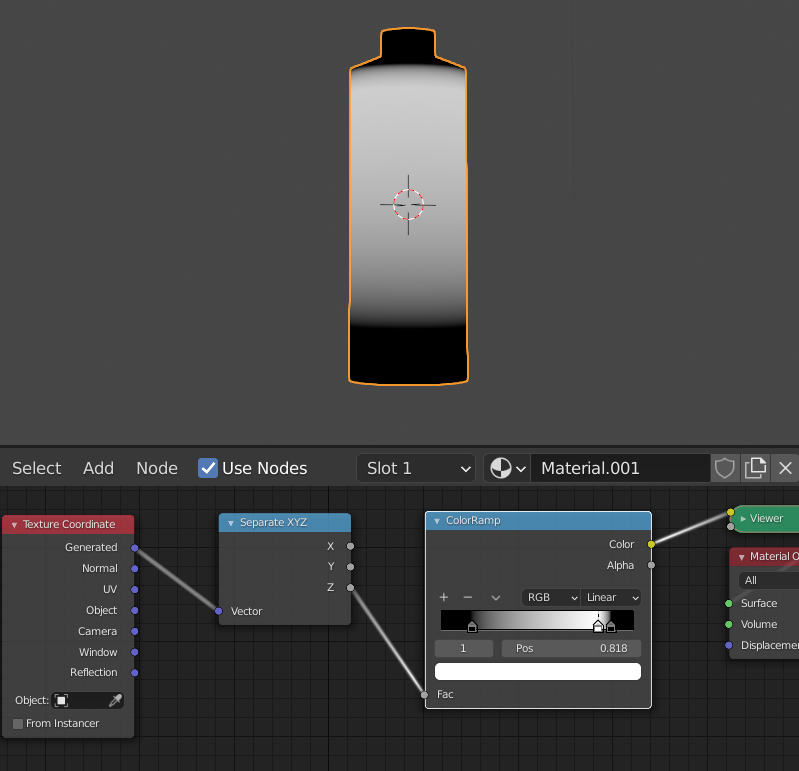
If we insert a Color Ramp here, we can use this later to designate an area of influence for our displacement. Black means displacement will have no influence, where white is 100% influence. We want deformation to happen below the top outer edge and fade away as it goes down the body of the model, so I ended up with a ramp looking like this:

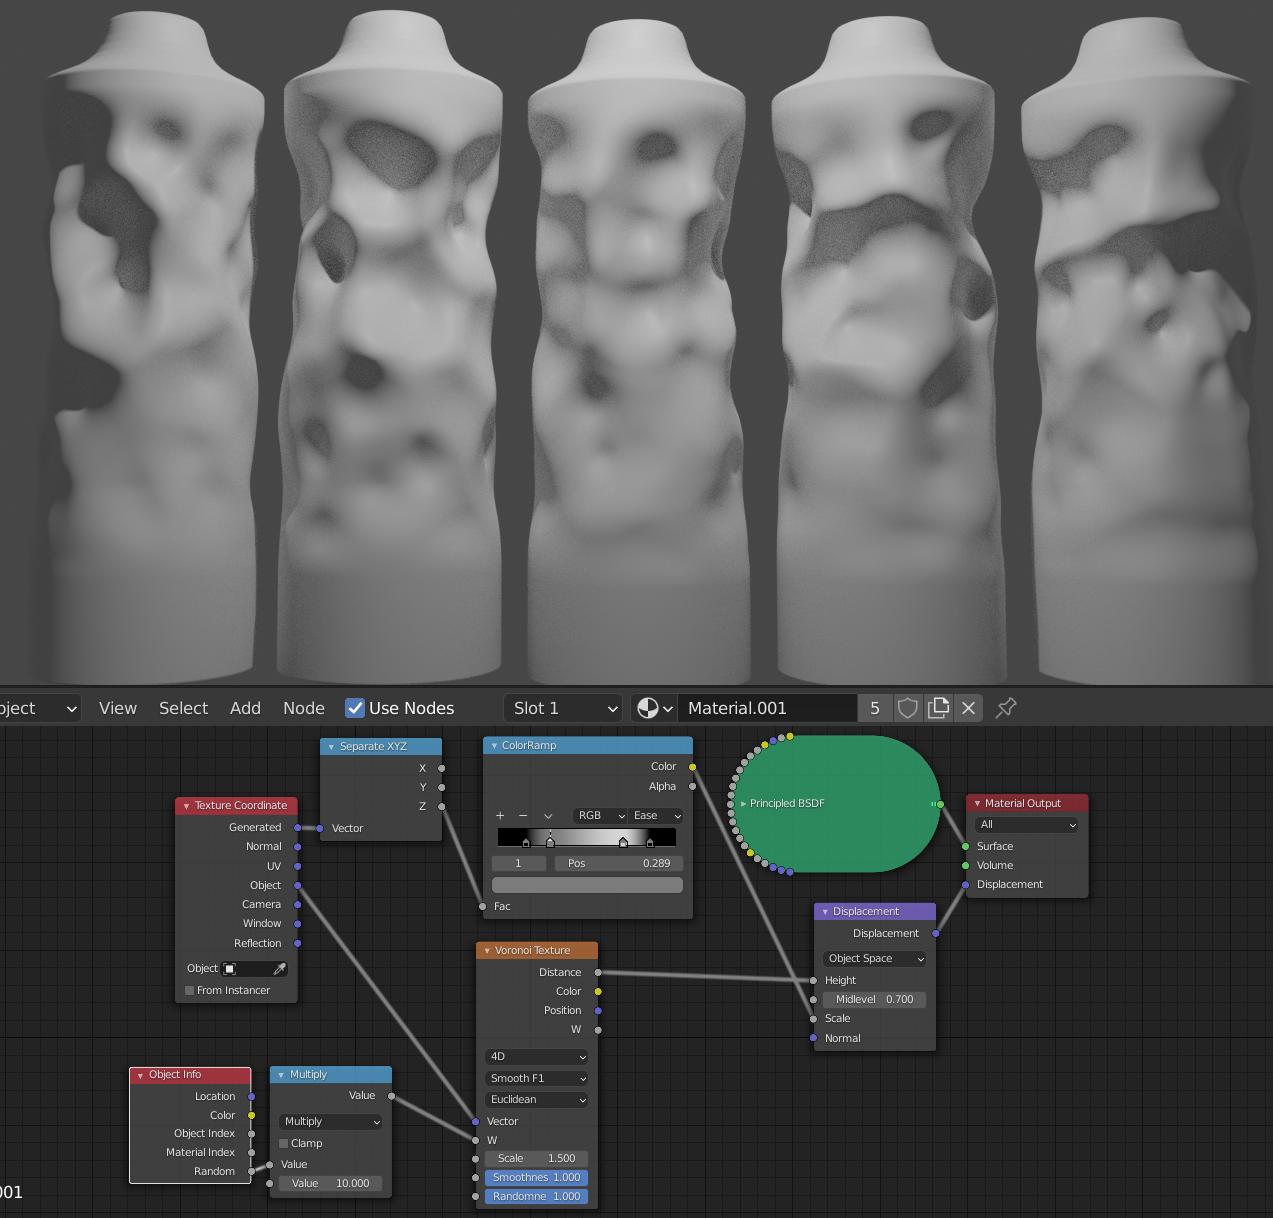
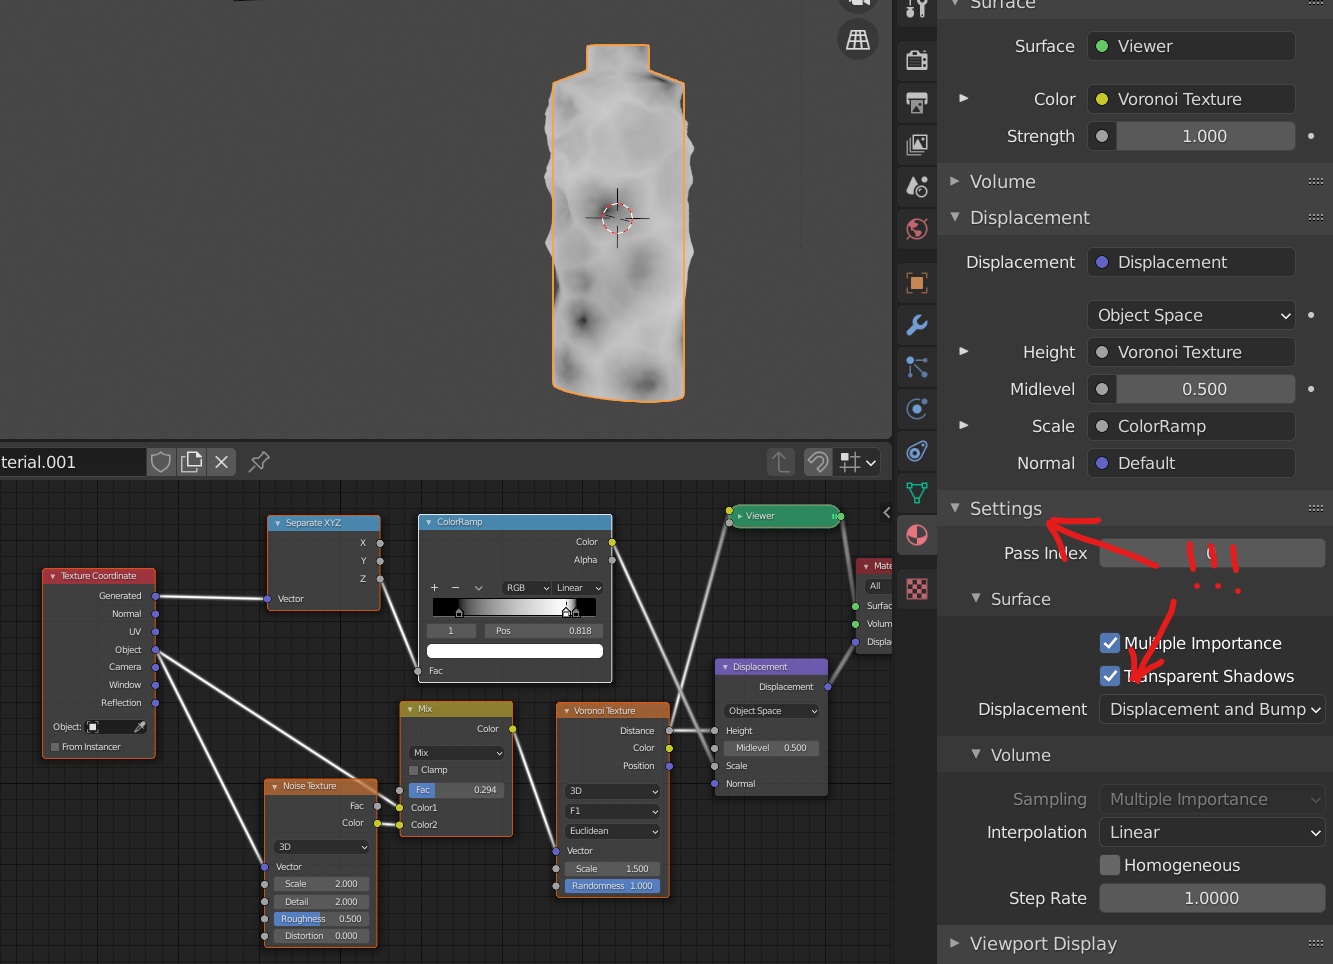
To define our displacement, the effect looks most like a voronoi. We can take the output of a voronoi texture (disclaimer: the scale numbers will be different depending on the scale of your object, find what works for you) into the height of a displacement node, and use our color ramp's output as the scale. If you need to lower the overall scale, just lower the value of the handles in the color ramp.
Set your material's settings to displacement and bump aaand...

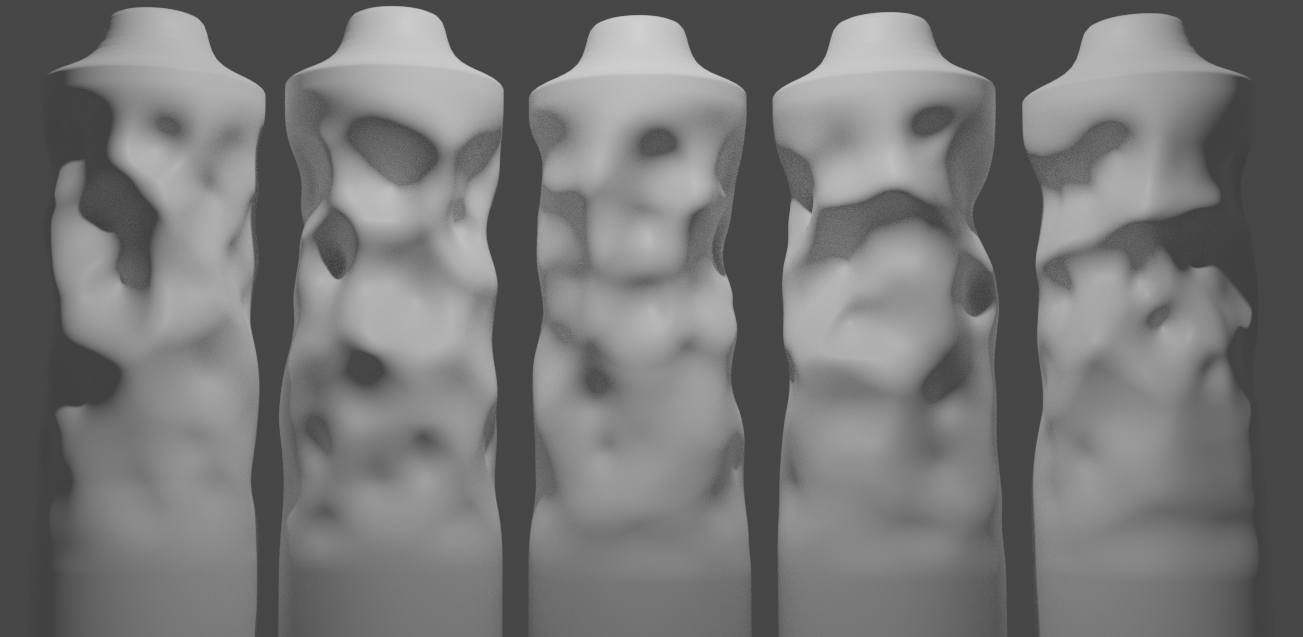
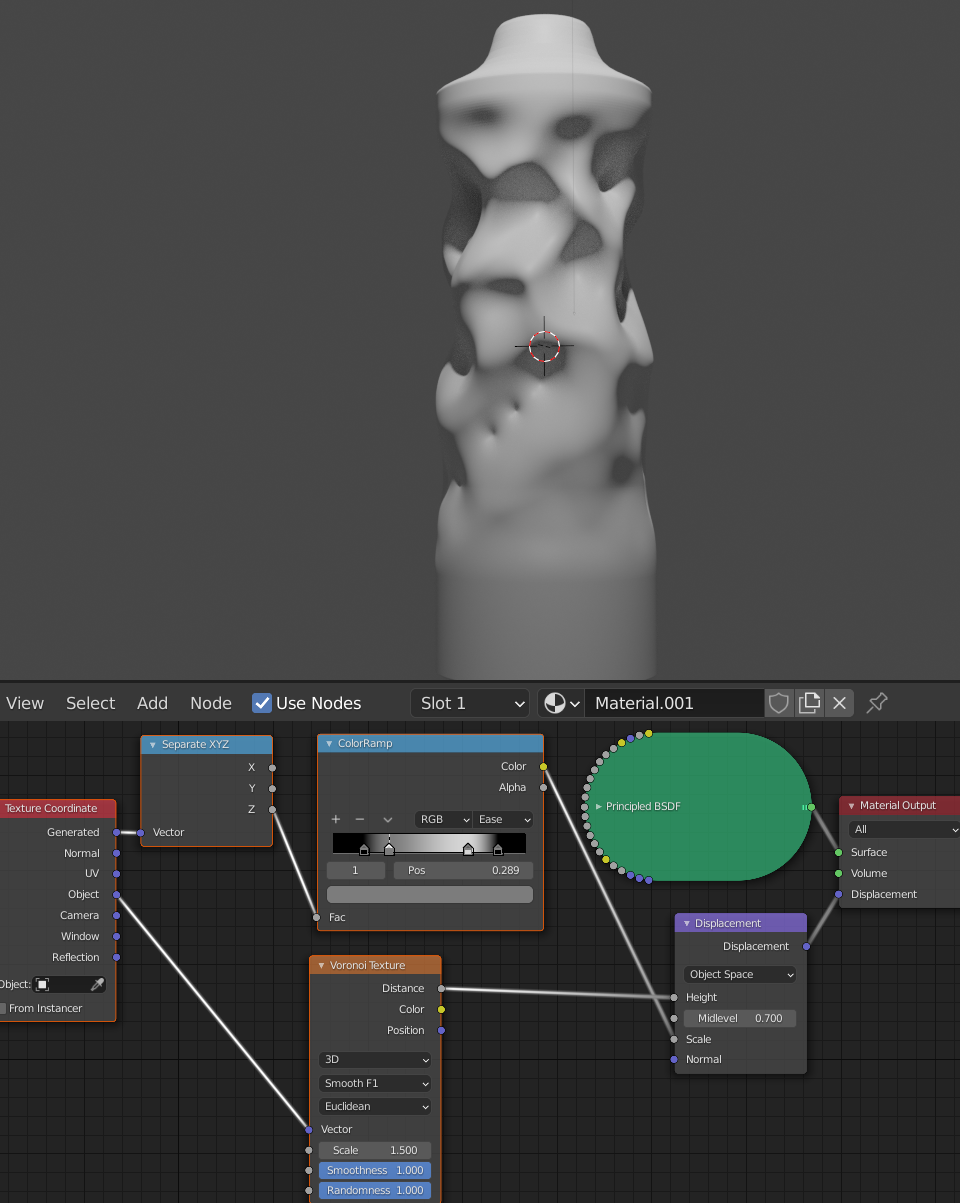
Well, it's almost there. Depending on what you want, a midlevel closer to 1 probably makes more sense, and Smooth F1 for the Voronoi. You can adjust the scale and area of influence with the handles and colors of your color ramp. After some fiddling, here's where I landed. (2 levels Subdivision Surface)

Extra fun: You can randomize the wrinkles by taking the random output from Object Info into the W value of a 4d texture. This way each object will be uniquely distorted.
