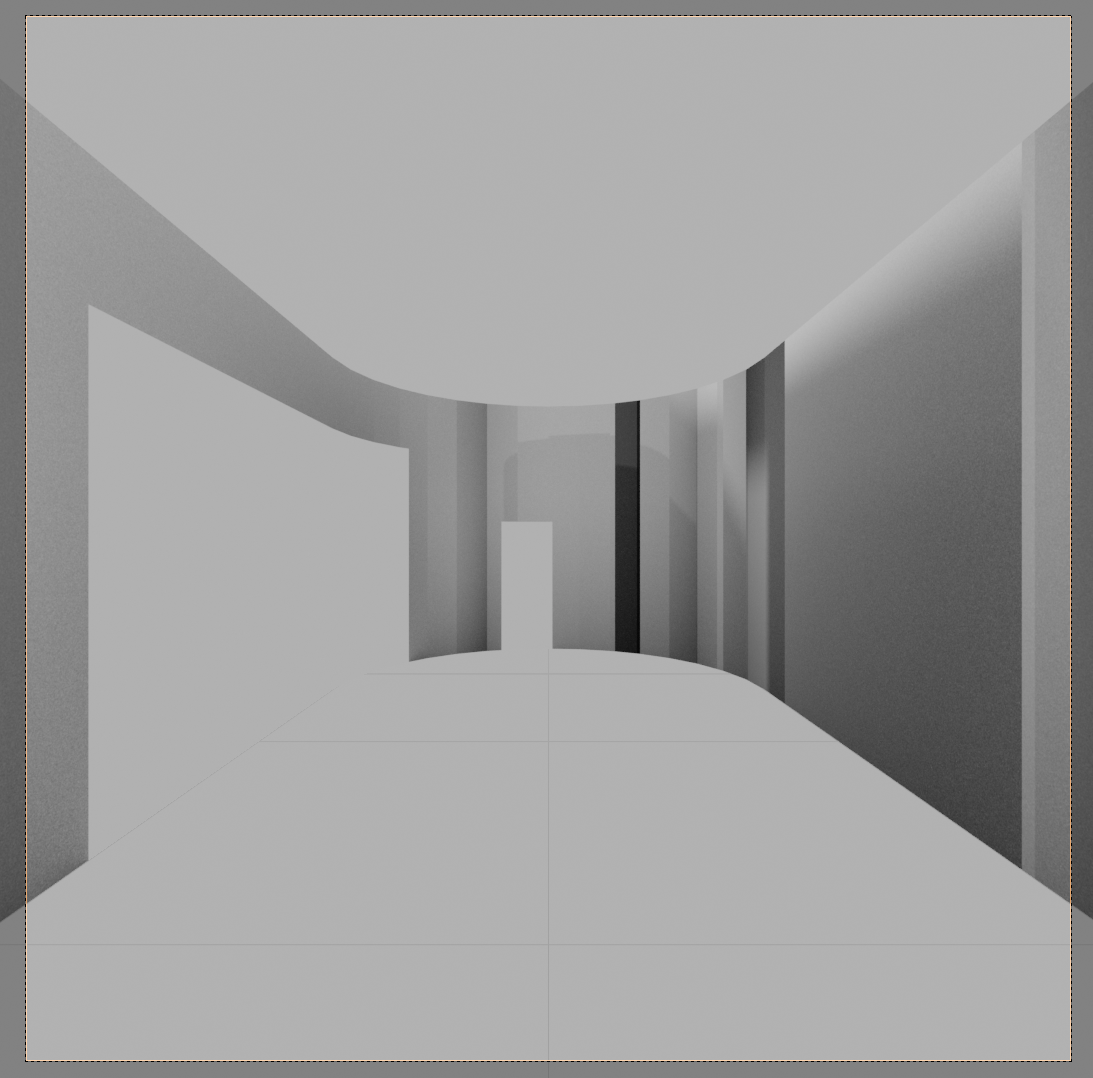
I searched around this place and found a lot of interesting things, but no real answer to my problem so I'm hoping somebody could give me some hints.
So, this is kind of a reversed thing to this cgmatters tutorial, where they create rooms from pictures. I want to depict an architecture (room1) in another, smaller room (room2). Basically room2 ist completely different geometry, but painted/textured in a way that he looks like room1. An optical illusion, comparable to an Ames Room, if you will. https://en.wikipedia.org/wiki/Ames_room
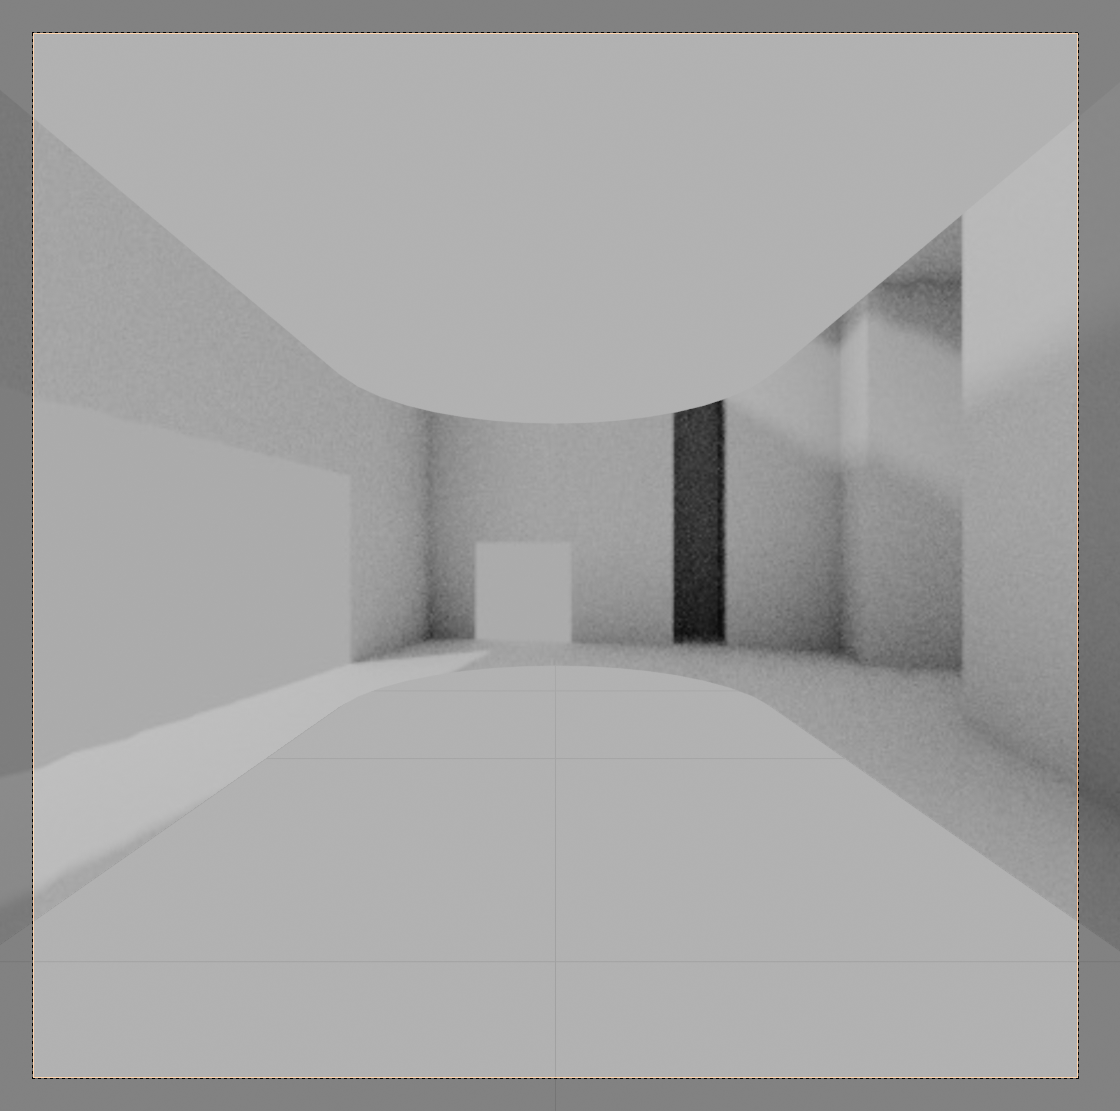
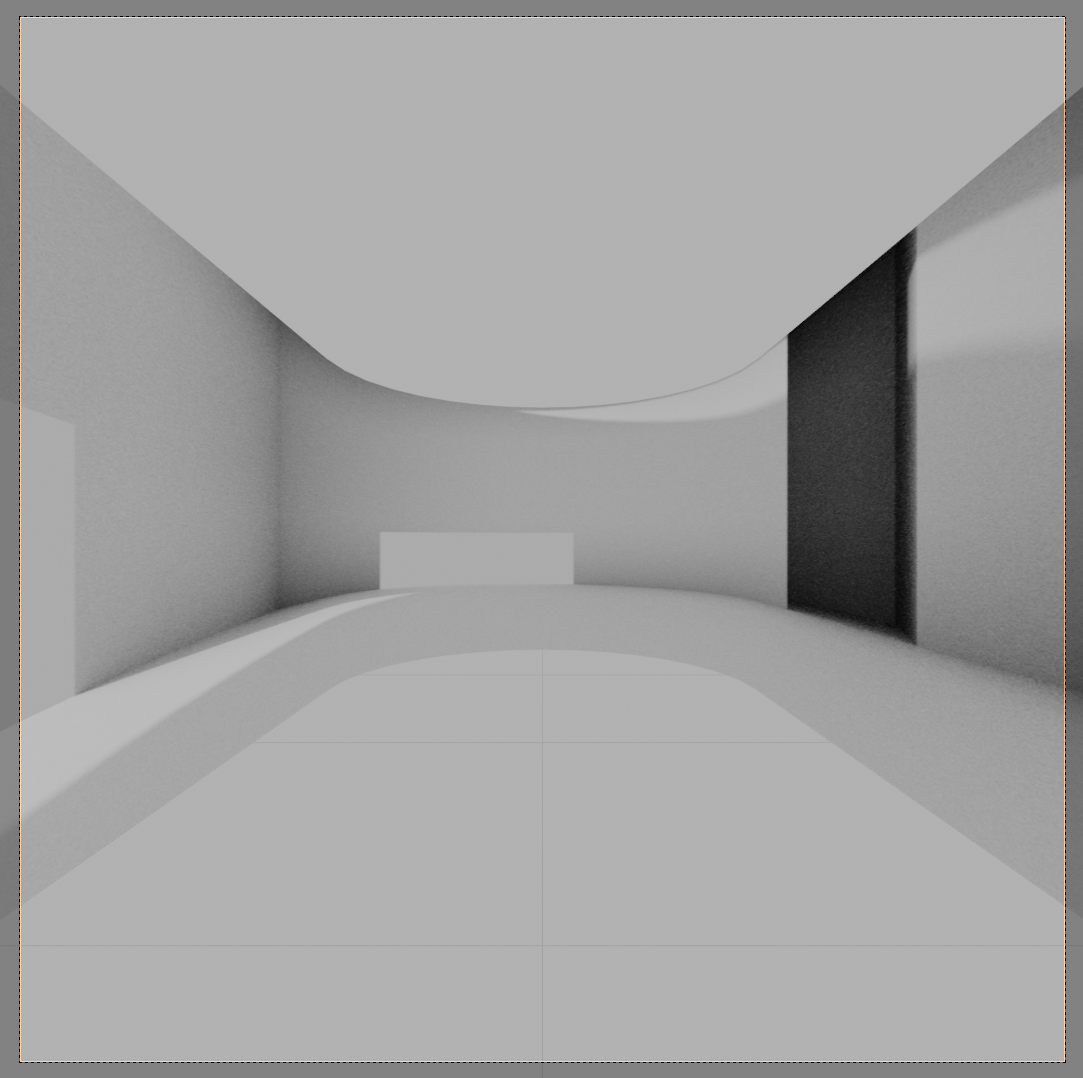
There is a very easy way to do this, and that is the uv project modifier with a camera as projector that has the same angle of view and aspect ratio as the one that took the shot of room1. The results are great, I attached some test pictures at the end. This however leads to extremely different texture resolutions. The sides of the room are high res, the center however is compressed much more by the wide angle (3mm lens) and becomes pixelated.
Unfortunately it seems not to be possible to project panoramicaly from a panoramic camera (as opposed to perspective or orthographic). Maybe I just didn't find the right settings?
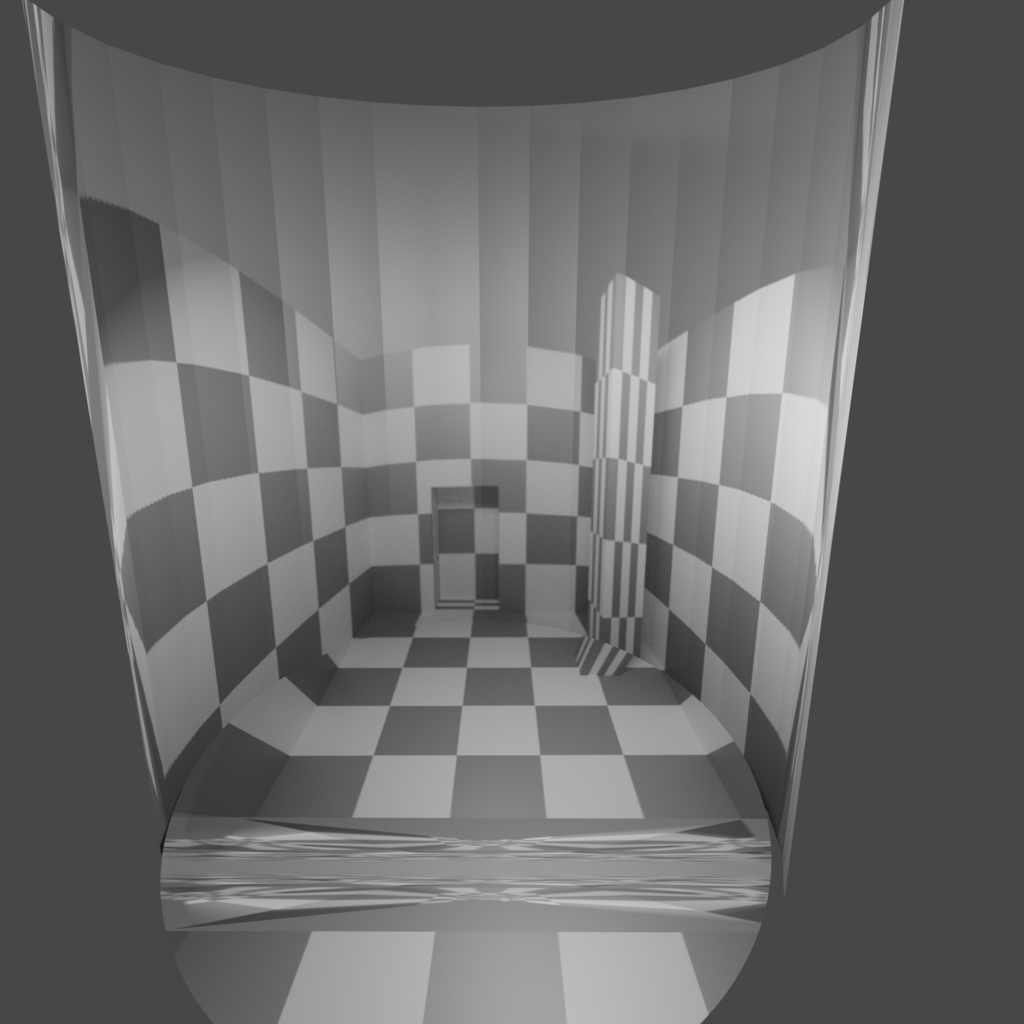
Another idea that i really liked was to make the walls of room2 transparent, place room2 inside room1 and then bake what you see through them from the camera to this mesh. Unfortunately I only managed to do that from each planes normal, so it gets a cristalline distortion effect, basically every face has its own perspective. (picasso would have liked it) Is there a way to bake transparency from the viewpoint of the camera, not the normals?
My last idea was to use a bunch of renders, like you would do a stitched panorama. Render, turn camera, render...etc. I could use the rendered files for texture extraction techniques like the ones in cgmatters video, but honestly, that seems tedious.
I would appreciate your insights in this and suggestions for possible solutions.
Thanks in Advance
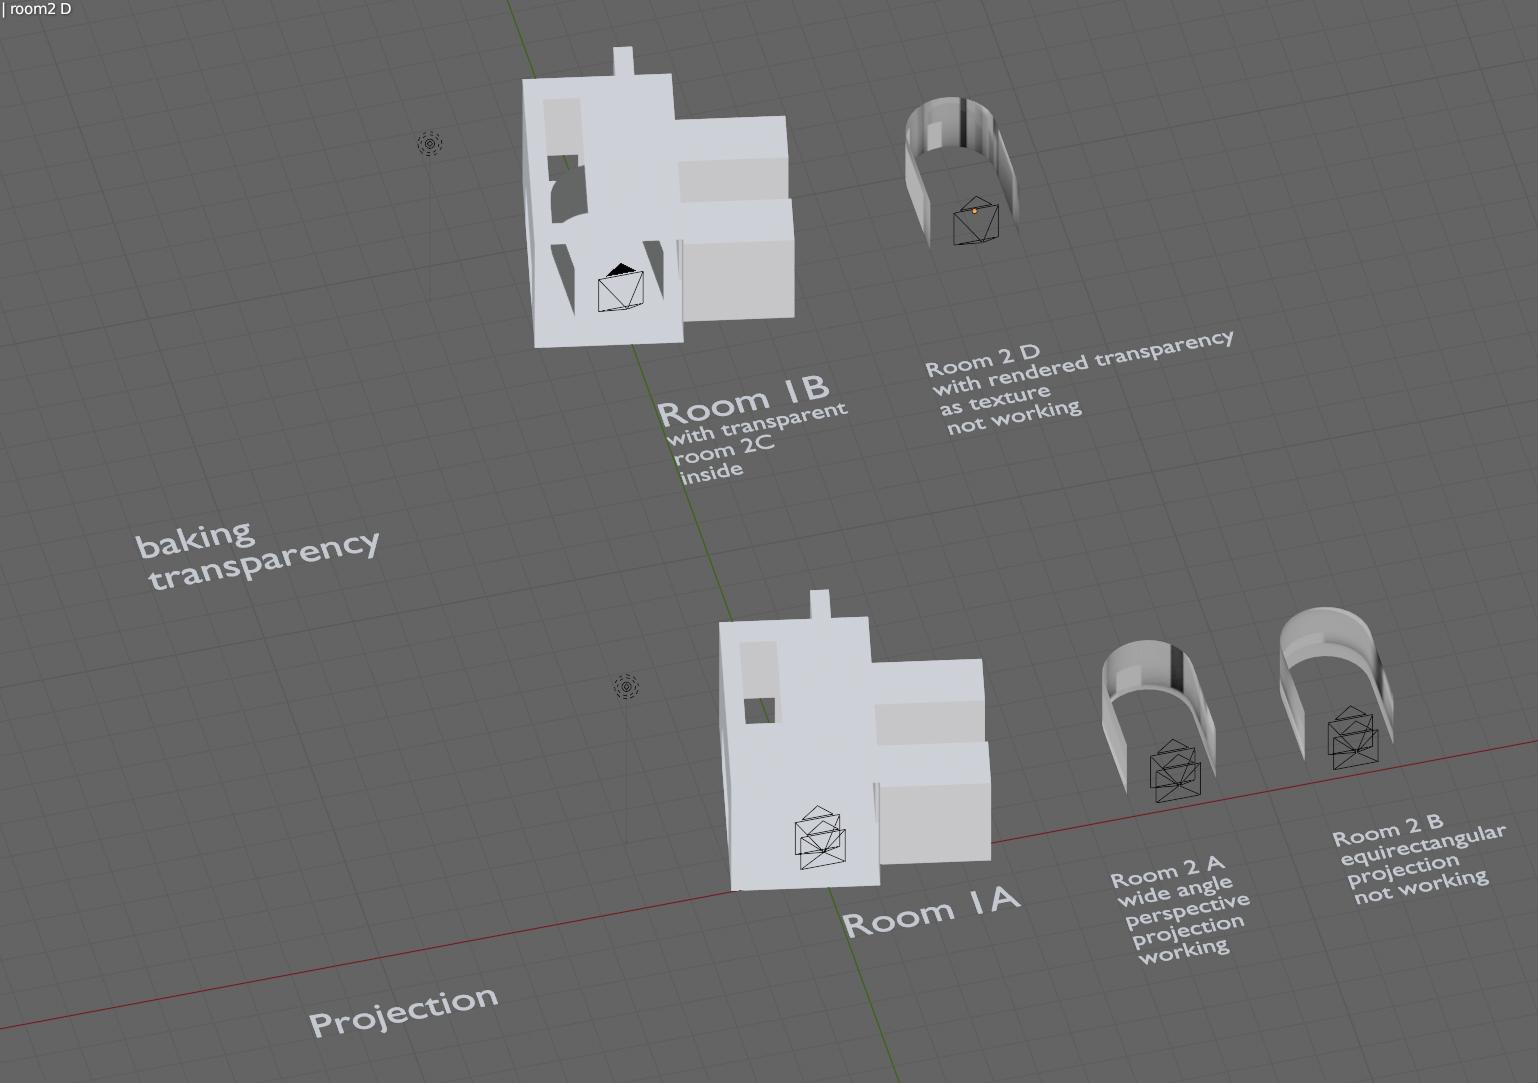
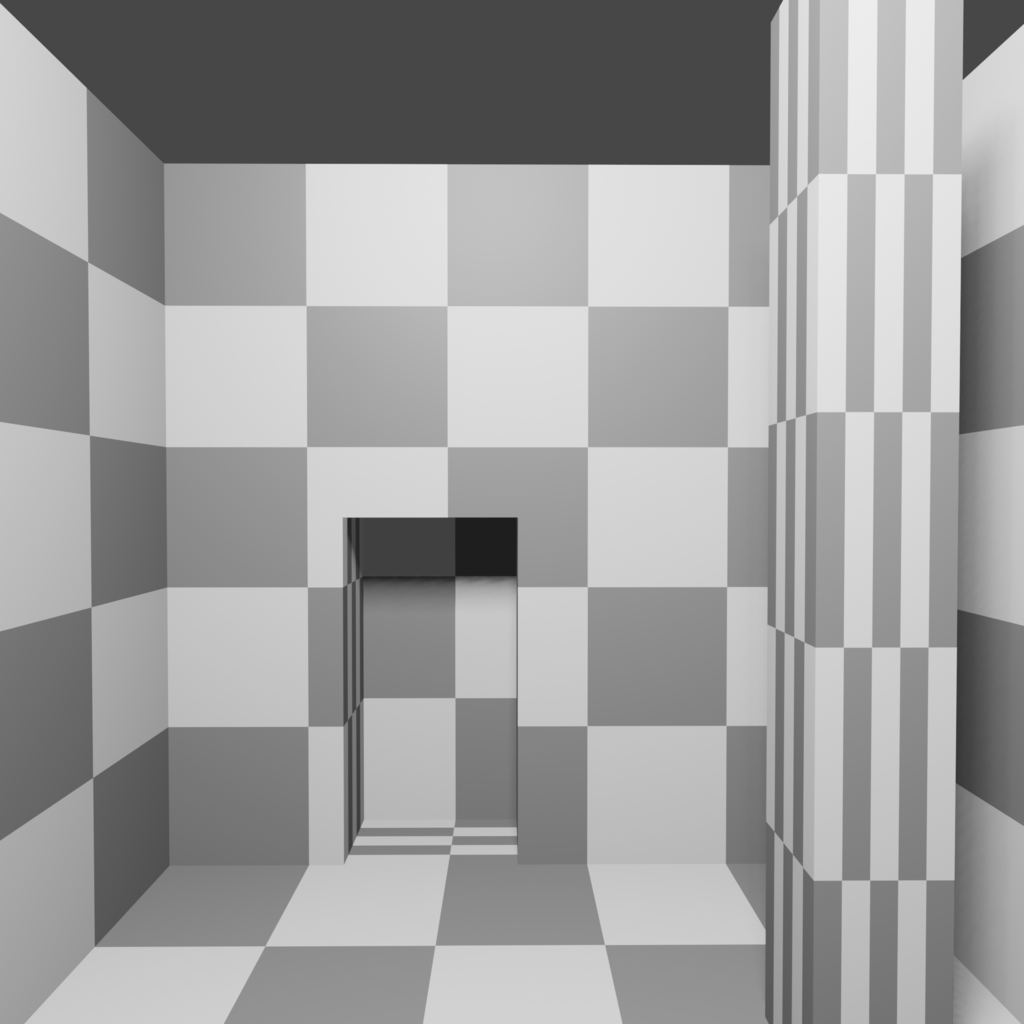
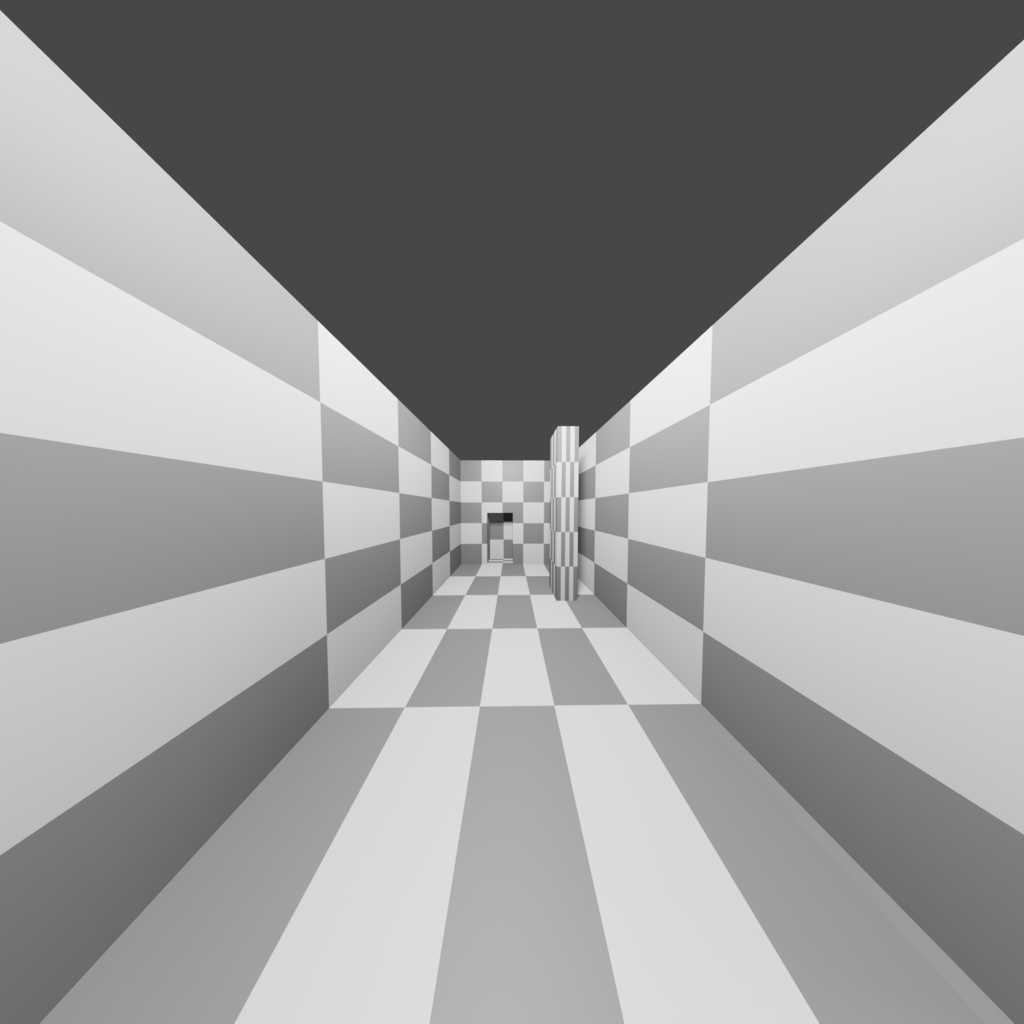
I made a scene to demonstrate what i want to do.

Room 1 is to be depicted on the geometry of room 2
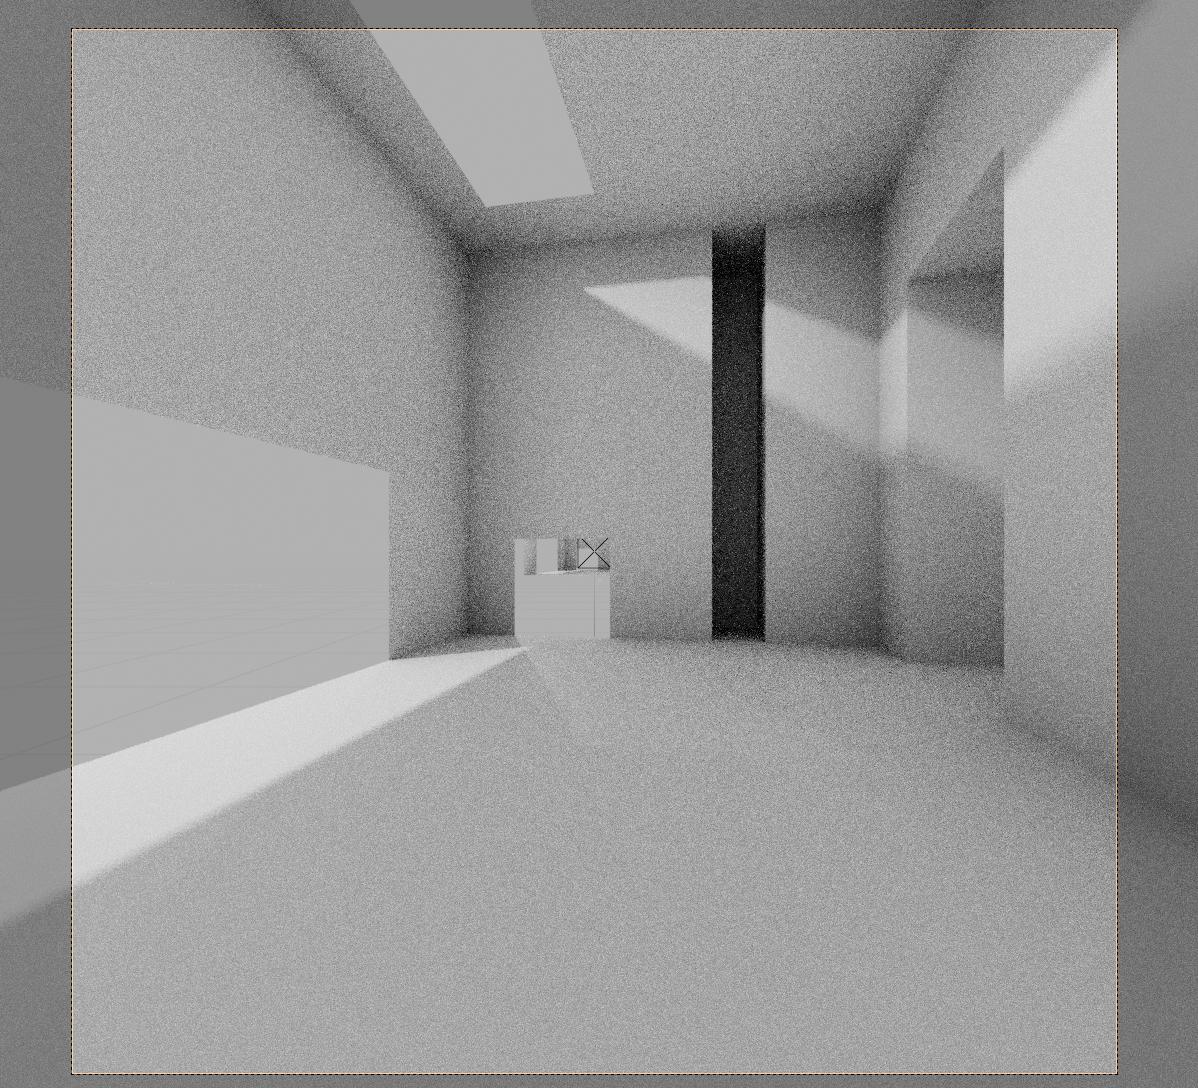
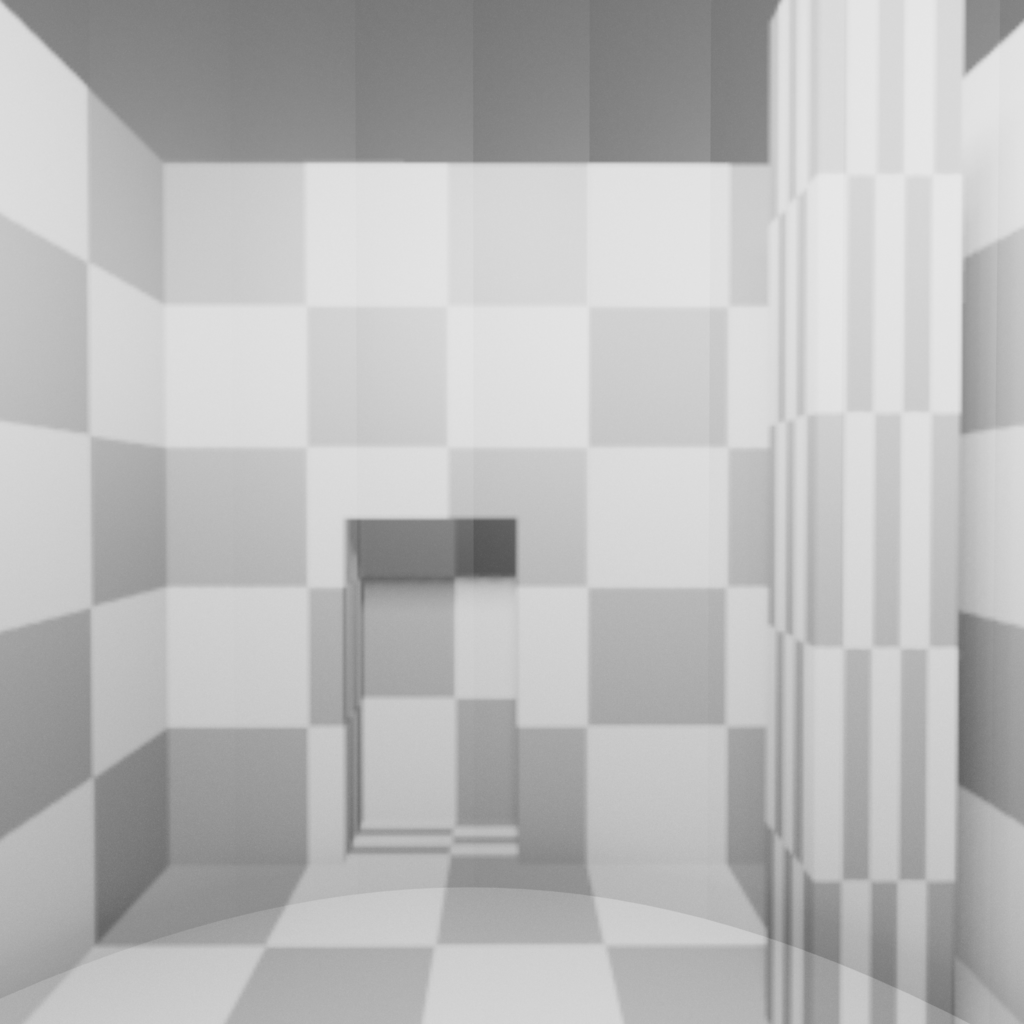
View of Room 1
View of Room 2 using a wideangle projection. this works, but quality is low
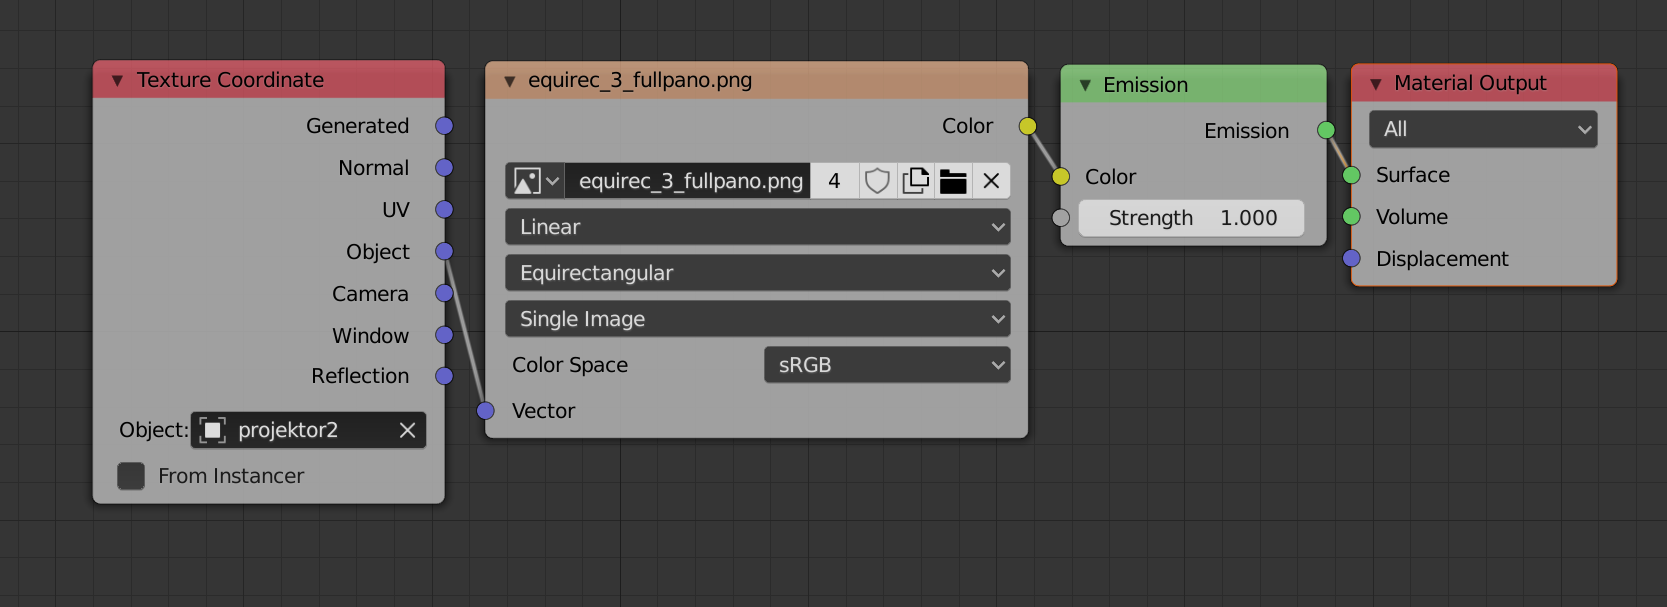
View of Room 2(B) using an equirectangular rendering of Room1 as texture. It is not mapped correctly by the UVProject modifier
View of Room2(D) using baked transparencies as texture. These are rendered from the faces normals and thus all "see" through the walls from a different angle.
Explanation why I want to do this, in case you want to know.
What I want to do is create a diorama (in real life), like you would find in a natural history museum. This diorama shall depict a scene in a large building, much larger than the actual space the diorama will be contained in. This is what diorama creators usually do, only that it is a building, not a landscape. The classical method would be to carefully transpose photographs or sketches from the real landscape onto the curved alcove of the diorama and paint over this sketch and grid. But we live in the 21 century and i am no painter, so I have a model of the room, made in blender, and i want to create a texture, that is distorted in such a way, that, if seen from the right position, it will give an illusion of the architecture. he easiest way to imagine this is to imagine the diorama alcove as made of glass. You would then just use what you see through the diorama wall as its texture.
Pictures: older version of the demonstration
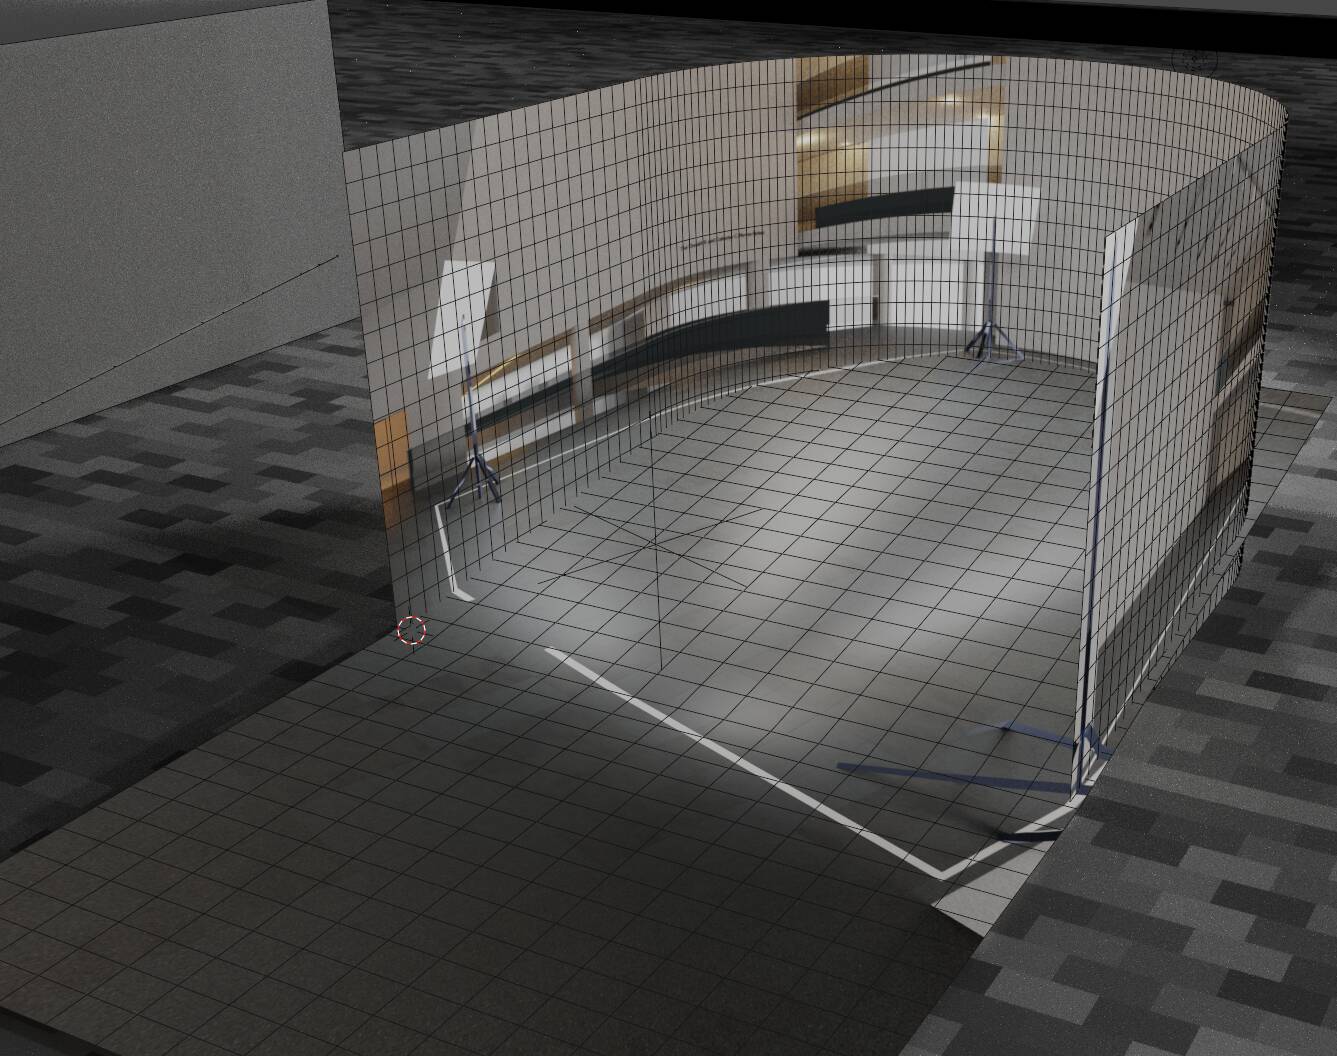
Room2 with picture #2 projected onto it, top view
Room2, seen as room1 in Picture#1

