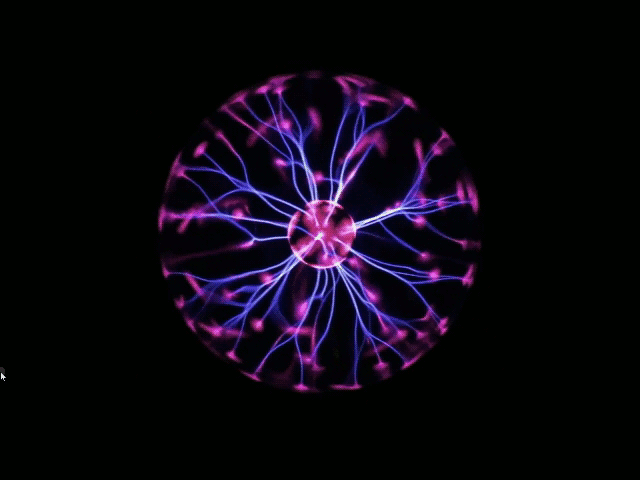
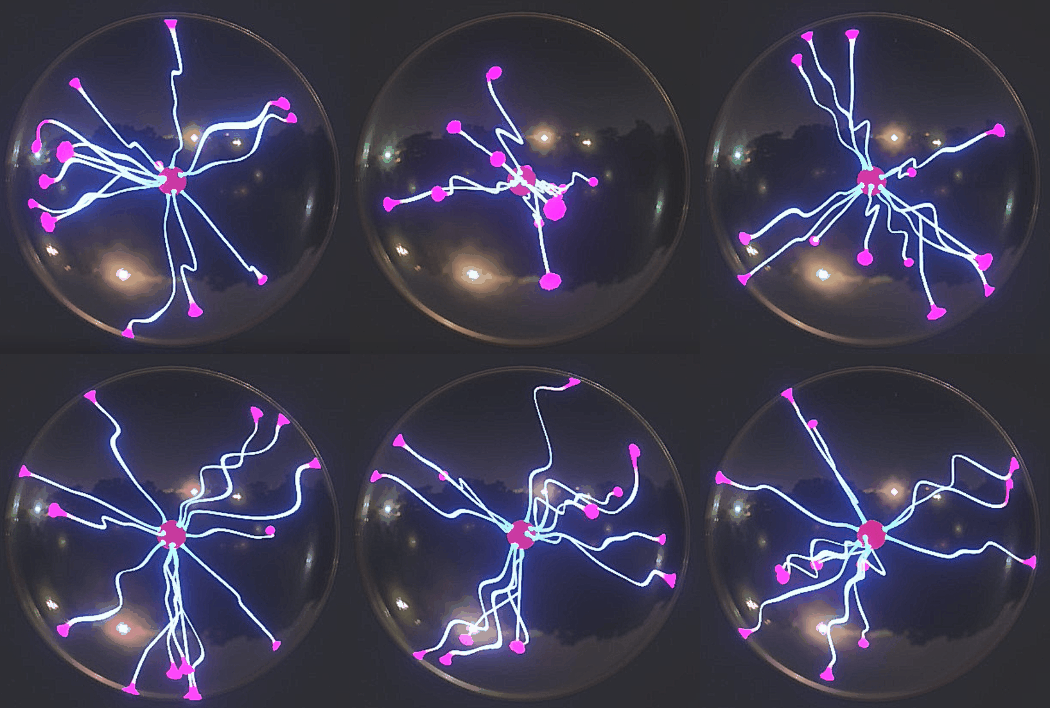
I want to create this animating plasma effect in blender. If anyone knows how to make this please try to explain the steps. Thank you.
-
1$\begingroup$ I've been working on and off on a similar effect, I don't think it's possible with a shader without OSL, What I created with meshes doesn't look that good, so it's not a simple task. However this is not a tutorial page, please keep to specific questions. $\endgroup$– Frederik SteinmetzCommented Sep 11, 2020 at 6:47
3 Answers
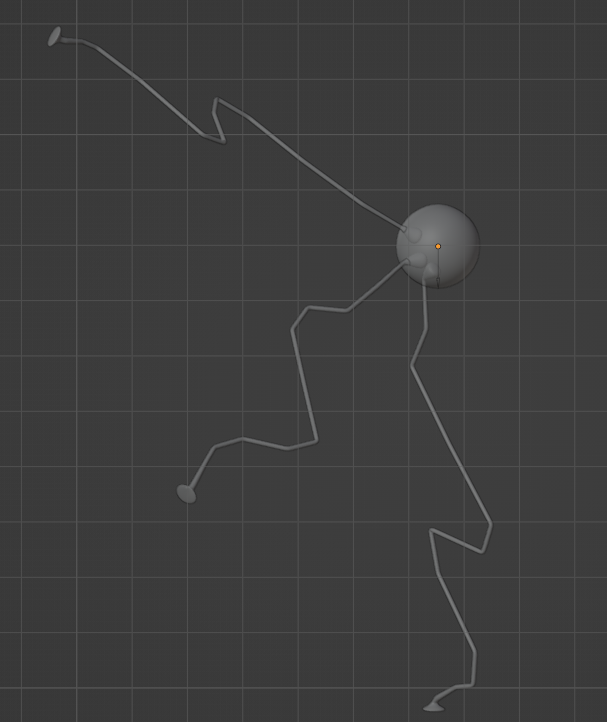
Using some modifiers (even if first though was about Animation Nodes):
The base mesh is a tube, larger at the two points connected to the inner and outer spheres. This mesh has its origin at the center of the sphere. It is also parented to an empty, which is at the center too. The empty rotation is animated.
This object has several modifiers:
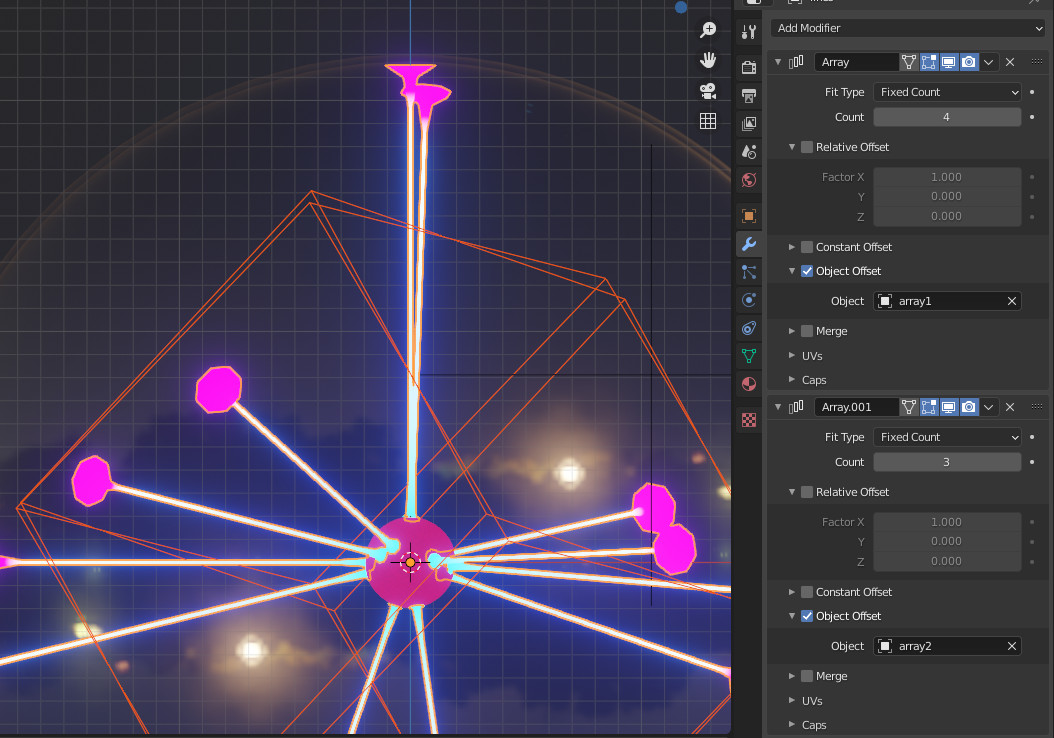
One array which origin is an animated empty, so that we have several instances of this mesh around the center.
A second one with same principle to vary the rotations
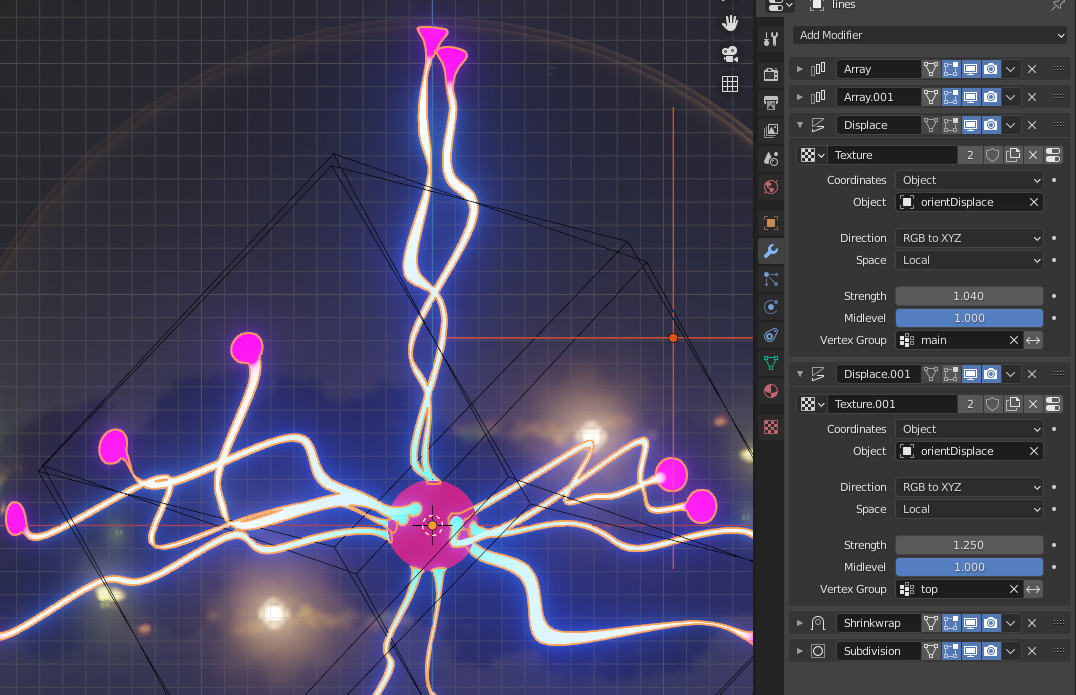
Then two displacements, one for the main part (the tube), one for the part attached to the outer sphere.
These displacements use another empty as coordinates objects. When this empty is animated, it makes variations in the displacement.
The displacement itself is based on a distorted noise.
Finally, a shrinkwrap to make sure the extremity stays on the sphere surface and a subdivision.
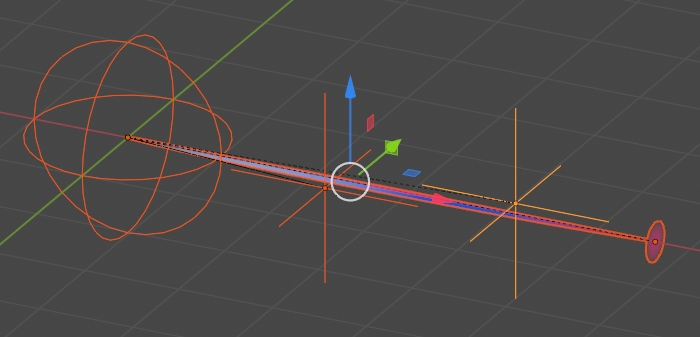
You could create a tube mesh, create 2 vertex groups on 2 different places of this mesh, hook your mesh to 2 empties and choose the 2 groups you've created as the Vertex Group of each Hook:
Parent your tube and your empties to a big empty that will be the rotation axis:
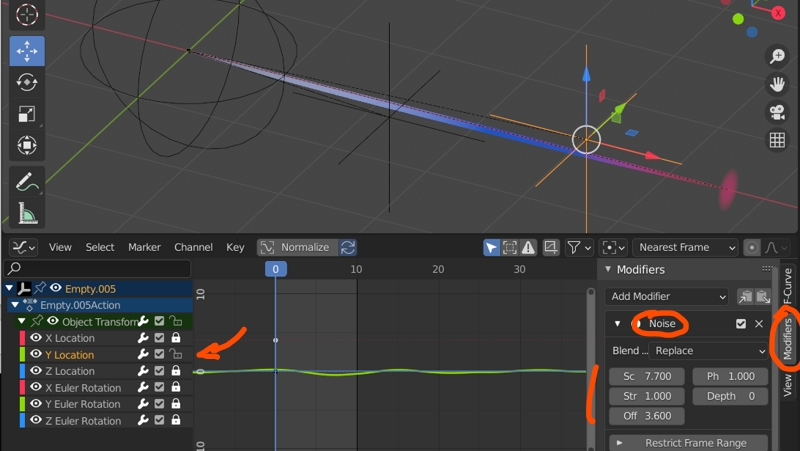
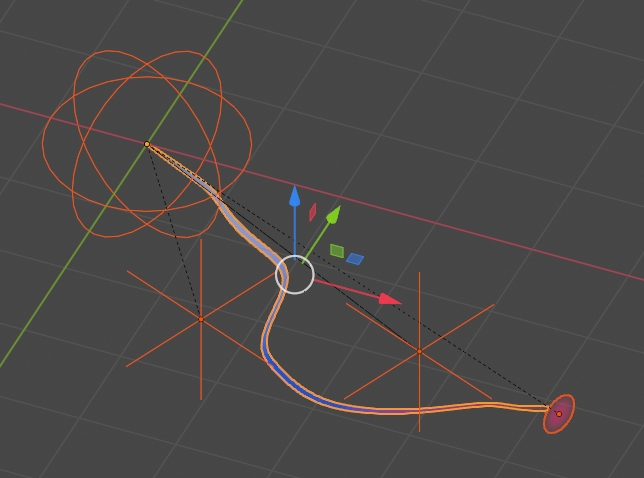
To animate the hook empties, create one unique keyframe, then in the Graph Editor, select one Location track, and in the N panel on the right > Modifiers > create a Noise modifier and play with the values, it will make the empty move randomly on this axis, and therefore it will move the tube as well. Or you can simply move the vertices and create keyframes:
Make the big empty rotate as well, give your tube a gradient color from white to blue to pink, with a mix of emission and transparency. You'll also need to give effects like Bloom or Motion Blur:
Intention
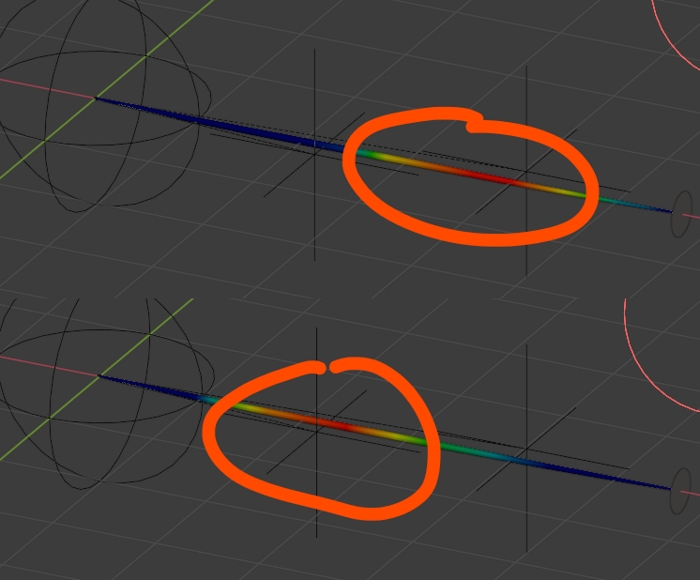
I used solution from lemon, but wanted some more control over the tube thickness. So they could stay the same thickness after displacement.
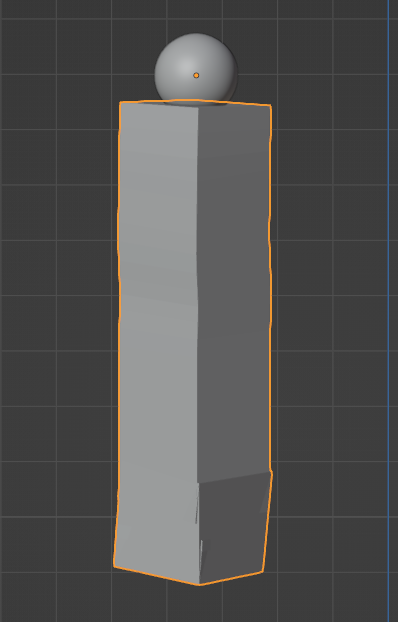
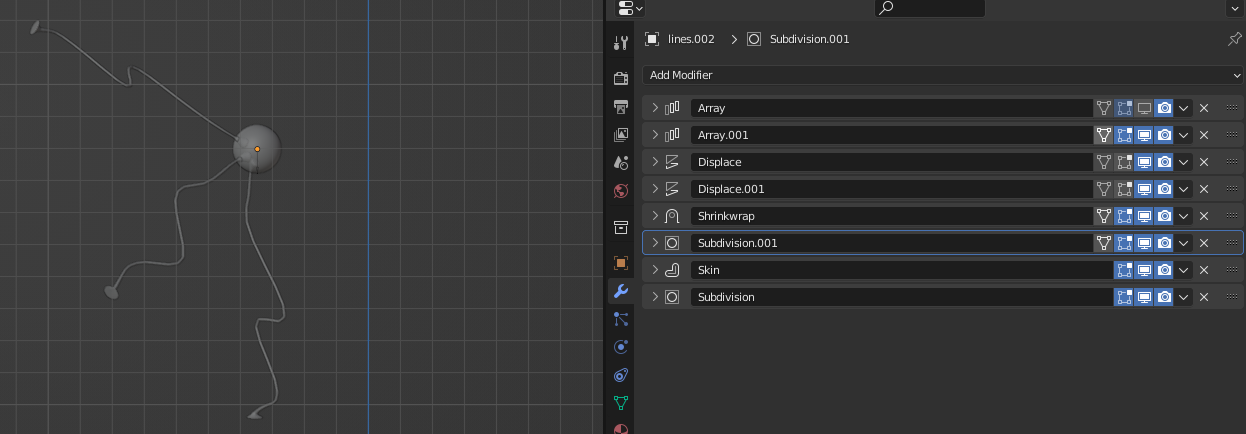
Using the skin modifier
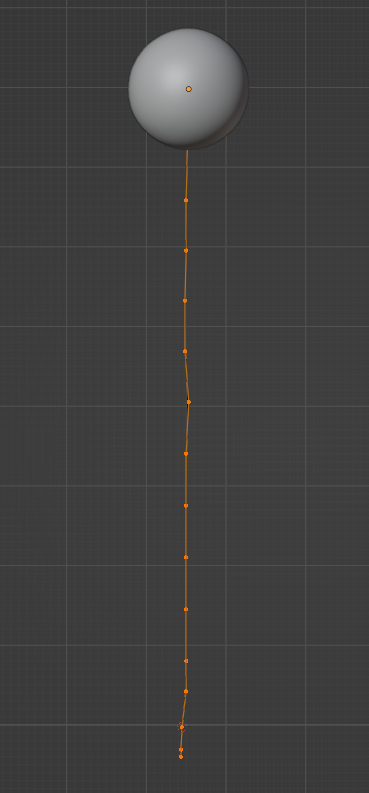
At first decimate the geometry of the tubes down to one single line with multiple vertex. I deactivated the viewport display of all the previous modifiers for these steps.
Added a Skin modifier
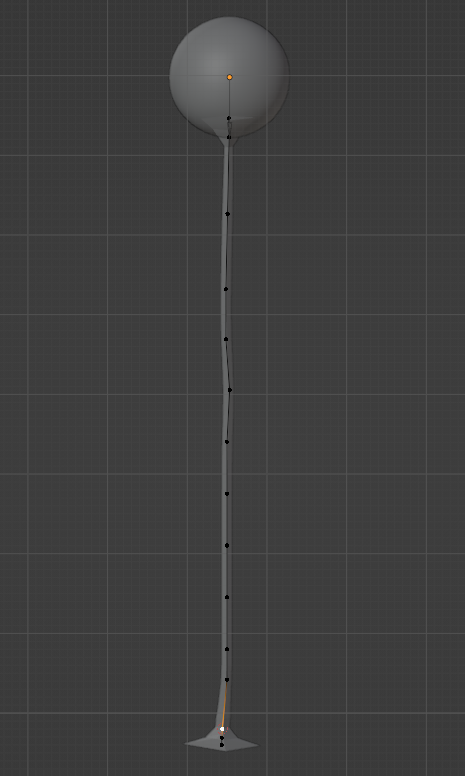
Scaled the vertex with Ctrl + A to fit the original shape
To make up for the lost geometry I added a SubDiv modifier underneath the skin.
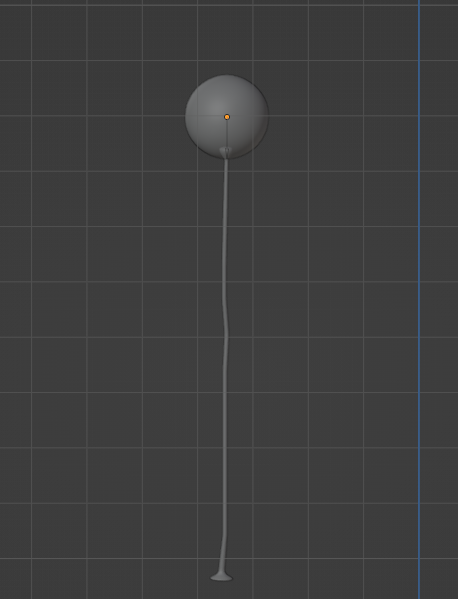
To fix the resulting sharp looking tubes. I added another SubDiv in front of the Skin modifier.

