0
$\begingroup$

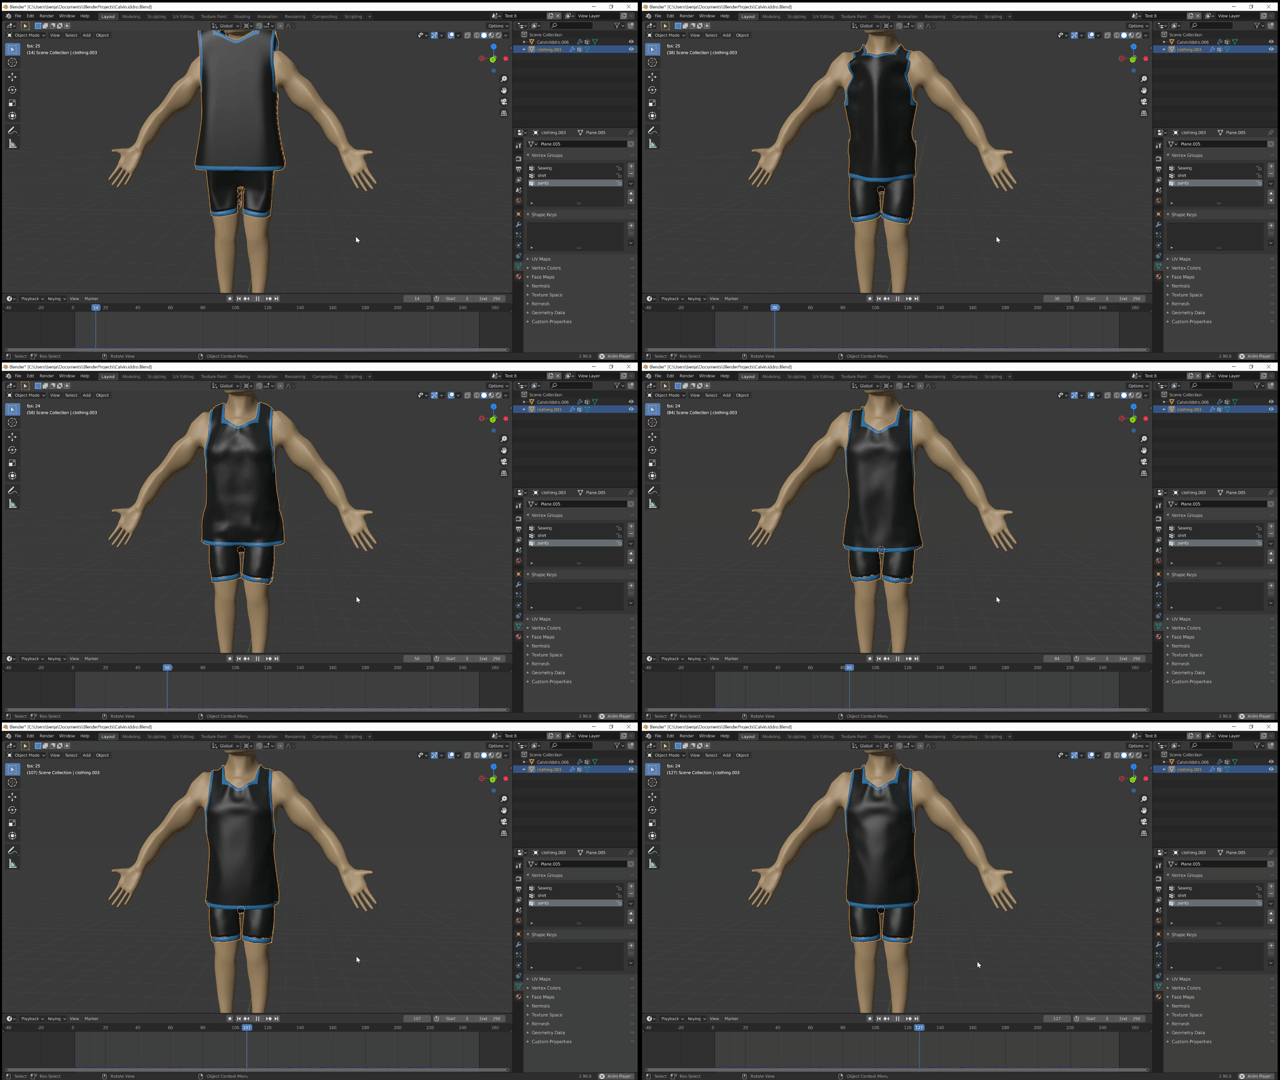
Each time I make an edit to my cloth in blender 2.9, it will sew together just fine and lay on my character mesh. After running the animation through once, it starts to shake and go through the mesh. Does anyone know how to fix this? enter image description here
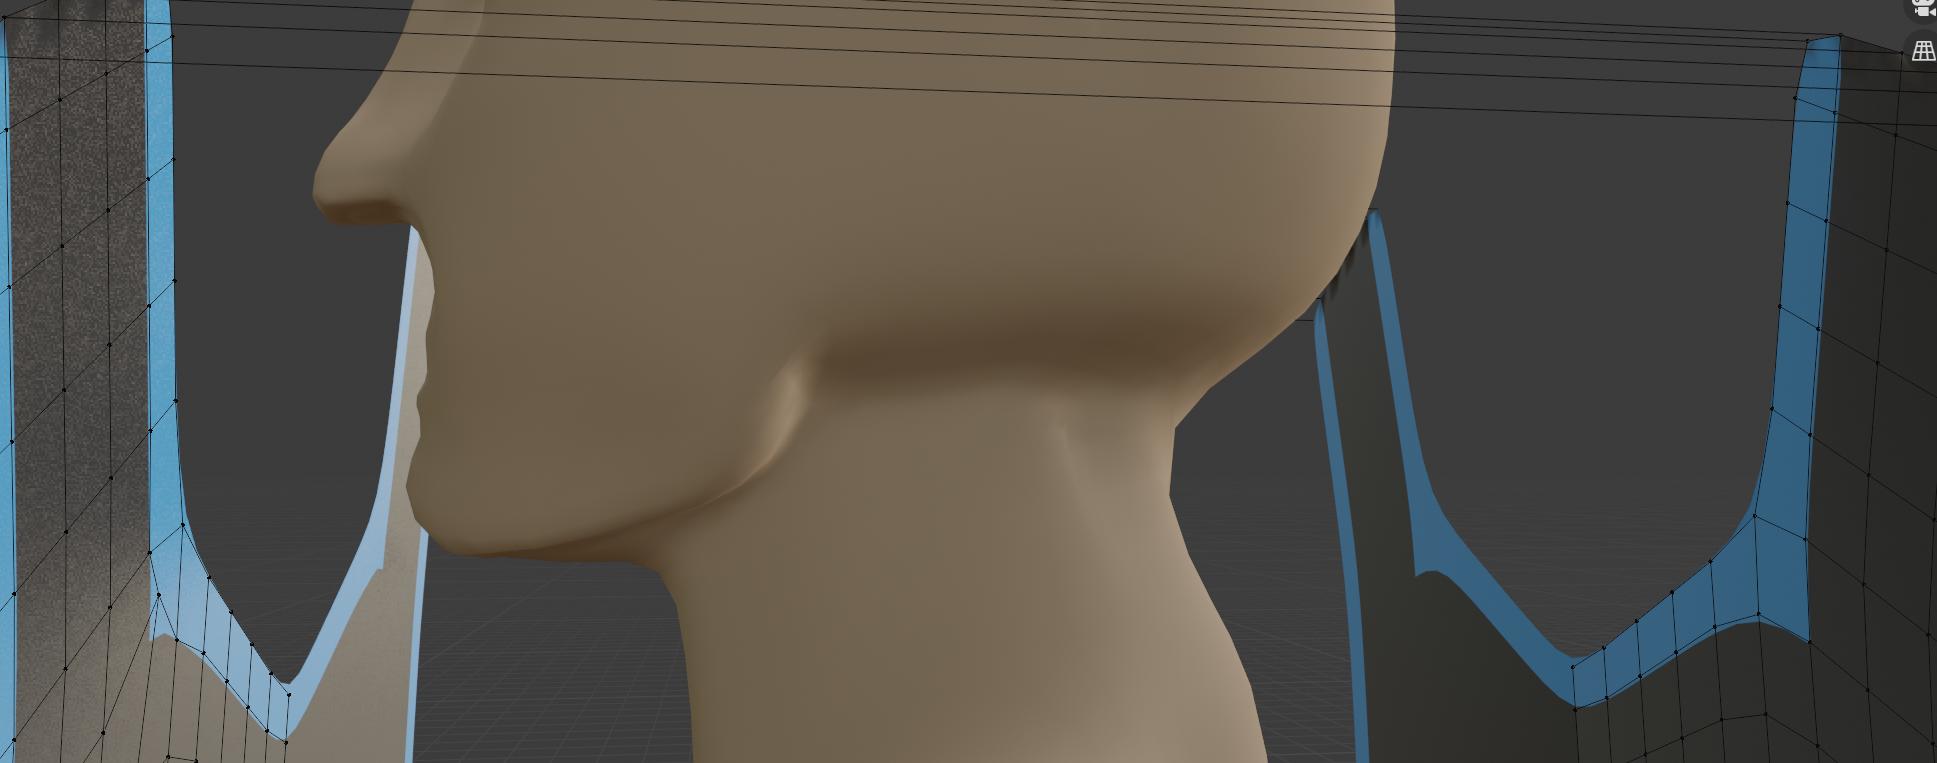
Edit 9/14: I found these weird lines in edit mode that were sewing the end to the thickness modifier. I then disabled the thickness modifier and the lines went away.

Extra sewing lines with thickness modifier:

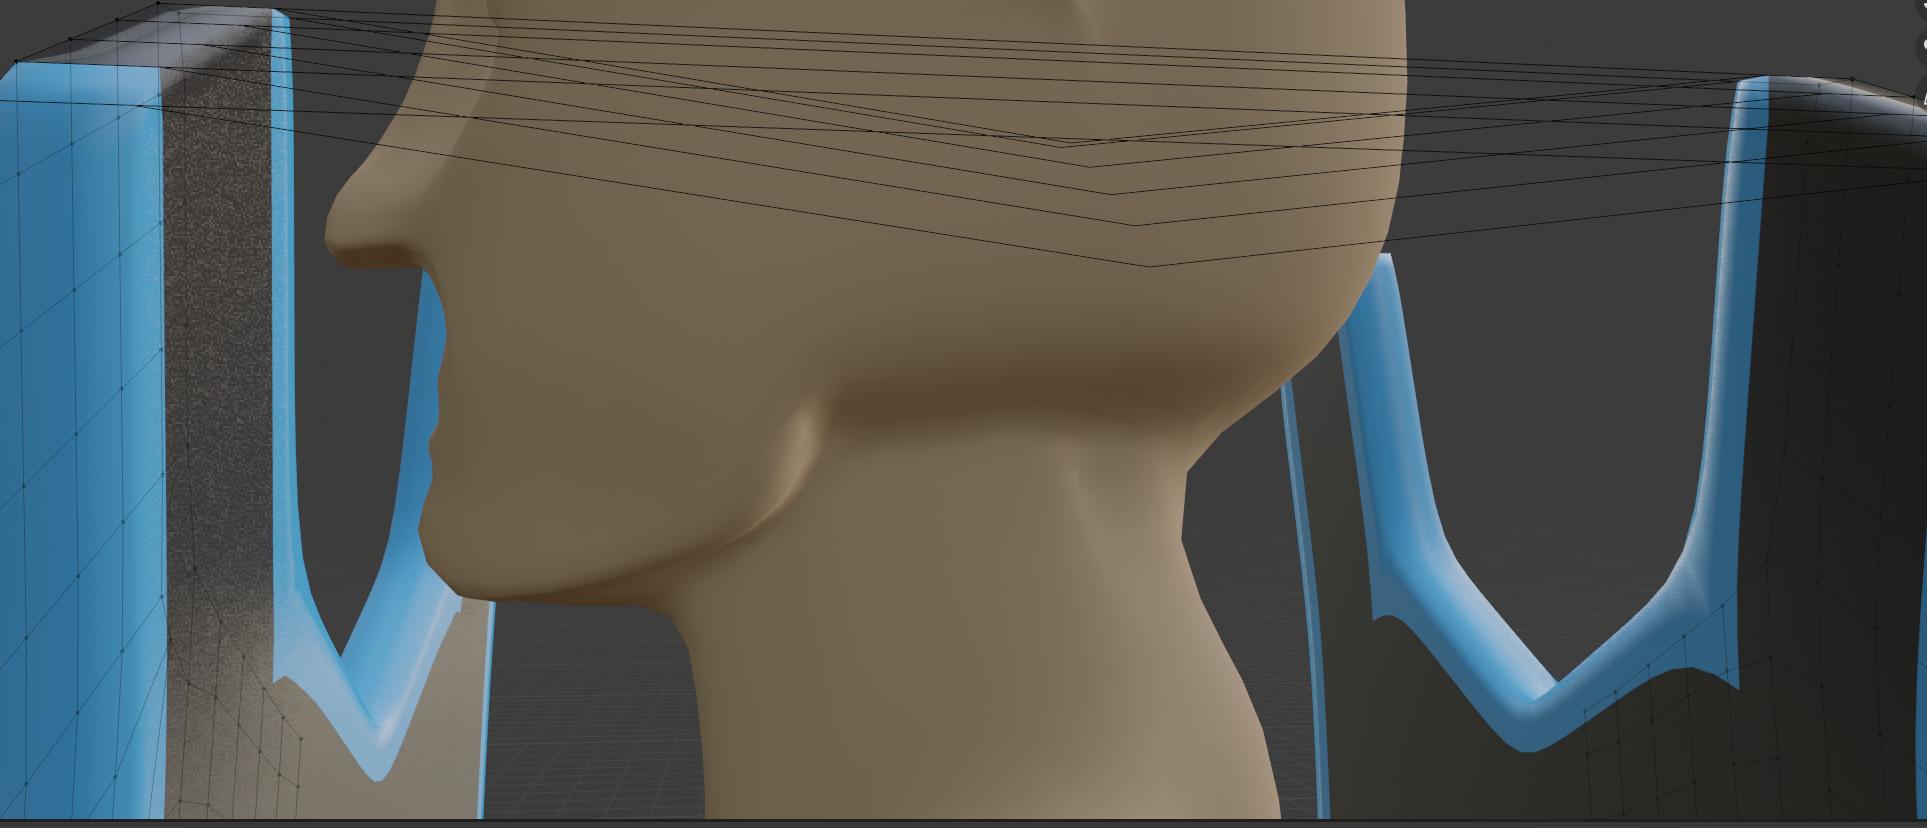
No more extra lines without it:

enter image description here

I took away the thickness modifier and then played the animation but it still wen through the mesh.

I looked at it from the side and it looked like this: https://drive.google.com/file/d/1XBwliFJtRSeqXAr41OiIiB2juPFqnjmG/view

$\endgroup$

3 Answers 3

0
$\begingroup$

Try increasing the quality steps. Sometimes if you have the steps set too low they clip through each other. If that doesn't work take a look at your cloth thickness, it may be too thin.

$\endgroup$
4
  • $\begingroup$ When I bumped up the quality steps to 8 (they were 5 before) and I bumped up the thickness to 0.02 (was 0.01 before) It appeared to go less through the mesh. should I just keep bumping it up until it stops? $\endgroup$ Commented Sep 10, 2020 at 14:57
  • $\begingroup$ Then I bumped it up to 20 and it started to spike out through the mesh. $\endgroup$ Commented Sep 10, 2020 at 14:59
  • $\begingroup$ You might want to try scaling everything up. the cloth might be too thin to work properly in the physics engine. You can get some weird results when you work with super small values like that. For reference 1 blender unit in 3d printing translates to 1 mm real life. $\endgroup$
    – Michael
    Commented Sep 11, 2020 at 21:07
  • $\begingroup$ What did you mean by scaling it up? I scaled up the thickness to .1 and it still went through the mesh like that. It is really weird. $\endgroup$ Commented Sep 14, 2020 at 14:35
0
$\begingroup$

For some weird reason, it all of a sudden started to work again so I guess that fixes the problem. I am not sure why it fixed but it did so yay!

$\endgroup$
3
  • $\begingroup$ You don't by chance know what you did to fix it would you? Like what were the last couple things you did? $\endgroup$
    – Michael
    Commented Sep 14, 2020 at 22:46
  • $\begingroup$ I think I changed the thickness up to 0.1 but I think that is it. I would like to change the thickness back down because the clothes aren't supposed to be that thick but I am afraid I might mess it up. $\endgroup$ Commented Sep 15, 2020 at 17:00
  • $\begingroup$ So if you look at my answer again I said that you should consider scaling everything up meaning that you can keep the relative thickness of the shirt. Scale both the body and the cloth to be larger so that the cloth thickness is 0.1. Also, try to select the answer that helped you solve your problem as the answer so that other people with the same question can see what helped. $\endgroup$
    – Michael
    Commented Sep 15, 2020 at 20:47
0
$\begingroup$

I have some experience in making clothes simulation. But not in sewing. Here is my video at YouTube about Skirt Cloth simulation at the girl skirt. She is performing CatWalk.

At the end of video there are options settings for Cloth Simulation. I took months from my time, to find these values.

https://youtu.be/A3kBf1Y92J0

A piece of clothing should be attached to the body using PIN vertex group. If, for example, the camera does not see the back of body,you need to create a vertex group of points at the back, name that vertex group as BackPin and write it, as Pin Group, in the Cloth Simulation.

Find Shape > Pin > Group and enter that name BackPin.

  1. Use for BELT for example Shrink Warp modifier.
  2. Make PIN vertex group for less moving parts of cloth, BELT for example, and write its name in Cloth > Shape > Pin Group.

That will attach cloth to the body and cloth will not fail.

$\endgroup$

You must log in to answer this question.

Not the answer you're looking for? Browse other questions tagged .