I wanted to have my character's arms be more akin to that of a cartoonish noodle, so I decided that the best way to accomplish this would be to create a Bezier curve, create a mesh out of that curve by duplicating and converting it, create an armature from the curve's various points, rig the mesh to that armature, and apply a Spline IK constraint. However, I think that there might be an easier way to do it than how I'm currently accomplishing it. Here's my process.
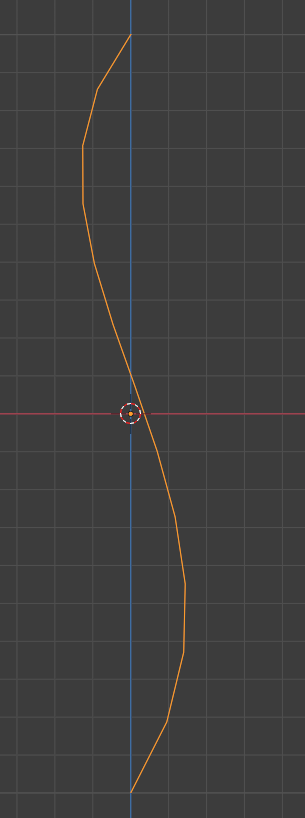
Here is a simple Bezier curve. I would then proceed to duplicate the curve three times so that I can use each one for a different purpose.
I'd then expand the depth of one of the curves to a suitable value ('0.07 m' in this case) and convert it into a mesh.
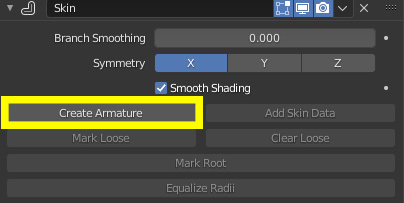
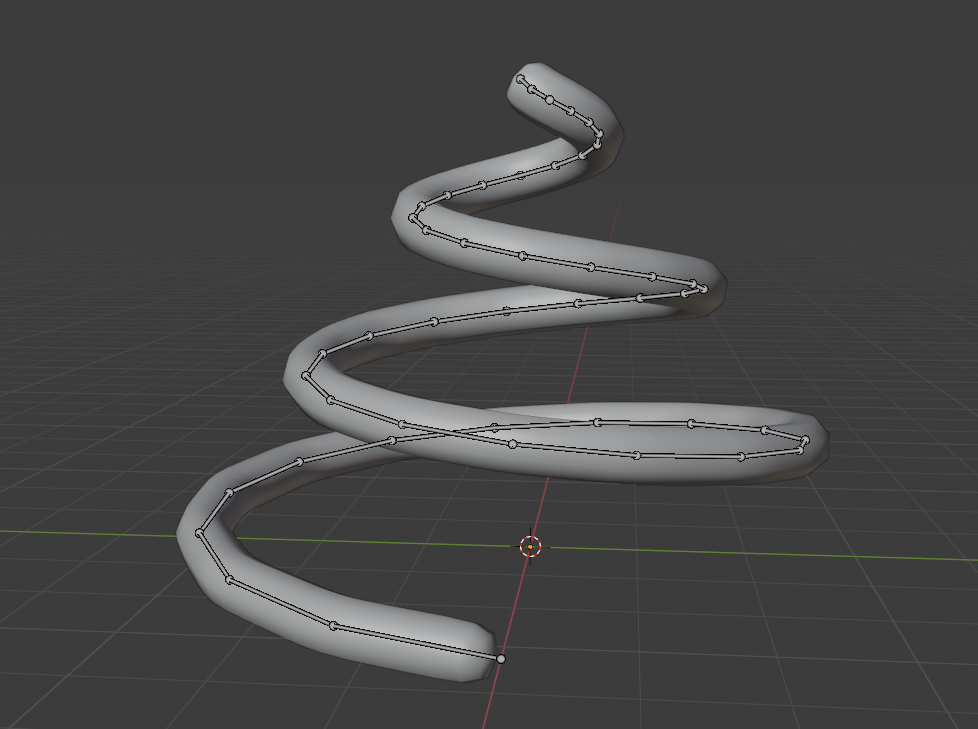
Hiding the mesh, I'd move onto another curve, converting it into a mesh while making sure that the depth stayed at a volume of '0 m'. With the mesh being nothing more than a curved line of vertices, I'd then add a Skin modifier. After selecting the modifier's "Create Armature" button and deleting the mesh, I'd have an armature ready for me to utilize.
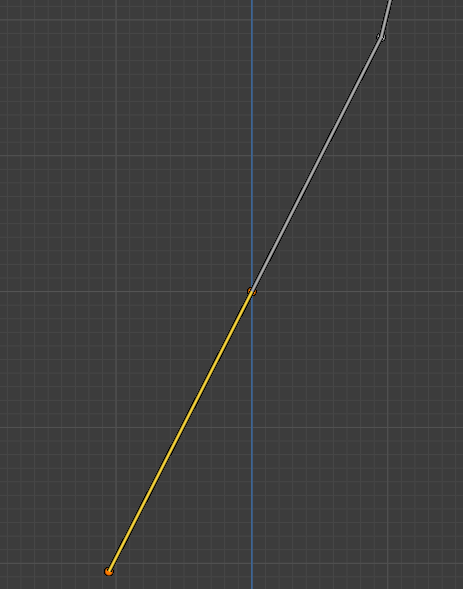
Before rigging the mesh to the armature, I'd extrude another bone out of the end bone for the sake of accurate deformation.
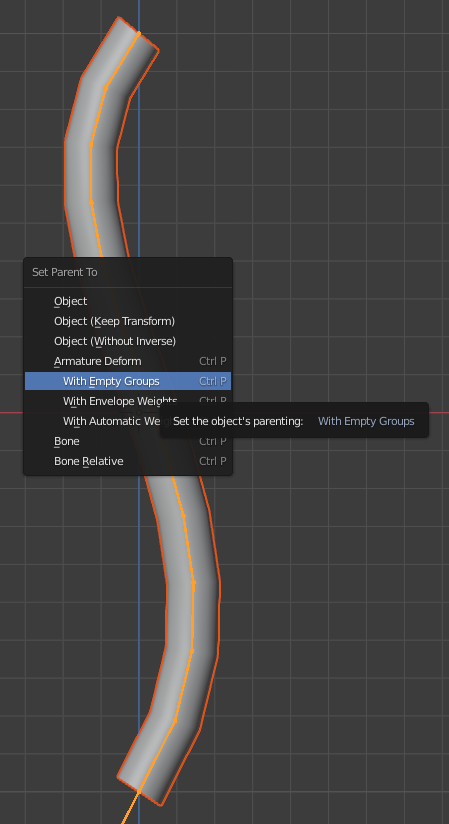
Allowing the mesh to become visible again, I'd select the mesh and then the armature. I'd then parent the mesh to the armature with empty groups (automatic weights give messy results).
Now here comes the part where I want to rip my hair out.
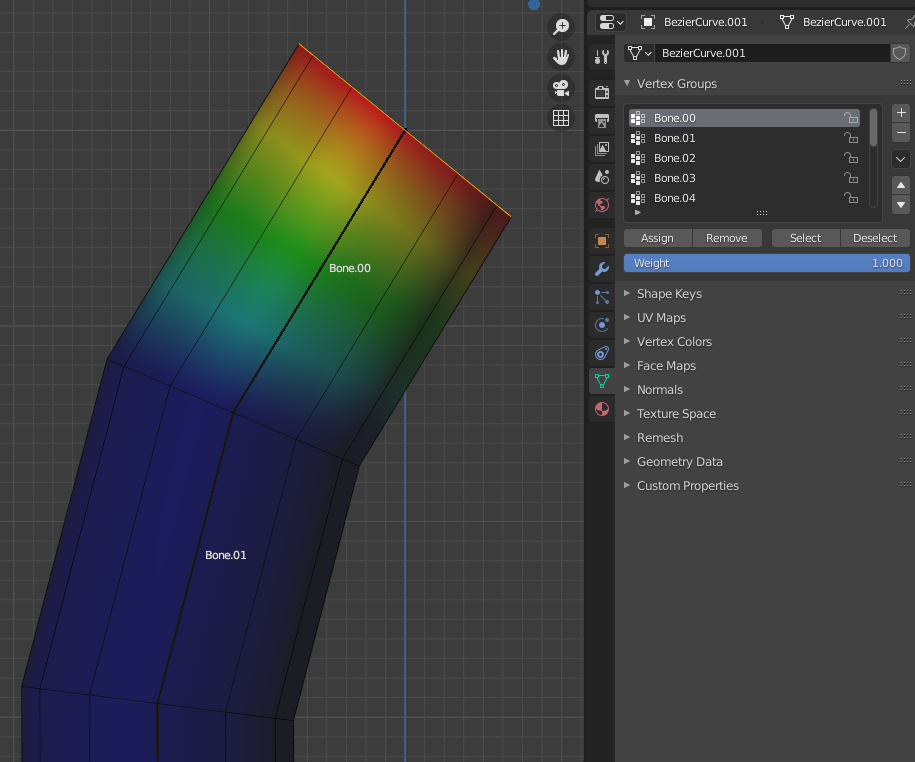
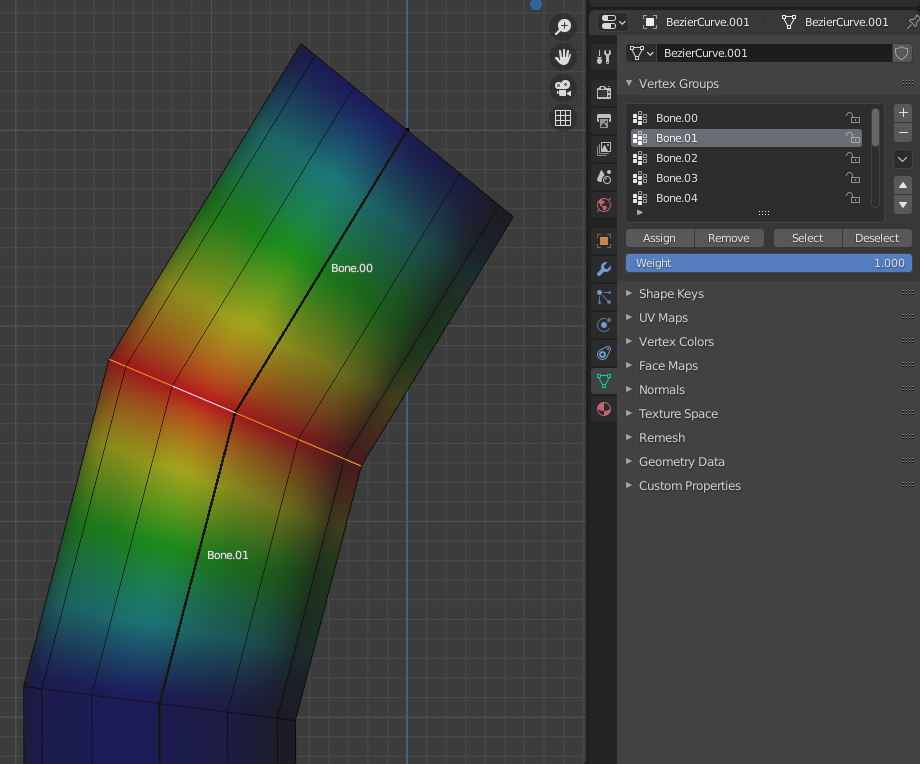
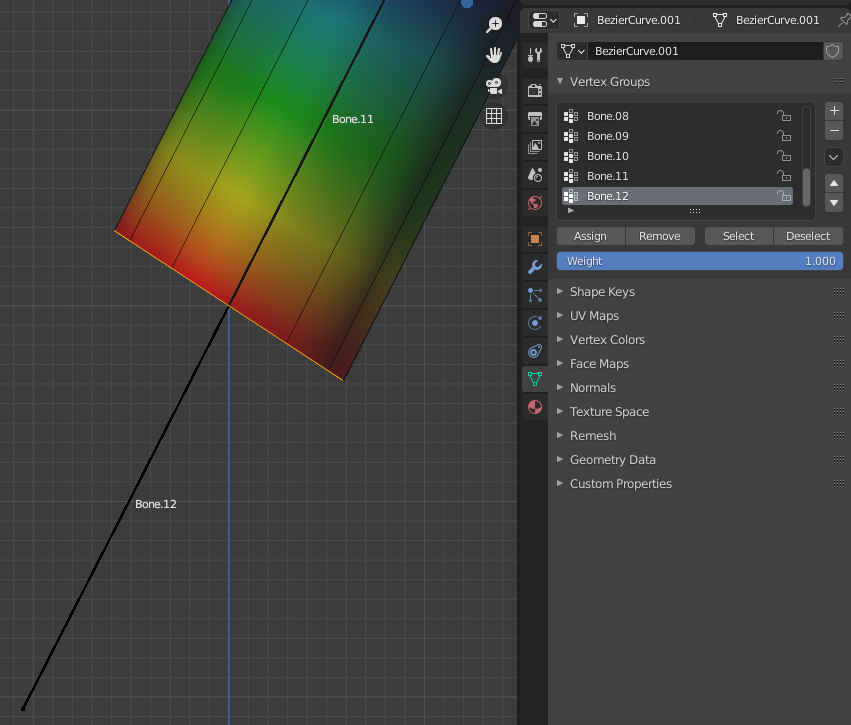
Since automatic weights don't give me the results I want, I'd select the armature, go to the Object Data properties, go to the "Viewport Display" tab, and check "Names". With that out of the way, I'd select the mesh and go into edit mode. I'd then select a ring of vertices and assign it to the vertex group that properly corresponds with the appropriate bone.
And then I'd do it again.
And again, and again, and again, until I eventually run out of vertex groups to assign the model to.
Now, it's not too big of a deal when I only have 13 bones within this example armature, but if I were to deal with 30 or 50 bones here so that the mesh can look extra smooth while the arm is being deformed by the spline, things suddenly get significantly more tedious to set up than before, especially so if I'm dealing with multiple limbs. After this I'd just add a Spline IK modifier to Bone.11 and add a few fancy hooks to the Bezier curve, but I think you get my problem here.
I don't want to go and apply weights to the various vertex groups in my model so that it responds to every single bone in my armature here. Is there a script/add-on that can do this automatically, or is there a better workflow that would make this sort of thing easier to accomplish?

