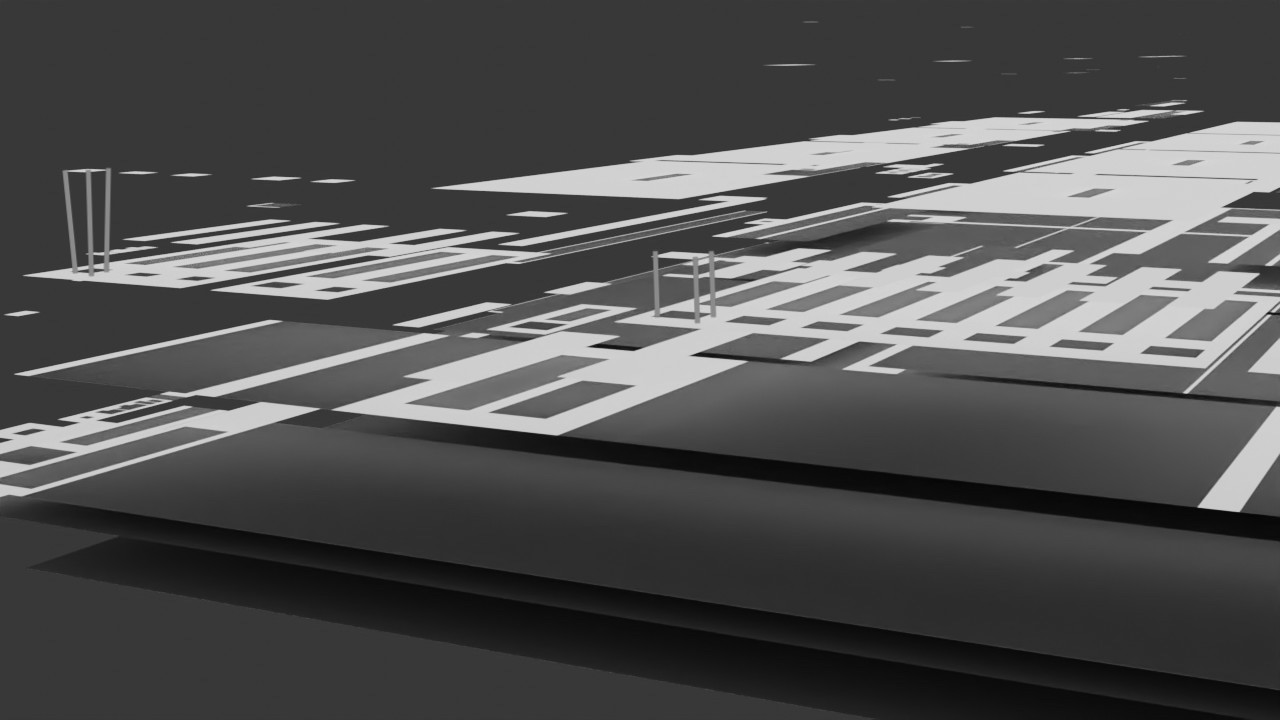
While in Edit Mode, if you go into an orthographic side view, you can box select all faces for either the upper or the lower story (it doesn't matter which one you choose, but the one you choose will be the one you extrude). With all faces selected, press e to extrude, and after you drag, press right-click to cancel the operation. The extrude still takes place, but the faces you created have now ended up back at their starting position, making them essentially invisible, by virtue of the fact that they are now perfectly intersecting with the faces they were originally extruded from. But they are still selected. While still in the orthographic side view, activate edge snapping (This choice may not seem to make sense in this context, but I believe this option works better than face snapping). Press g to grab the selected faces, z to constrain the grab to the vertical axis, and drag upward until your cursor reaches the next story of faces You should now have the two stories in contact (but not merged).
If you want the newly contacted plane to get etched by the intersection, as you indicate you would prefer, you may need extra steps. One option is to use knife project, but this tool is tricky. Select the entire object that you extruded the new faces from, and in Edit Mode, select the entire edge ring which defines its outer perimeter (Shift + select any of its edges to select them all). Press Shift + d to duplicate this edge loop, then press p to bring up the Separate menu, and choose Selection. Now go into Object Mode, and hide the original object that this edge ring was made from. Select the new edge ring object, then Shift + select the object to be etched, tab into Edit Mode (in 2.8, both objects will go into Edit Mode together if they are selected together), press Numpad 7 to force your view to top orthographic (this is important for the next step) and from the Mesh menu at the top of the screen, choose Knife Project. This will etch your plane with the outline of the new object (but make no hole). Delete the new object. It was only needed as a cookie cutter.


