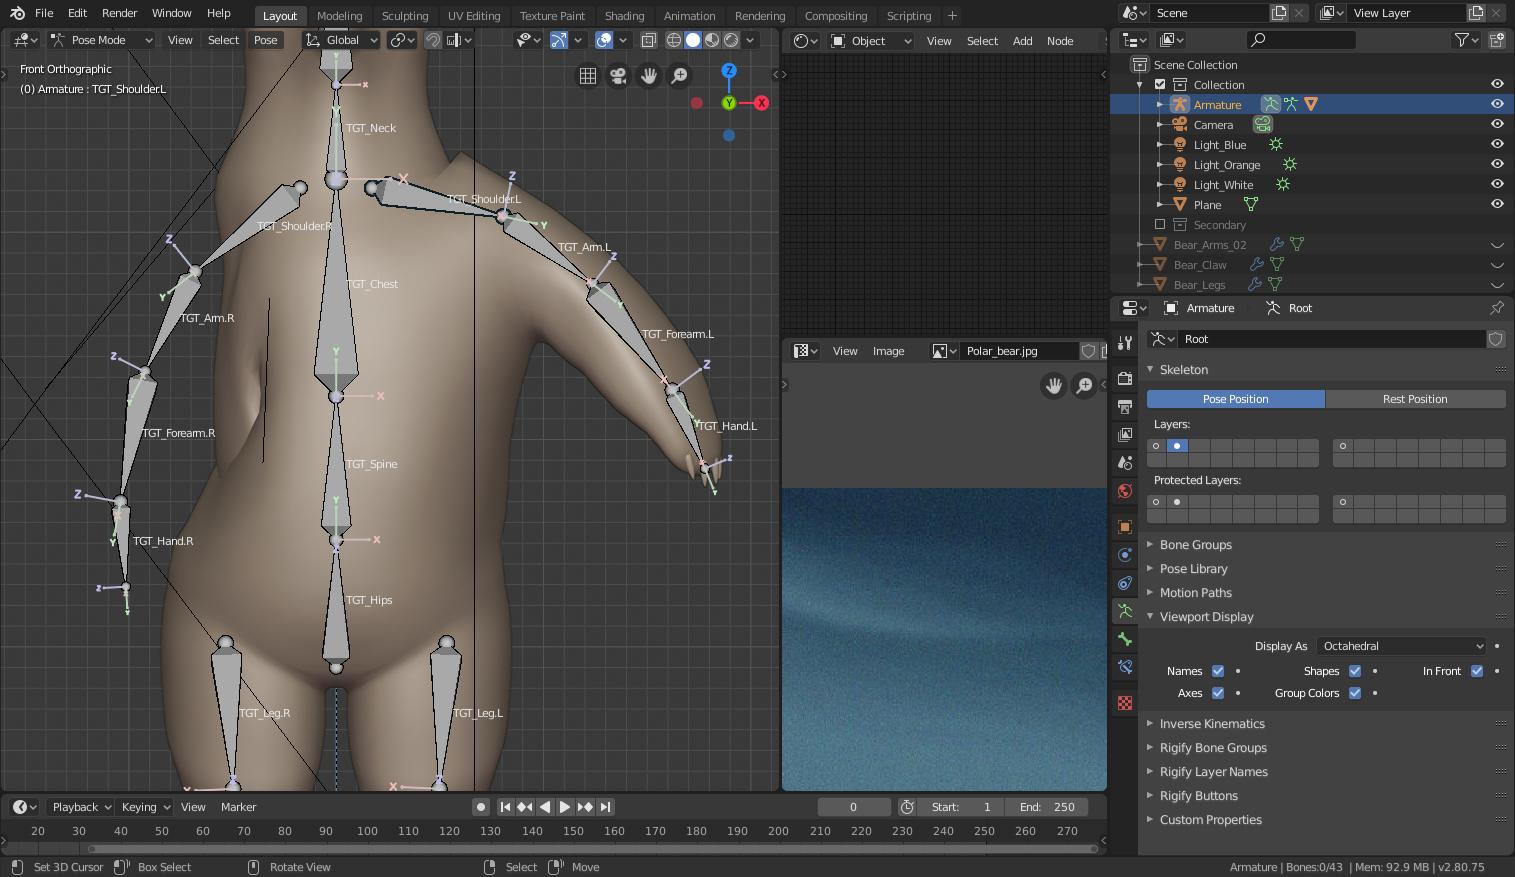
Here is the sequence of steps I used to get behavior that works as desired. There may be other approaches, but this worked for me:
Start by putting your Mirror modifier at the top of the Modifier Stack and applying it. Next, apply the Armature modifier. We are going to recreate it.
With your armature selected, go into the Object Data tab and turn on only the first bone layer, the one with your Def bones in it. Now select your character mesh and shift-select your armature, and from the Ctrl-P menu, bind armature with automatic weights. A settings box will show up at the bottom left of the screen. Open it and check the X-Mirror box. I have seemingly never needed to bother with this before, but I consciously checked it this time.
After the bind is finished, make sure your armature is selected and go back into the Object Data Properties tab to get access to the bone layers once again, and now toggle to the bone layer for your TGT skeleton.
When you rotate the bones, the arms and legs move independently.
Theory: You had never applied your mirror modifier before beginning your bind. The binding with automatic weights tries to create unique vertex groups for all the bones, but it also needs unique mesh locations for all of them also. Unfortunately, a mesh with a Mirror modifier currently unapplied technically does not truly have two different sides, but only one, until you commit to it having two by applying the Mirror modifier. My guess is that when the bind tried to create vertex groups, it couldn't do so properly, because there was no other side to put the groups. So it placed them in such a way that both arms, and both legs, would always move together.
Here is the repaired version of the file.


