"I adjusted the exposure but that didn't help"... maybe you mean: I didn't adjust the exposure "enough".
"My textures they turn white"
But what is white anyway?
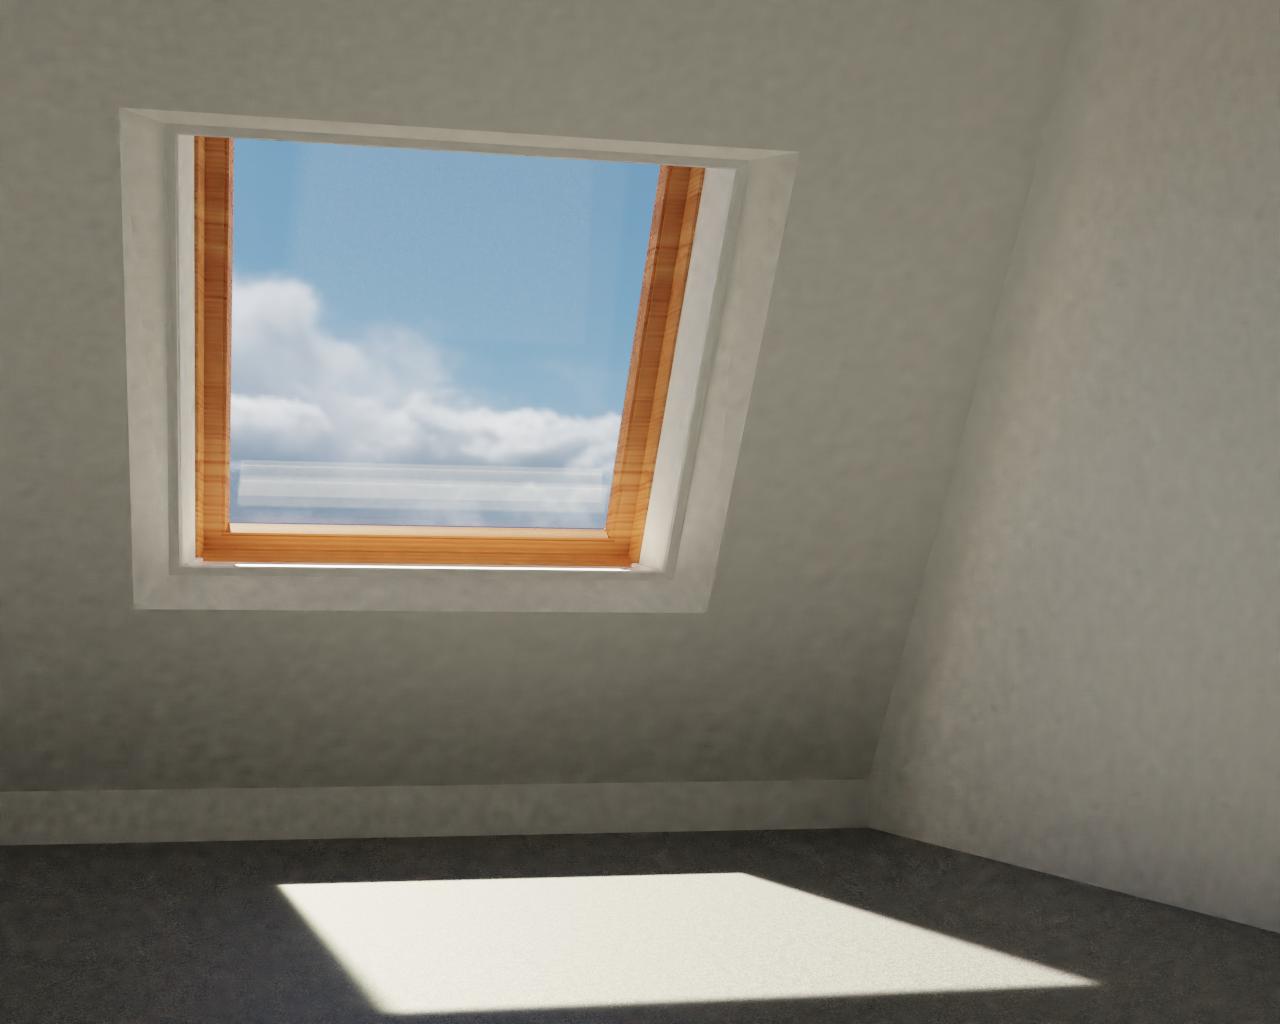
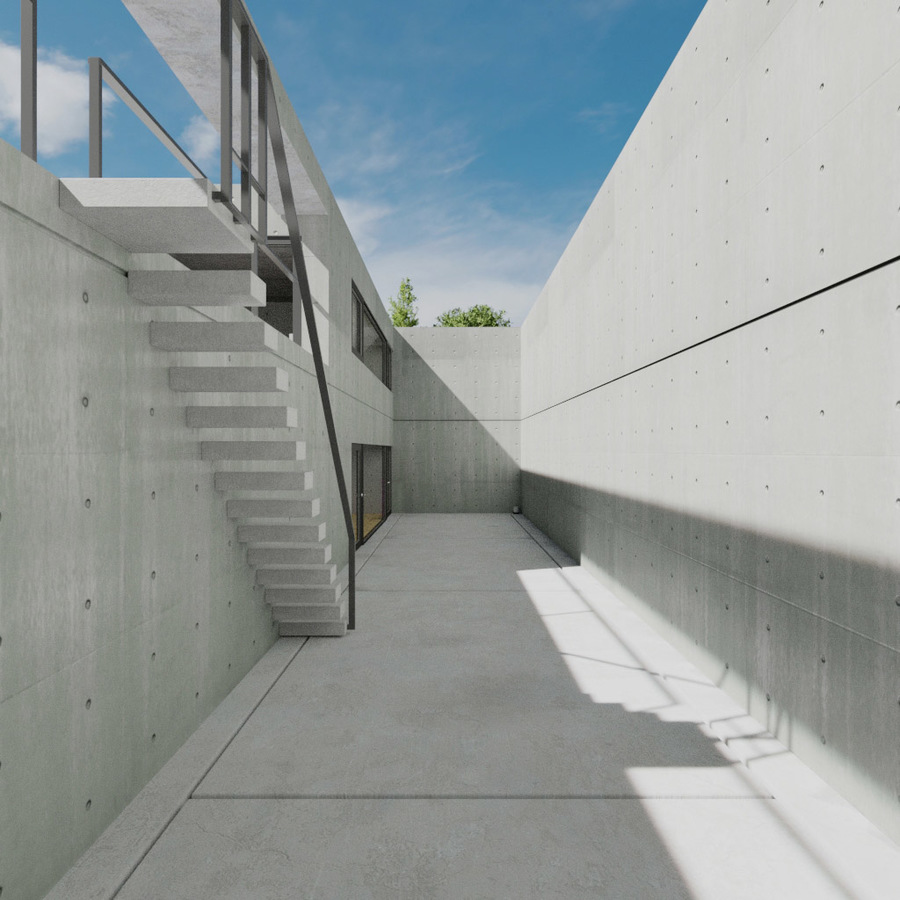
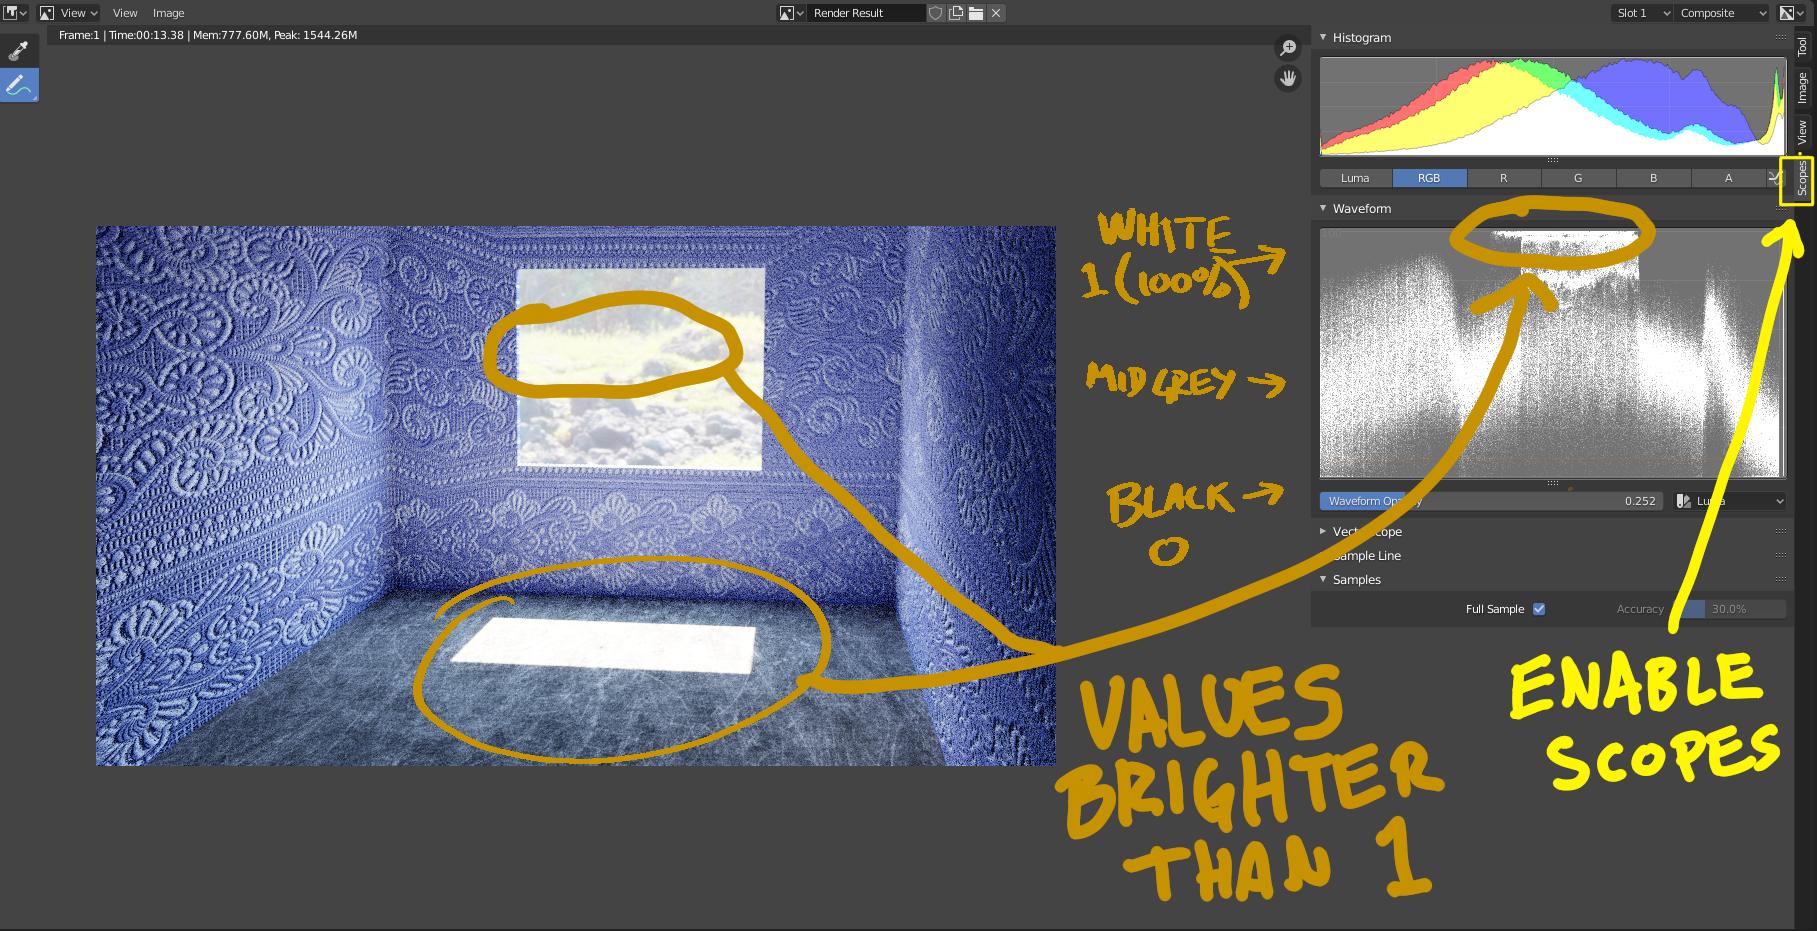
In the case of digital images, "White" is not a color, it is just the limit of what the display can deal with, in other words it is when the data has reached the top of the scale (from $0$ or $100$%) in all three channels. If you want to have detail in the highlights, those highlights should be at a lower value than $100$%. Brighter values are ignored or "clipped", in other words, the display cannot show anything brighter than "white".
What should you do to get detailed highlights?
There are many approaches:
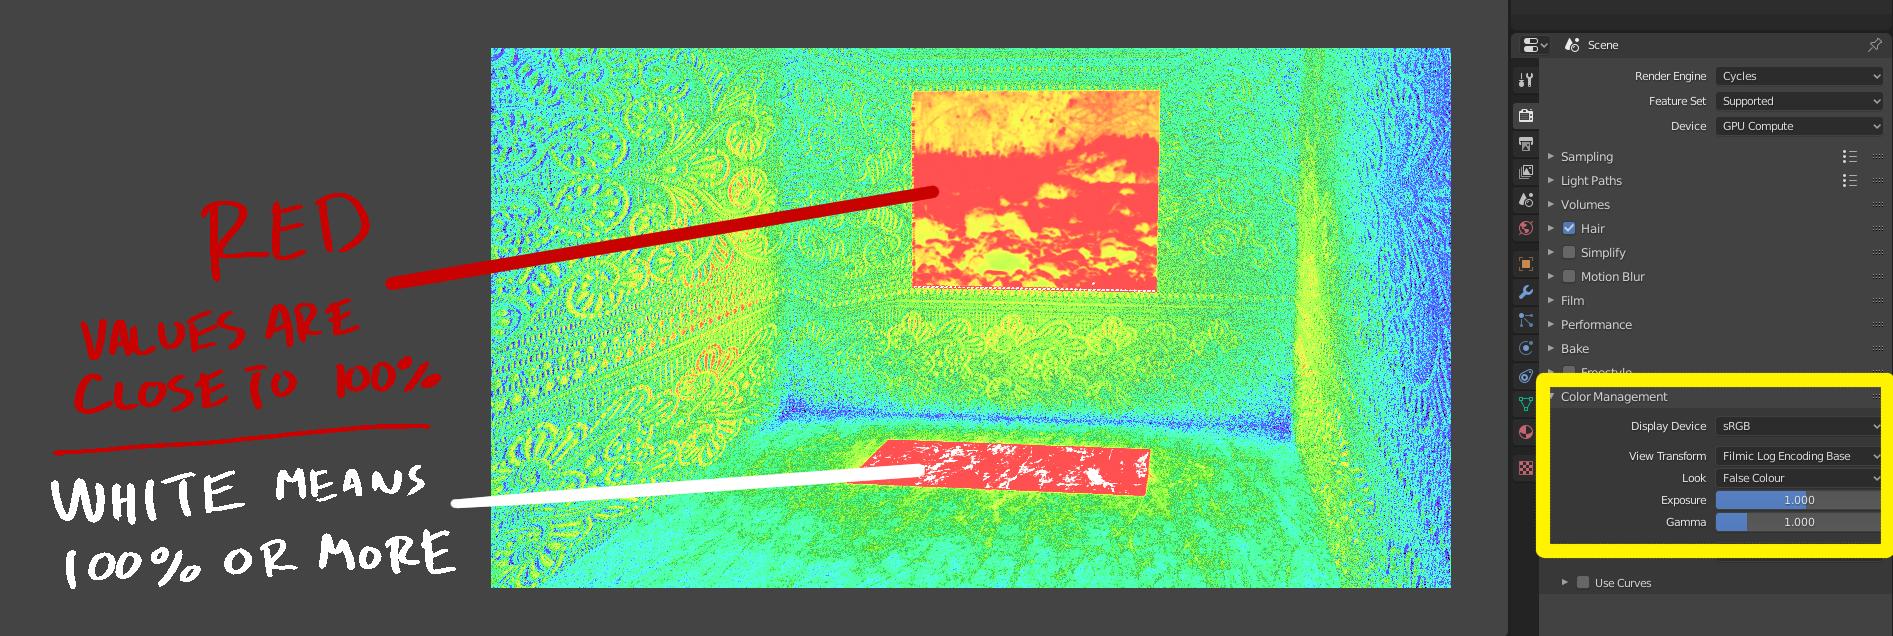
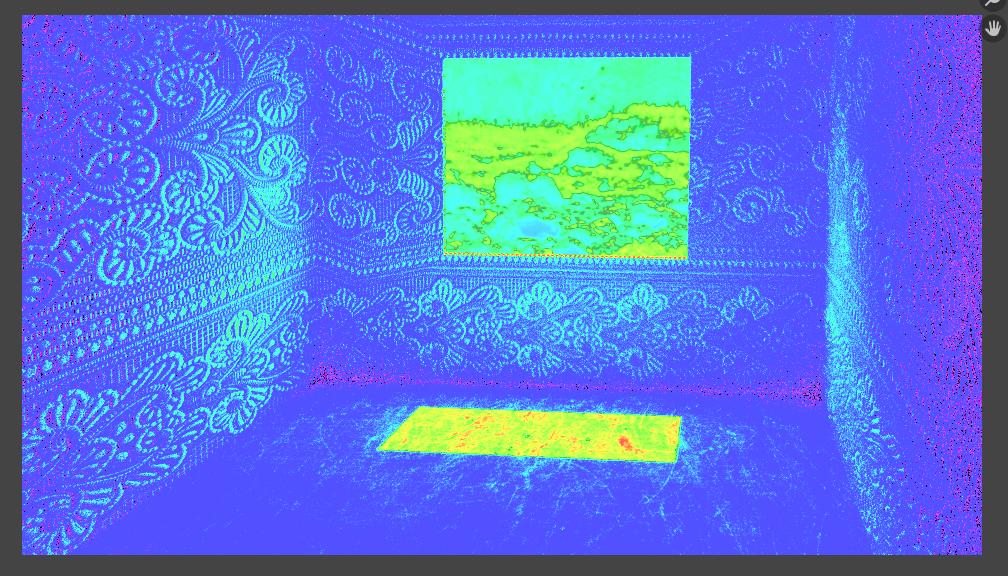
The first step is to evaluate the brightness or "exposure" of the scene. Use the "False Colour" setting in the color management section to view how hot the scene is. Very bright values will be displayed in red, and "blown out" or clipped values will be colored as white.

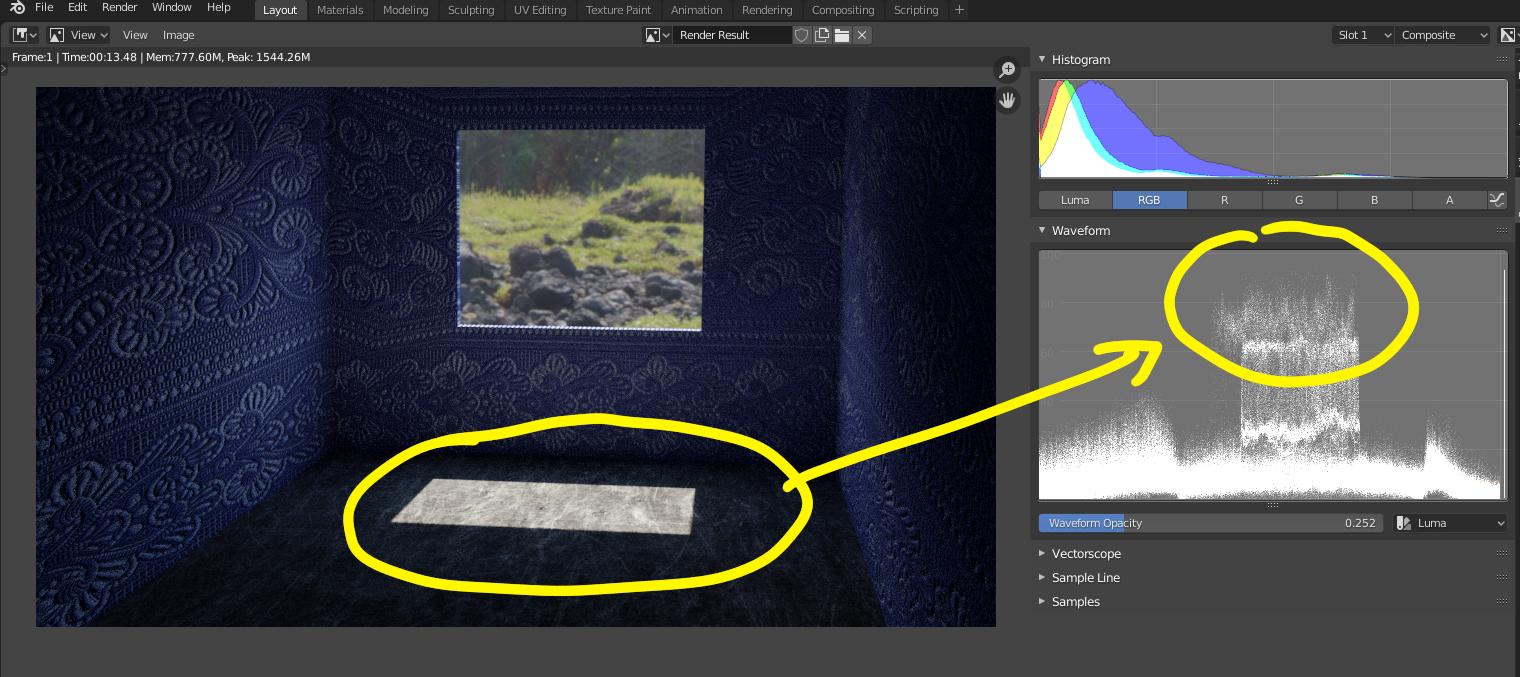
Or use the vectorscope on the Image Editor to see up to what point the highlights are being "clipped" (usually you can see a horizontal line at the top of the scale)

If you are lighting the scene with a HDR image, use the "strength" slider on the world/surface to bring the values to a point where the texture is not "blown out", or it falls within the limits of what is displayable.
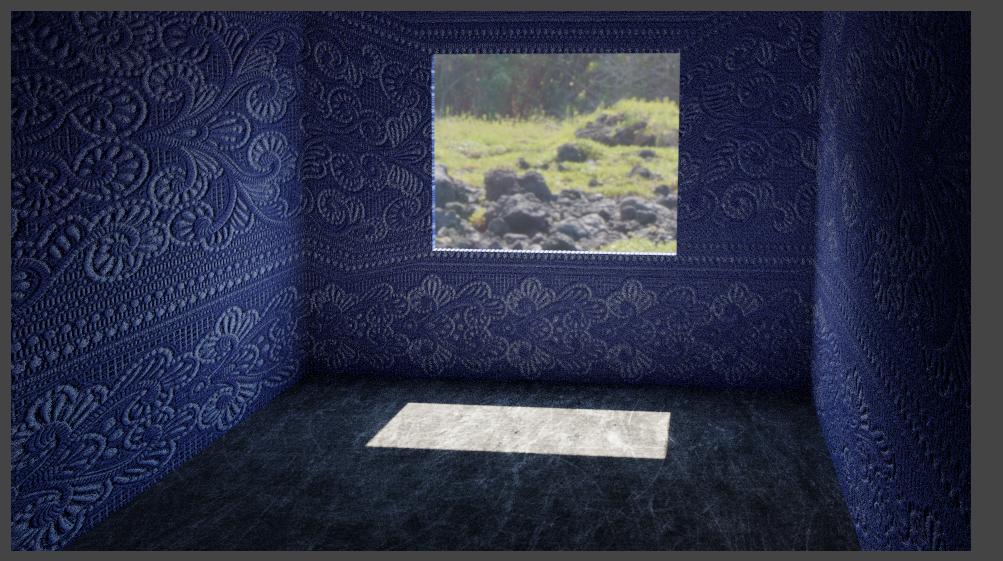
Same scene but with lower strength on the environment texture:

Vectorscope and False Colour show that the highlights are not clipped anymore


The trade-off is that, in order to get detail on the highlights, the rest of the scene will go dark too. That is quite normal: it is hard to light a scene with a very large dynamic range, like the one you are showing, without additional lighting or re-interpreting the brightness values, or some other trickery.
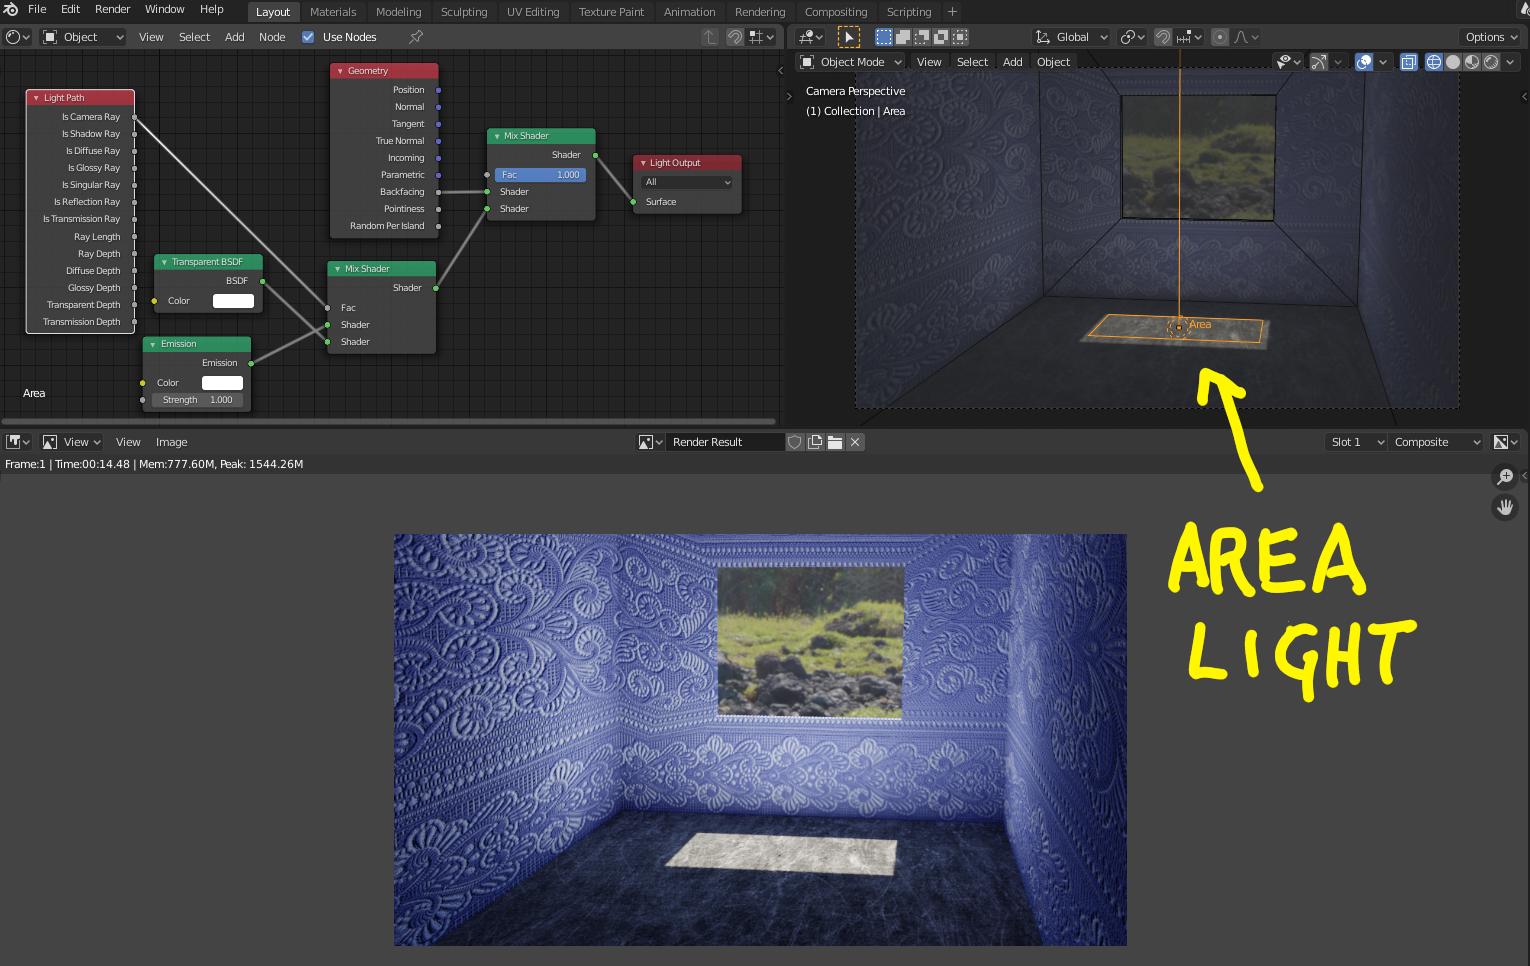
In real life, a photographer would need to add powerful light sources inside the room to be able to capture detail in the highlights on the clouds, and the detail of direct sunlight in the room, plus the detail on shadows that are darker by several magnitudes. You could add some light sources to enhance or recreate the illusion of "realism". Those sources can be placed to recreate how the light coming from the window would bounce on a room.
Next image shows the same scene, with an area light placed where the direct sunlight illuminates the floor. Note that the area light illuminates only in one direction, and is set to be invisible to the camera using "is camera ray" on a Light path node:

A different solution would be to use the same HDR image to light the scene, and use nodes to make the camera see the same image at a different intensity in the background. As explained here: https://blender.stackexchange.com/a/113945/92768.
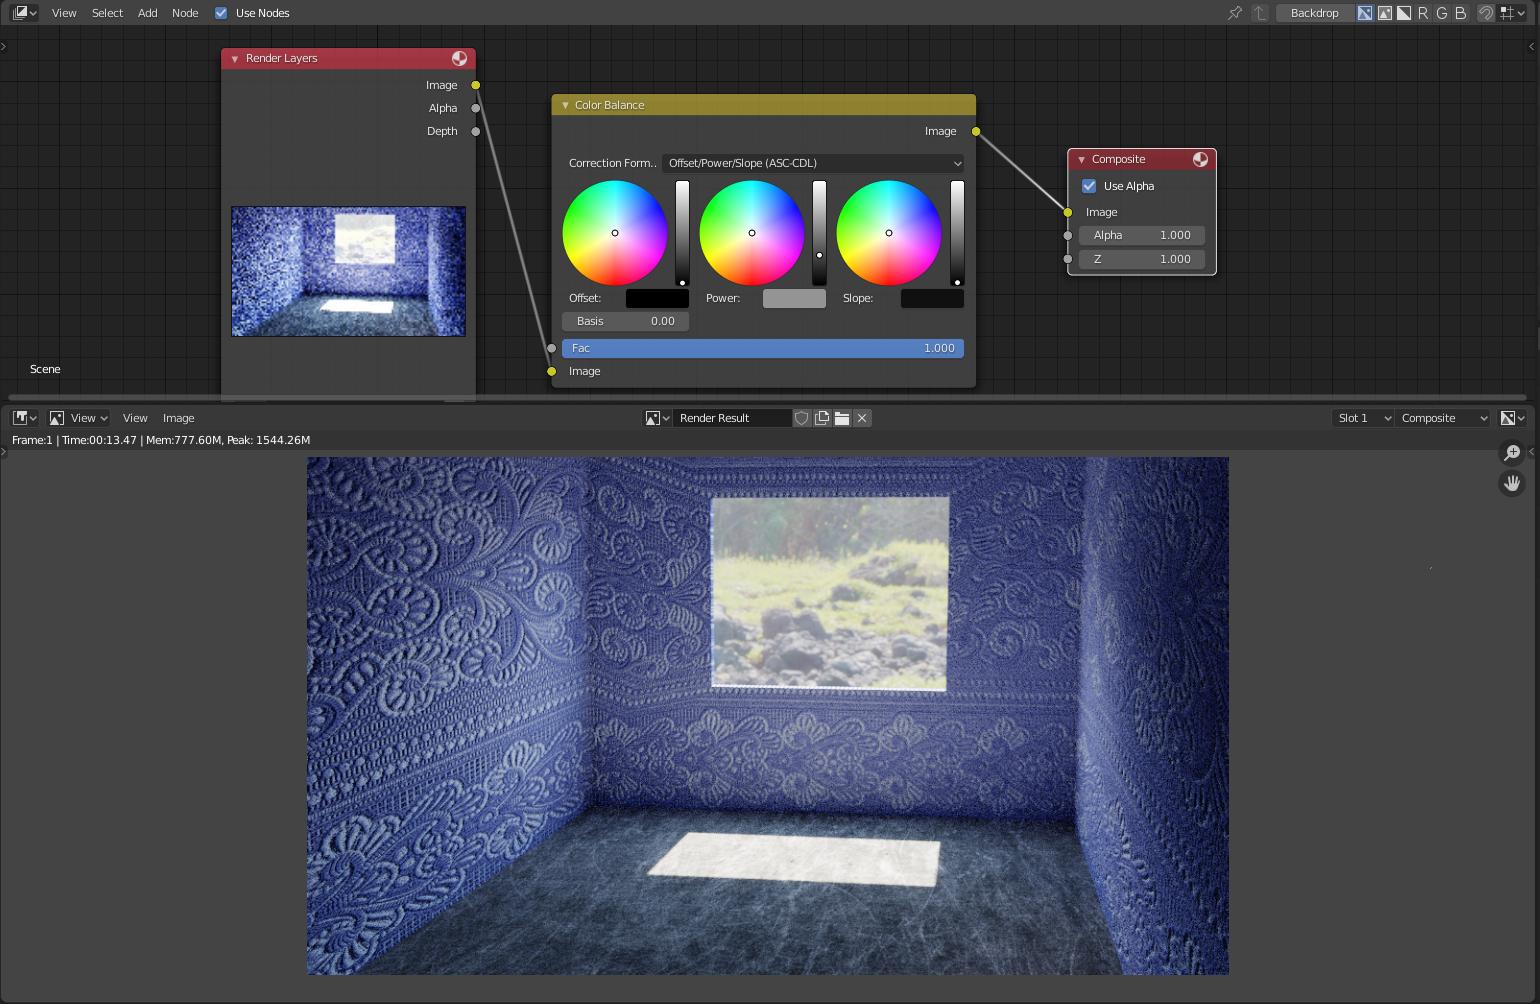
Or you can use the ASC-CDL node to change how the values of the scene are interpreted for the final image. As detailed in these links: https://blender.stackexchange.com/a/69615/92768 and https://blender.stackexchange.com/a/57927/92768
Here's the same scene again, with the original values that caused clipping, but interpreted through the Color Balance/ASC-CDL node. Using Power and Slope the high values were brought down to levels below clipping, and the contrast of the scene was modified to brighten the darker areas.

Additionally, blender has tools to interpret the values of the rendered image using one of the different "looks" on the color management section. Try a "low contrast" or "very low contrast" setting.
The last solution I will propose, is to generate two or more different images, one for the interior of the room with the proper light values, and one for the exterior that is seen through the window and one for the very bright sunlight on the floor, and composite them together later.
The bottom line here is that the artistic intent, or subjective way to understand an image, might not match the values of the sene itself, those of the HDR images, or they might not fit within the limits of what can be displayed on the screen. So you will have to resort to interpretations, adjustments and tricks to reach your goal. There is no magic button to make things look "realistic": it is a highly subjective concept.

