0
$\begingroup$

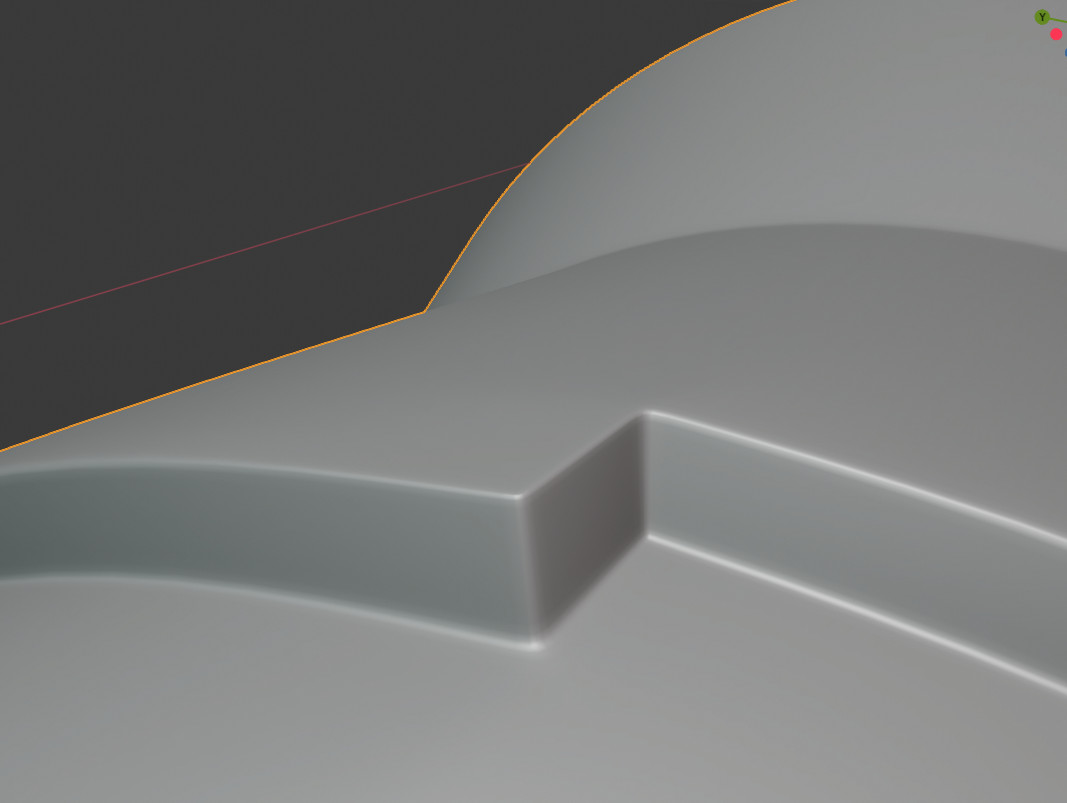
So I'm trying to make the edges of that little rectangle sharp, something like how it is in this screenshot. This was using edge loops but the 4 loops that run the length of the cyclinder create weird lines as you can see in the picture. I tried dissolved all the edges in the loops except the ones around that area but it didn't seem to work. enter image description here
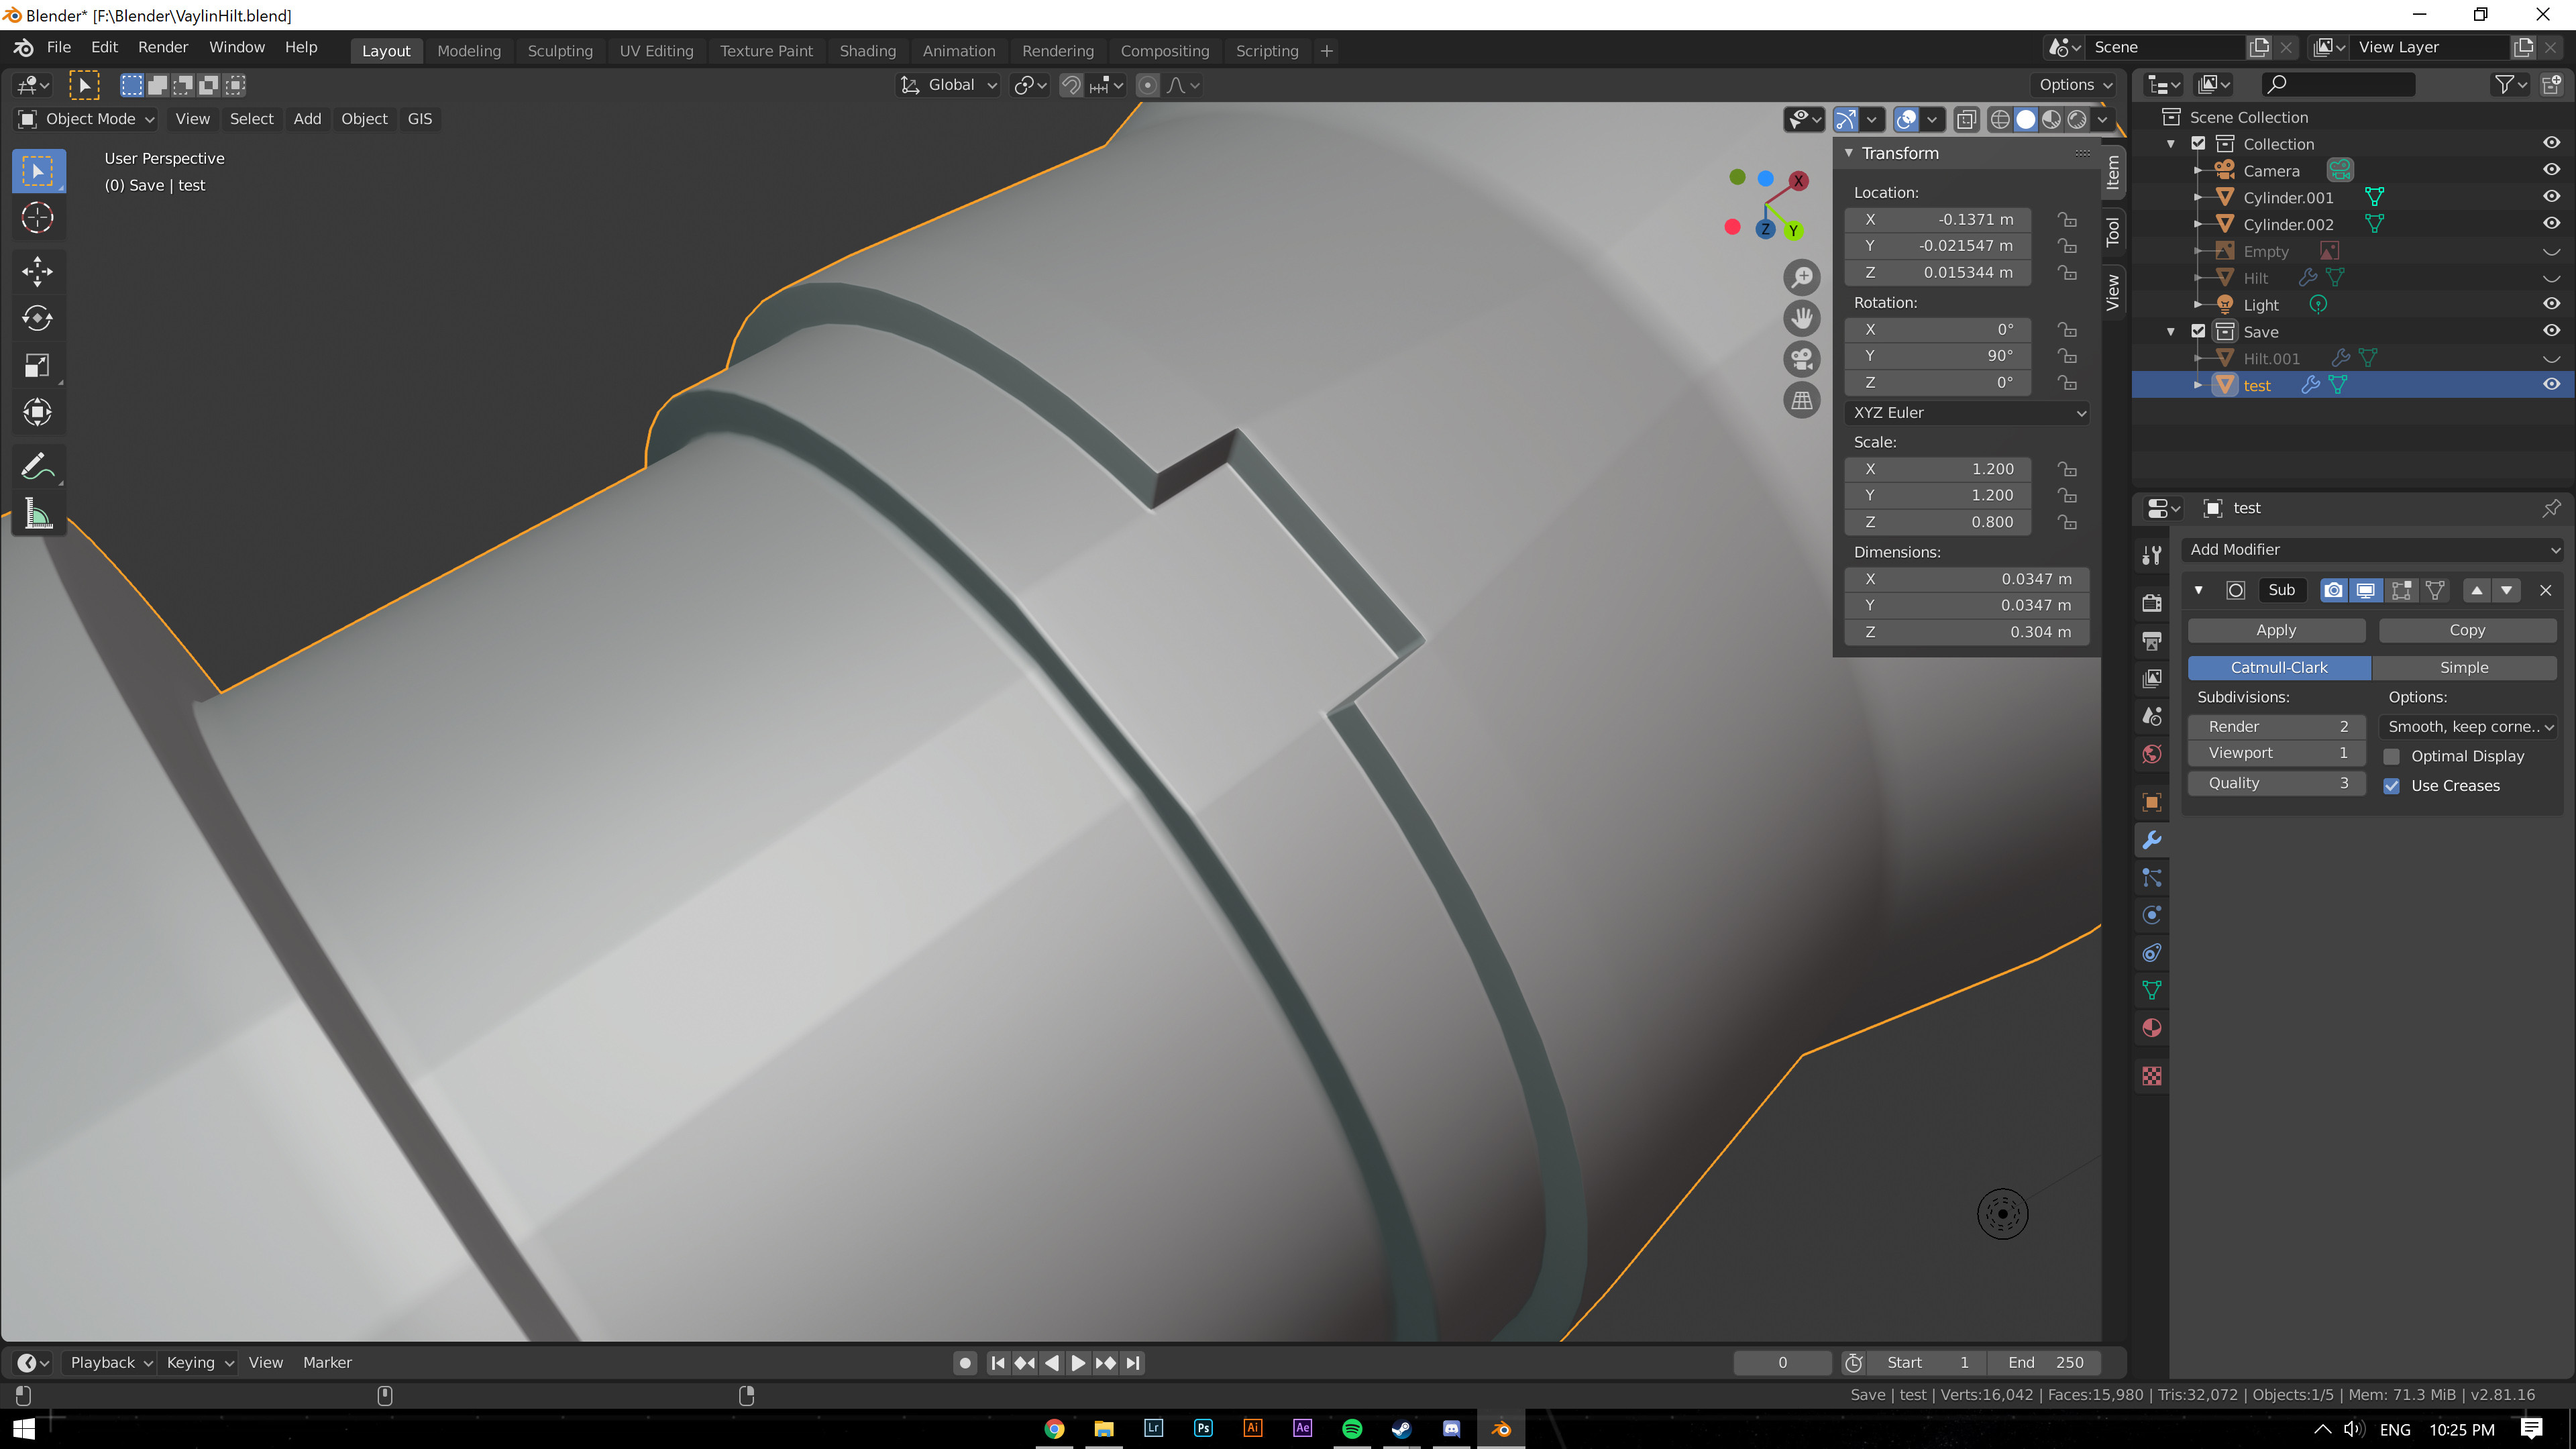
This one was done with creases all around but those 2 highlighted edges were jutting out instead of following the curve of the cylinder which doesn't look very good.

I uploaded the blend file to google drive, not sure if you guys will be able to access it: blend file

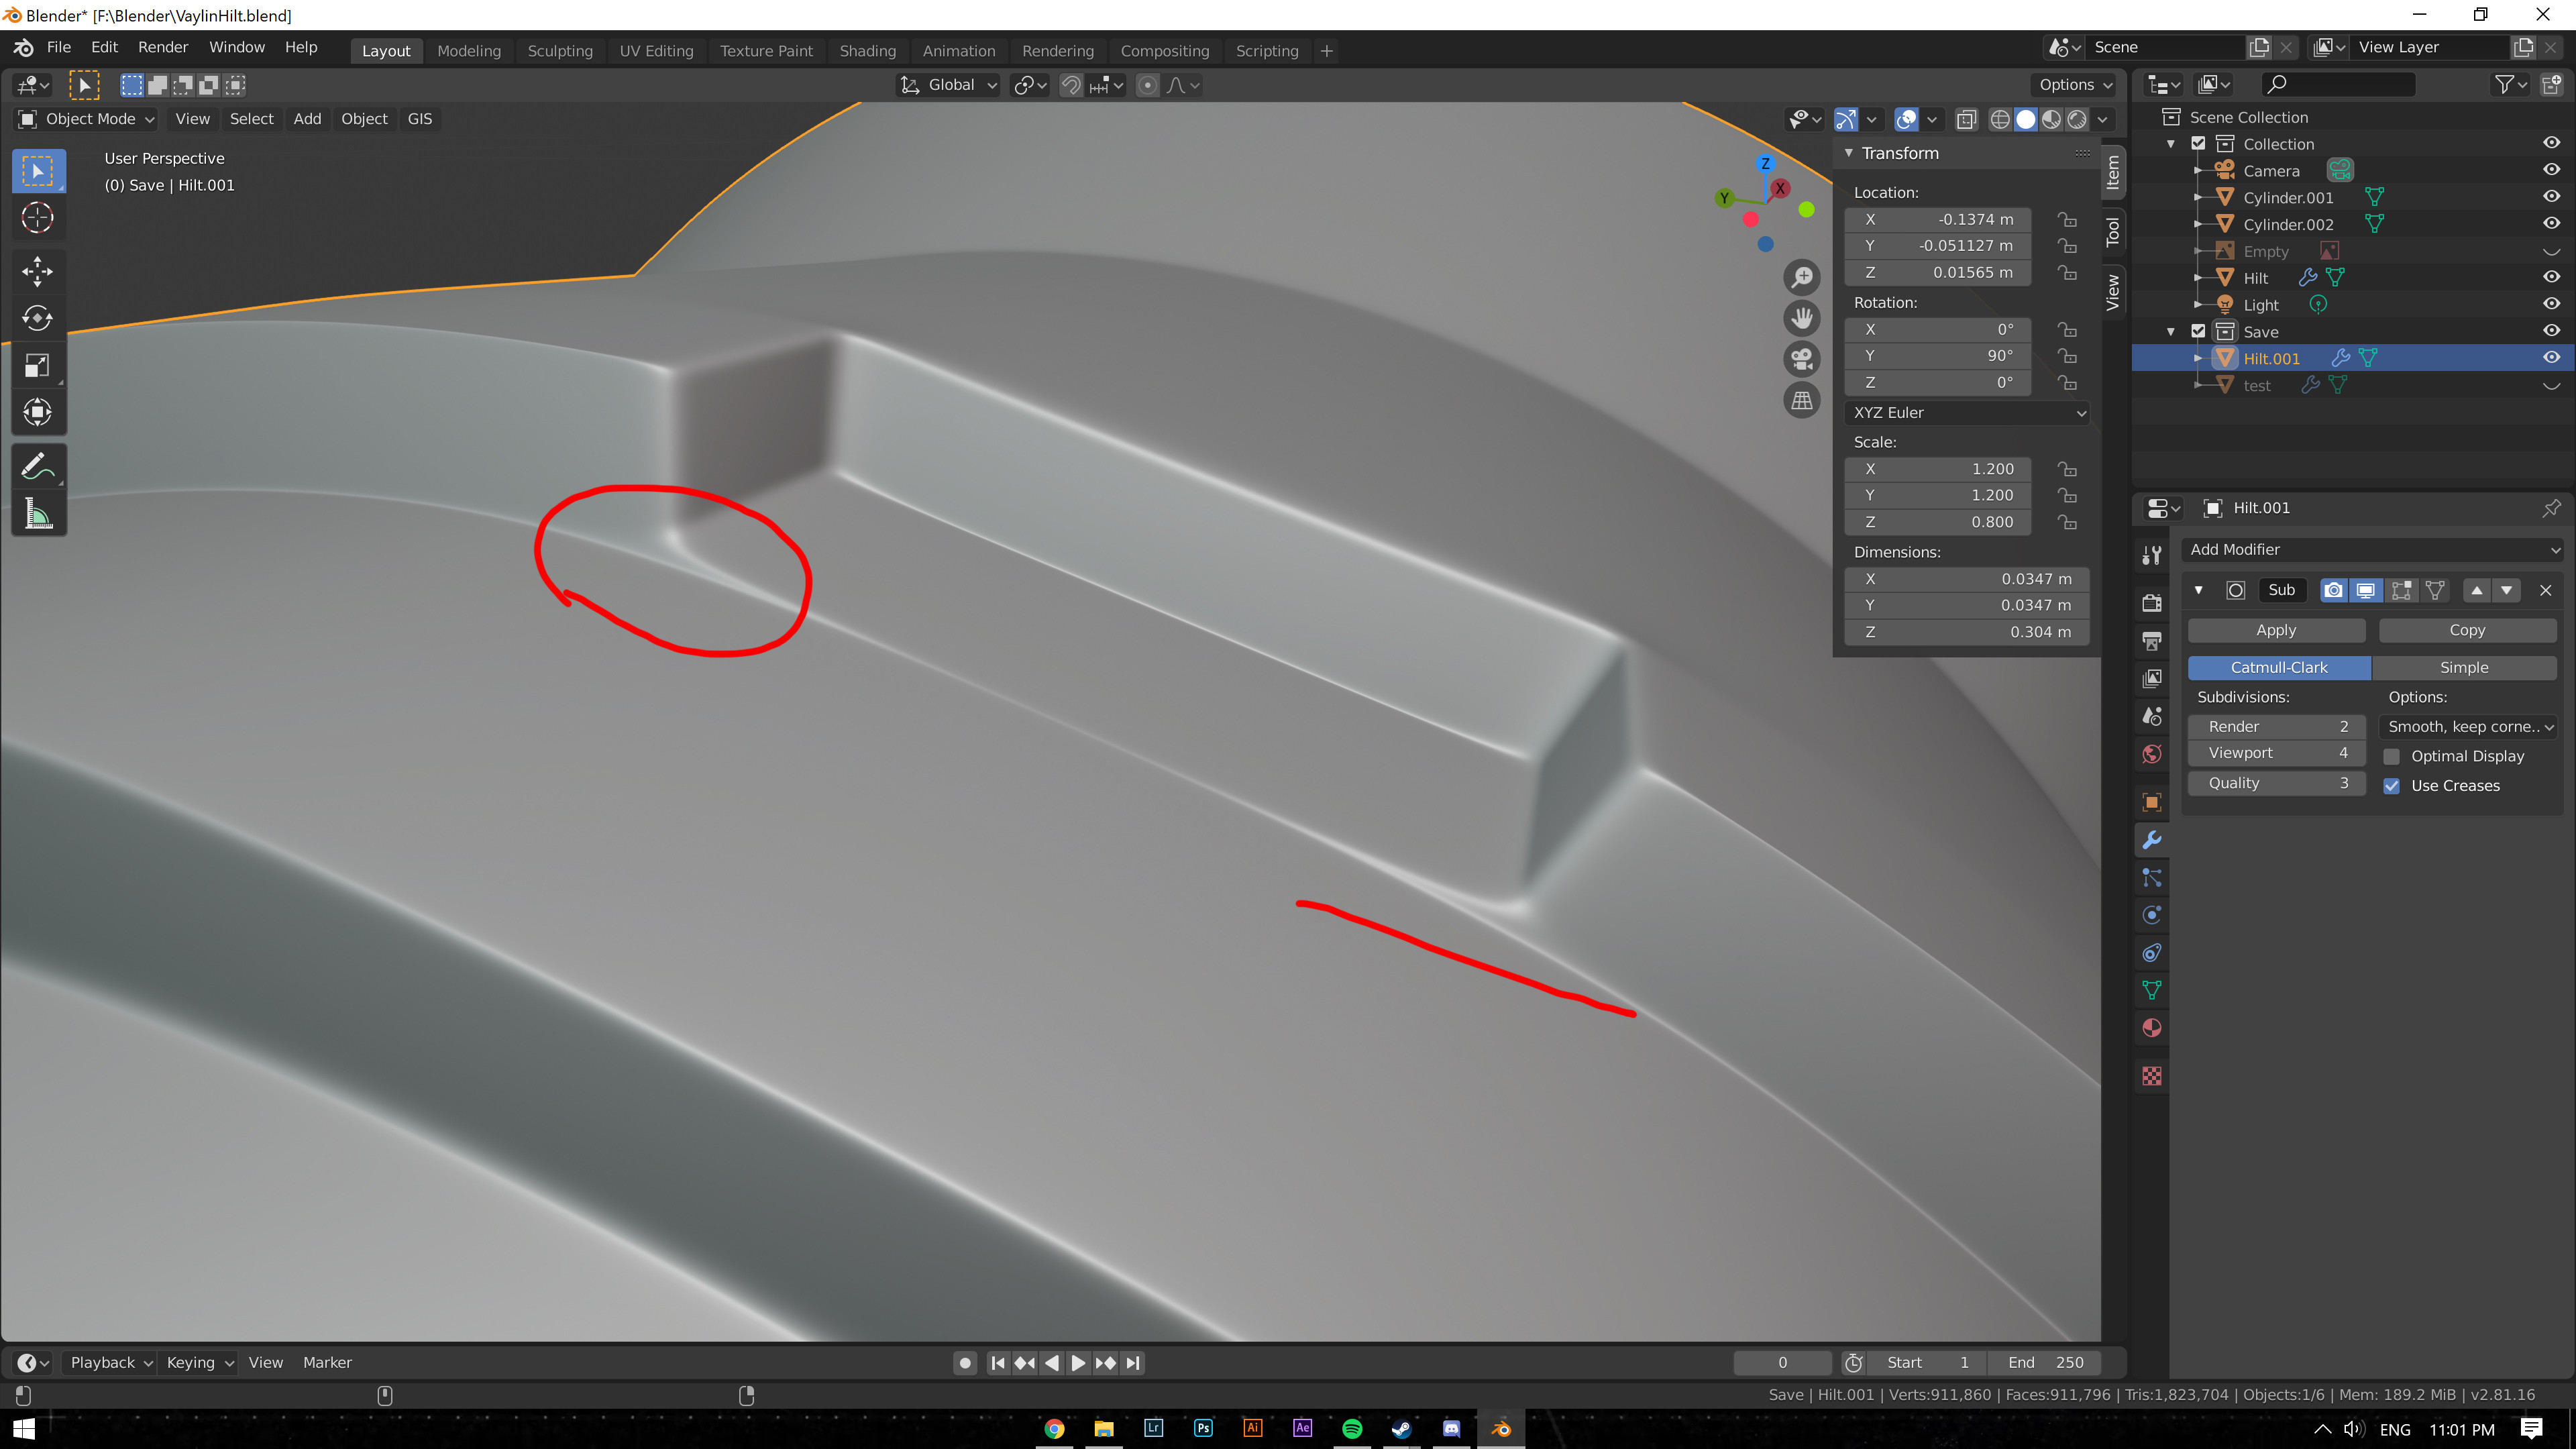
Any tips would be appreciated. enter image description here

$\endgroup$
1

2 Answers 2

5
$\begingroup$

Subdivision surface modifier is our great friend here.

But it has rules: when angles are high we need regular, quad geometry. But for flat surface all is ok for it.

So I propose a solution that has low impact of the other parts of the mesh.

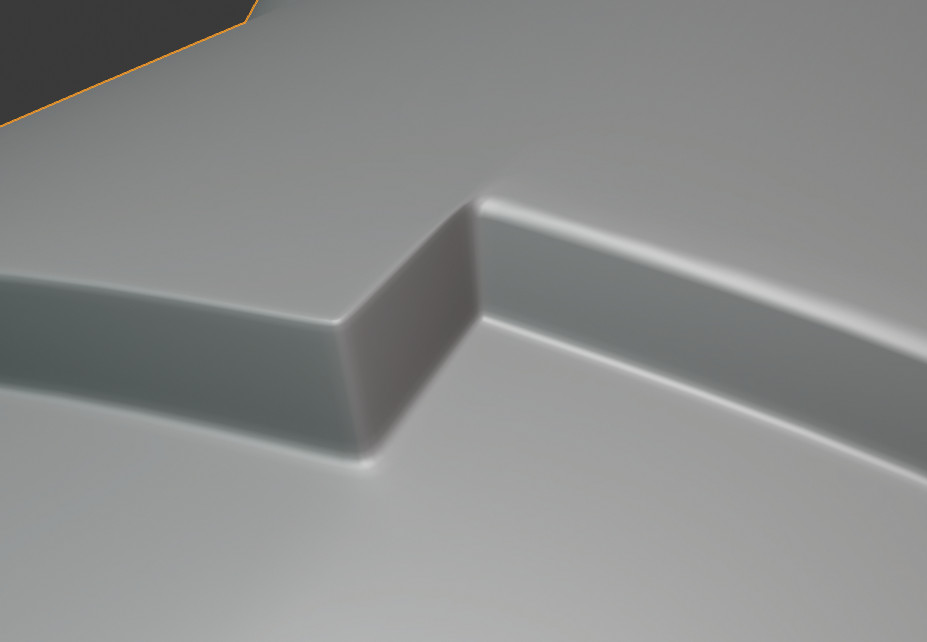
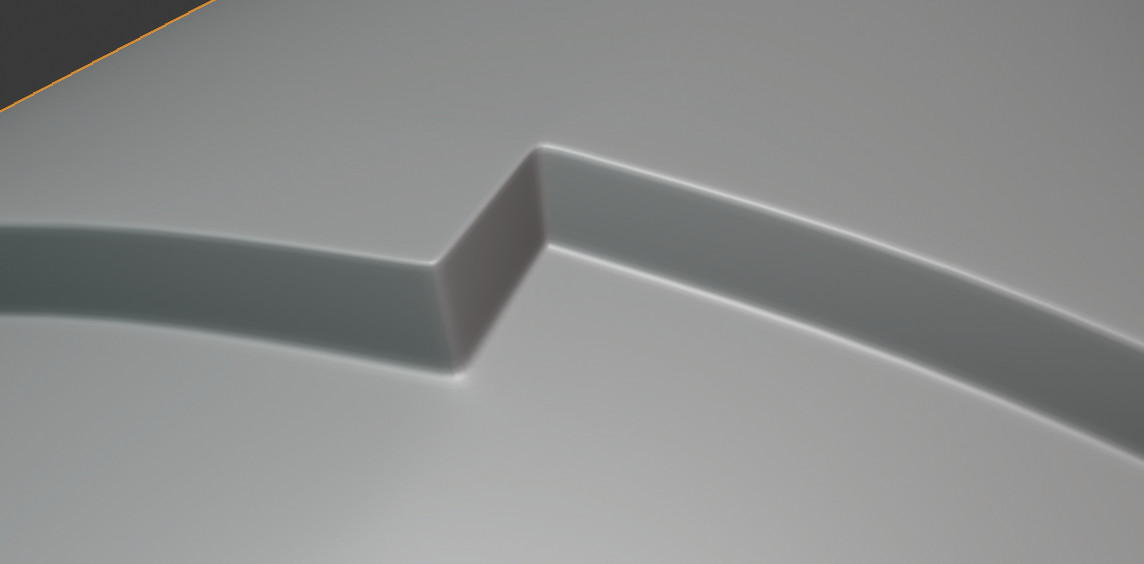
Here is the final result, containing ngons, tris and quads:

enter image description here

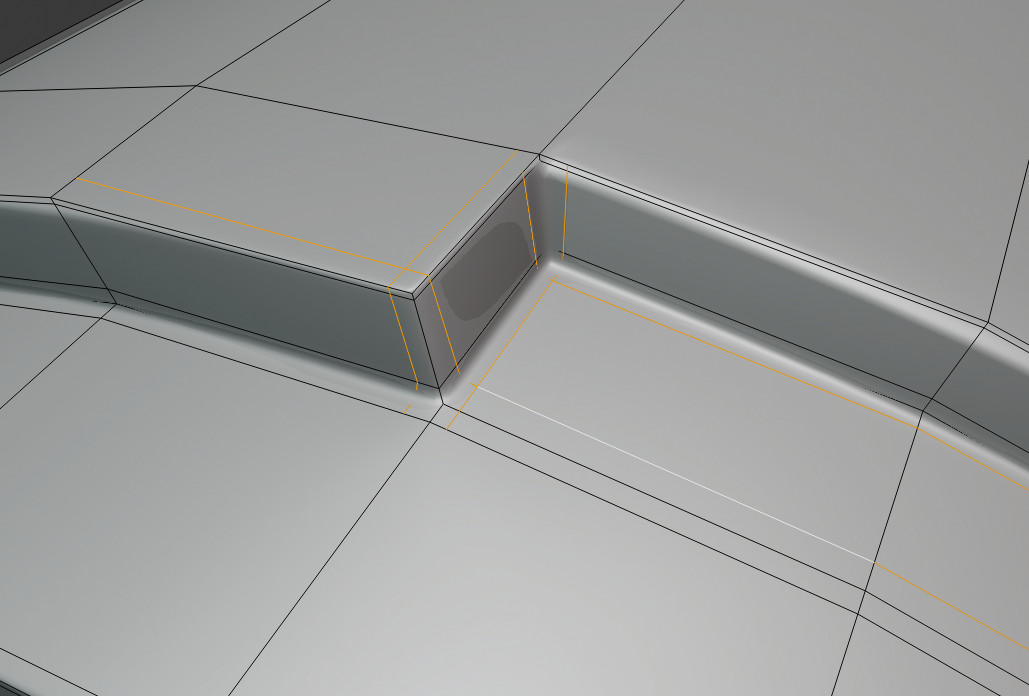
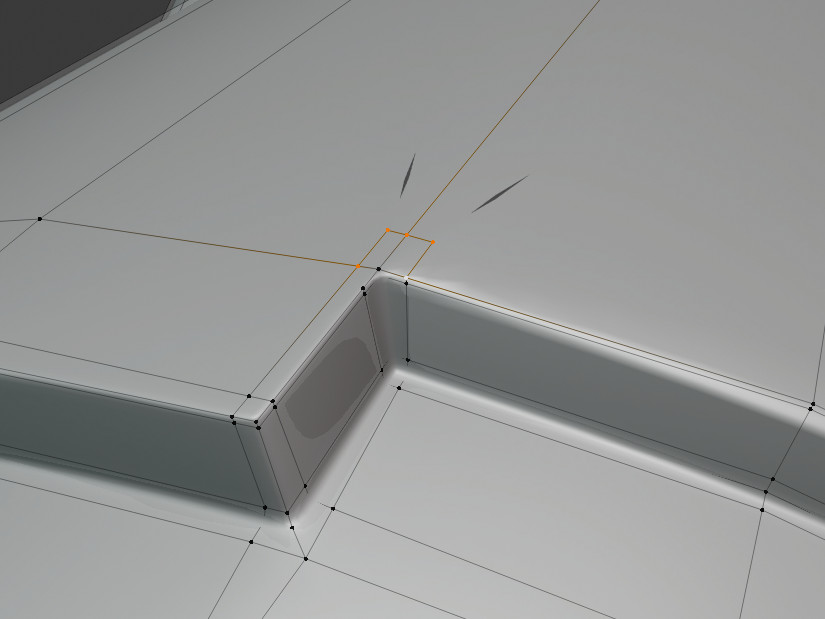
The starting point is to add knife cuts on all the selected parts here, as this is the edges we want to harden:

enter image description here

The aim of these cuts is to delimitate the straight angles we want, cutting the less possible, even is we so create non quad faces.

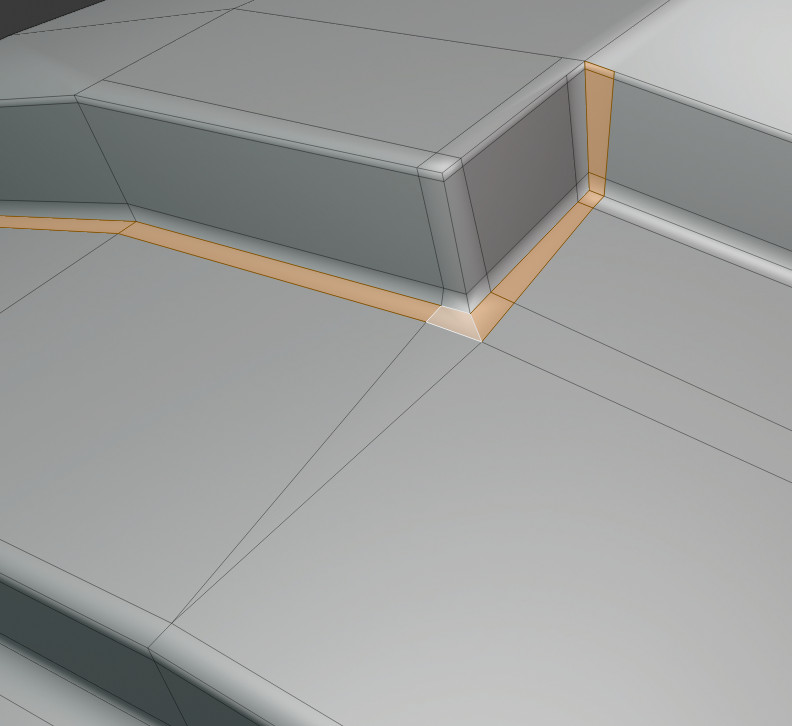
For the bottom part, we can make an edge loop going along the corner shape, but creating a tri (which will be well handled by the subsufr).

enter image description here

So far we have this with a subdiv of 2:

enter image description here

But the top part has irregularities... so we need to modify it.

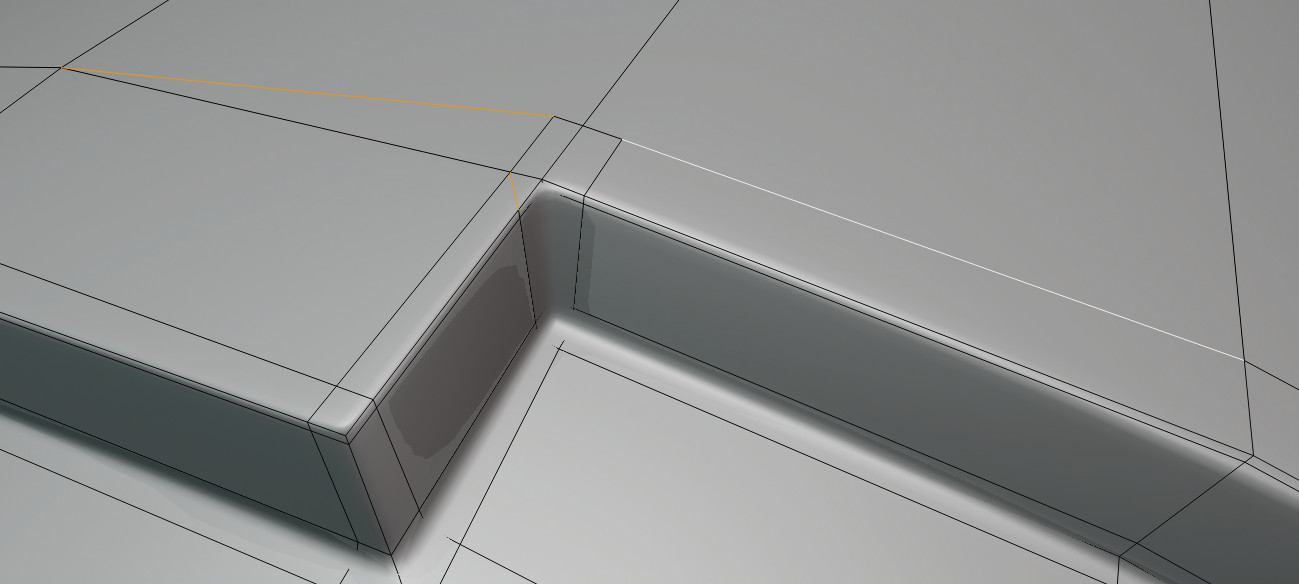
Again use the knife tool to add this:

enter image description here

And link these parts (still using knife tool):

enter image description here

So far, we have this:

enter image description here

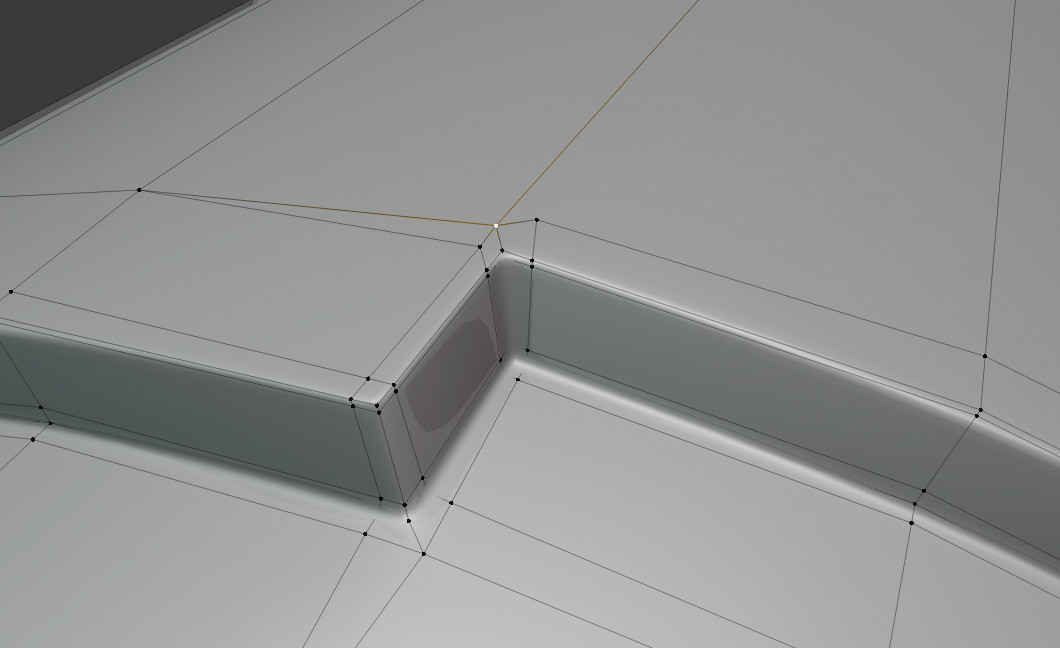
Which can be improved with:

enter image description here

Here is the blend file (only the part you'll see when opening it is 'finished'). But for this part of the model, you can use a mirror modifier.

$\endgroup$
2
  • $\begingroup$ This solves the mis-shapen area's but the model was started with two faces instead of one so that may be where the trouble came from as there is an extra loop-centre-cut that is not on the other model. The recess is also a different width showing this. $\endgroup$
    – dave44
    Commented Mar 7, 2020 at 19:41
  • $\begingroup$ @dave44 I don't know what you mean by "other model". I started from the model given by the OP. $\endgroup$
    – lemon
    Commented Mar 7, 2020 at 19:43
0
$\begingroup$

Normally when I get that sort of image issue, it's a normals issue = CTRL+N = recalculate normals in edit mode.

$\endgroup$

You must log in to answer this question.

Not the answer you're looking for? Browse other questions tagged .