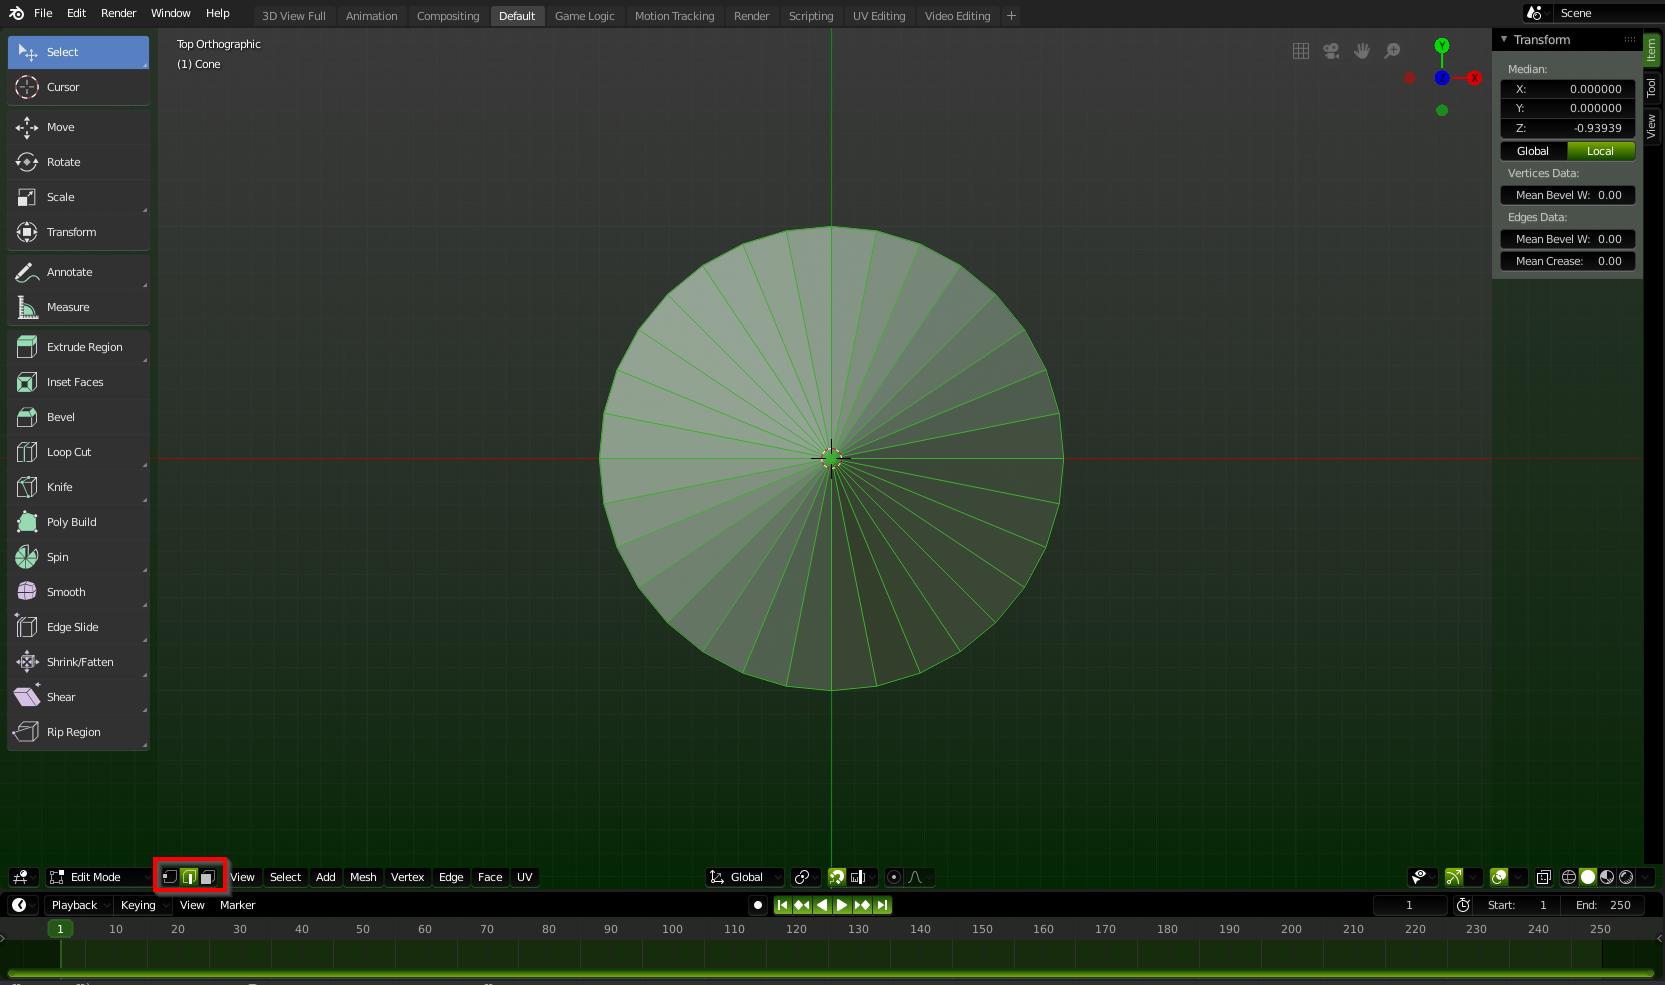
Start by adding a cone to your scene: Shift + A and select Mesh ► Cone. Next press TAB to go into Edit Mode then press NUM PAD 5 for top view.

Note the three buttons in the red box in the screenshot. These are the three mesh selection modes in blender. The left one is Vertex Select, the center one (highlighted in green) is Edge Select, and the right one is Face Select.
Here is a better view.

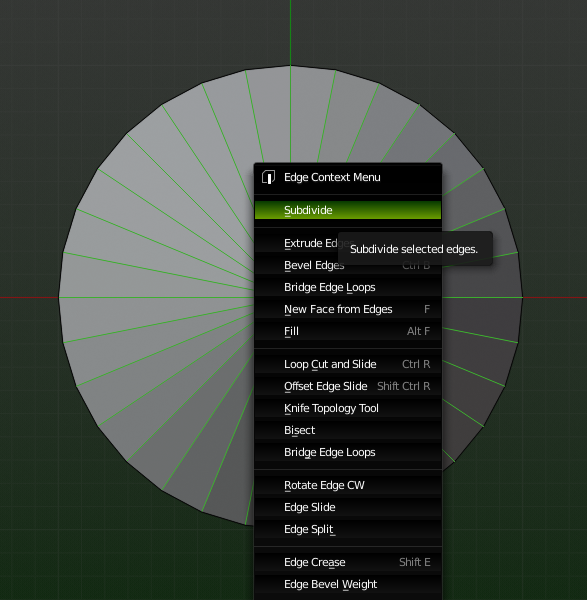
Now you will want to click on Edge Mode (the center one). Press Alt + A to deselect all and then C to enter brush select mode and click on the top (center) of the cone. Press Esc to leave brush select mode and right click to bring up the Edge Context Menu.

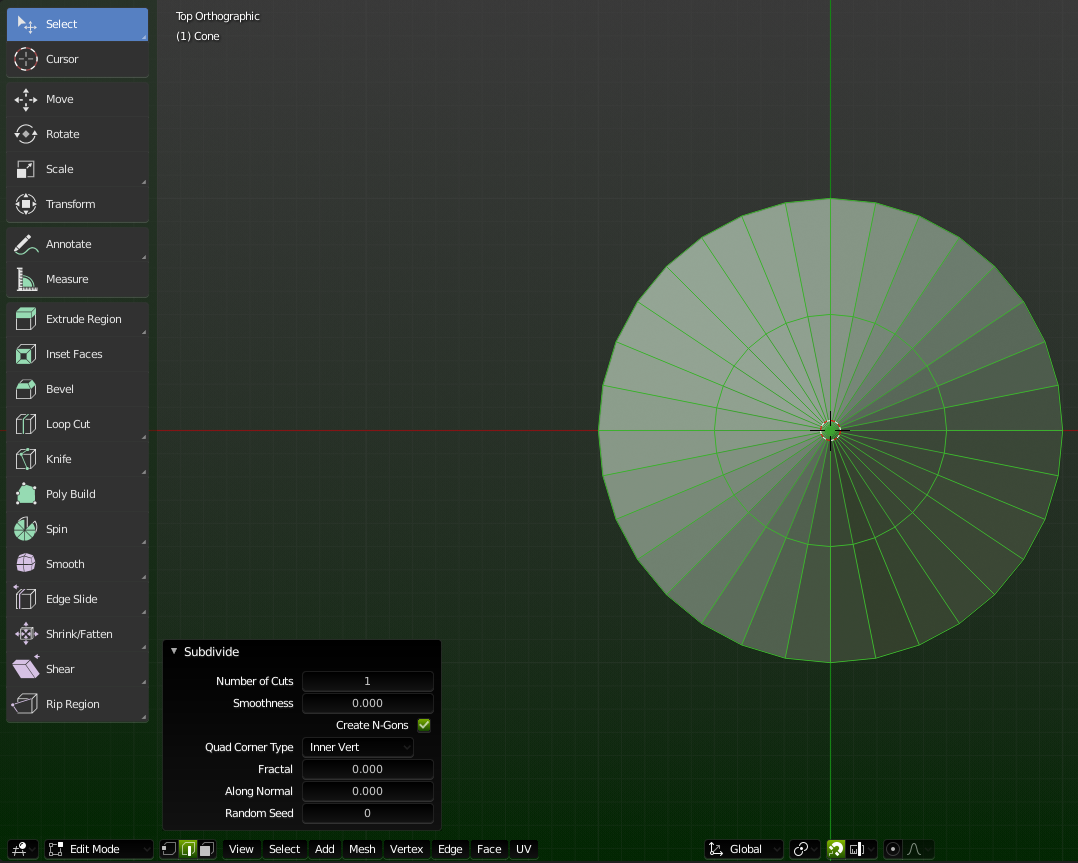
Click on Subdivide. Now open the box in the lower right hand corner that says 'Subdivide' if it is not already open. Your project should look like this:

Set the Number of Cuts to 12, then click on Vertex Select Mode as discussed above. Press NUM PAD 1 to enter front view and click on the highest point of the cone.

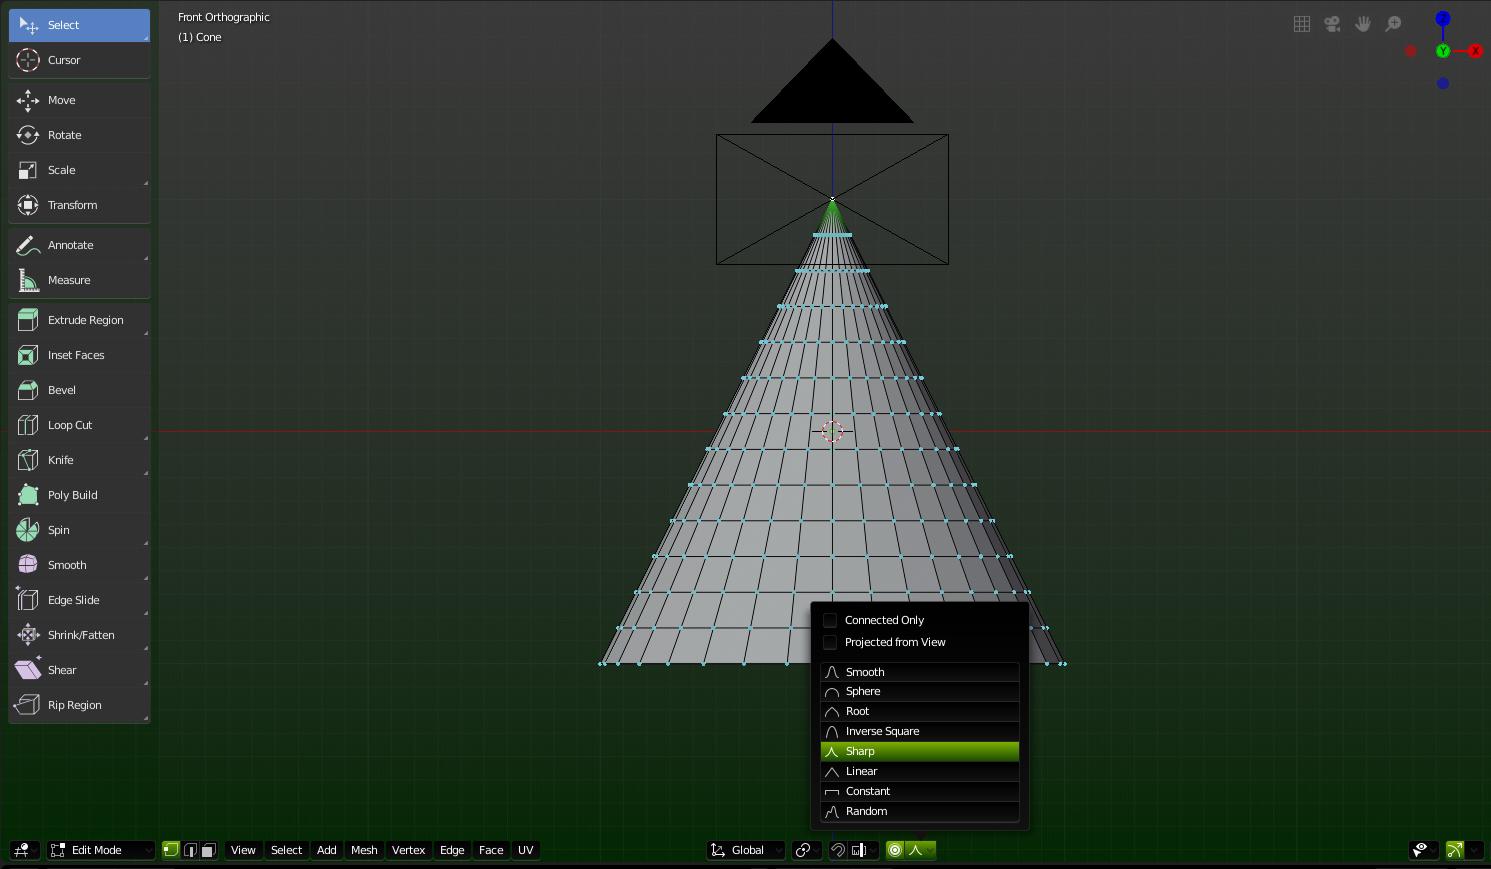
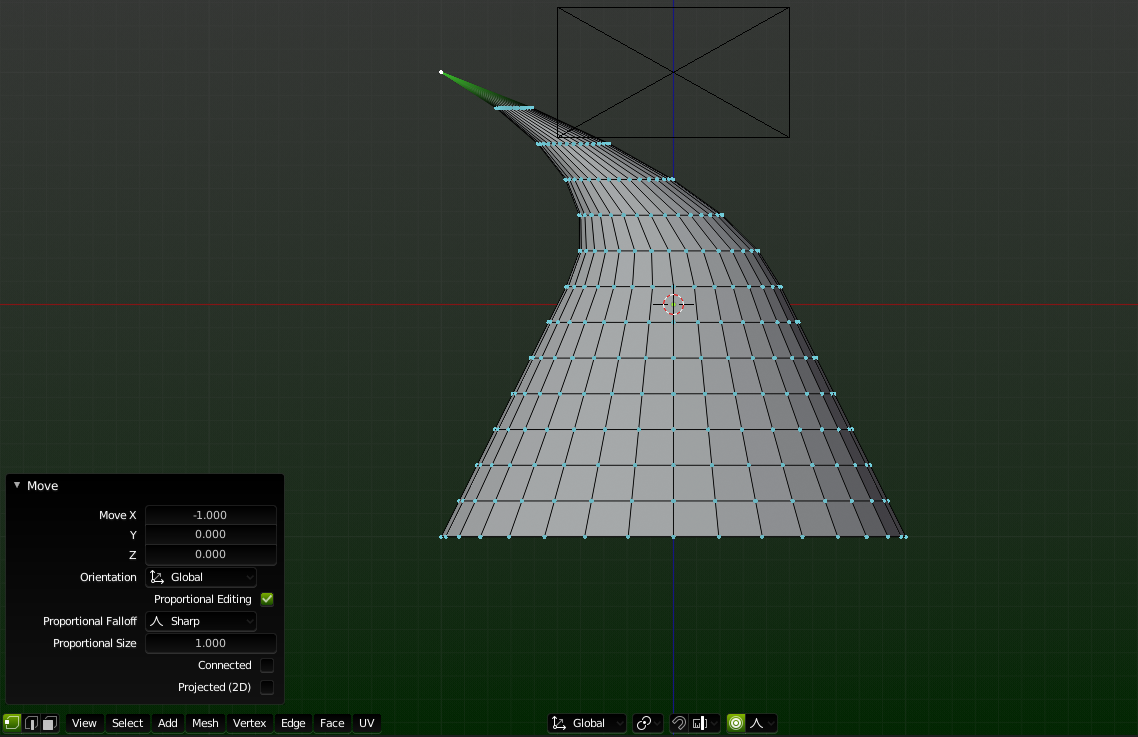
Now enable Proportional Editing by clicking the button below the pop-up menu in the screenshot that looks like a target. Click the button to the right of the target and select Sharp from the pop-up menu (you can experiment with other modes later for different effects). Now press the following keys in order: G, X, -, 1, Enter. Now at this point the cone looks silly I know, but we'll fix that.

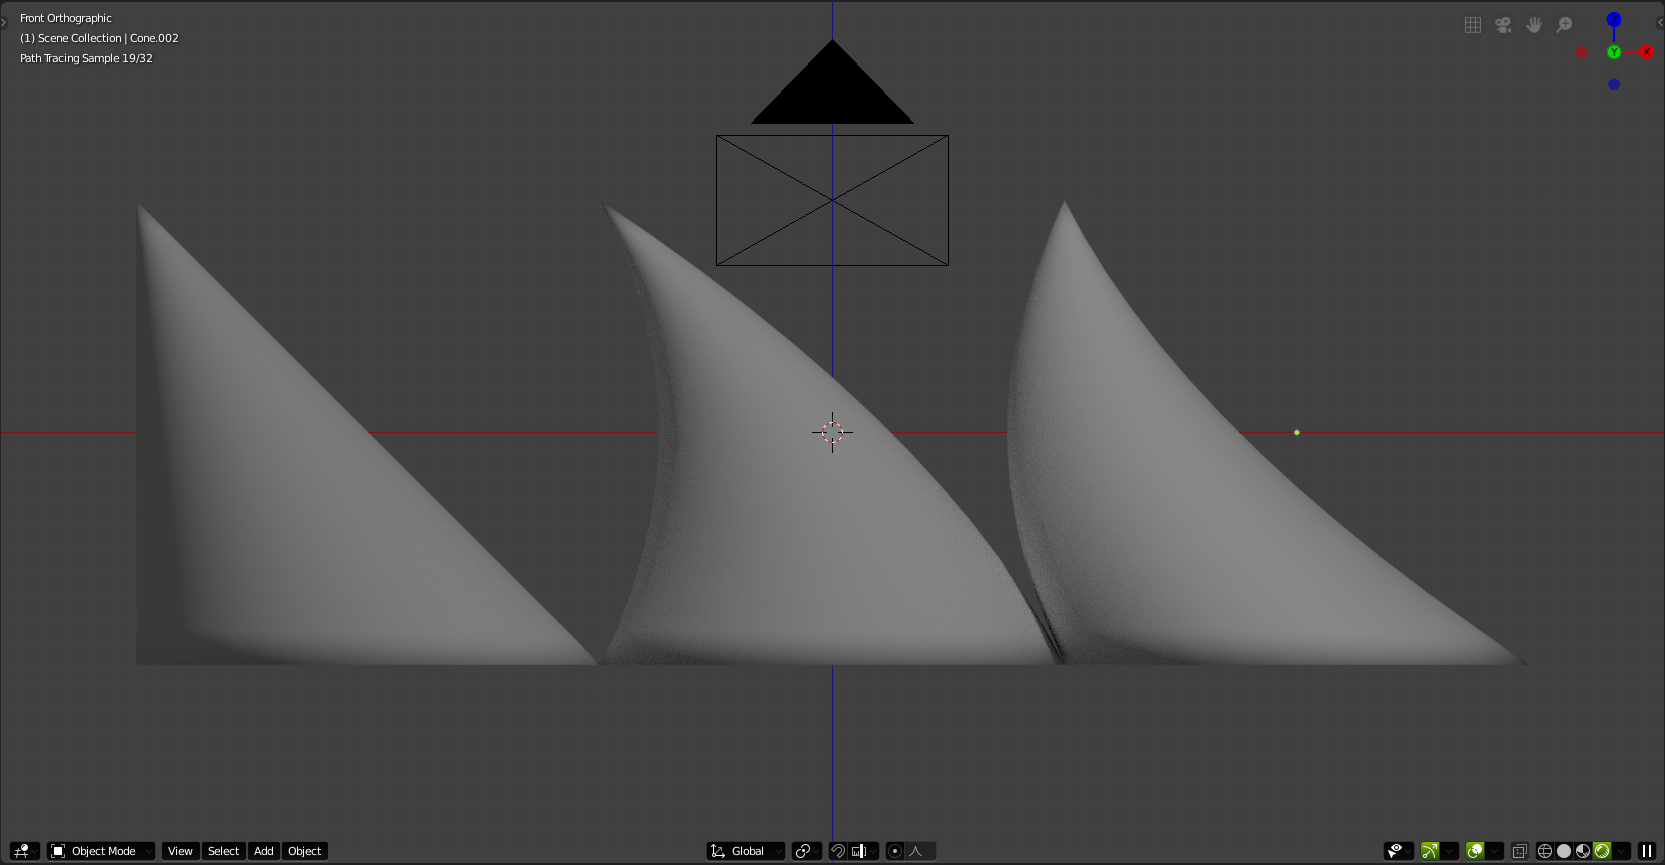
In the lower right corner the box is now labeled Move. Increase the Proportional Size value till the cone has a nice curve. I used a value of 2.23. At this point you can play with the Proportional Falloff to see what the other effects do. Below to the left is linear falloff and to the right is inverse square falloff. The center one is sharp falloff as we just made.

I hope this tutorial helps.
