Struggling some problem here. I've made up a procedural node group representing a single area with gradient that can be placed anywhere on a cylinder's side. It works ok. When I combine (via Math Add Node) two-three-four etc. such node groups side by side it still works ok (I've tested it on any angles from 0 to 360 all the way around cylinder). However, when I'm trying to combine (still via Math Add Node) two node groups with few of those areas each - to use for displacement (Displacement input of Material Output node) - the bump totally disappears.
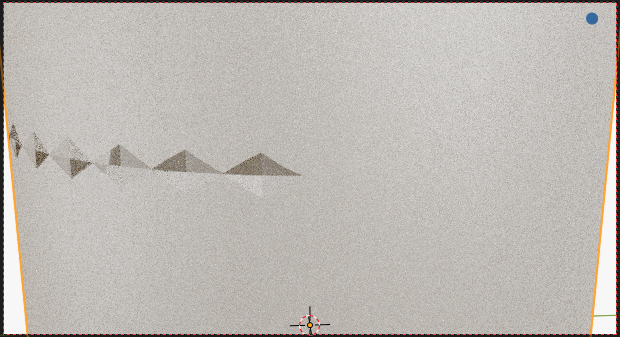
1st Node Group connected to Displacement
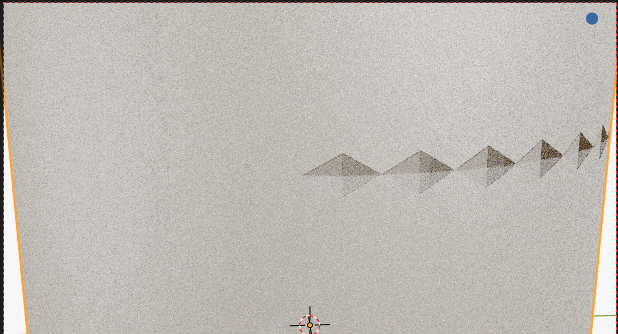
2nd Node Group connected to Displacement
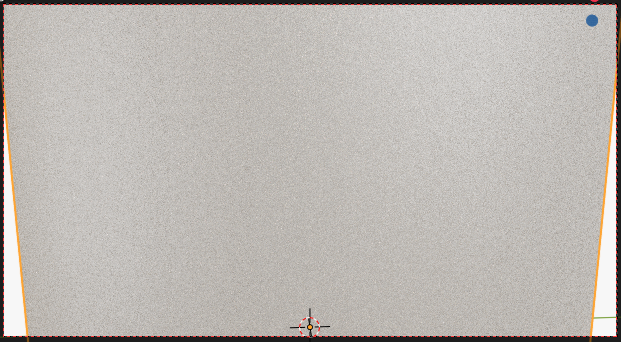
Their sum connected to Displacement
I wonder why that happens and how do I fix that?
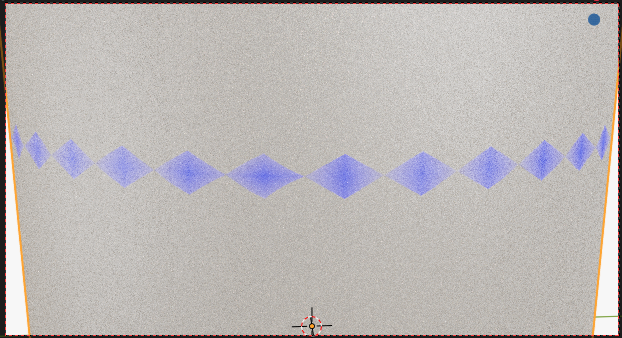
When I use the same sum output as a Mix Shader Factor - it sums up as expected, see the last picture:
The Sum fed to Mix Shader Fac.
Looks like this happens when total angular difference between the very first element and that newly added reaches 90 degrees, but why? Thanks in advance!
Update: I separated large node groups into simpler ones and did some tweaks which allowed me to combine through all the range from 0 to 130 degrees so far. However, when I'm trying to add next area (centered, say, at 140 or 150 degrees) - all still disappears. Yet in Material Preview window it shows bump (!), but not in View itself or on render (see the picture below). All transformations to the cylinder are applied of course.
Any suggestions, why there is such a discrepancy?
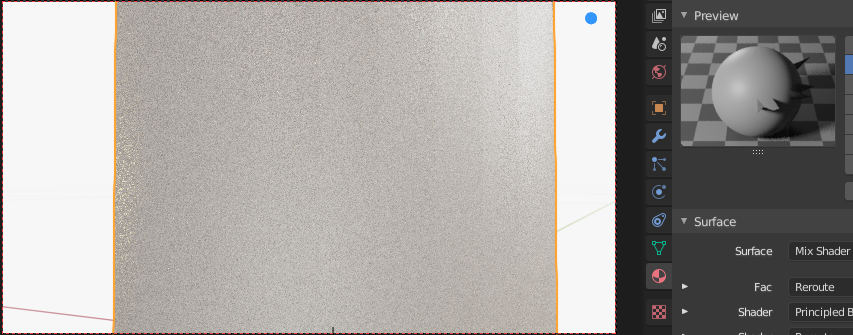
Update2: I've checked the math, to me it looks ok (and it looks ok on any separate pyramid I test), there's something with combining them. Ok, all the chain before final add looks ok. Now step by step with our beloved Node Wrangler.
Final add (scalar, grayscale output):
 - to me looks as expected.
Now we have to convert it to vector (since Blender 2.8) using Displacement Node:
 - again, looks fair enough.
And now we connect the Shaders:
 - and all disappears. It's still there in the material preview (see it on the right), but not on a real shape. It's happening in 2nd Quadrant (X<0, Y>0) but not when I enter it, nor when I'm exiting it, somewhere in between. I guess I'll try a whole other approach then, to go completely to cylindrical space (math will be a challenge, heh), but maybe it will be more general and will require less combining. And hopefully it will finally work.

