tl;dr: The clone brush in the UV/image editor works different than the clone brush in the 3D viewport.
Cloning in 3D Viewport
In the 3D viewport you use Ctrl+LMB on a textured part of your model to clone that area onto a different part of the model.
Cloning in 2D UV/Image Editor
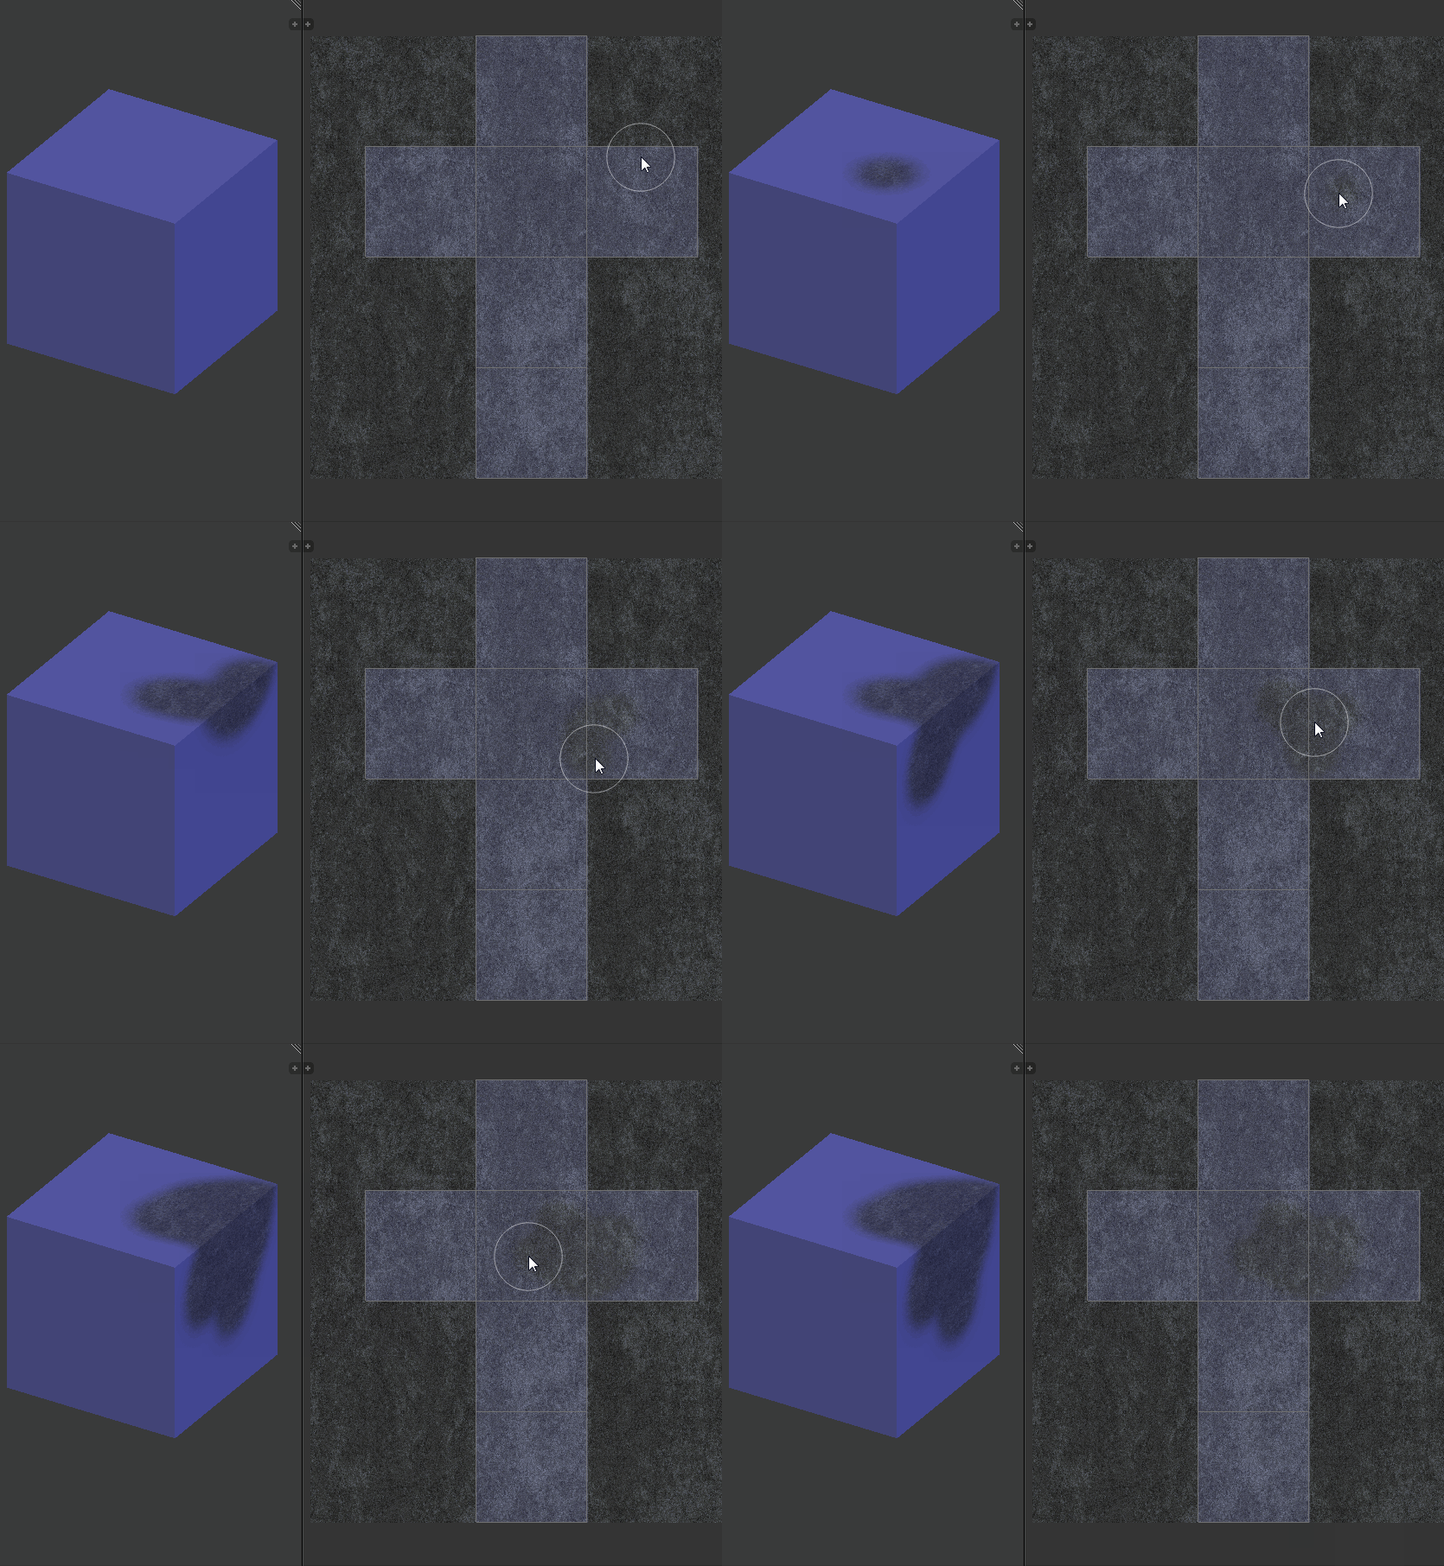
In the UV/image editor you have to set up an additional texture as clone source and you would then be able to "clone-draw" this clone source onto the material texture.
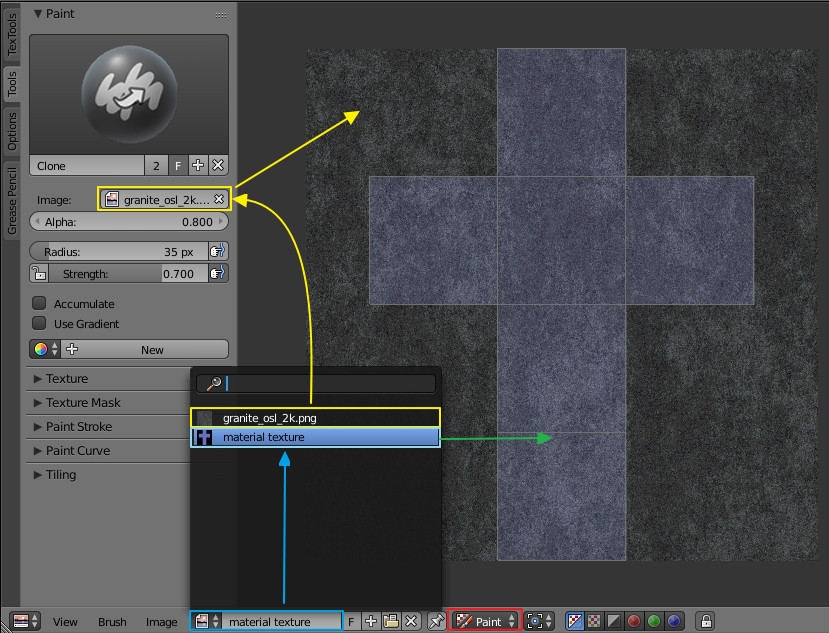
Set up your material as usual with a texture (blue markings in screenshot below). Then, open a second texture as the clone source (yellow markings in screenshot below) and make sure that your material texture is the the active one.

Enter paint mode (red marking in screenshot above), switch to "Clone Brush" and select the second texture as the clone source.
The Alpha value determines the opacity of your clone source overlay, the strength determines the transparency/opacity of your draw strokes onto the material texture.
Now you are able to clone the source to your material texture by simply drawing with LMB.


