The mesh is only the visible top side, with a mirror modifier for the bottom part. Now I want to unwrap it like in the picture. I want the inner circle (red) to go to the top of the UV map...
The problem is that no matter what automatic unwrapping I use, it never works as intended.
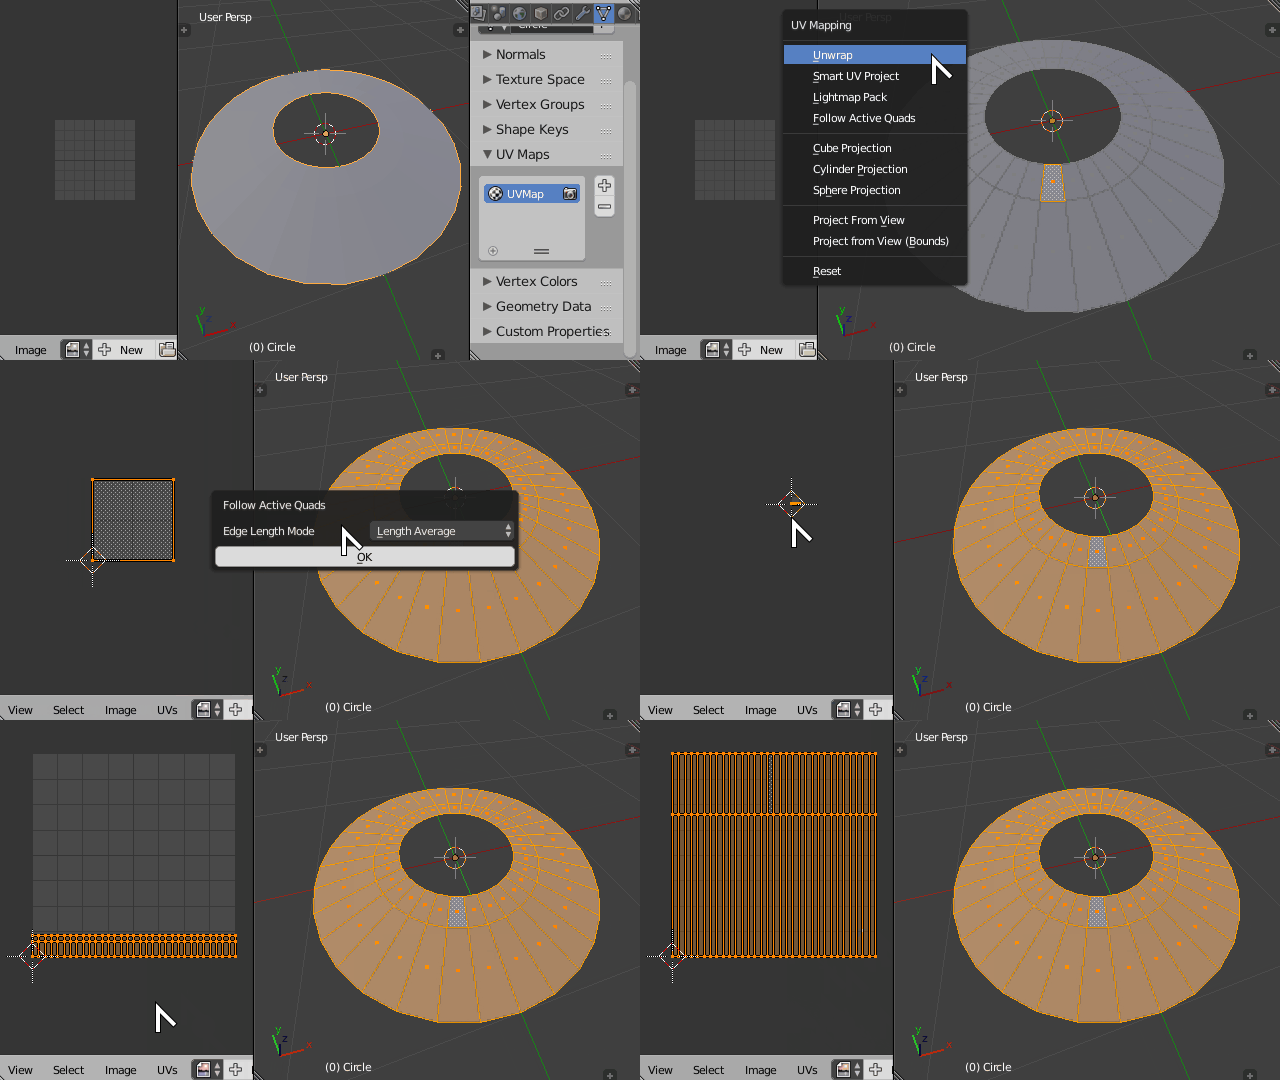
The closest I've gotten was by using "follow quads", but that skewed the UV map a lot: 
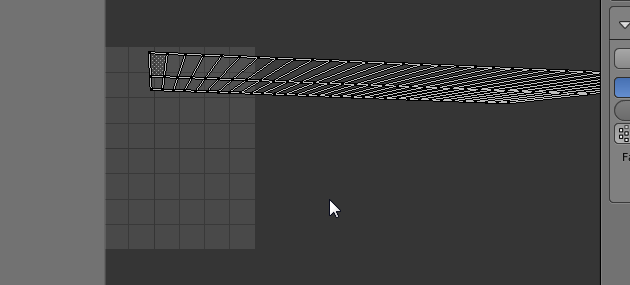
I used the result from the second image and manually adjusted the vertices with a lot of scaling and "align auto", but its very far from perfect as you can see in the first image.
Here's what I want exactly:
- The uv vertices should be distributed evenly (horizontally)
- The middle line (yellow) should be on a "natural" y height (so there's no stretching)
I hope it's clear what I want to achieve. I'm sure there must be some automatic way to perfectly align and distribute the UVs in this way.
By the way: If you look closely you can see that I already placed a uv seam (aligned with the green y axis in the screenshot) but that didn't really help.


