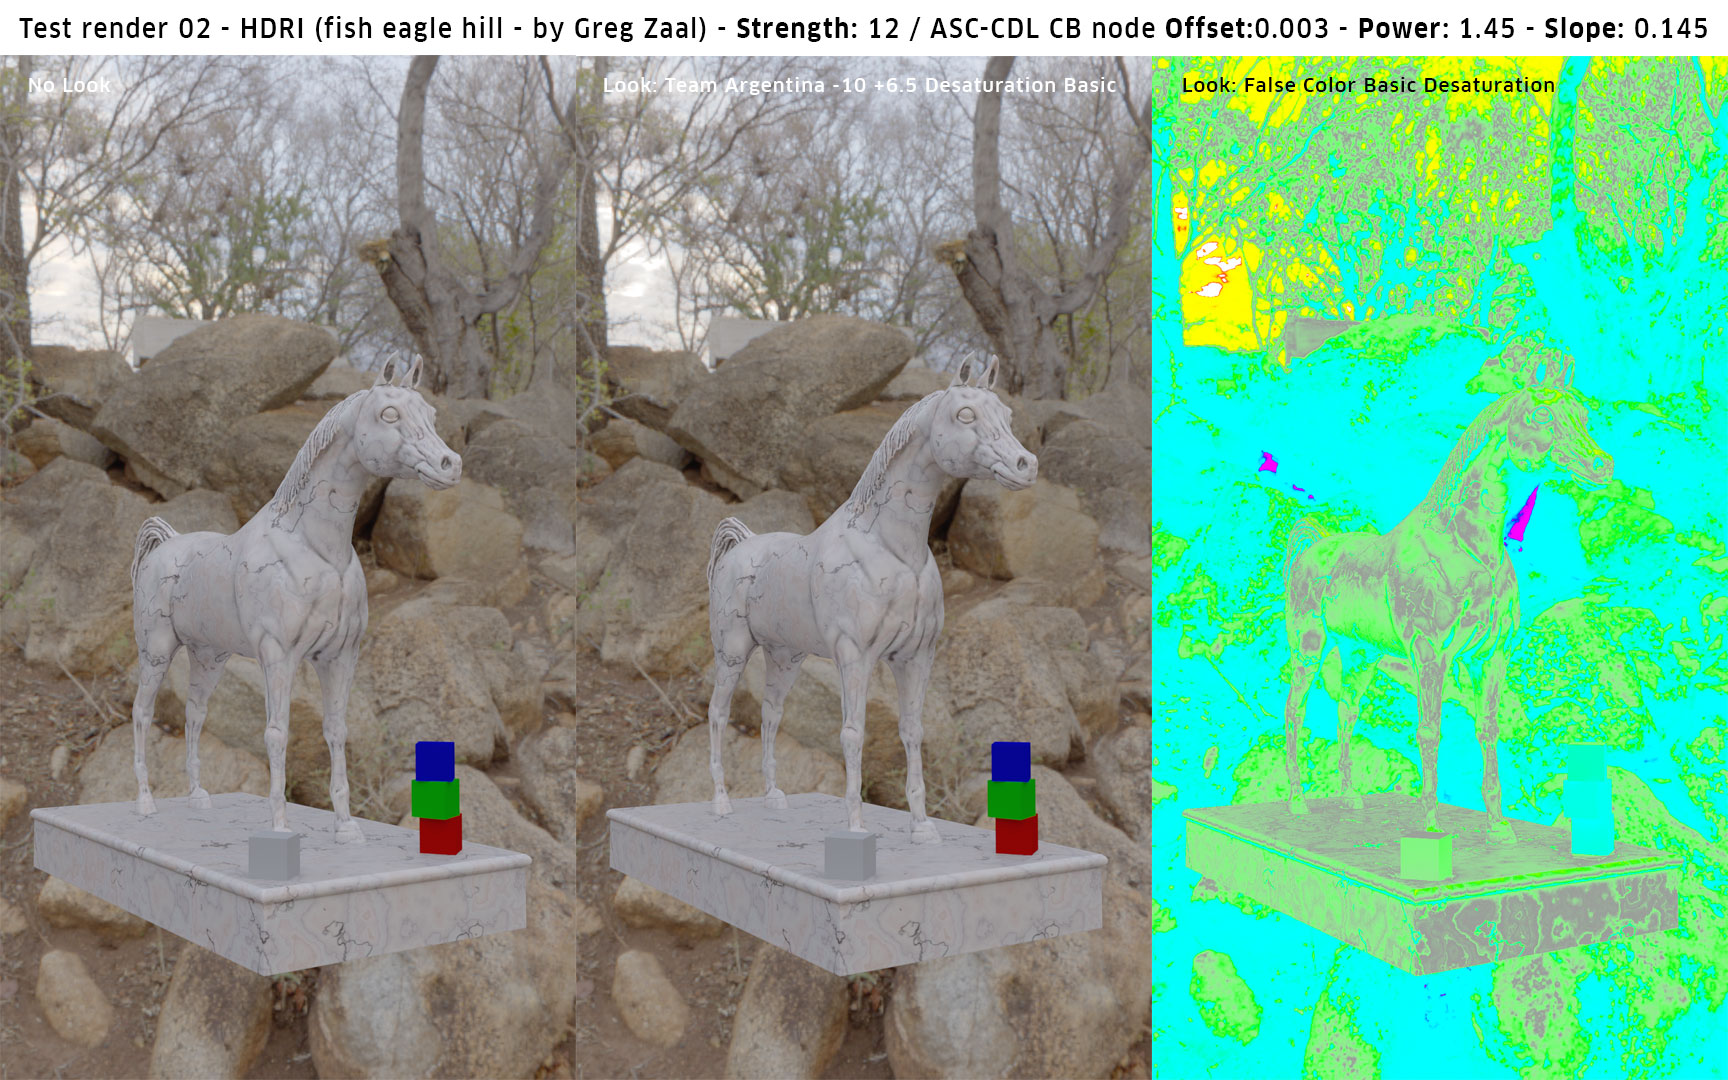
I've been test rendering lighting my scene using HDR images, trying to get the right value of light and shade from. The problem is, no matter what I do, I can't get the full spectrum in one image, meaning from red to violet. I've been using the Fake Colours Look in order to scale the HDRI with no luck, most of the values I'm getting in the rest of the image are Cyan, which is mid-range.
On the other hand, when I make my own HDRIs in Blender, I'm getting acceptable results, with all the spectrum range showing in the Fake Colours Look! Is it a problem with the HDRI images I'm using, or is me not knowing how to scale the HDRimages properly?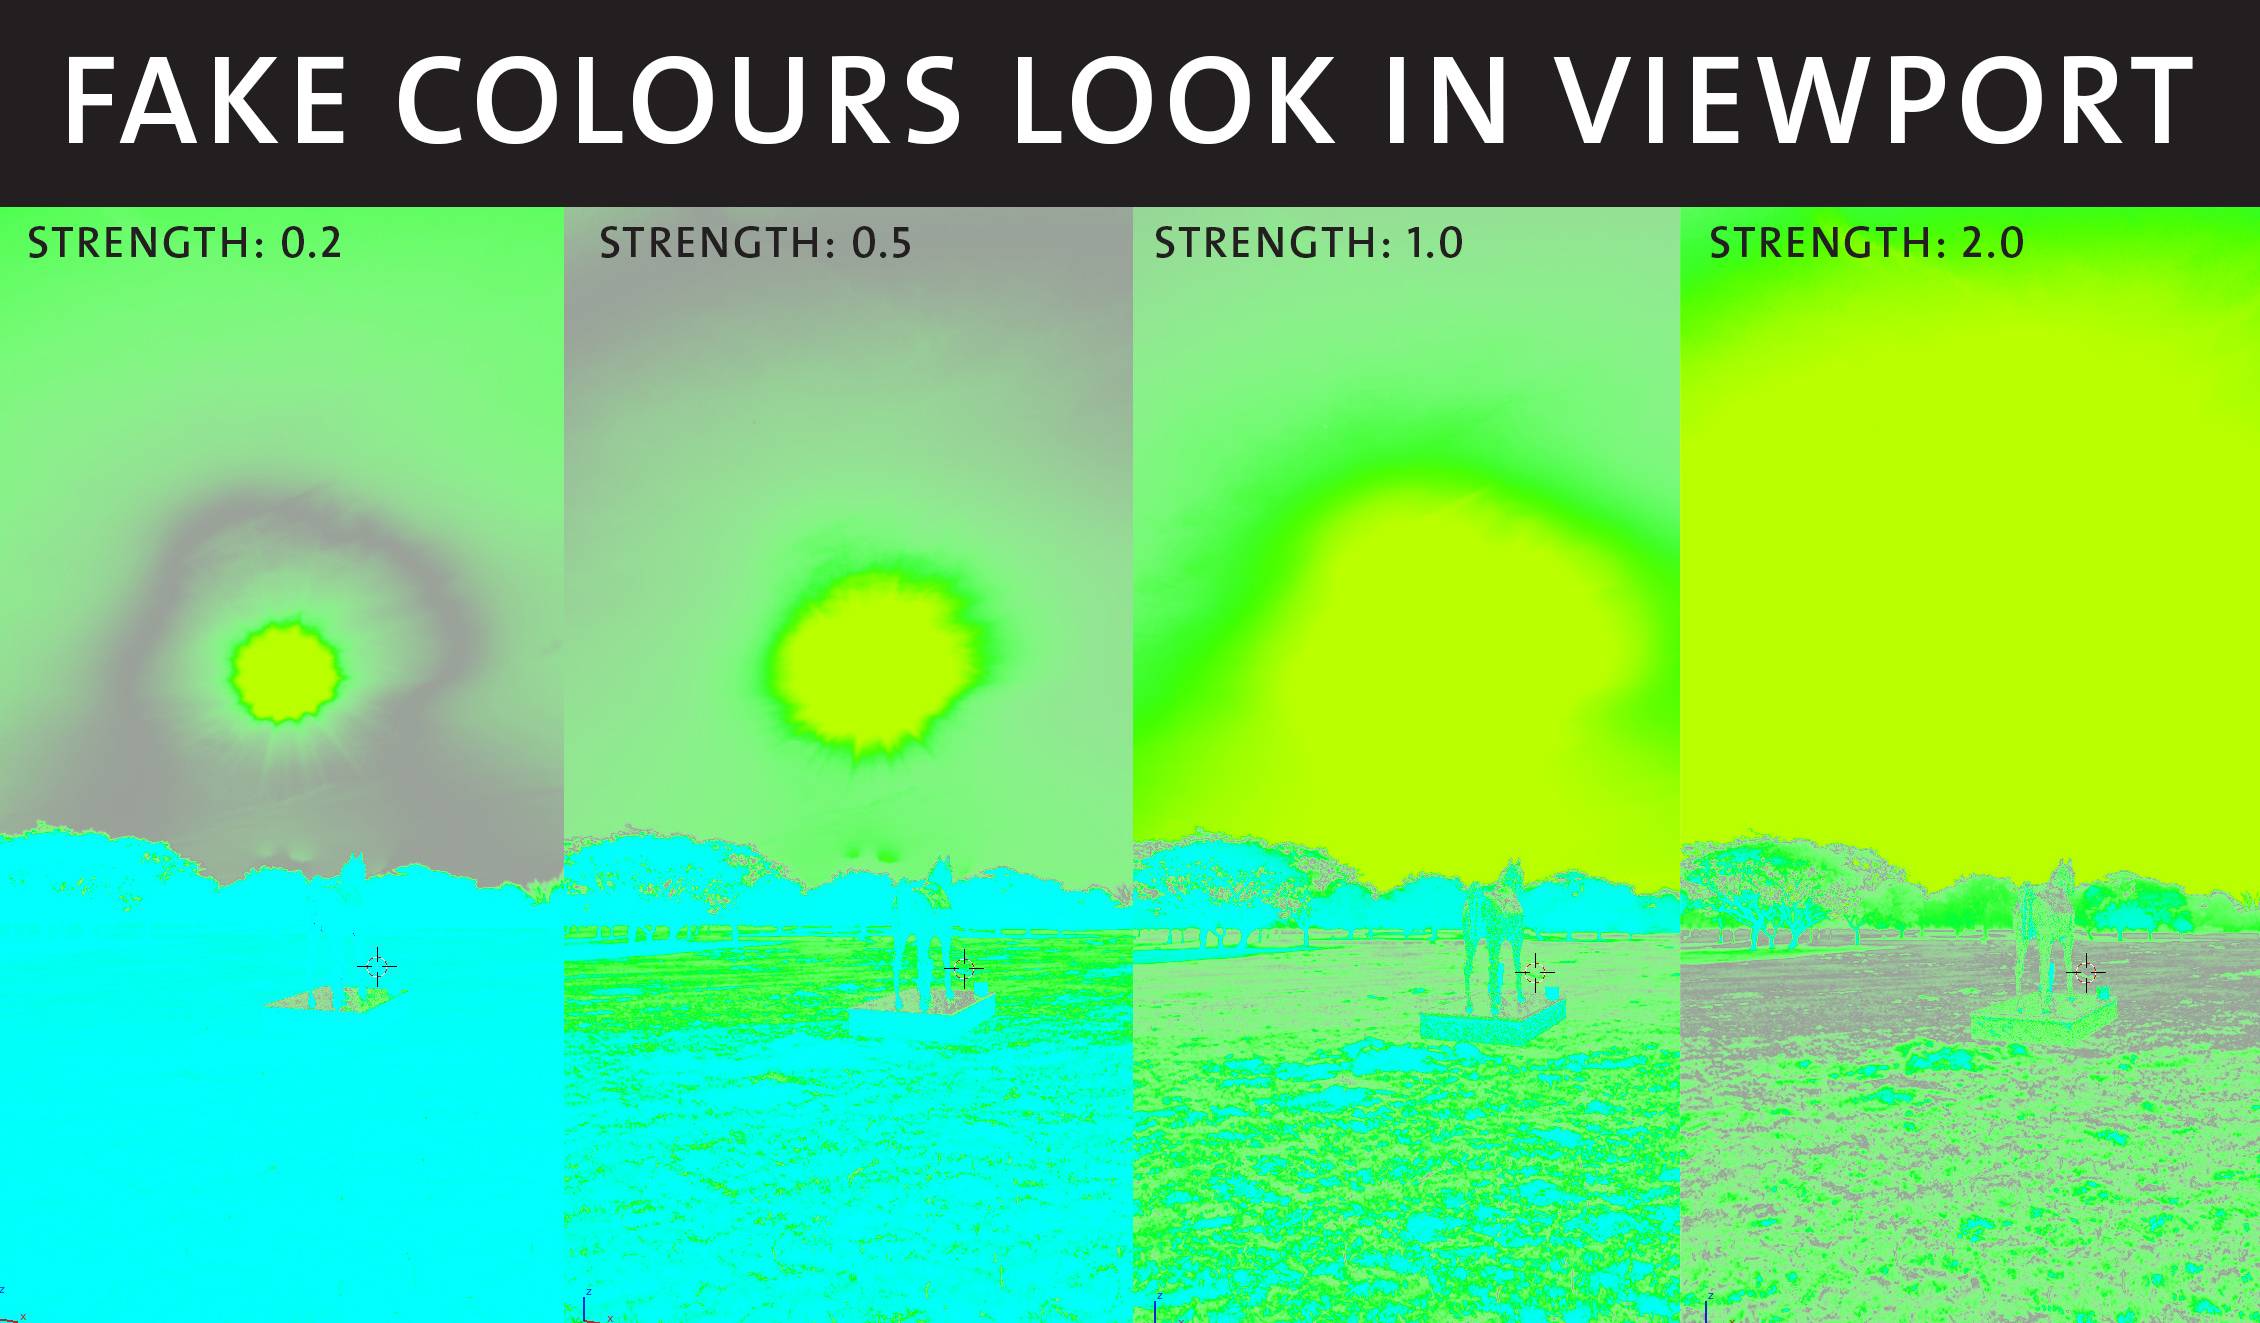
The image below shows a render using strength value of 1.0 with Colour Balance Node set to ASC-CDL, values set to default, Offset:0.0, Power:1.0, Slope:1.0
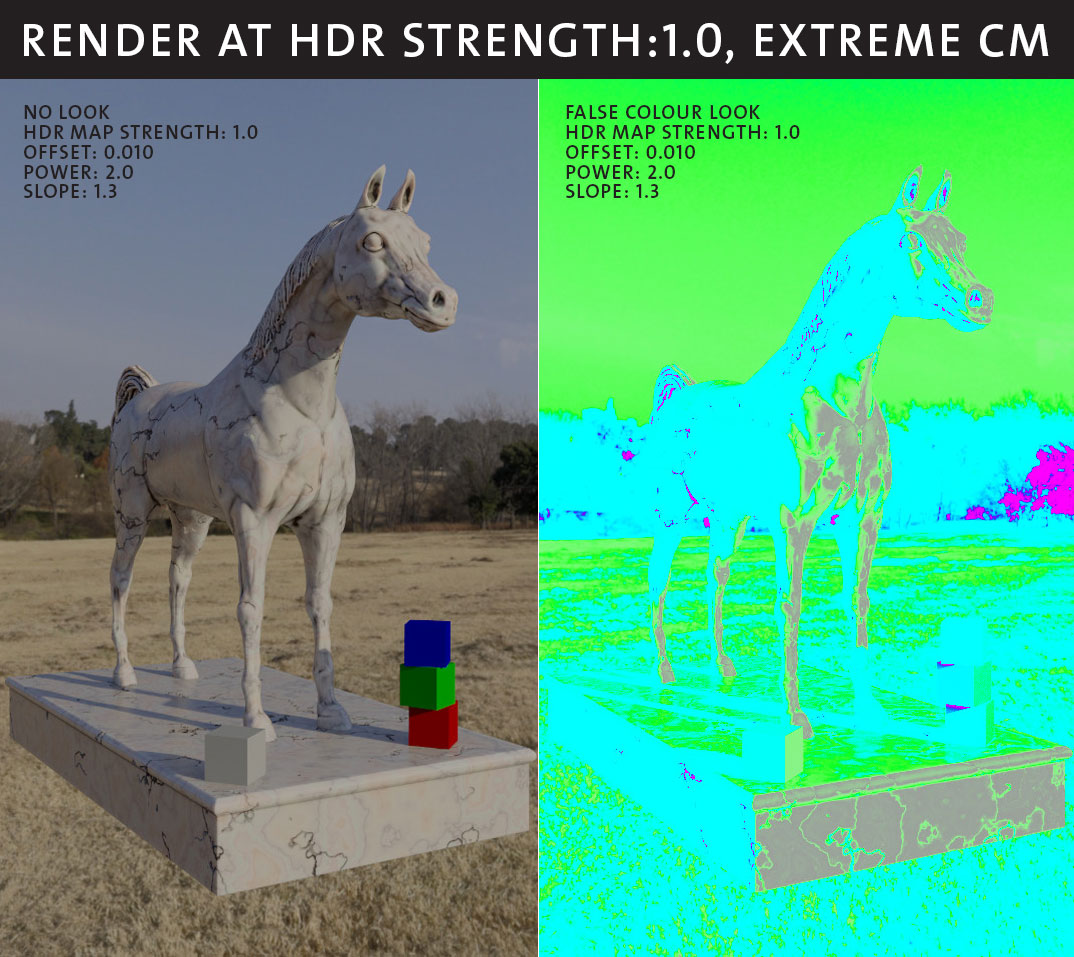
The image below shows the same render using Colour Balance Node with extreme values, Offset: 0.01, Power: 2.0, Slope: 1.3, I cranked it up just to get some gradation in the image, as you can see, most of it is still Cyan "mid-range", couldn't get any near red values, which is why there are no highlights on the model, and the dark areas are spotty.
 I made this render to explain the problem, no matter how much I crank up the strength value in the HDRI map, I'm not getting any highlights "red value in the Fake Colour Look" even where the sun is!! I tried so many HDRI images, I can't even remember how many, this one here is supposed to be one of the best HDRI images available.
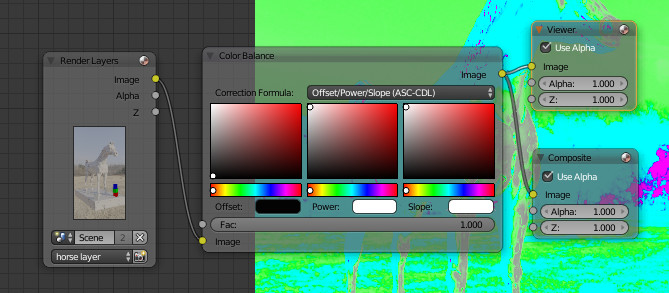
Check the images below for the parameters I'm using for Colour Management and Compositor Colour Balance node.
1 Answer
I'm quoting here "
Clamps are dangerous creatures." @troy_s
The problem was that I had value in the clamp direct and indirect under Render>Sampling, so what happened is that Cycles was clamping all values above 1, while I was trying to get the sun brighter with no luck!!
Lesson learned the hard way.
But wait, this is only part of the issue, this solved the high value absence puzzle, but not the absence of gradation.
Long Answer short, this is how it was solved, no need to say that the following parameters are obviously not a magic number to go with for every HDRI, since every HDRimage, good and bad ones, has it's own unique values and light conditions:
1- HDRI map strength: 18, yes I know it's crazy, but we're dealing with High Dynamic Range, we need a bed big enough for all the values of the HDRI to fit in. Just like the story, this is the Mushroom that made Alice grow to her size.
2- Slope value in Color Balance node in the compositor: 0.18, yes even more crazy, this is the mushroom that made Alice small enough to fit in the display reference door, remember that the mushroom made Alice shrink, proportionally, it didn't chop her off to pieces.
3- Power value in Color Balance node: 1.8, convex f-curve to distribute the values from high to low in a way that gives enough space for gradation.
And here's the result.
No Look
Fake Colors Look
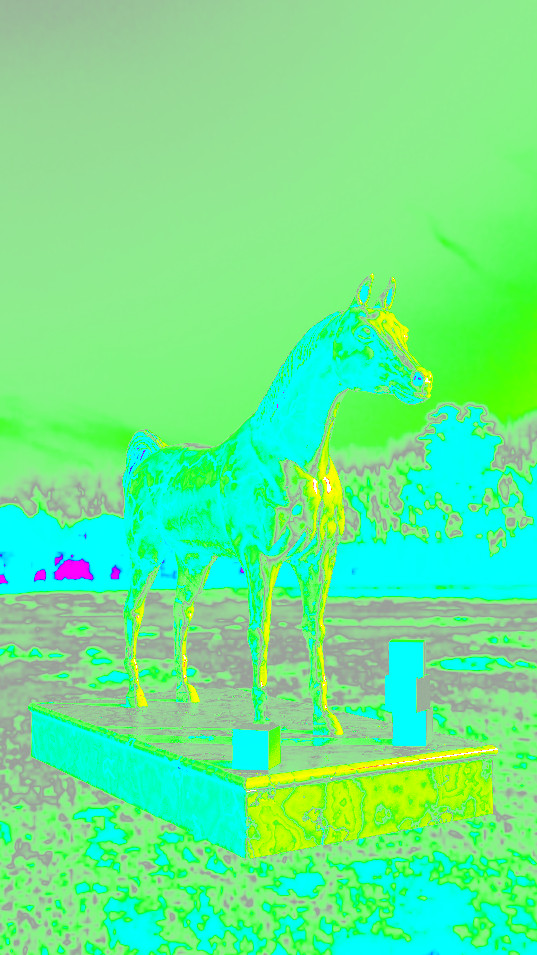
Of course these values would work for this particular HDR image, not necessarily a rule, but as a rule of thumb, I guess I'll be using high value for HDR image, and crank it down using the slope value, and expand the curve using a power value higher than 1, in order to make a concave easing out curve.
Finally, I'm not a tech person, and I know my description above sounds funny, on the other hand, the values still need some tweaking because there are still some white spots, which refer to over exposed areas, but at least I'm very close to achieve a good result. If you check the answer in this link is way more descriptive of this case, and in much better way. Following the instructions in this link, 14.5 is more accurate range for a standard case, for a standard HDR image.
Furthermore, here are some experiments I did with other HDRimages:
