4
$\begingroup$

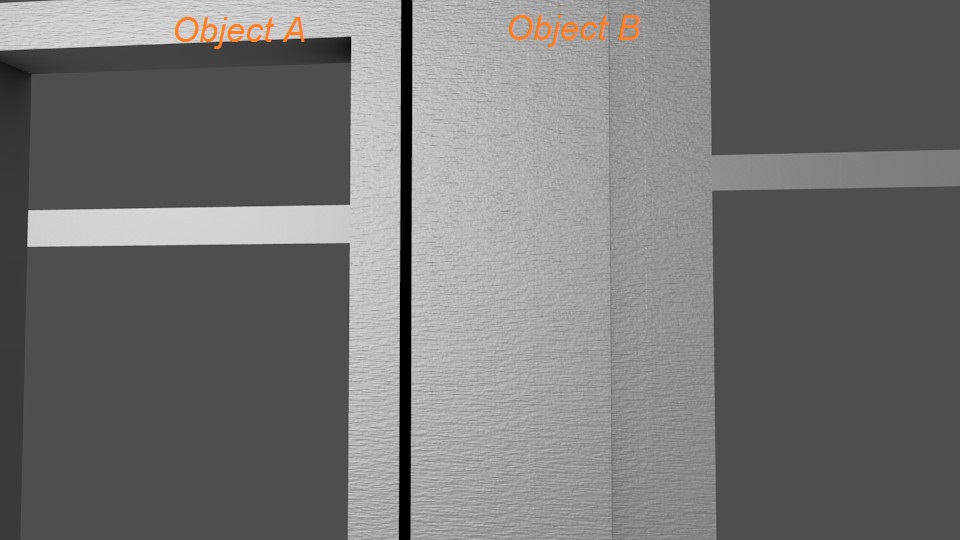
I have two objects, of different size. For simplicity, we'll call them object A and object B. Both have their own unique UV maps, but the same material(with a texture assigned to it) objects A & B
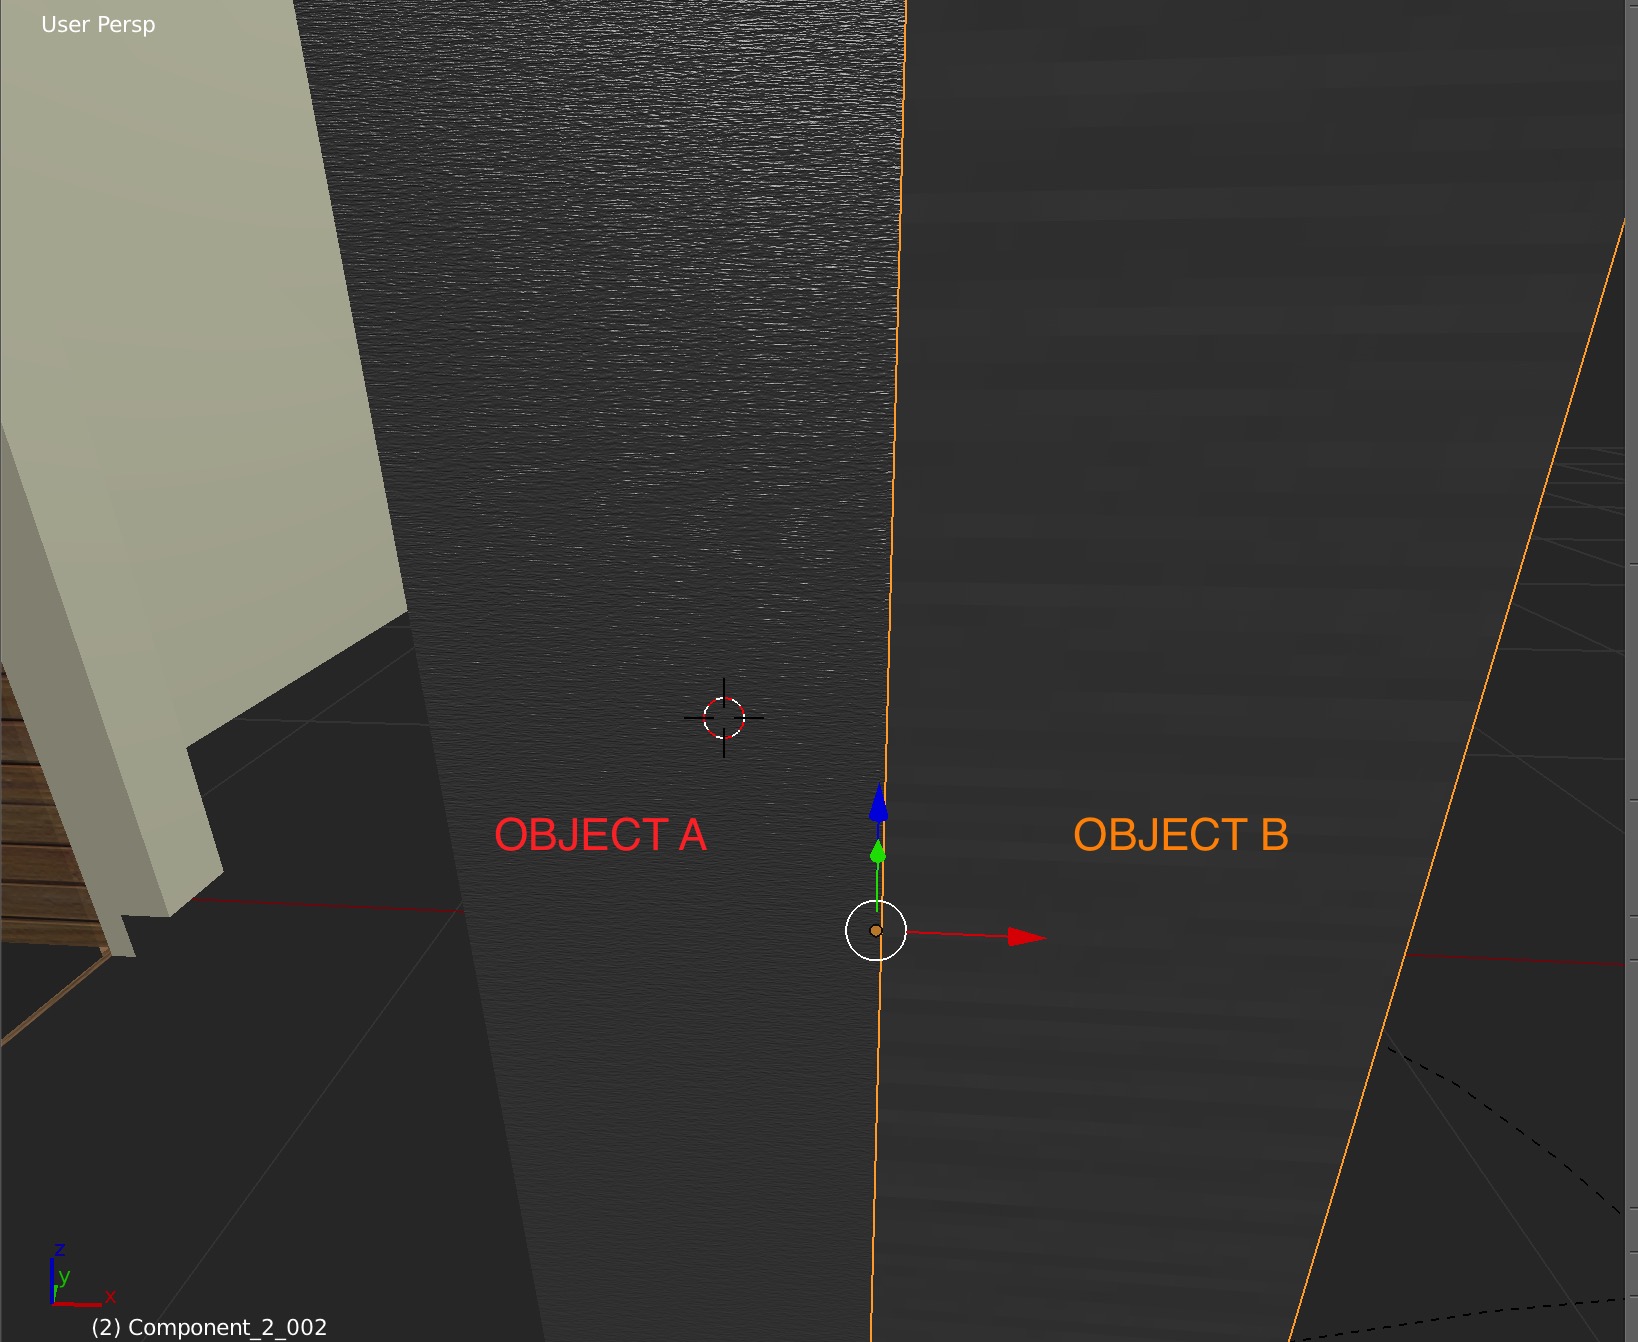
I would like to make the texture mapping of object B the same as object A(so they look the same). Ive tried "Transfer UV maps" but that doesn't work as their geometries are different: each object has a different number of faces.

I don't want to transfer the UV maps. I just want transfer the size and scale at which the texture is mapped by; rather than do it manually, which would be painstakingly slow (I have 20 models to process)

Any help would be greatly appreciated. If what I'm proposing is unachievable, an alternative would be be welcome. Ive tried using the extension Copy and Paste UV, but off course that is no different to what i've been doing. Ideally I don't want to be uploading textures into the UV editor; I need to take them from the textures assigned to the materials.

Thanks in advance

$\endgroup$
7
  • $\begingroup$ Are you using Cycles or Blender Internal? $\endgroup$
    – Paul Gonet
    Commented Nov 2, 2015 at 16:08
  • $\begingroup$ Gonzou, Blender Render $\endgroup$
    – edward
    Commented Nov 2, 2015 at 16:11
  • $\begingroup$ Maybe you should try select object B, then shift select object A and press Ctrl+L-->Materials, since their materials are the same. This will unify the textures coordinates. $\endgroup$
    – Paul Gonet
    Commented Nov 2, 2015 at 17:43
  • $\begingroup$ unfortunately that didn't work - it seems to be holding on to its texture coordinates. i even tried deleting its UV map, but it made no difference $\endgroup$
    – edward
    Commented Nov 2, 2015 at 19:17
  • $\begingroup$ What are the material and texture settings of the Object A, and what does the texture itself look like? It is important to know how object A is mapped so to copy that to the object B. $\endgroup$
    – Mr Zak
    Commented Nov 2, 2015 at 19:49

1 Answer 1

0
$\begingroup$

Very big difference of UV maps

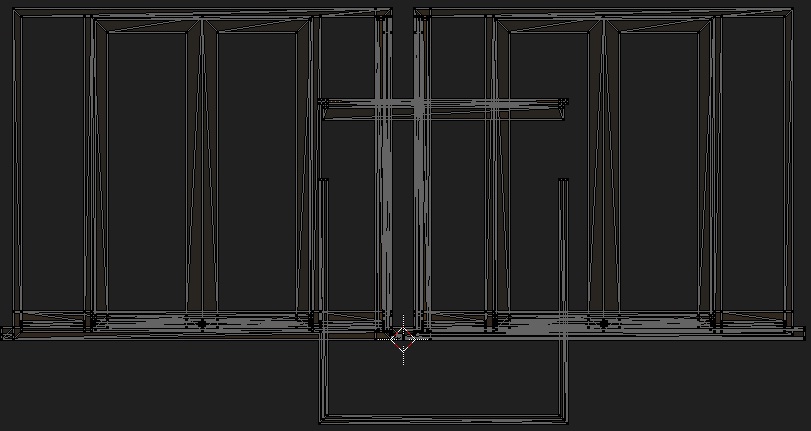
UV map of the "Object A" looks like this:

enter image description here

Note: it's scaled up very much; texture space isn't seen here, but it's located where the cursor is placed.

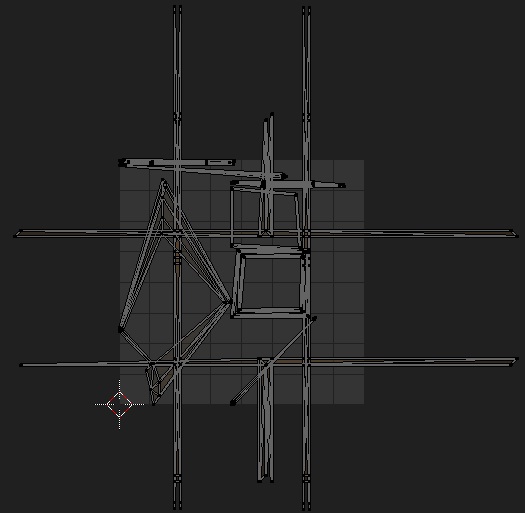
UV map of the "Object B" is this:

enter image description here

It's not scaled as much as the first one, and it's unwrapped not in the same manner. For the first object Project from View probably used (and no seams on the mesh), while some other method used for "Object B".
Thus the objects definitely won't look the same.

Make one object look like another

What you should try is to unwrap and scale UV maps of both objects roughly in the same way; then you'll be ready to assign the same material for the objects (or creating new one).

Possible solution

  1. Enter orthographic mode (Numpad 1). Select "Object B", enter Edit mode, select all.

  2. Use U > Project From View.

  3. Open UV/Image Editor to scale and position UV map in adjacent way (it depends on texture, but most likely you won't need to rotate it). Make the scale of UV map so it to fit the texture space (it may be eaiser to setup mapping settings then).

  4. Set the Size in the Mapping scroll of the texture settings to something like 50 (for X and Y axes). This is intended to substitute scaling UV map; while it does roughly the same, it's simply easier to control the UV map which has size of texture space in UV/Image Editor. To adjust scale just tweak that Size parameter.

enter image description here

$\endgroup$
9
  • $\begingroup$ Im nearly there i'm just not getting the same texture mapping scale(i did the Ctrl+L-->Materials too) . Like i said before, i have to repeat this process about 20 times(same object A, different object Bs), so how can i make it as quick as possible? can i optimise object A in any way to help the process? $\endgroup$
    – edward
    Commented Nov 3, 2015 at 17:16
  • $\begingroup$ 1. To center texture space (grid in the middle) in the UV/Image Editor just press F (or Numpad 0 if vertices there selected). No need to scroll endlessly. 2. Changing scale has sense only if you scale UV map down and don't make it that big as you have (mentioned in my answer). 3. You reunwrapped the Object B in a wrong way. Project from View is called so because it's very important what do you see at that moment in the 3D View; the resulting UV map in case of using Project from View does depend on that. You should enter front orthographic mode (Numpad 1), and then unwrap. $\endgroup$
    – Mr Zak
    Commented Nov 3, 2015 at 19:07
  • $\begingroup$ It is shown here unwrapping as you did in video and you can see the UV map you get after that; and unwrapping using orthographic mode with resulting UV map after that. $\endgroup$
    – Mr Zak
    Commented Nov 3, 2015 at 19:17
  • $\begingroup$ Or you can mark seams by hand all over the models, and unwrap (simple U>*Unwrap*, the only way which takes seams into account) using any view you like. It's worth mentioning that those areas which aren't seen at the moment of unwrapping when using Project From View will get very much stretch. It's the downside of this method. You should select which one to use depending on situation. $\endgroup$
    – Mr Zak
    Commented Nov 3, 2015 at 19:20
  • $\begingroup$ As to repeating 20 times - the only thing you could do as for me is to automate the process of unwrapping - that objects' selecting, that pressing U 20 times etc (probably creating a script). There's no need to optimise object A - it's already unwrapped, and it differs from those 20 objects. So Object A may be important only for you as a reference; it makes no sense for Blender. There's also no need to link materials between these objects - the problem is with UV maps. The objects' geometry differs - UV maps will differ. Materials may differ, but may not - as you wish. $\endgroup$
    – Mr Zak
    Commented Nov 3, 2015 at 19:30

You must log in to answer this question.

Not the answer you're looking for? Browse other questions tagged .