 I've looked at loads of different questions / ask / etc, but they either don't work for me or (more commonly) I just don't understand what it's telling me.
I'm extremely new to Blender, maybe 1 month? And I need you to explain to me like a big dumb stupid baby, because I can't seem to understand more than that. XD
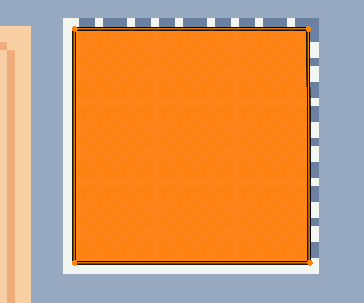
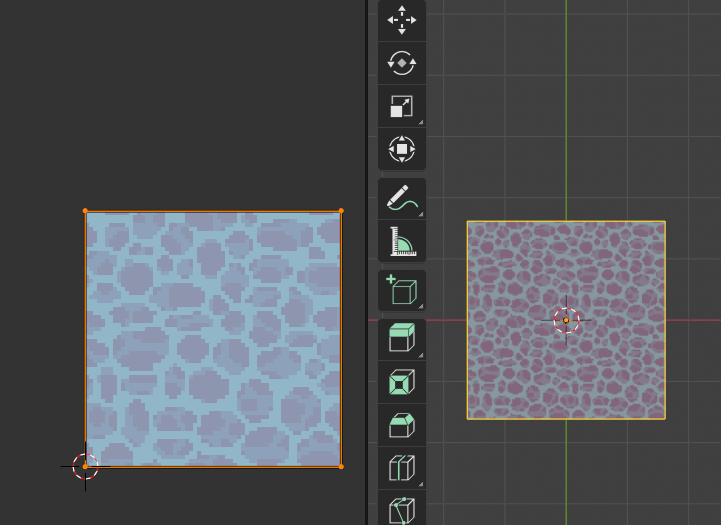
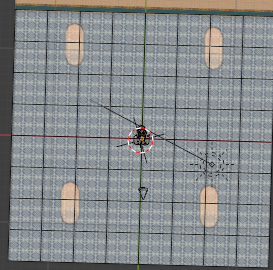
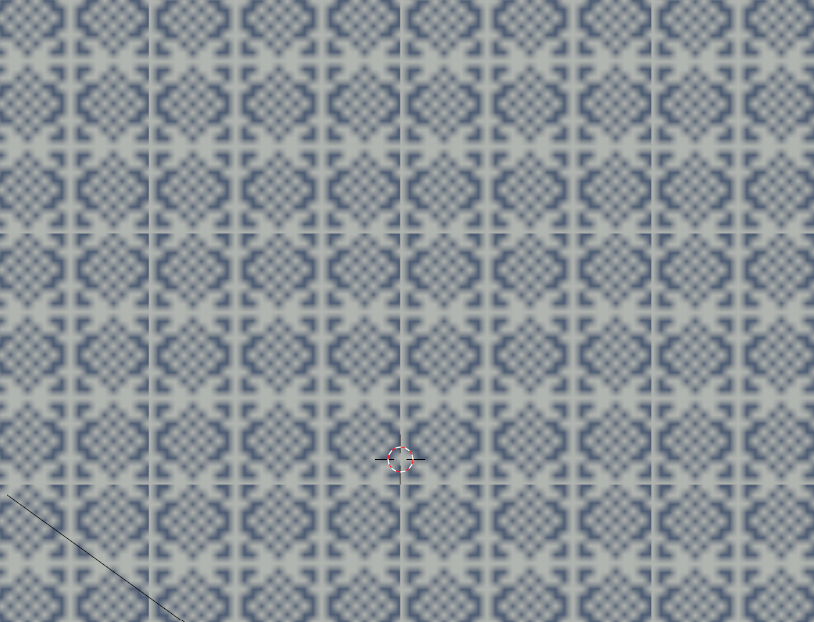
I'm trying to make an animation, and I want the floor, which is a flat plane, to look like floor-tile. The bit of UV I have is 3x3 tiles, and it SHOULD be seamless, but its not. (It is VERY small, 30x30 pixels). I managed to get it to "work" by making a bunch of loop cuts (I thought there was a way to use subdivide, but that makes the whole thing circular.) but it has a weird seam line that is very visible, which, since I'm able to move the points onto individual pixels- weird to me. Shouldn't I be able to get it exact? Is it BECAUSE its such a small texture? I know I can probably just make the image itself bigger, like. 9x9 instead of 3x3. is that what I would have to do? I managed to get the wall to look pretty decent.
Also- is there a way for it to scale up properly? It keeps making all the pixels blurry, and I know in Photoshop and stuff you can change the scale from (whatever) to (nearest neighbor). Something about making it so it doesn't use antialiasing when scaling. (It's pixelart.)
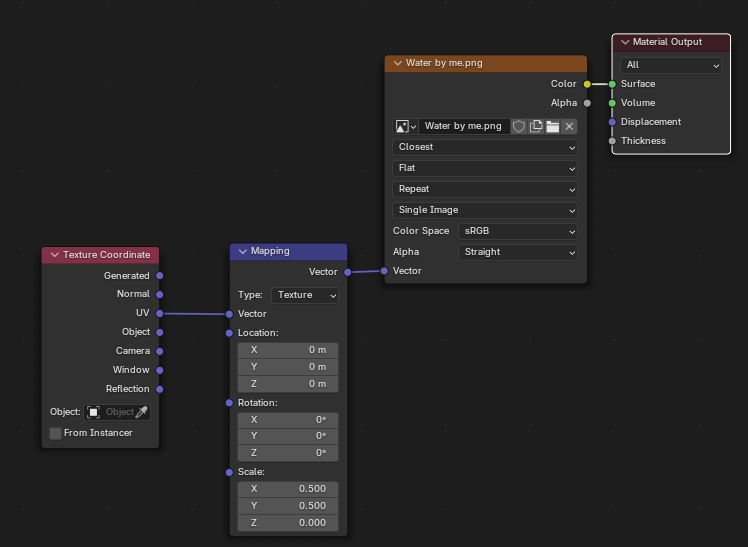
I saw some stuff talking about nodes, but, uhh... I've yet to get there in my tutorials, so if that's the solution then I guess I'll have to fix it later. I've got a basic node setup that works for shading or something I copied directly from someone else, but if I have to add more to the nodes, uhh......
Edit: Sorry for not being more clear. The only way I can manage to tile my image (which isn't working because of the seam lines, which I thought I'd successfully edited into the post last night, but I realized today I didn't.) The only way I could manage to get this to work was my dividing my plane using loop cuts so it was 8x8. (8 rows and 8 columns). I then overlapped the faces in the UV so they were all exactly the same, therefor manually 'tiling' my texture. I know there is a better way to do this, but even if there isn't a better way, I should be able to remove the seam in the texture, since the image itself is a seamless image. I have extra pixels around it to try to fix the seam issue, because otherwise I was able to see the background color.
Sorry, I wasn't trying to ask everyone to teach me nodes or UV mapping or anything, I'm just trying to get this one issue (the seam) to get fixed. (Well, and also the blurriness, but I figured that would either be easy, or part of the solution.)
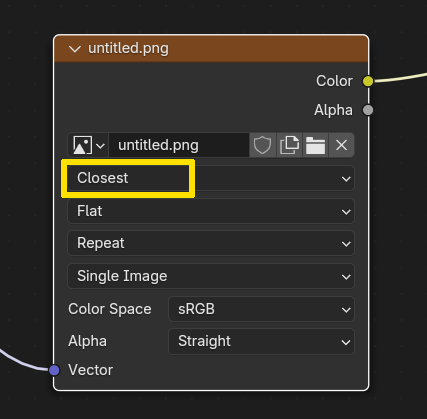
Edit Edit: It's fixed! The seam was caused by the antialiasing, so once I changed the Interpolation from Linear to Closest like Gordon said, it fixed the issue, and I was able to tile it properly! Thank you so much! (I'm sure there is still an easier way to tile an image, but my problem is solved for now so I'm happy! <3)

