3
$\begingroup$

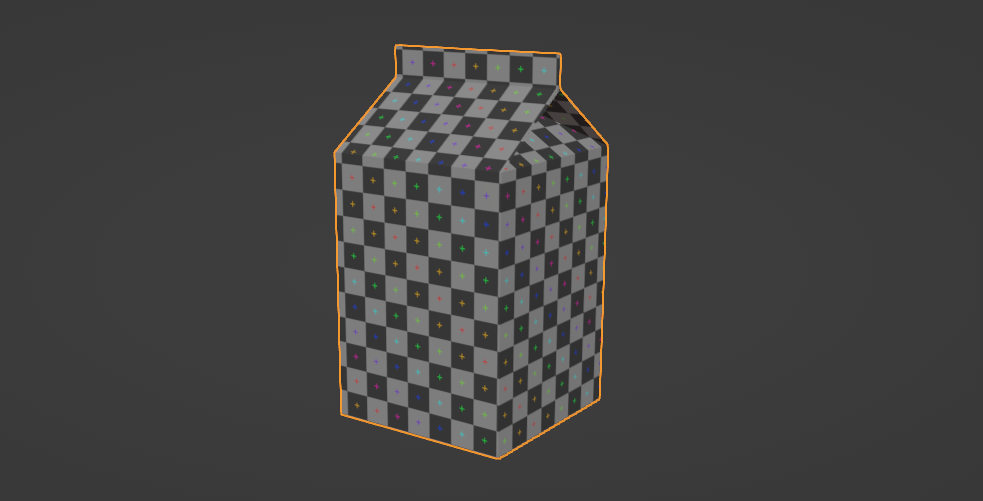
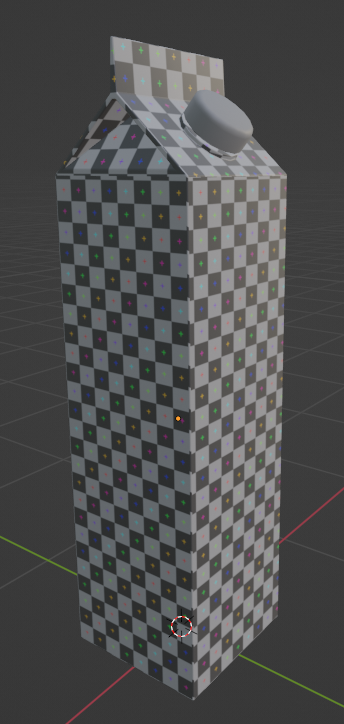
I have a milk carton which I have modeled and my attempt at UV unwrapping it:

However, the UV unwrap wasn't too successful as there are some mismatches.

What projection should I use for UV unwrapping this object? Are there any settings or other considerations I should be thinking about when UV unwrapping such an object?

Here is the blender file if you'd like to investigate:

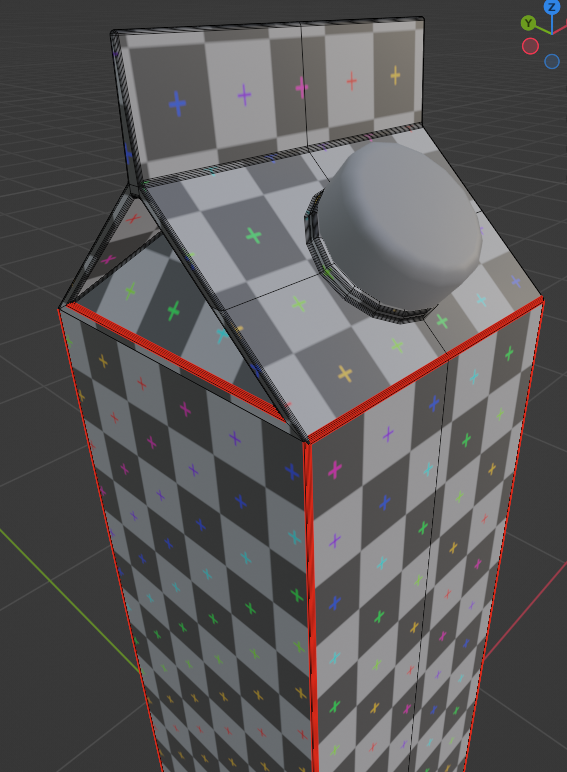
Here are what my seams look like. There appears to be a lot of them because the edges are beveled:

$\endgroup$
4
  • $\begingroup$ It's a box made of flat plastic sheet... I would suggest modelling it as it is in reality and marking the seams where they are in reality. After that pretty much all you have to do is hit u key twice. $\endgroup$ Commented Jun 5, 2023 at 6:30
  • $\begingroup$ When marking edges as seams. Should I mark all the beveled edges? Or just the 'middle' one? I have attached a screenshot for reference. $\endgroup$
    – CodeZealot
    Commented Jun 5, 2023 at 6:38
  • $\begingroup$ I would suggest you take a carton of milk(physically to your hands, because why not, you probably have it...) and having a look at where the seams are. There is usually only one seam on the side, because it's a single flat sheet folded so mark that seam. $\endgroup$ Commented Jun 5, 2023 at 6:46
  • $\begingroup$ I hesitate to give an answer to this question, because this is the most basic case of the most standard UV unwrapping process in Blender. You just mark seams, and unwrap, that's it. This is covered by absolutely any basic UV unwrapping tutorial thousands of times way better than I could write in an answer. Check the docs and watch some tutorials. This maybe... $\endgroup$ Commented Jun 5, 2023 at 6:56

1 Answer 1

3
$\begingroup$

version 2D to 3D

Milk box is based on a one peace of sheet (plane) ...
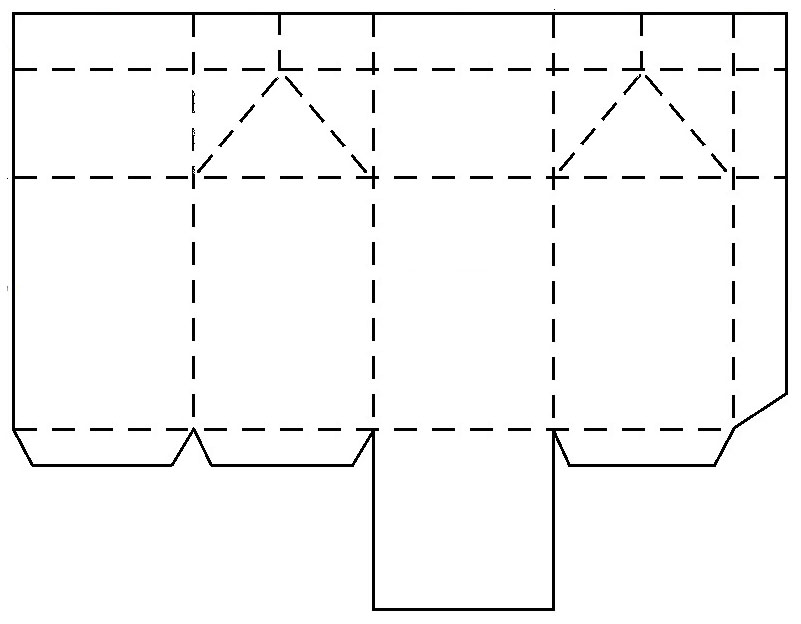
enter image description here

... so the proper way could be to model this (or any other similar template) as 2D and use a rig to pack into a 3D shape (like here with one of my favourite addon useful for packing design).
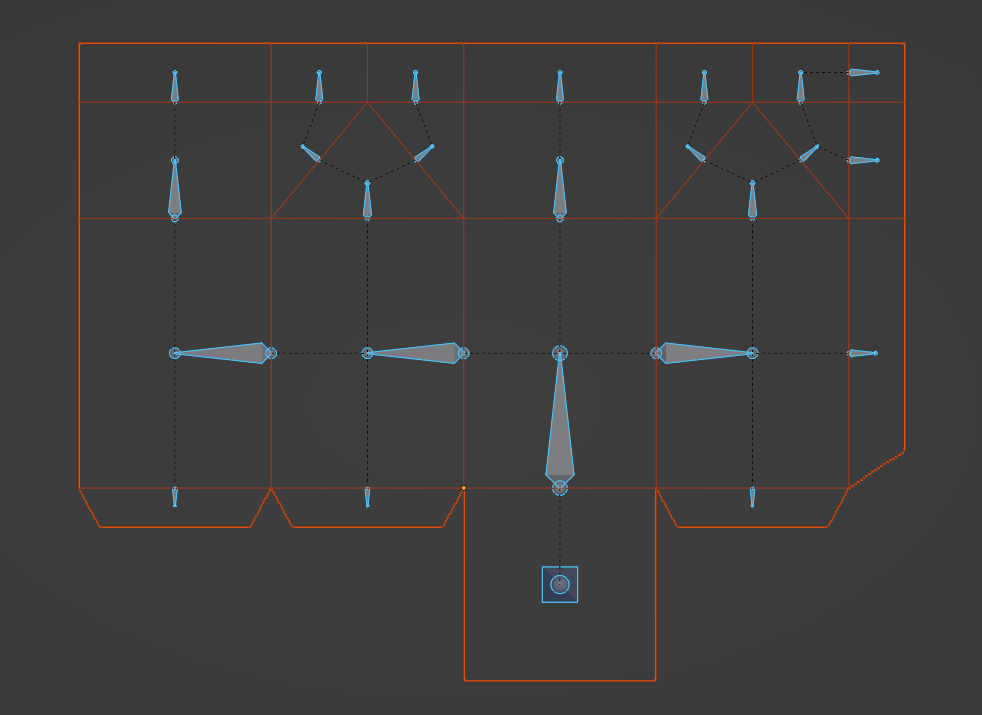
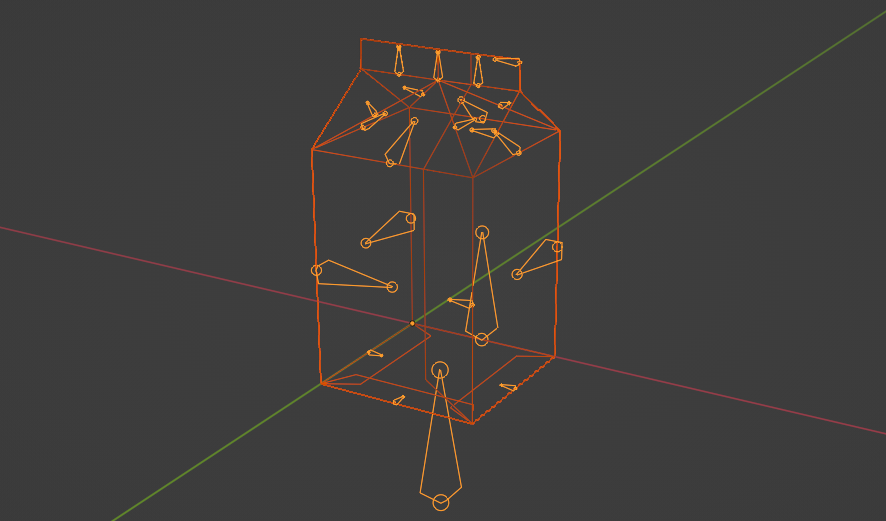
enter image description here

enter image description here

enter image description here

This way is a bit harder since this simple topology is not considering paper thickness. It means - faces at the same location will overlap each other (z-fight appearance). In this case it seems Solidify modifier eliminated this issue (thanks to extrusion in face normal direction, but proper way should be to create a topology considering the paper thickness, but it is anther story.

So, here is another option ...

version 3D from Cube

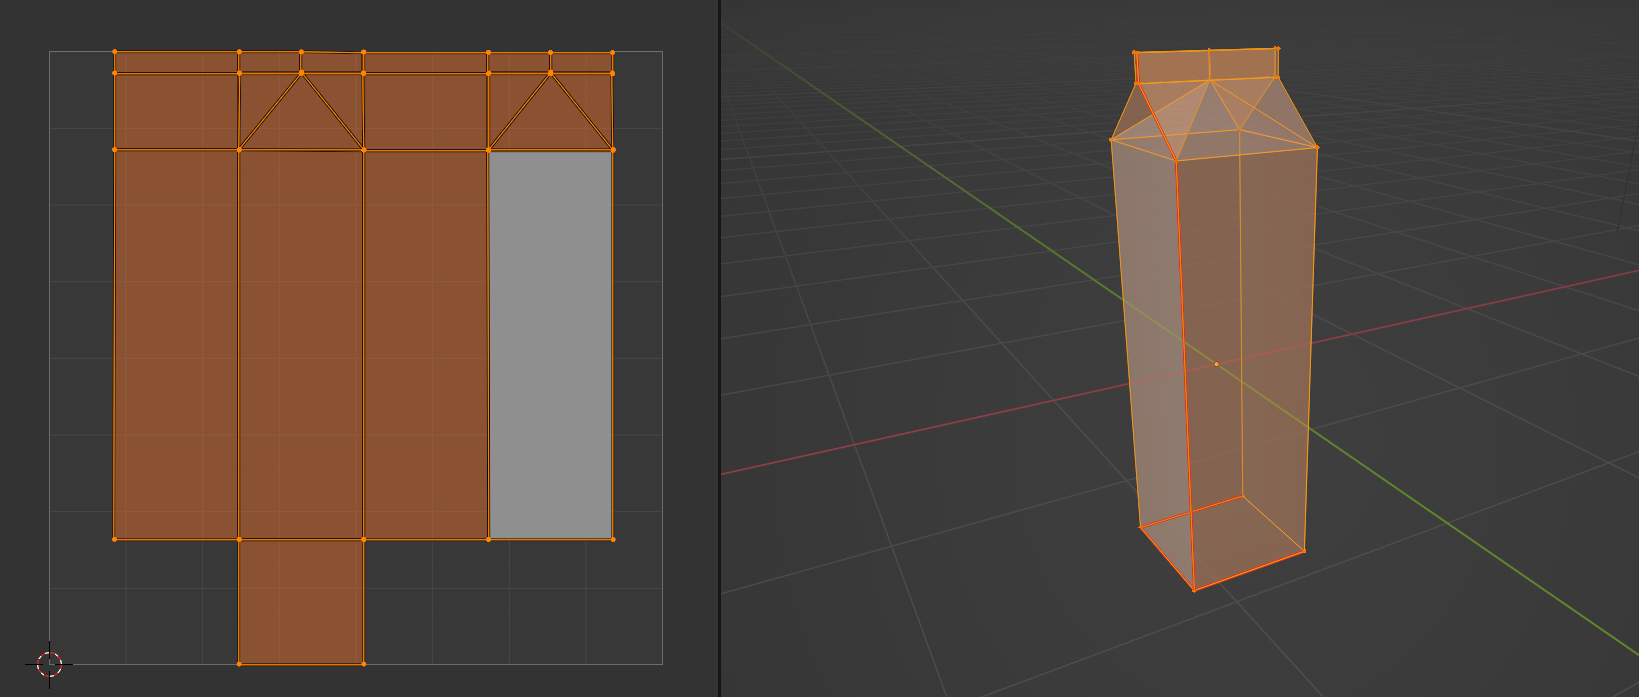
Or for simplicity now create the model from a Cube ... delete upper face, Extrude, Subdivide top-side edges, reposition vertices ...
enter image description here

One vertical edge and three bottom edges Mark as Seams (to let blender know where to split UVmap). Select one face, than all and Unwrap > Folow Active Quad.

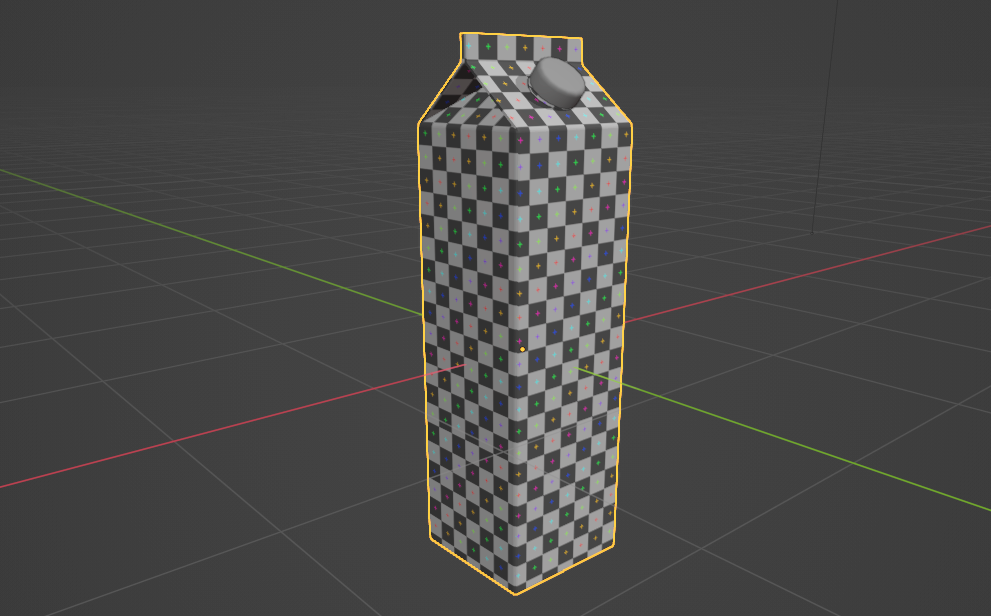
To Bevel edges don't use it before you have basic UVmap. Do it after or use Bevel modifier and Solidify modifier.
enter image description here

This example is just a quick sketch. I didn't follow any measurements.

$\endgroup$

You must log in to answer this question.

Not the answer you're looking for? Browse other questions tagged .