3
$\begingroup$

I’m trying to create a wooden floor from a set of textures. My idea is, to use one image for each floor board. Thus, I create appropriate scaled cubes for every floor board and want to randomly apply one of my floor board textures to each of those.

This works pretty well to the point where I want to limit the generated floor to the extents of a room. At this point everything falls to pieces.

I tried two approaches. One using the Array Modifier and the other using Geometry Nodes, which is my favourite. As both are using the same material, I will first explain my material. Afterwards I will explain the approaches.

I would like to stay non-destructive. Nevertheless, I tried destructive workarounds, which led to other or similar problems.

How can I solve this?

Material

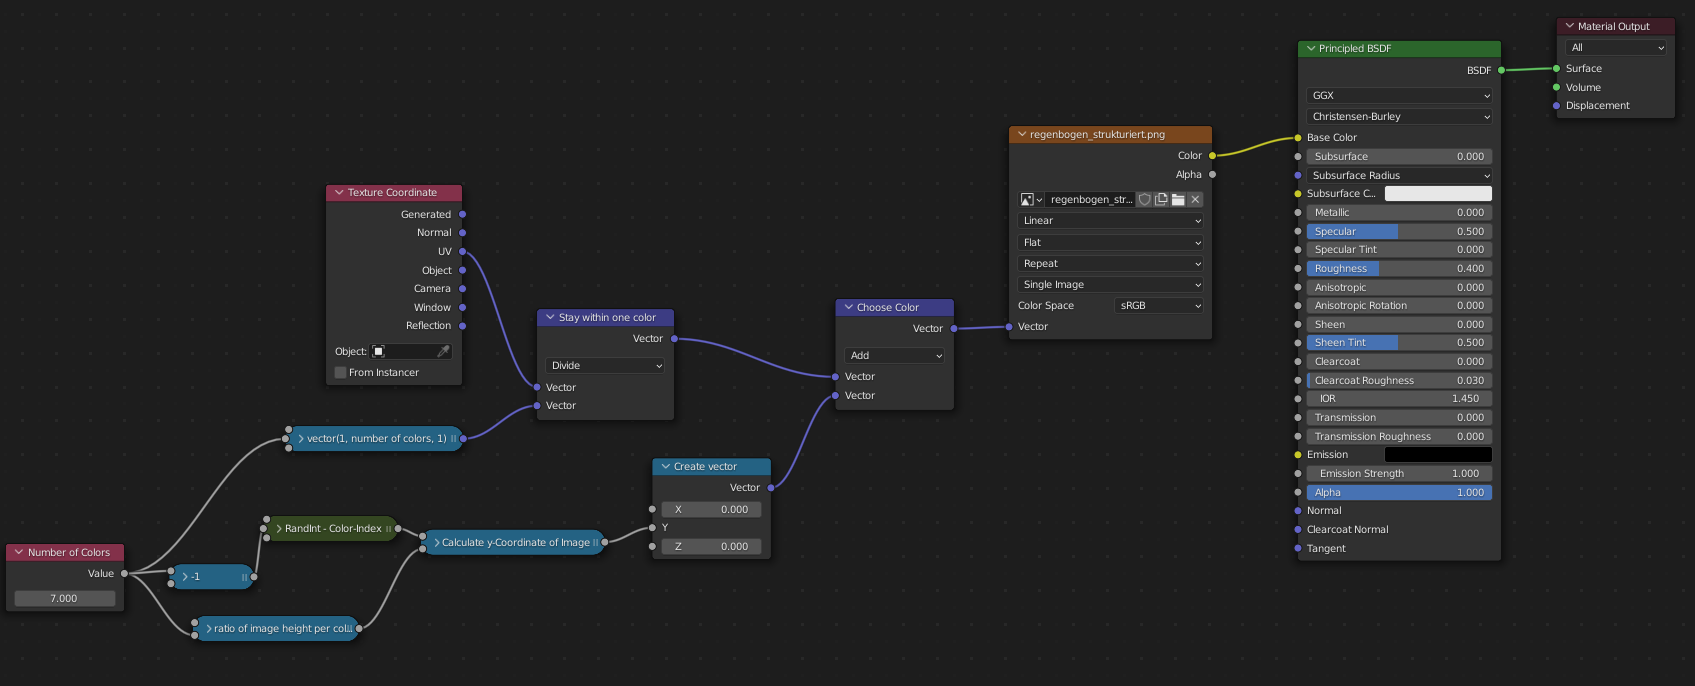
My idea is, to stack all textures of a type in one image. Thus, I can choose one of them by choosing the corresponding range of y-coordinates. As I’m still in the proof of concept, I don’t currently use wood textures. Instead, I created a structured image with different colors, where every color represents one wood image:

material texture

Here is my material:

material nodes

And this is how the node “RandInt – Color-Index” works:

RandInt - Color Index node

The Geometry Nodes Approach

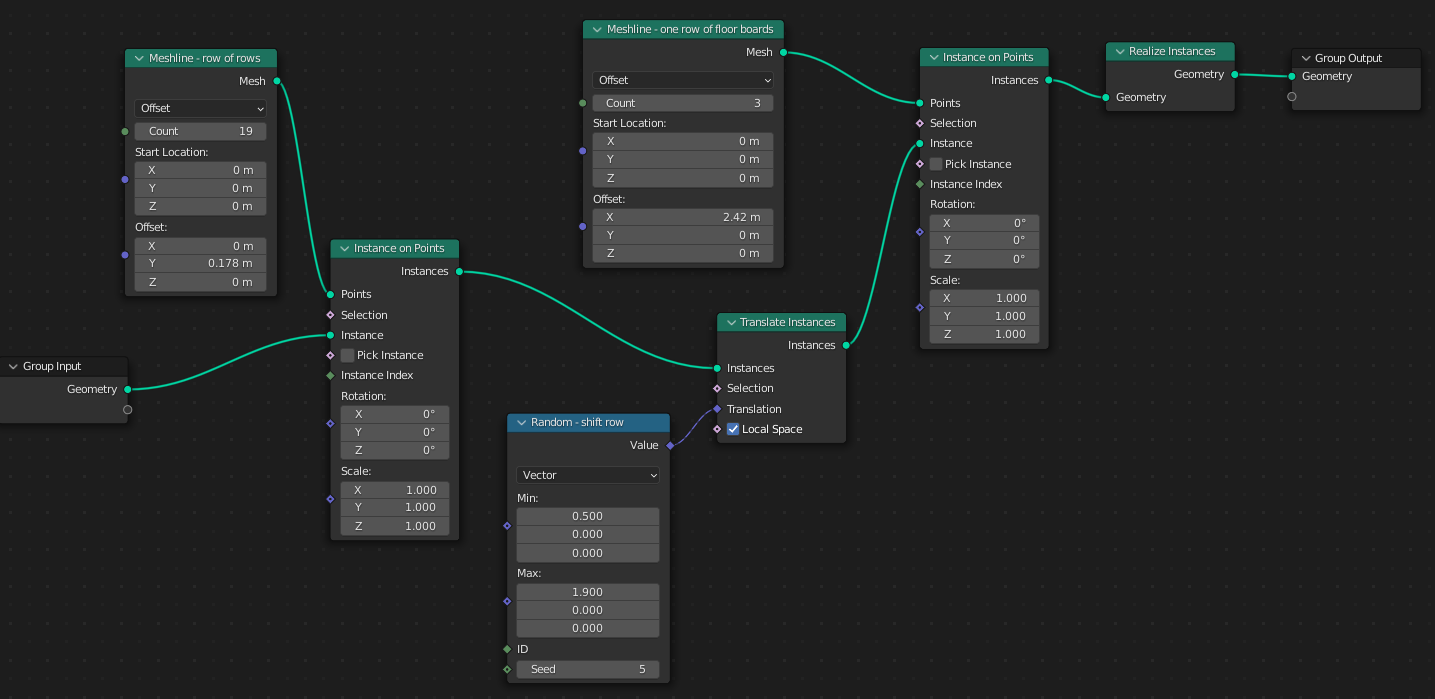
I’m using the following Geometry Nodes setup:

enter image description here

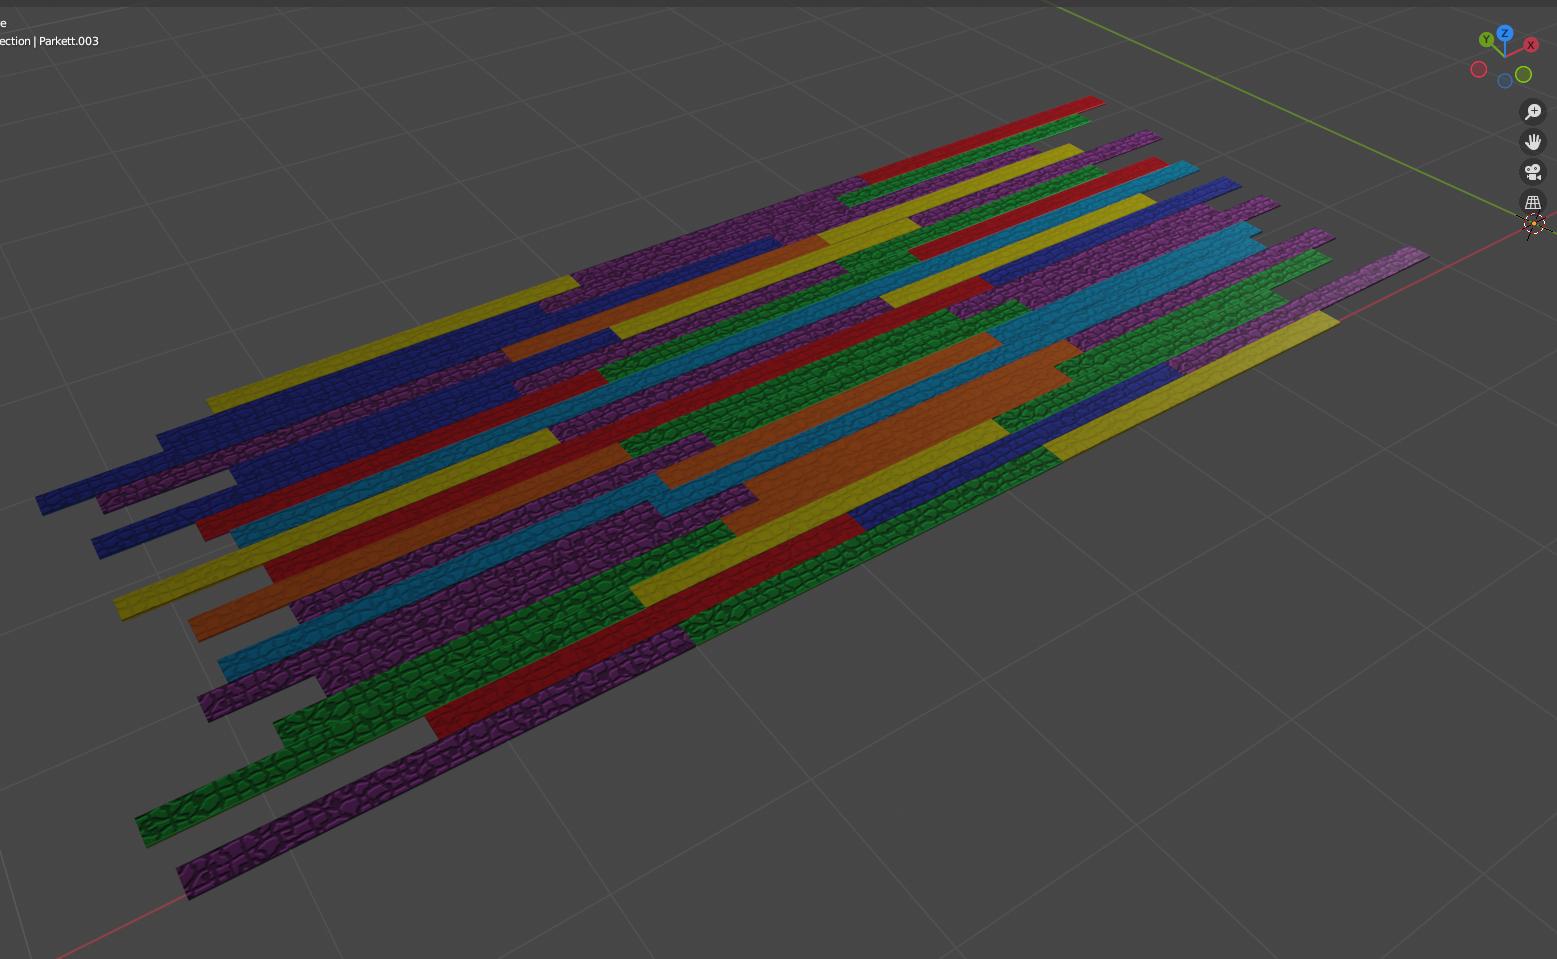
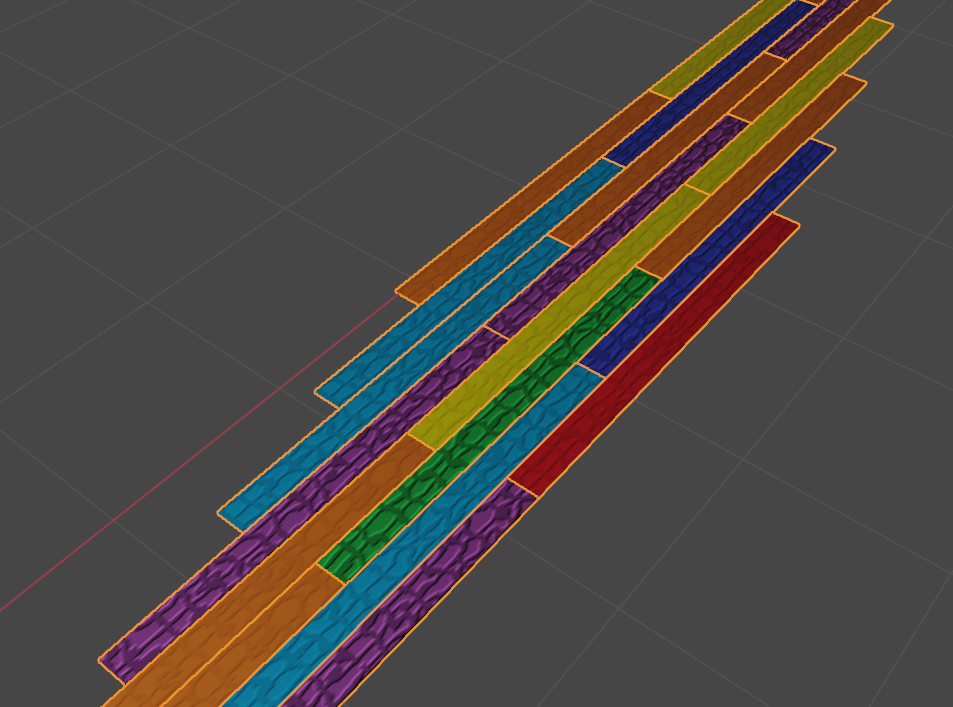
When muting the Realize Instances node, this creates the following result, which is fine:

Geometry Nodes result

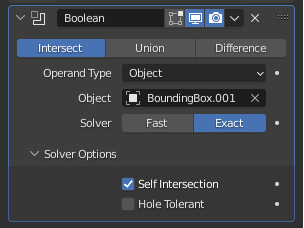
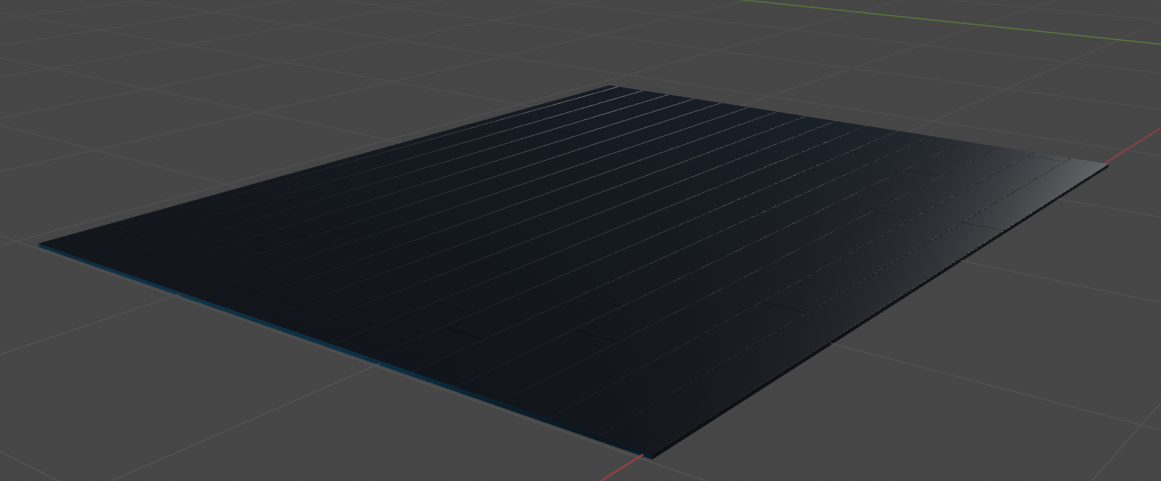
When I try, to limit this to the extents of a room by applying a Boolean modifier, nothing happens.

Boolean modifier setup

And when I unmute the Realize Instances node of my Geometry Nodes setup, the Boolean modifier works but my material does not work properly anymore:

Geometry Nodes result with Realize Instances unmuted

The Array Modifier Approach

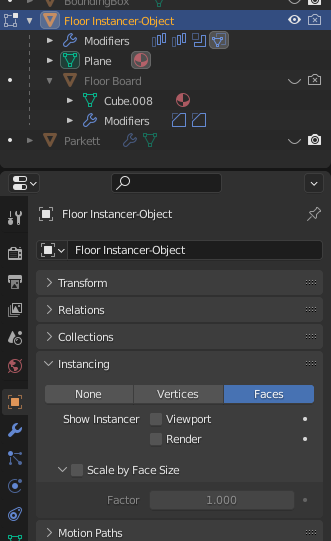
I added two Array modifiers to an instancer object like this:

Setup instancer object

This gives me the following result:

Result Array modifier

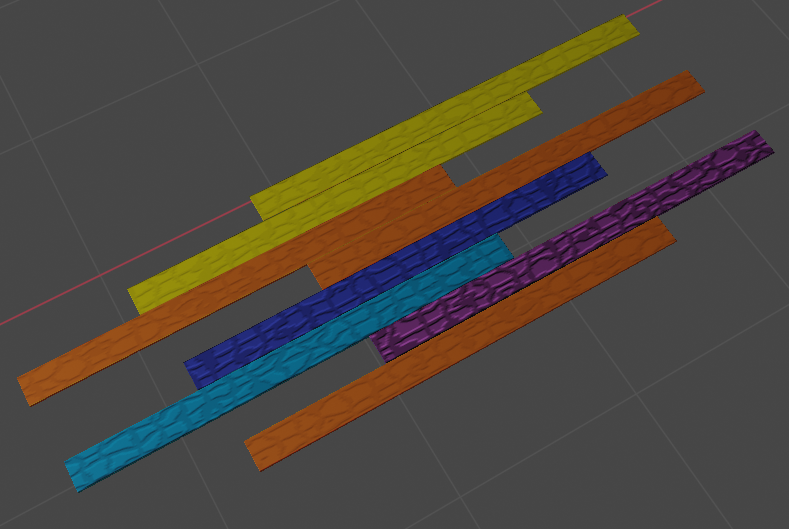
When I apply a Boolean modifier on the instancer object, it does exactly what it says: It intersects the instancer objects but not the instances. Instead, it creates one complete floor board instance for every instancer object, that remains at least partly after the boolean operation:


Result Array modifier with Boolean

My blend file

$\endgroup$
11
  • 1
    $\begingroup$ If your problem hasn't fixed,pls upload your file,I'll have a try. $\endgroup$
    – NatureK
    Commented Mar 13, 2022 at 14:19
  • 1
    $\begingroup$ I might suggest using the geometry nodes to set the material instead of having the material decide the board choice. $\endgroup$
    – TheLabCat
    Commented Mar 13, 2022 at 18:17
  • 1
    $\begingroup$ @TheLabCat Thank you, this solved it. I will describe the solution tomorrow in this thread. $\endgroup$ Commented Mar 13, 2022 at 22:45
  • 1
    $\begingroup$ @AndréZmuda : if you provide your blend file - I will try to show you what I meant. Just because you didn’t make it, doesn’t mean it doesn’t work. $\endgroup$
    – Chris
    Commented Mar 14, 2022 at 5:55
  • 1
    $\begingroup$ @Chris : Thank you for this offer and sorry, I didn’t mean to be unkind. As I can see from your posts, you definitely have more knowledge and experience in Geometry Nodes and Shaders than me. I would be happy, to learn from your solution. :-) I will do some clean up and come back to you with the blend file. $\endgroup$ Commented Mar 14, 2022 at 18:37

2 Answers 2

2
$\begingroup$

i found one "cheap" solution via shaders like this:

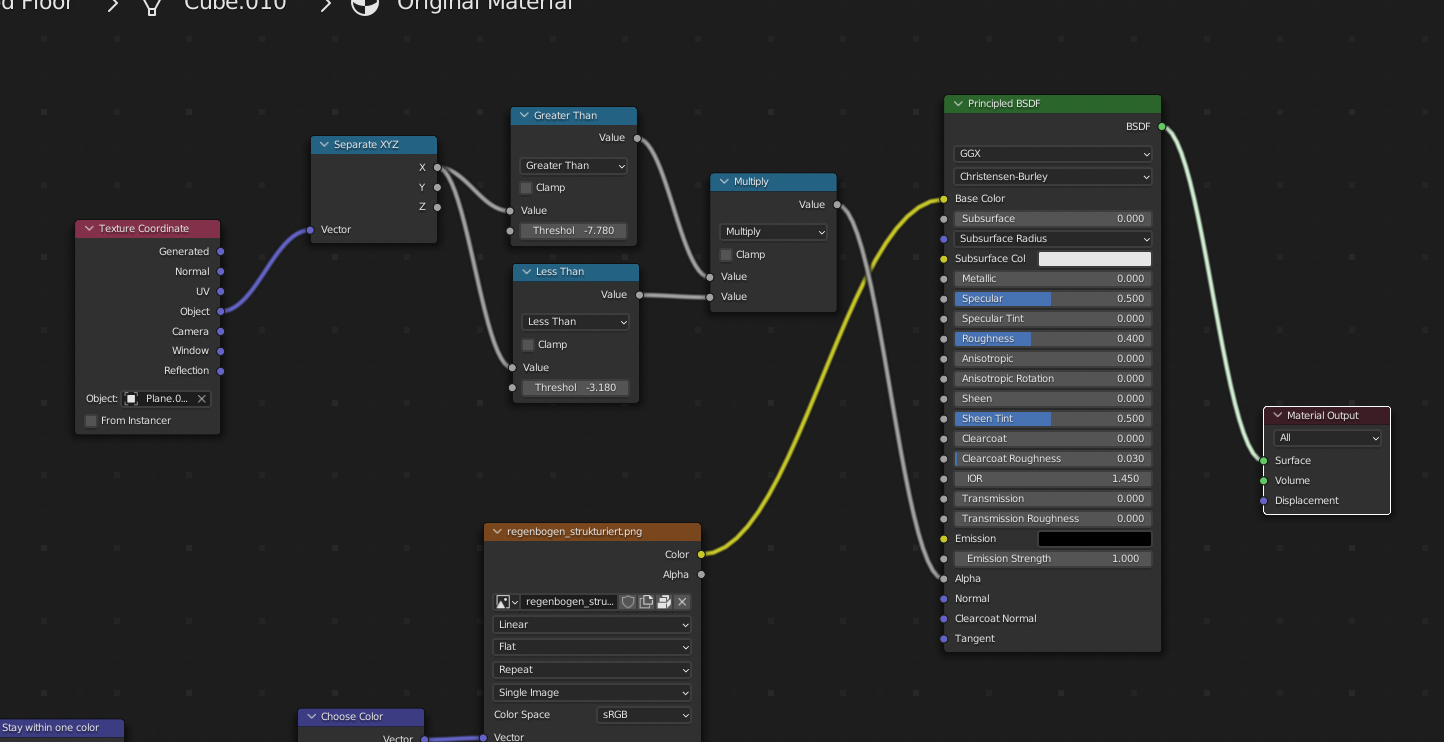
Create a plane (or whatever object you like), then extend your shader nodes like this:

enter image description here

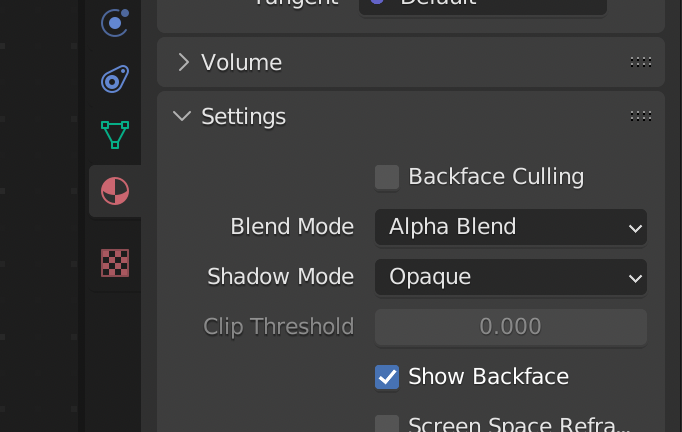
set blend mode to alpha blend

enter image description here

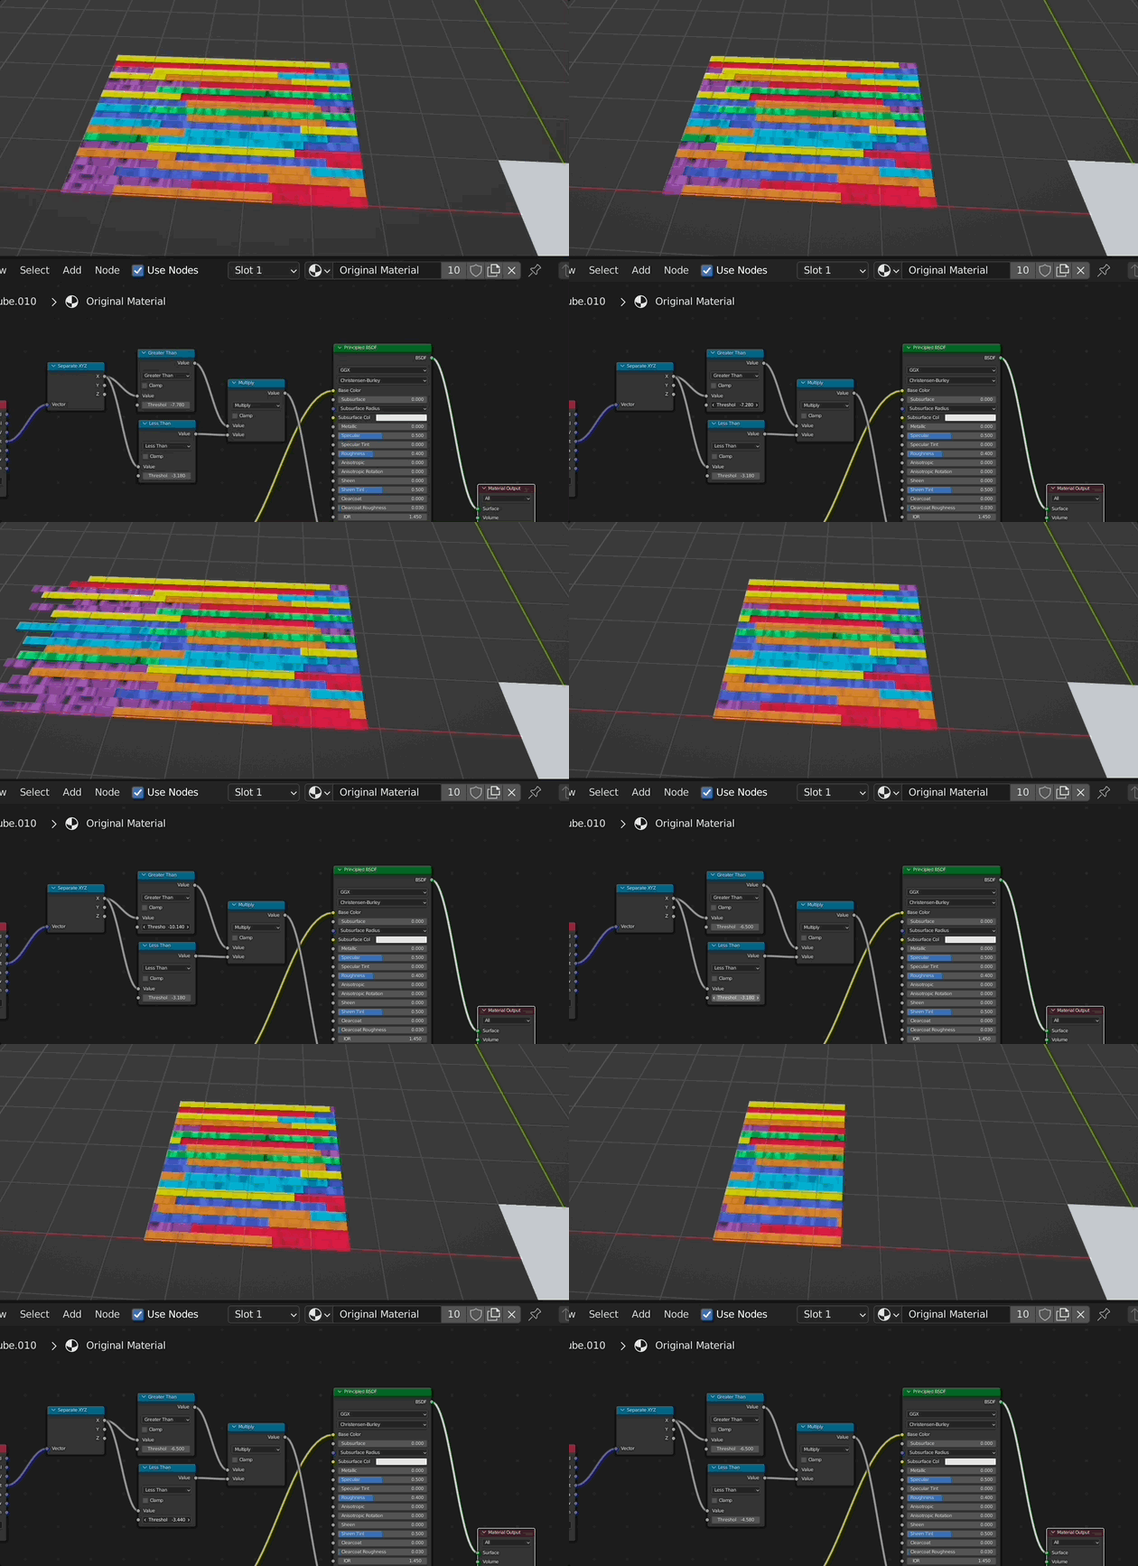
and you can limit your texture with the greater/less than values:

enter image description here

...but i don't know whether you are looking for practical "solutions" or "theoretical" perfections...because this is "just" a solution.

$\endgroup$
2
  • 1
    $\begingroup$ Thank you very much for this solution. :-) - It solves the described problem and is really quick, pragmatic, useful and interesting. I will keep this in mind for the future. Nevertheless, concerning my current topic, I will stick to the solution, that I described in the other answer. It can be adopted more easily to other – more complicated – room shapes. $\endgroup$ Commented Mar 15, 2022 at 19:15
  • $\begingroup$ that's totally fine with me. Glad you find it useful. $\endgroup$
    – Chris
    Commented Mar 15, 2022 at 19:18
2
$\begingroup$

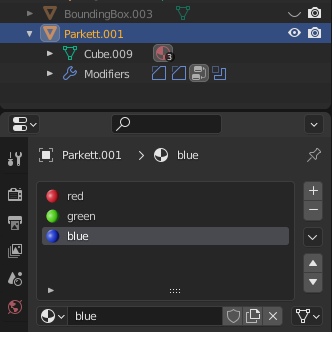
As proposed by @TheLabCat , one solution to this problem is, to set the material using geometry nodes. Instead of using the complex material from above, I added 3 simple materials to my floor board:

materials

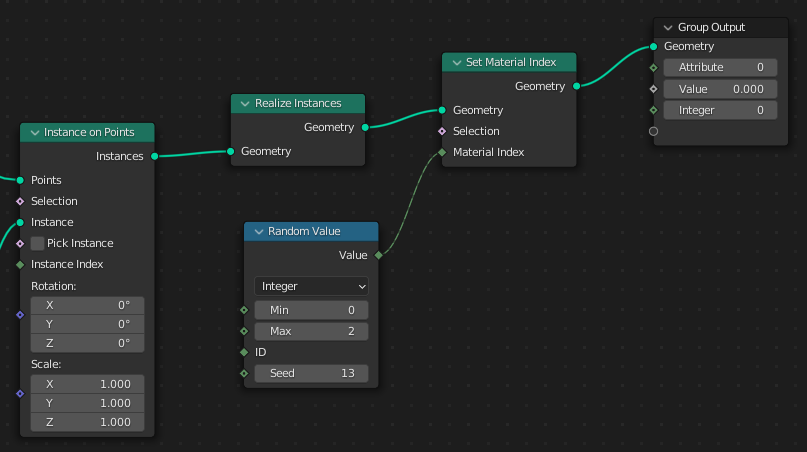
Then I activated the Realize Instances node in my geometry nodes and set the material index to a random value:

geometry nodes

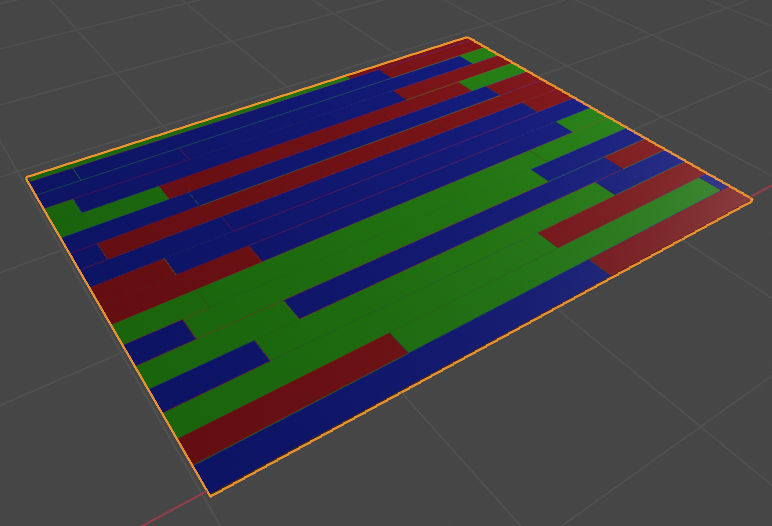
After doing this, the boolean modifier works properly:

result

But uv-mapping breaks, when I replace the simple colored material by a texture-based material with an UV-Map. Following, I will explain, how this can be fixed.

I created three materials red, green and blue, that use the following images as texture. The black and white stripes on left are intended, so that it is easier to see, if the material is aligned properly.

red

green

blue

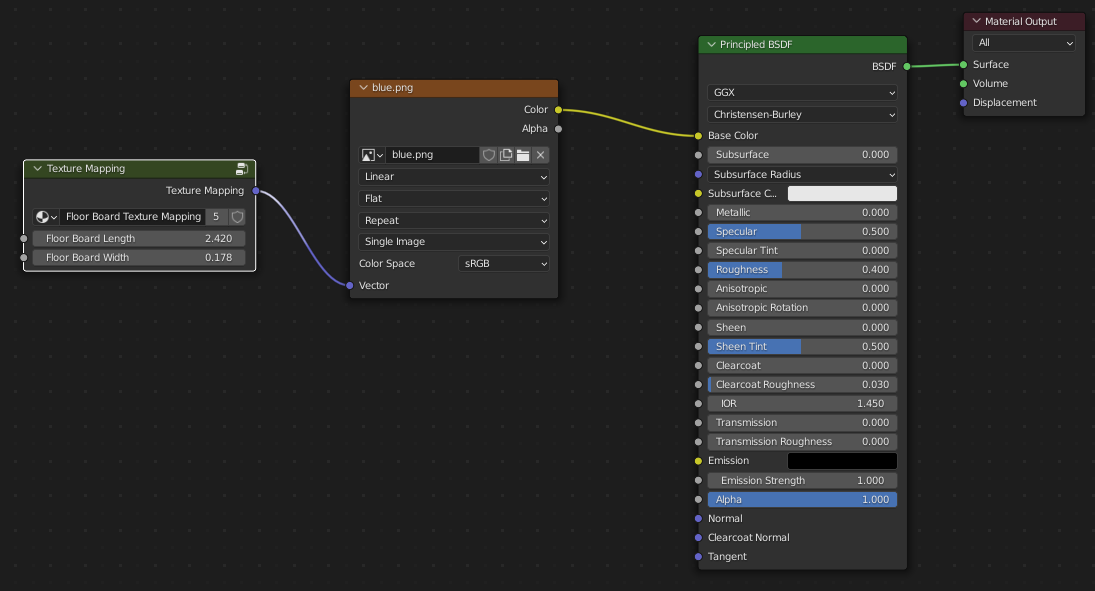
The following image shows how these materials look like. I will explain the Texture Mapping group node later on.

material

As the UV-Map breaks, when the Realize Instances geometry node is activated, I switched the texture coordinate in my material to Object and set the scale by using a Mapping node to the extent of one floor board (2.42 x 0.178).

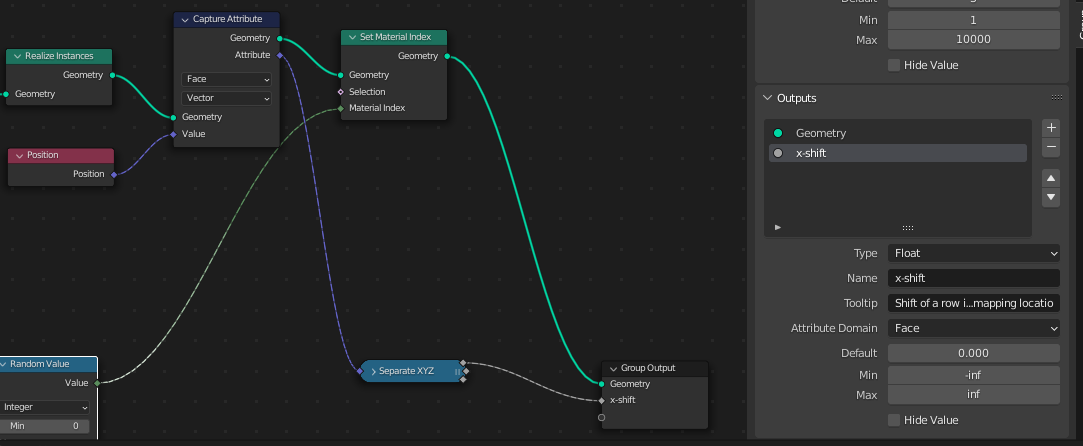
But that still is not enough – every row of floor boards is shifted in x direction compared to the others. In order to consider this shift-value, I capture the position attribute of the faces just behind the Realize Instances geometry node and expose it to an attribute named x-shift in the Group Output.

Capture x-shift

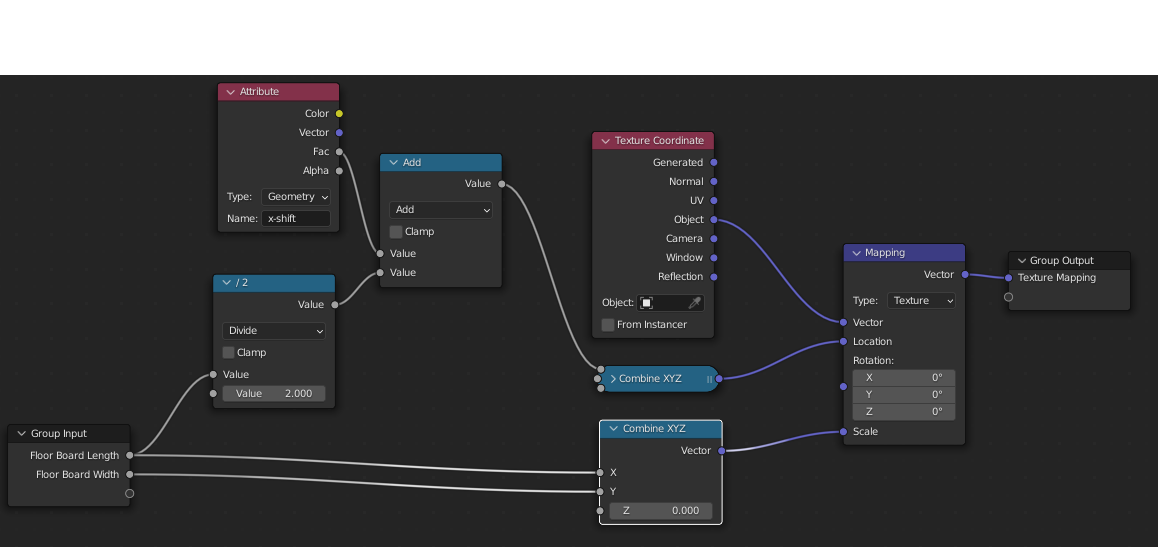
And all adjustment of the texture happens in the Texture Mapping group node, that has been mentioned above. This is, how it looks like inside:

Texture Mapping node group

I will explain this, starting at the mapping node on the right. As already mentioned, I use the Object output of the Texture Coordinate node for the basic texture mapping. Therefore it is plugged into the Vector input. The length and width of one floor board are expected as an input into this group node. They are used to define the scale of the texture mapping.

To realize the x-shift of the floor board rows, I grab the value of the x-shift attribute of the Group Output from my geometry nodes, by using an Attribute node. For some reason, the position attribute of the faces seems to reference the center of the faces. Thus, I have to shift the shift-value by half of the floor board length, which happens in the two blue Math nodes on the left. The result is written into the x-coordinate of 0-vector, which is used as the location of the texture mapping.

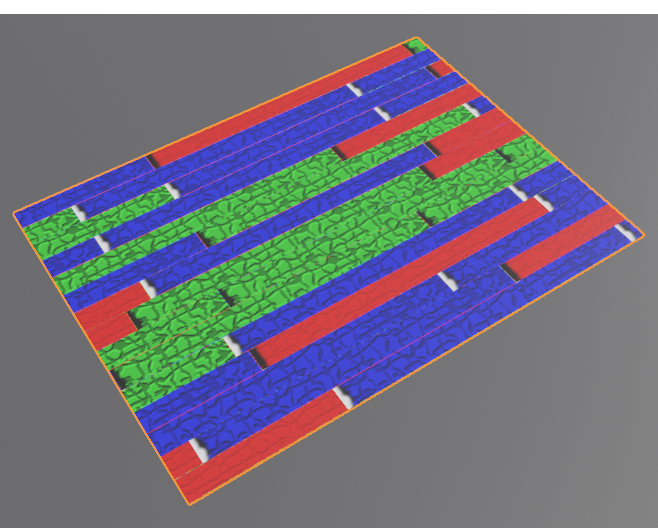
And this is, how it looks like:

result

$\endgroup$
0

You must log in to answer this question.

Not the answer you're looking for? Browse other questions tagged .