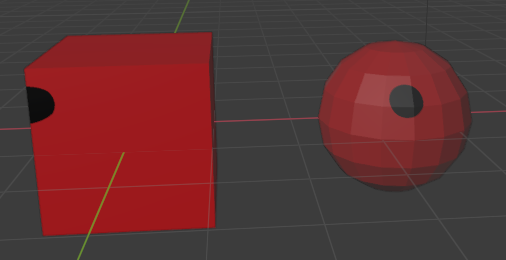
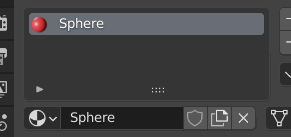
You need to understand that when you are texture painting, you are actually painting on the image and since you are modifying the image, it's going to appear in every object that you use that image on :


And it will be like this even if you use different materials for the objects.
If you want to get around this, you need to make a copy of the image for each object :
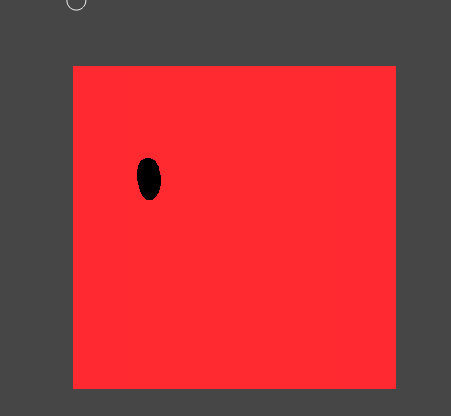
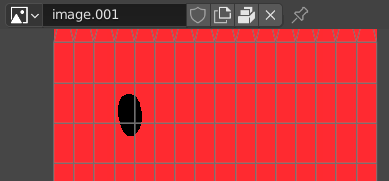
Go to an Image Editor window :

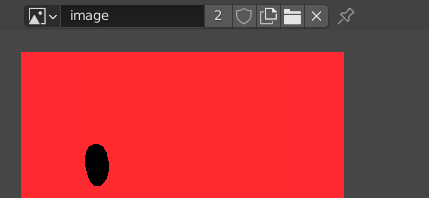
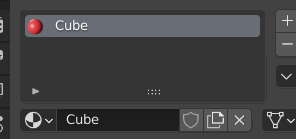
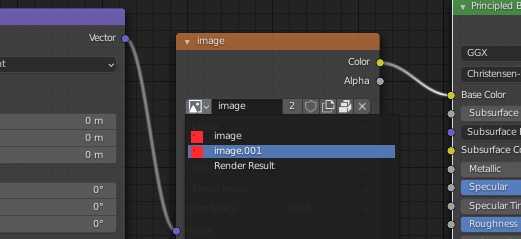
The 2 that you see near the image name indicates the number of users of this image. That means that if you make modifications to that image, 2 "things" would be affected by those modifications. I said "things" here because it can be an object, a material or something else. In my case it's the materials used by the Cube and the Sphere :


Click on that little 2 and you'll create a duplicate of the image (don't forget to save the image first either externally or by packing it inside of the blend file) :

Now you have two images that are identical but the Cube and the Sphere are still using the original one. To change that, I can just go to the Shading workspace and select, say, the Cube and make it use the new image image.001 :

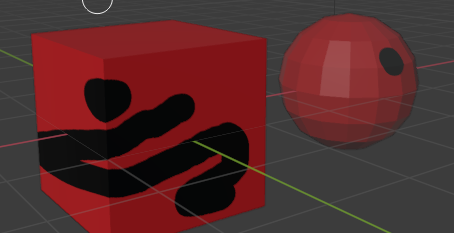
Now I can paint on the Cube without affecting the Sphere :

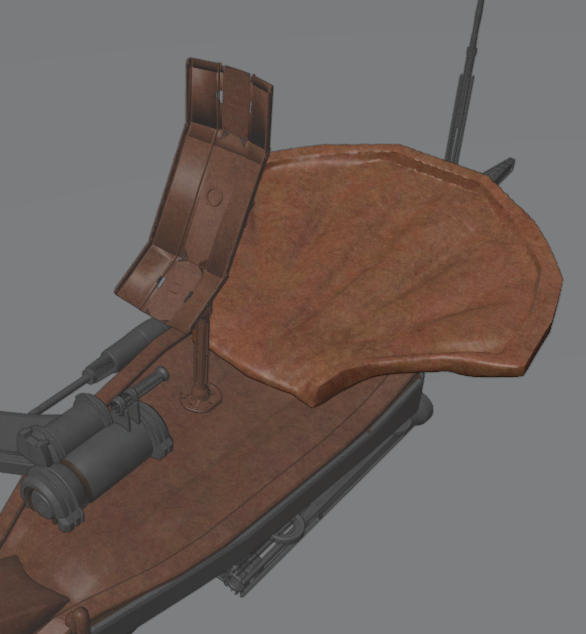
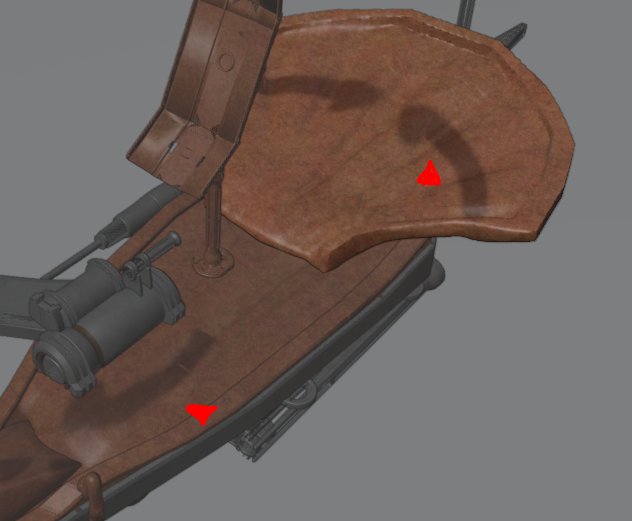 so when I tried to paint one single object, it also effects to other object that shares the same image texture. I already cut the number? thing in shader but its not working.
