2
$\begingroup$

I'm really new to blender (2.9) and I'm exploring its Python API. I'm also comparing the API with the normal GUI tools. At the moment I'm trying to create a textured plane without the use of the function:

bpy.ops.mesh.primitive_plane_add()

The main reason is for experimenting purposes. For this reason I'm trying to use BMesh and so far i got this:

import bmesh
# Construct the bmesh cube and assign it to the blender mesh.
bm = bmesh.new()
bmesh.ops.create_grid(bm, x_segments = 1, y_segments = 1, size = 1.0)
#bmesh.ops.create_cube(bm, size = 1.0)

# Finish up, write the bmesh into a new mesh
me = bpy.data.meshes.new("Chessboard_Plan")
bm.to_mesh(me)
bm.free()

# Add the mesh to the scene
obj = bpy.data.objects.new("Chessboard_Plan", me)
bpy.context.collection.objects.link(obj)

# Select and make active
bpy.context.view_layer.objects.active = obj
obj.select_set(True)

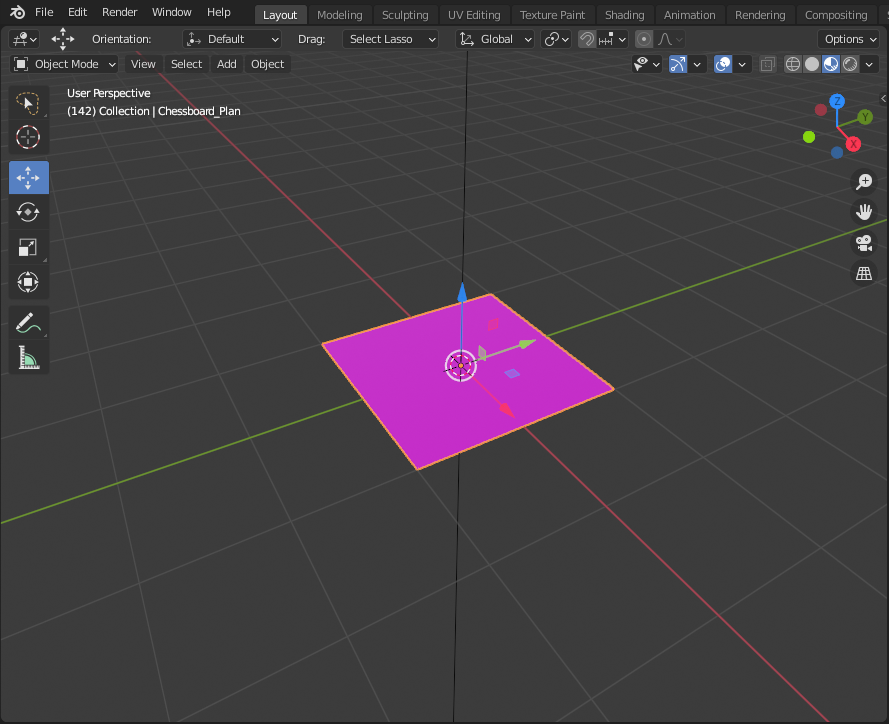
The Plane is shown correctly:

code output

I can give it a base color:

base color

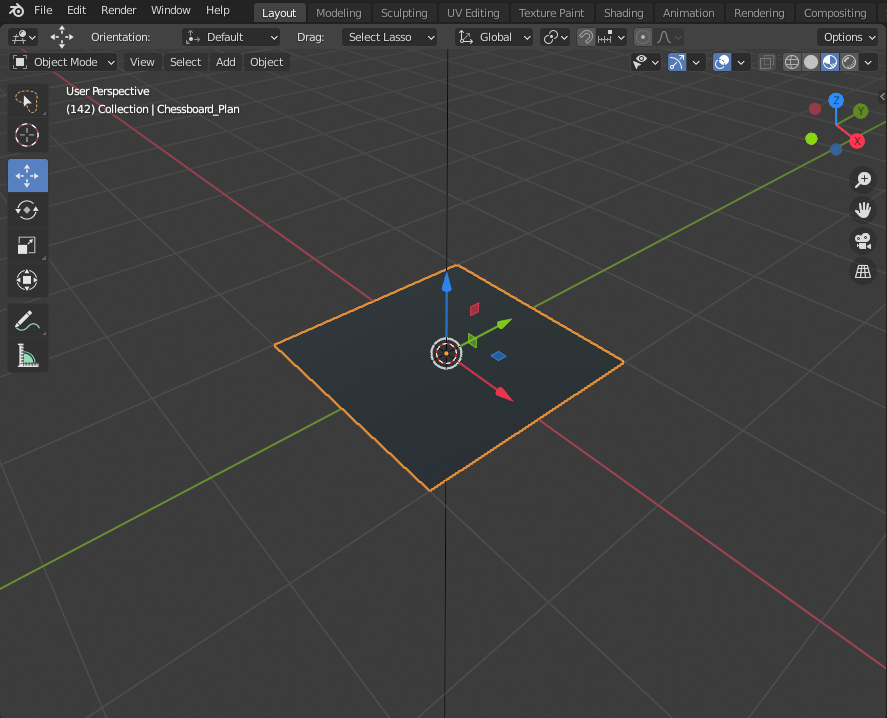
but I when i try to apply an image texture i only get this weird blue shade: textured
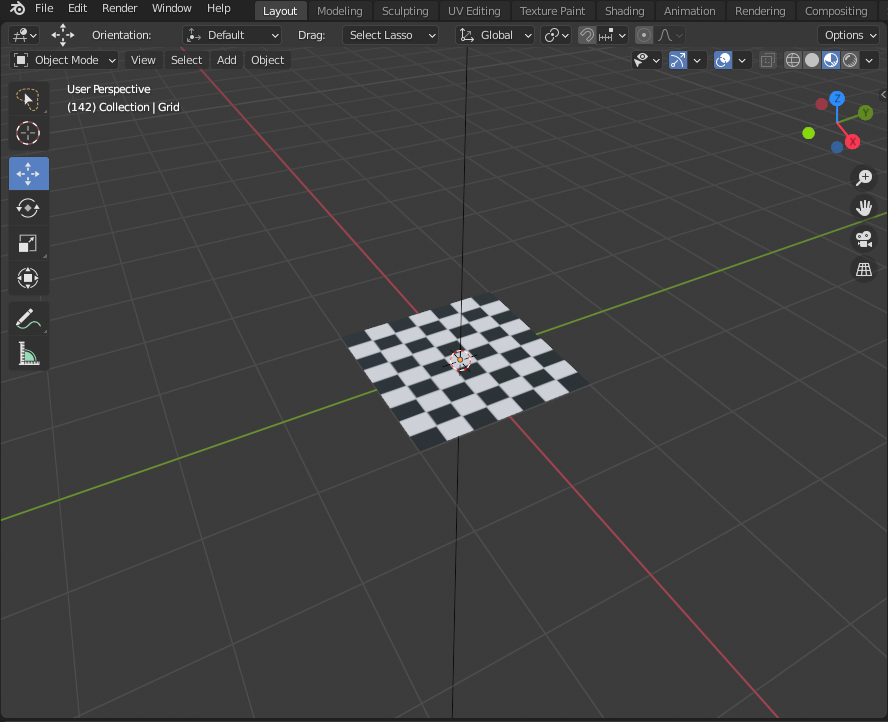
it should appear like this:

correct output

Is there something wrong with the way I create the plane and put it in the scene?

$\endgroup$
2
  • $\begingroup$ yes,you are right, I was trying to see if the problem was made by the 1x1 grid (which can't be created using the GUI). I hope that this is the correct way to create a "Plane" since there is no create_plane function $\endgroup$
    – Luca
    Commented Oct 27, 2020 at 8:48
  • 1
    $\begingroup$ Similarly with cylinder which is a cone with same end radii. $\endgroup$
    – batFINGER
    Commented Oct 27, 2020 at 8:57

1 Answer 1

2
$\begingroup$

Add a UV layer.

Speculating that the issue here is having no UV map when assigning image texture. The blue colour seen in question is likely pixel (0, 0) of your image, since without a UV layer will use default UV value of (0, 0) for all

By default most faced add primitive operators create UV's by default

bpy.ops.mesh.primitive_plane_add(calc_uvs=True)

if creating with bmesh as in question code will need to create the UV map, either as below by adding as a bmesh loop uv layer

import bmesh
import bpy
from bpy import context

me = bpy.data.meshes.new("Foo")
bm = bmesh.new()
bm.loops.layers.uv.new("Foo")
bmesh.ops.create_grid(
    bm,
    size=1,
    x_segments=1,
    y_segments=1,
    calc_uvs=True,
    )
bm.to_mesh(me)

context.collection.objects.link(
    bpy.data.objects.new("Foo", me)
    )

or by adding a UV to the mesh when created

>>> C.object.data.uv_layers.new(name="Foo")
bpy.data.meshes['Foo'].uv_layers["Foo"]
$\endgroup$
2
  • $\begingroup$ thanks, this is exactly what i was missing, this is precisely why I'm trying to implement my function in a less "take everything for granted" way. Now i know that UV layer is a separate thing from the mesh $\endgroup$
    – Luca
    Commented Oct 27, 2020 at 8:46
  • 1
    $\begingroup$ Cheers. . Meant to mention the blue colour in question is likely pixel 0, 0 of your image. As a rule of thumb, for speed use the Mesh API. (Mesh.from_pydata(...)) eg add default UV gen into something like blender.stackexchange.com/a/136888/15543 $\endgroup$
    – batFINGER
    Commented Oct 27, 2020 at 8:50

You must log in to answer this question.

Not the answer you're looking for? Browse other questions tagged .