0
$\begingroup$

In the tutorial series I'm watching the object the person is painting changes to "texture paint mode" where the object is flat shaded like this:

texture paint mode in video

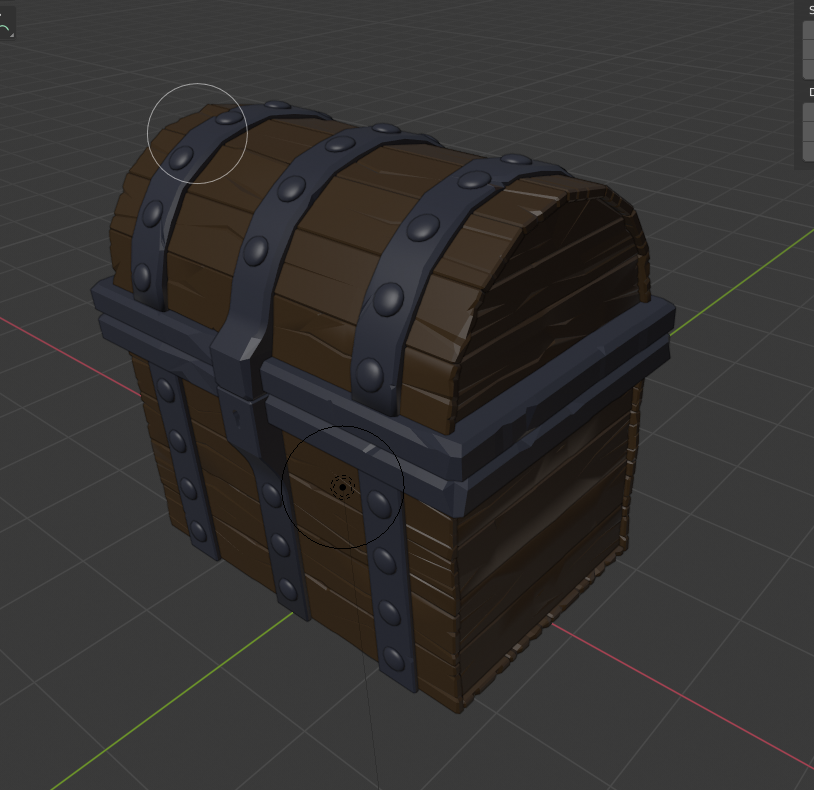
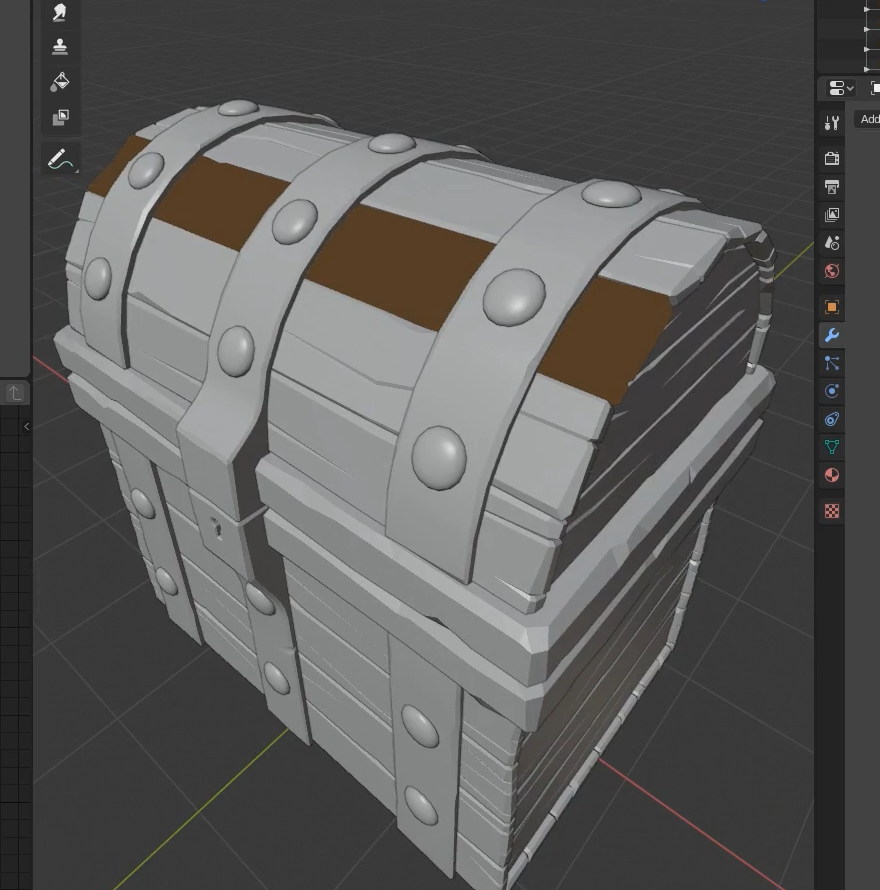
However when I enter this mode my shading doesn't change, and instead looks like this:

texture paint mode for me

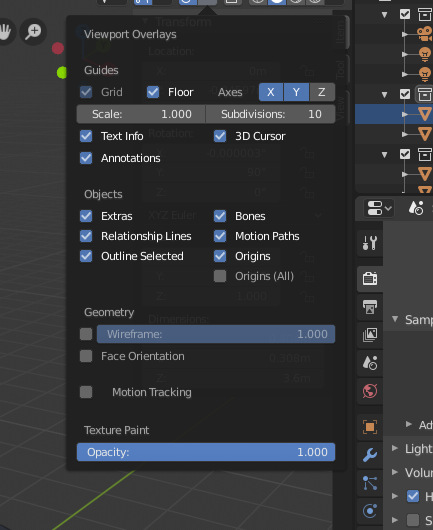
Which makes it hard to see which object I am currently painting. My texture paint opacity is at 100% and sliding it doesn't seem to make any difference in the scene like it did in the tutorial.

texture paint opacity at 100%

EDIT I decided to try and get it to work with a new file and it doesn't. I took the default cube and added a black texture. The object still shows in 3D and not flat, and the texture opacity slider does nothing. I can't replicate what the person had in the video.

Here is the new file with just the cube:

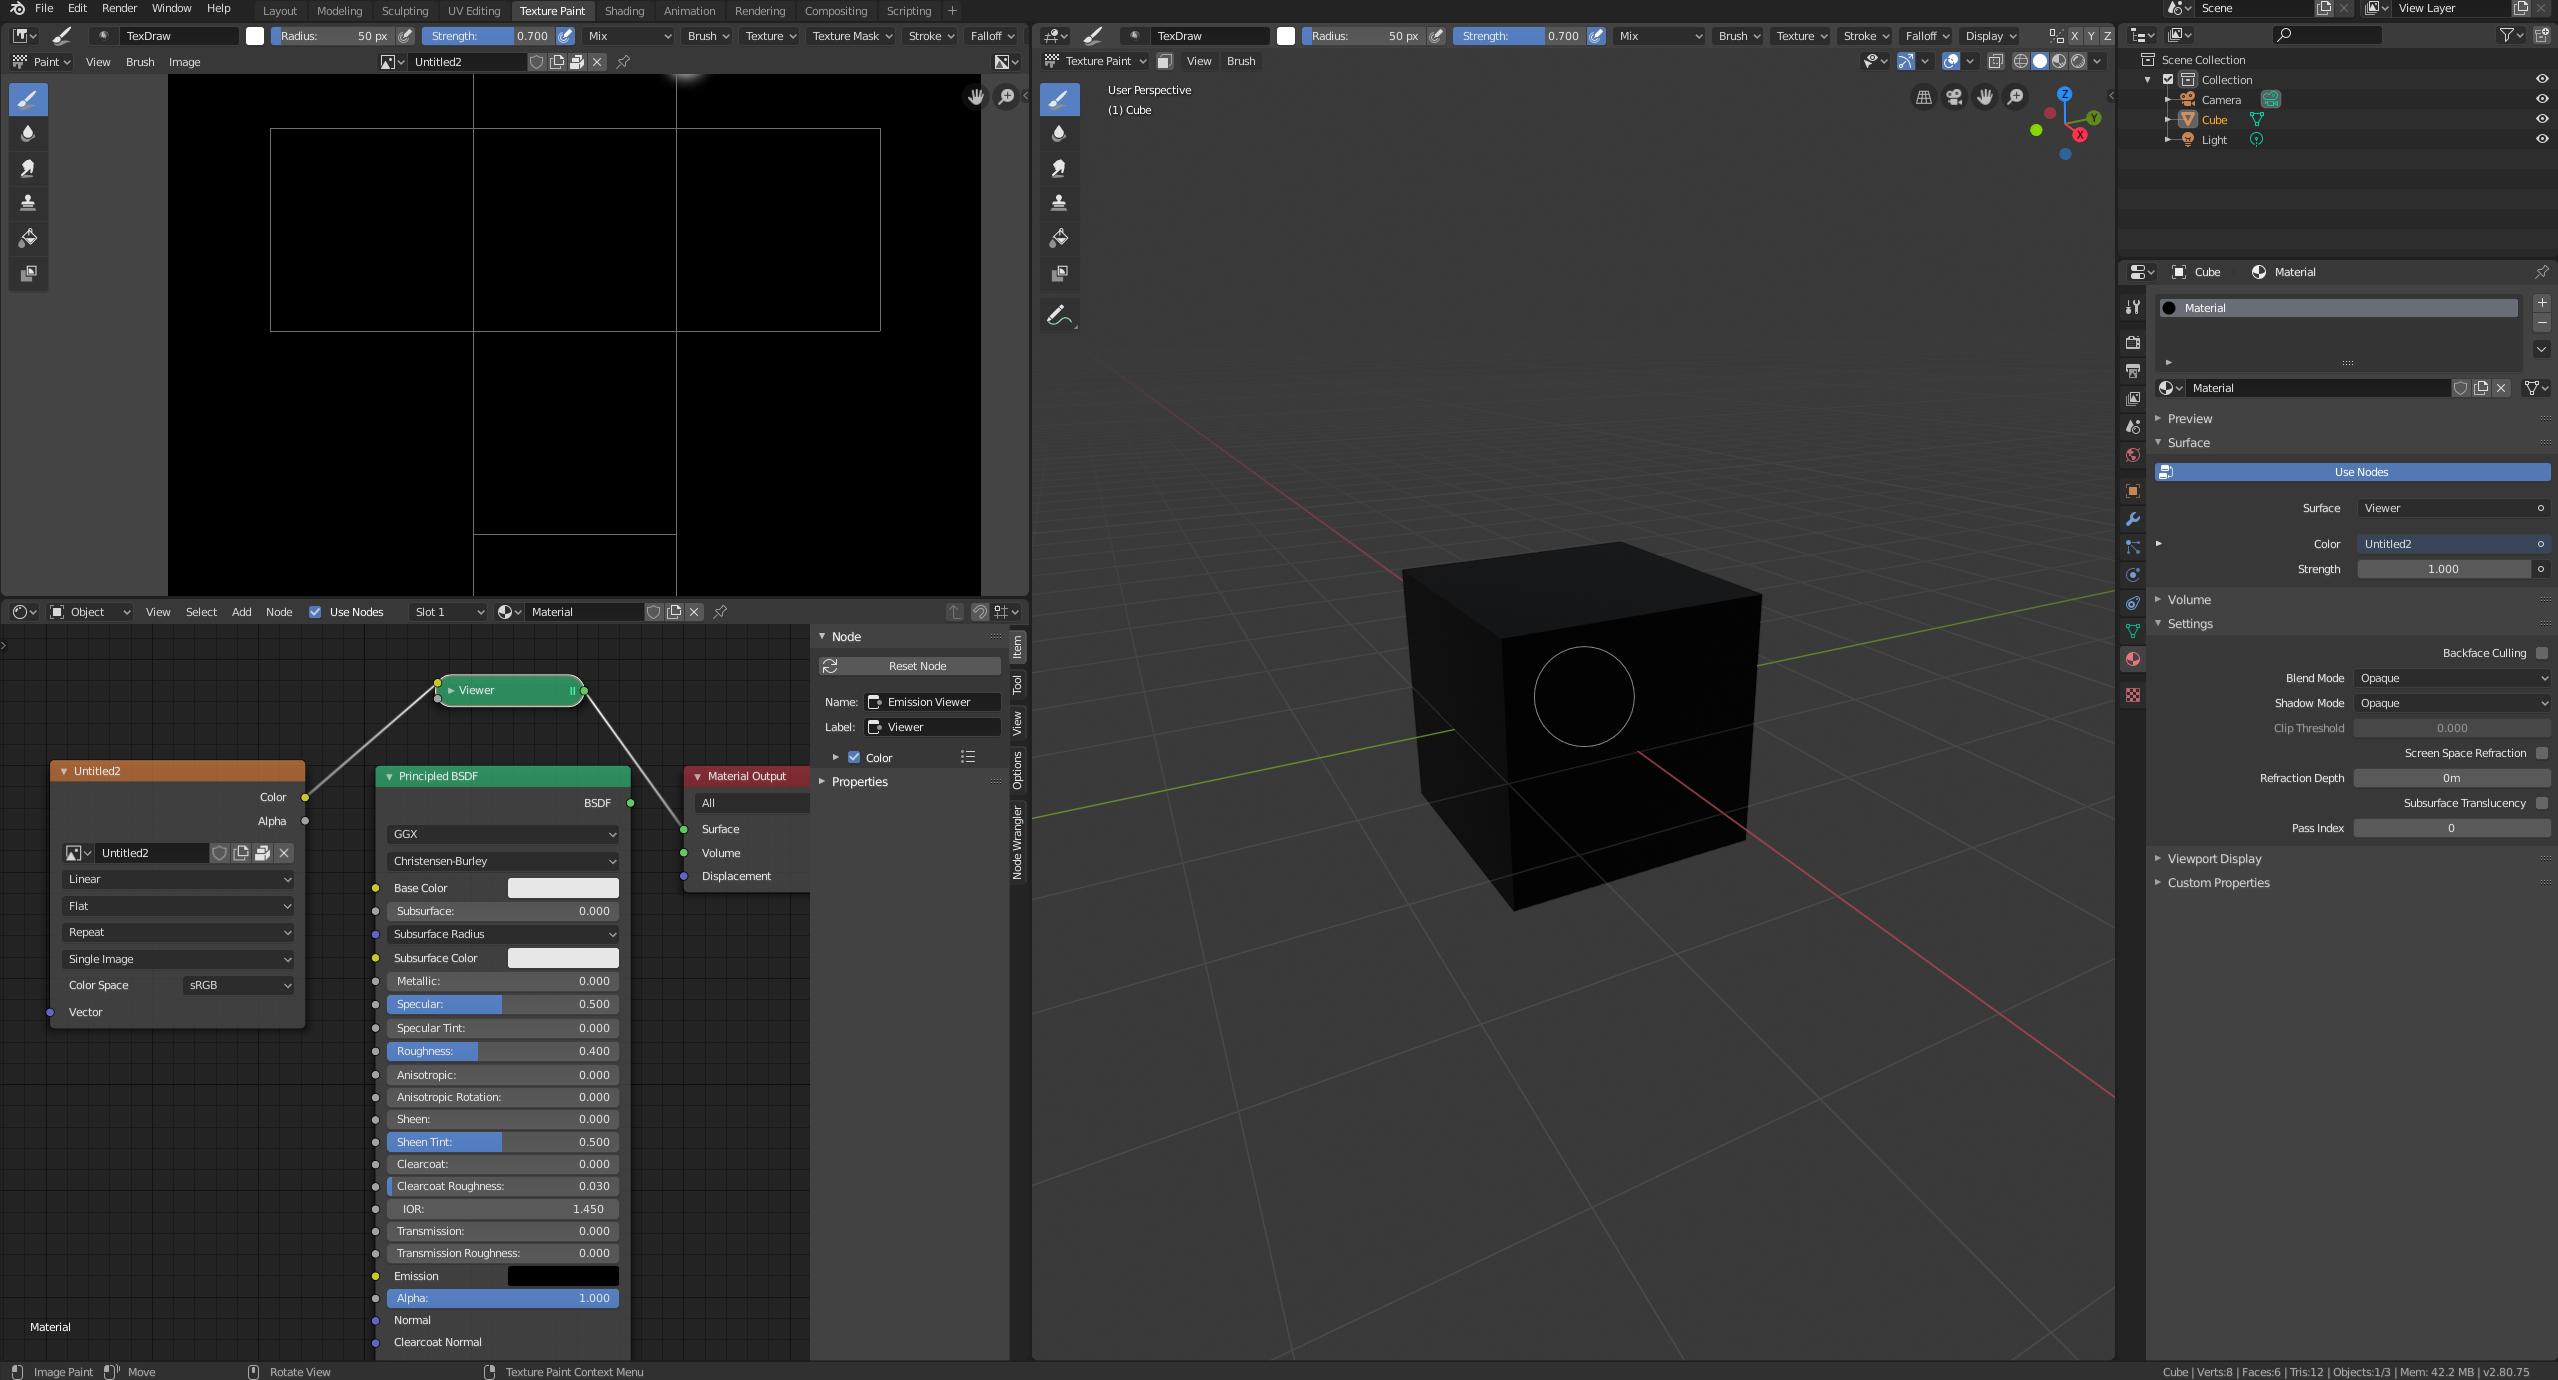
And a screenshot of what it looks like for me in texture paint mode:

Black cube still not showing the changed mode.

$\endgroup$
6
  • $\begingroup$ Have you unwrapped your object? Given it an Image Texture node? $\endgroup$
    – moonboots
    Commented Nov 13, 2019 at 10:18
  • $\begingroup$ @moonboots yes the object is all unwrapped and there is a texture node hooked in to the BSDF node. I have since painted the object in flat mode which worked ok but still haven’t fixed the texture paint mode issue making it difficult to see the object I’m currently painting. $\endgroup$
    – Radther
    Commented Nov 13, 2019 at 14:11
  • $\begingroup$ Could you please share your object or at least a part of it (one plank where the problem happens)? blend-exchange.giantcowfilms.com $\endgroup$
    – moonboots
    Commented Nov 13, 2019 at 15:34
  • $\begingroup$ @moonboots I have added it to the original post. $\endgroup$
    – Radther
    Commented Nov 13, 2019 at 17:31
  • $\begingroup$ it looks like you didn't send the good object ;) $\endgroup$
    – moonboots
    Commented Nov 13, 2019 at 17:42

1 Answer 1

0
$\begingroup$

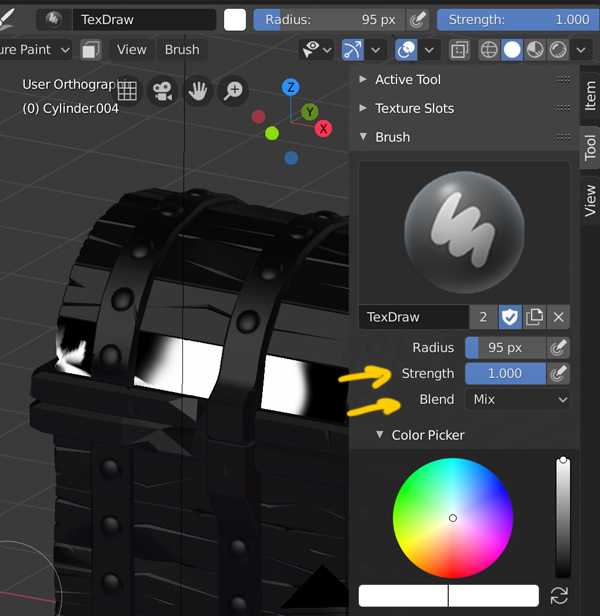
You didn't pack the image. Anyway, I've created a new one. What you need is just to choose a brush with a higher Strength and another Blend mode. Also, be careful with your unwrapping, some faces are overlapping so when you paint on a part it will paint somewhere else. The easiest way, if you only paint in the 3D View, is to unwrap with Smart UV Project. If you also paint in the Image Editor, maybe mark seam and then choose the simple Unwrap mode.

enter image description here

$\endgroup$
10
  • $\begingroup$ Thanks for the info, but changing the strength or blend mode doesn't seem to make my selected object change like it does in your screenshot. It stays in the Studio style whereas in your image it seems to have gone flat shaded on the object you are painting. $\endgroup$
    – Radther
    Commented Nov 13, 2019 at 18:52
  • $\begingroup$ maybe pack the image and share again $\endgroup$
    – moonboots
    Commented Nov 13, 2019 at 19:16
  • $\begingroup$ I have added the packed version in now. I really appreciate the help btw. $\endgroup$
    – Radther
    Commented Nov 13, 2019 at 19:55
  • $\begingroup$ It seems to work fine, Lookdev display mode doesn't work on my system so I switch to Solid display mode, then select a plank, switch to Texture Paint, choose Blend > Mix, Strength > 1 and it paints $\endgroup$
    – moonboots
    Commented Nov 13, 2019 at 20:05
  • $\begingroup$ I have just added another file which is a blank black cube with a black texture to see if it was something weird with the file but it has the same issue. I have also now tried blender 2.81 but that hasn't helped either. I can paint perfectly fine, I just can't replicate the flat shading mode that seems to happen in the tutorial video I was watching. $\endgroup$
    – Radther
    Commented Nov 13, 2019 at 20:11

You must log in to answer this question.

Not the answer you're looking for? Browse other questions tagged .