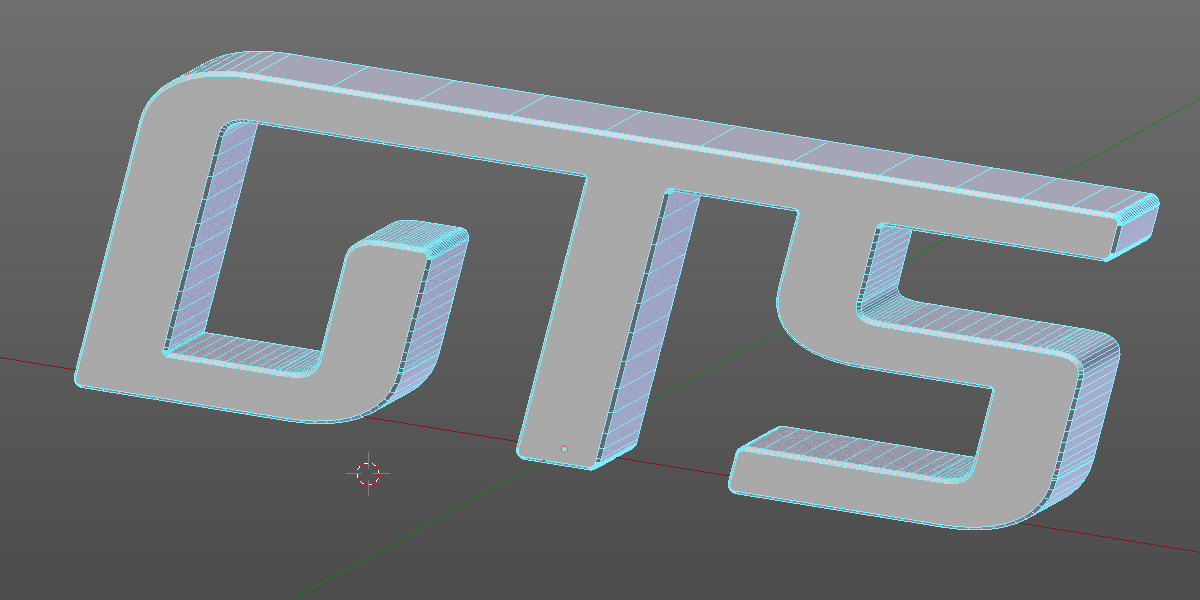
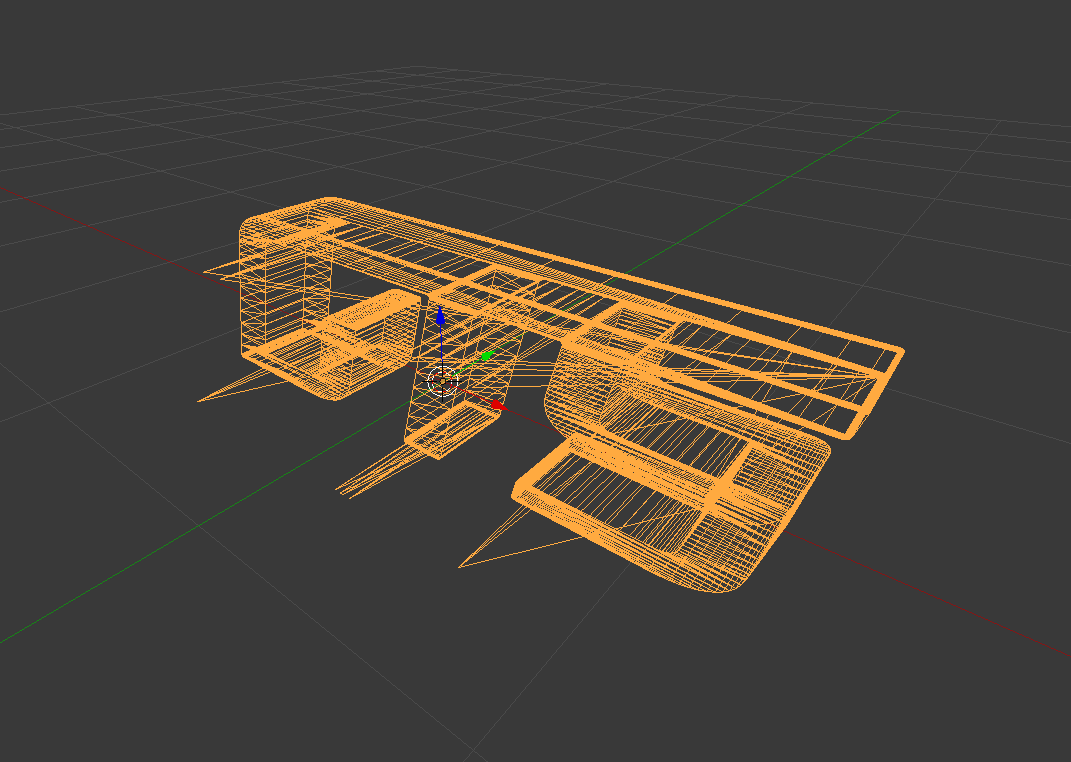
This has been answered before here Extrude and bevel an imported svg curve
It's most likely dirty geometry and duplicates/overlapping segments on curve export.
Before exporting from Illustrator or whatever vector drafting software you are using turn off any effects, filters, or outlines that may add additional geometry to the curve.
After importing enter edit mode and check for overlapping vertex or duplicated geometry and remove it.
Edit:
Although upon inspecting your SVG file in Inkscape it does show incomplete (the "S" part seems to be inverted or missing some nodes), I just tried importing it into Blender successfully with no problems.

You mentioned using the solidify modifier, so I'm assuming you converted it to mesh, which may be one of the problems. Try leaving it as a curve and use the builtin bezier tools like extrusion and beveling to achieve the volume and shape desired.
Also your curve seems to be very small, and scaled down. Try scaling it up considerably (in object mode by maybe a factor of 10 000) and afterwards press Ctrl + A Apply > Scale
Then enter edit mode, select all vertex and set their radius to 1 (on the Toolshelf>Tools>Curve Tools> Set Curve Radius button. You can then use the Extrude and bevel modification under the Properties Window > Object Data tab > Geometry
If you ultimately do need to convert your logo to mesh for whatever reason, before you do, go over all the straight (linear, non curved) segments of your logo and turn both their handles to vector by pressing V > Vector.
Illustrator seems to export linear segments in a non standard way with one of the curve handles overlapping its origin vertex, which results in lots of overlapping mesh geometry when converting to mesh, which i turn is what is causing the artifacts with the solidify modifier.


