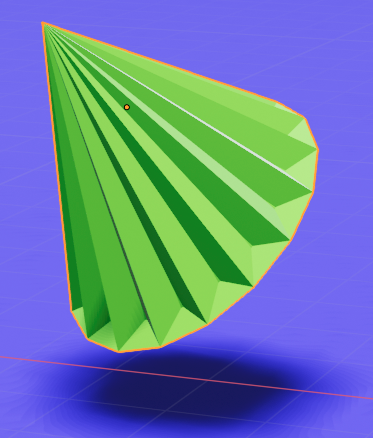
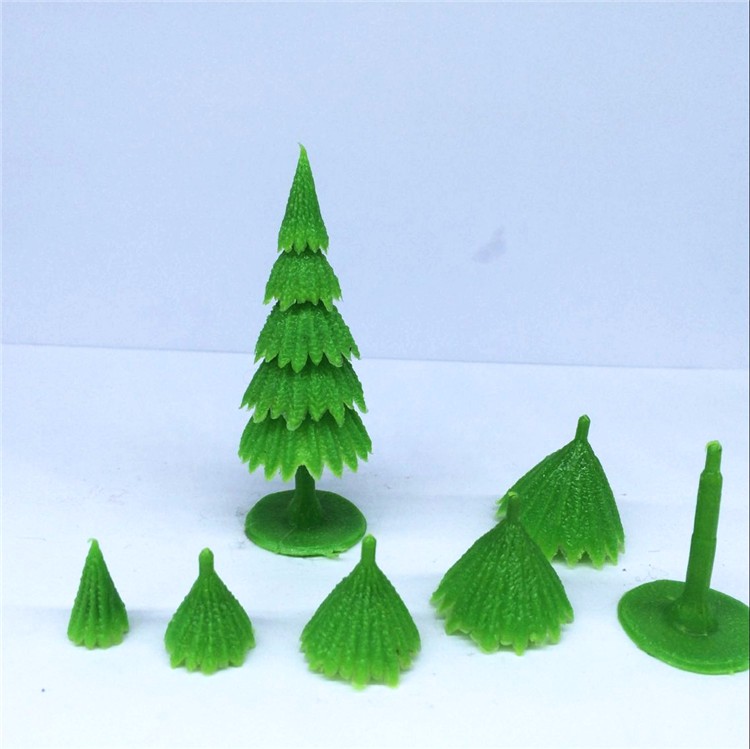
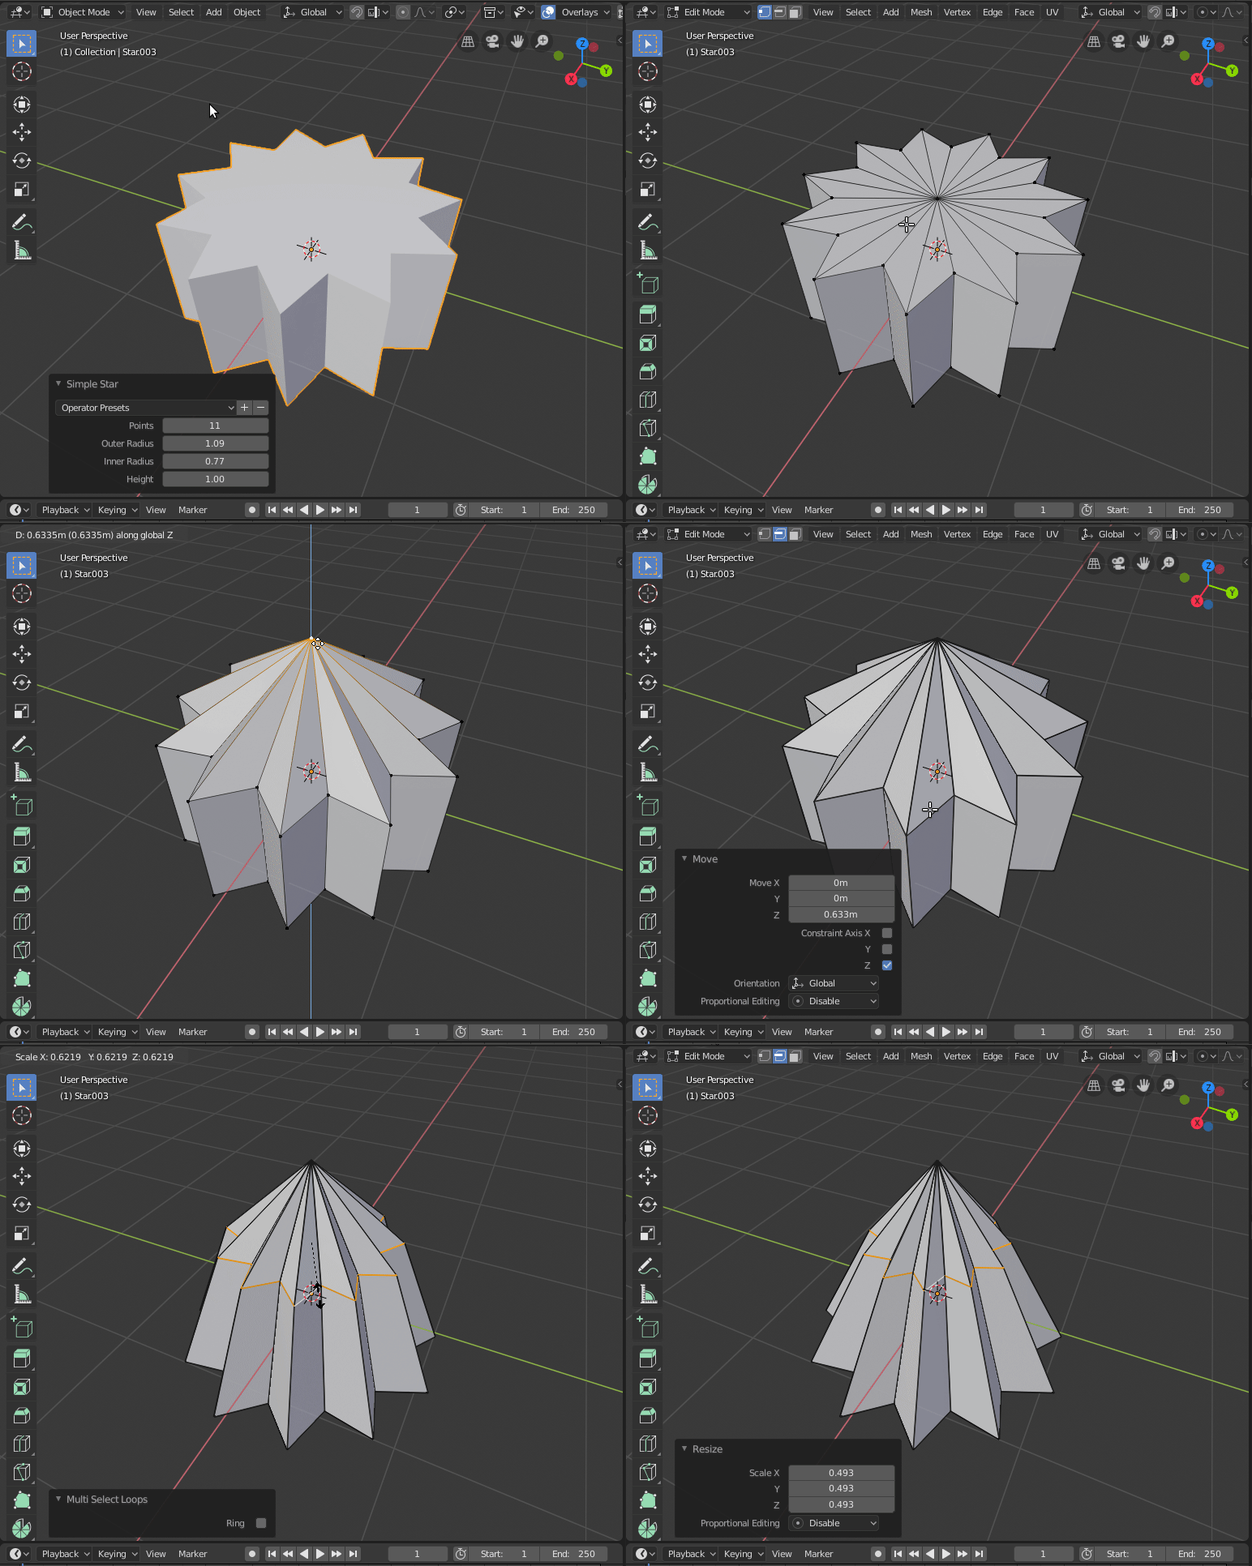
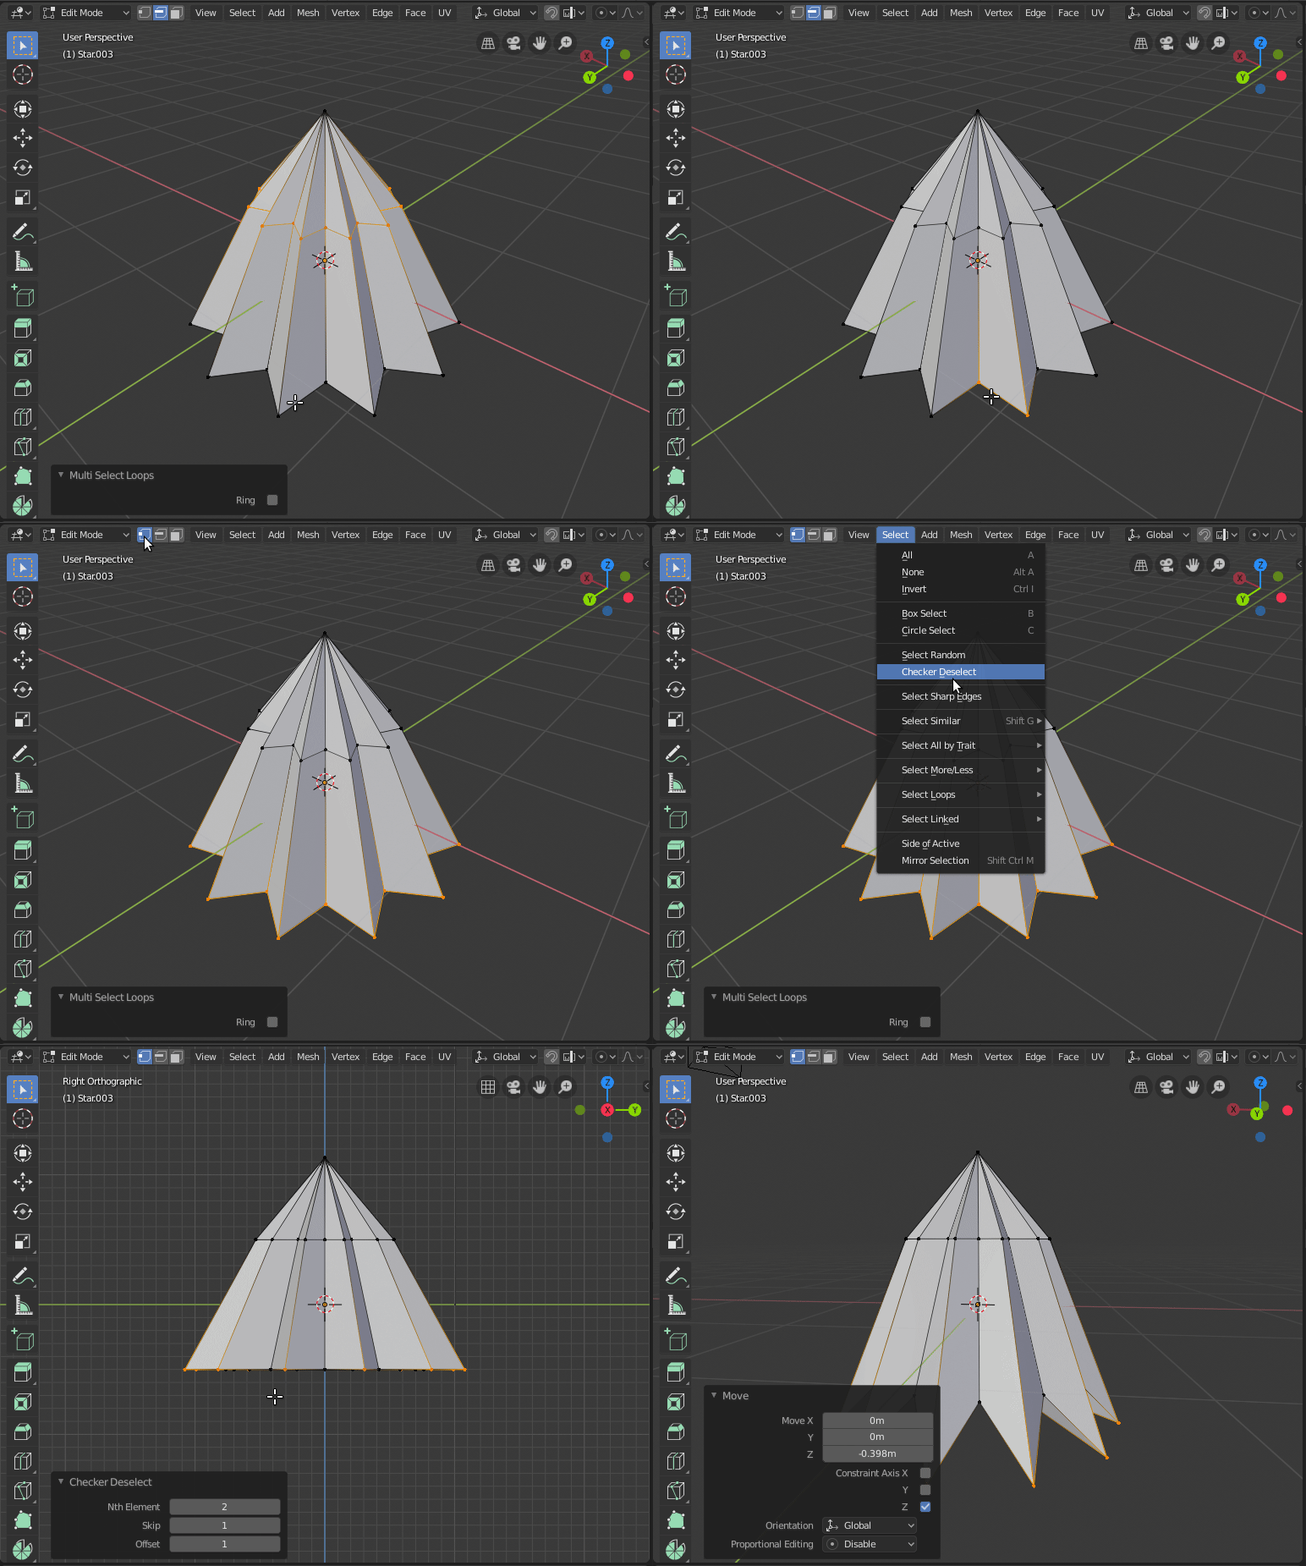
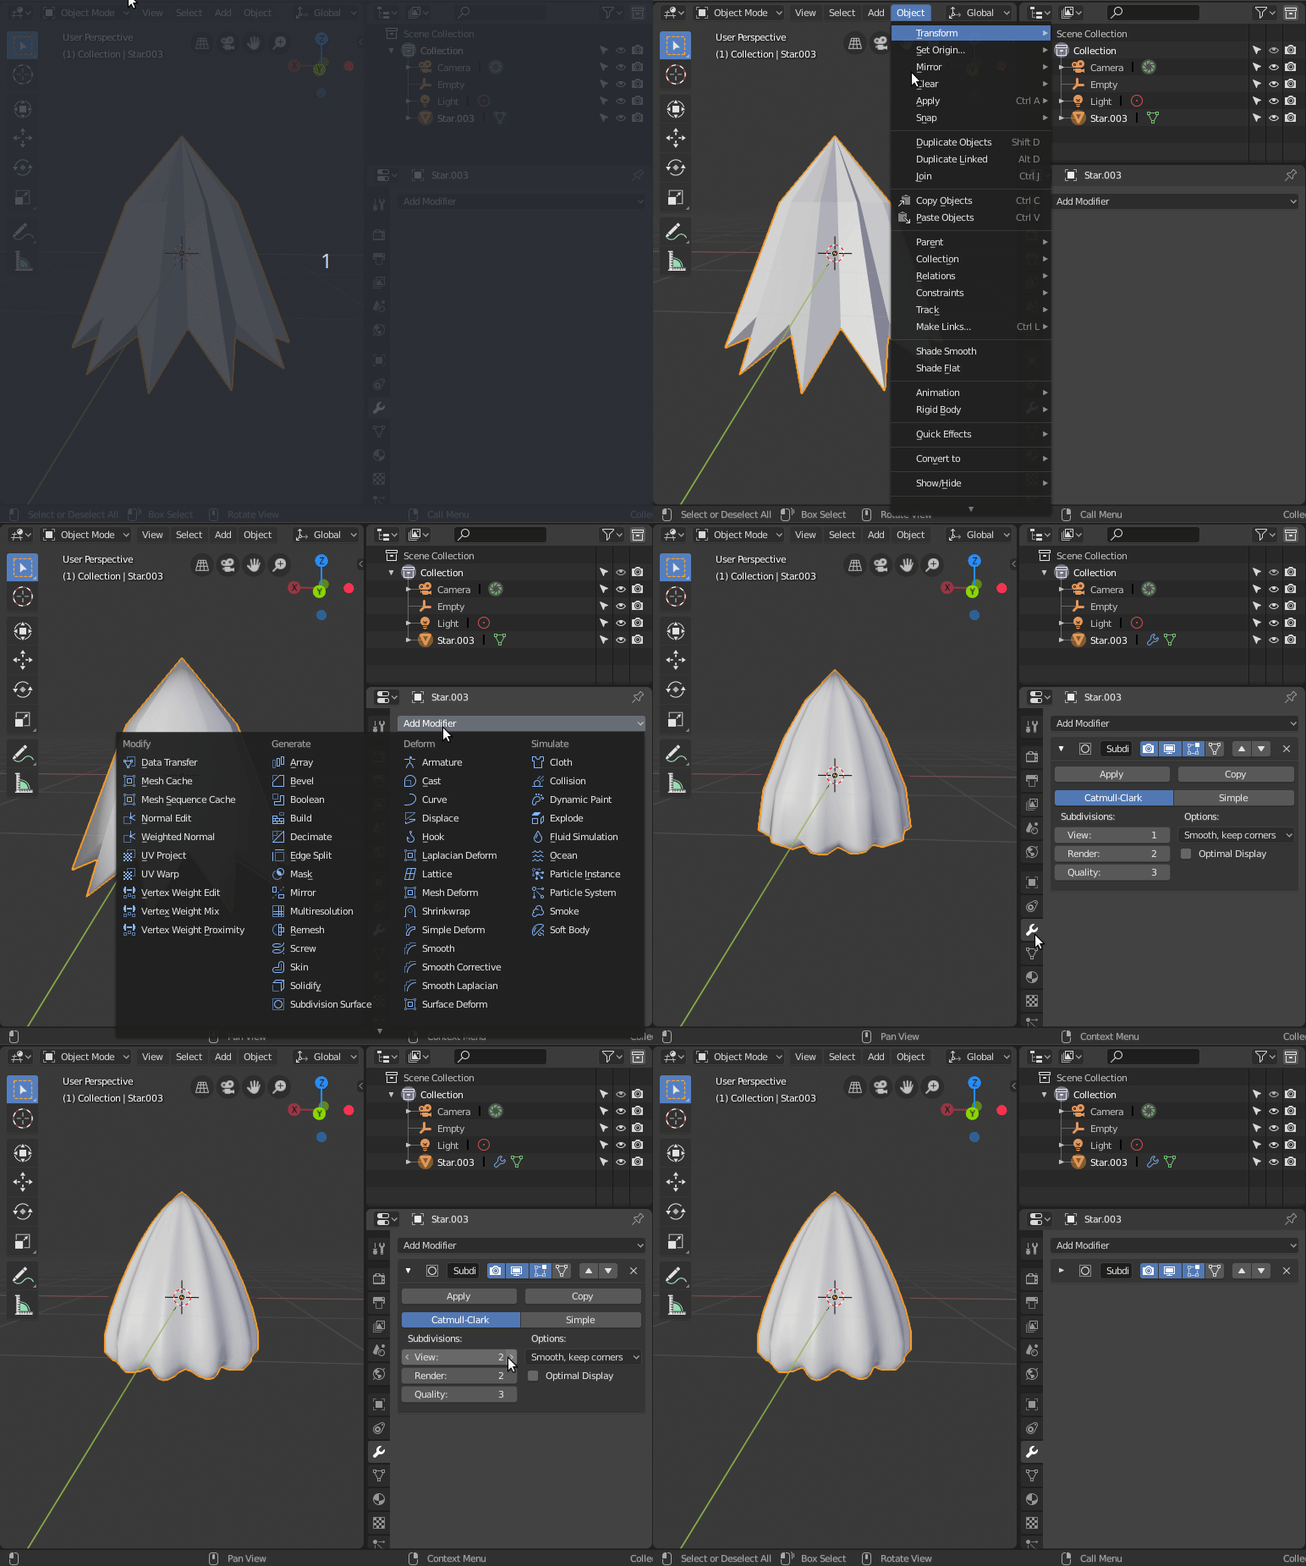
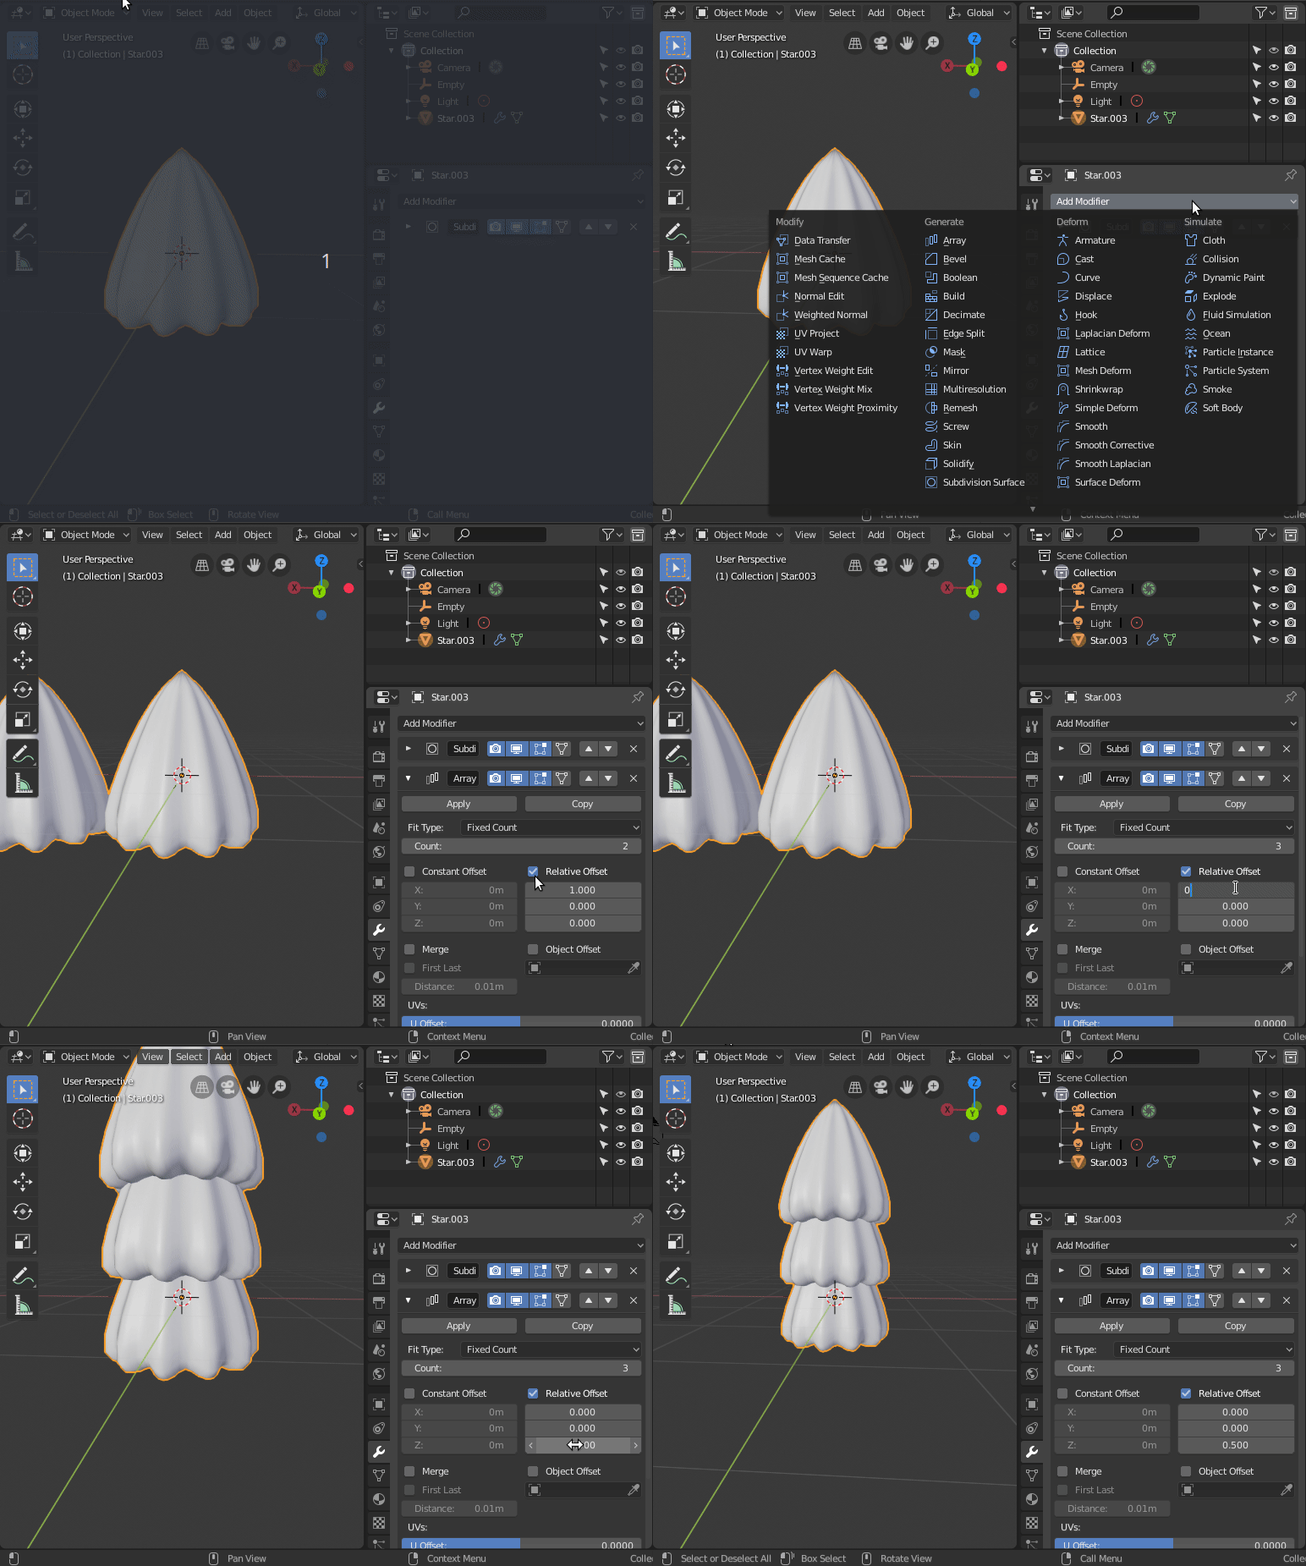
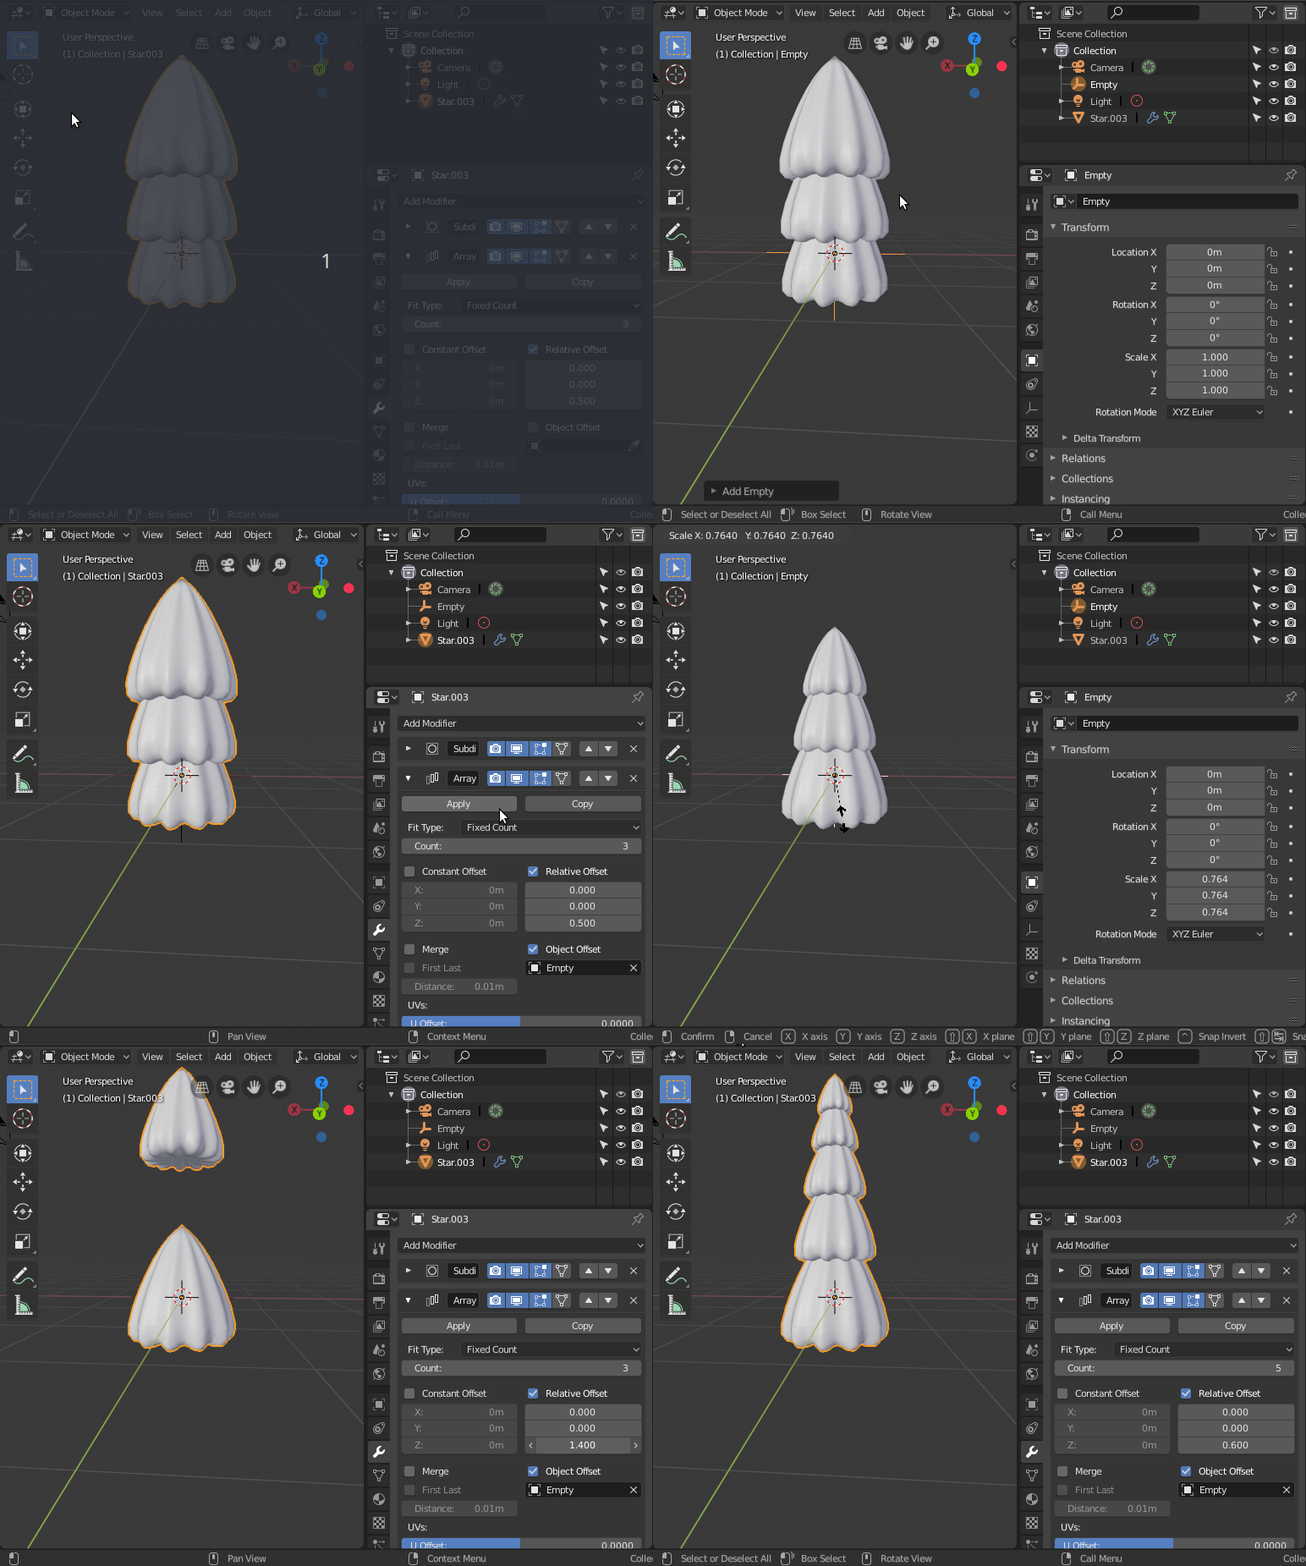
See the picture at the bottom for what I want to model. I’m using Blender 2.8 Beta.
I was thinking an open cone (that is, bottom face removed) with some modifiers applied, and a creative texture, should do this. But as a beginner I'm in over my head.
I was first inspired by something I had seen with the wireframe modifier, which can produce the nest-of-spikes effect on a cone.
But it doesn’t quite work right (I could cut off the bottom using a Boolean, though) and I don’t have any control: Make the creases shallower but still broad enough to span to the next. With “Relative thickness” it gives points that extend past the end, but they are far too long, and again, I can’t control that separately.
Meanwhile, I was thinking the top-to-bottom scale-like ridges could be done with a modifier, as I see there are some named “Wave” and “Displace” but I can’t figure those out when I just tried it to see what happens.
The final bumpiness could be done with a bump map procedural texture, I’m sure. I’m familiar with the concepts from POV-Ray (years ago), but looking at the node editor I was again at a loss as to how to do that.
Any suggestions, or pointers to tutorials or .blend files that contain similar features that I can learn from?

