I will explain how I use stencil images to make use of tiled textures. I paint the stencils using different brush and brush mask textures.
We want to set up our uv mapping to make the best use of the tiled texture to make it spread across our object.
 So we need to use the UV layer and rename it to tiled, and we want to arrange the uvs so that we get a nice texel size - stretching outside the constrains of the uv window is fine, as the texture just repeats past it and scaling way past just means we can see the texture decreasing in relationship to the actual face size.
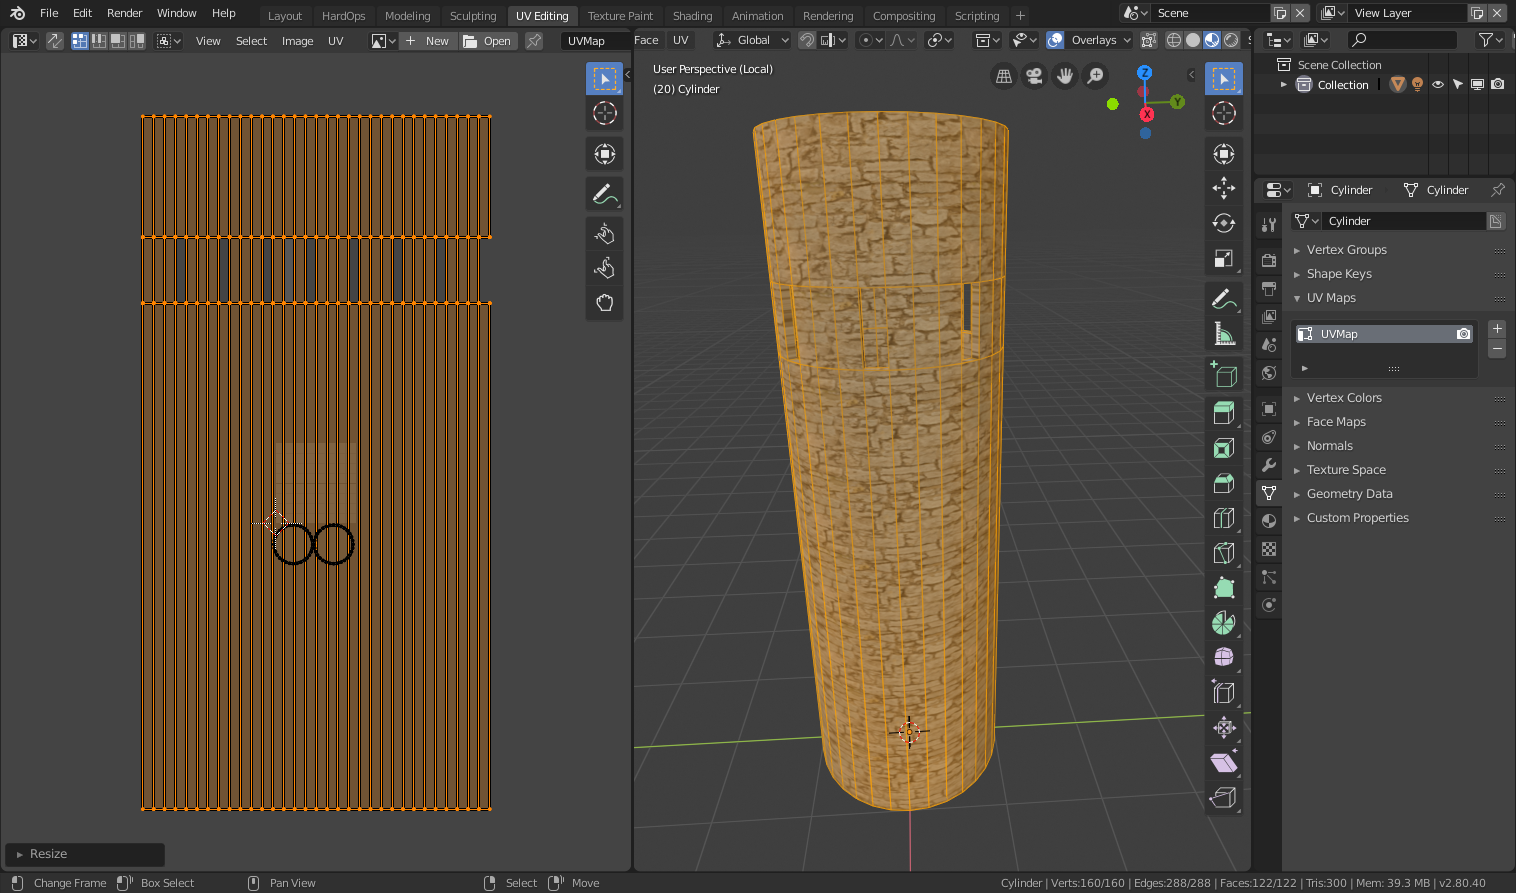 We now want a second uv mapping layer for our stencil , and we will use Smart UV Project here so that we will be able to paint on a stencil over the whole object.
 We will set up an initial node tree that mixes two tiled brick textures, even thoguh they aren't exactly the same scale we can use the same UV map to control how it lines up. We only see one brick texture without having painted the first stencil yet.
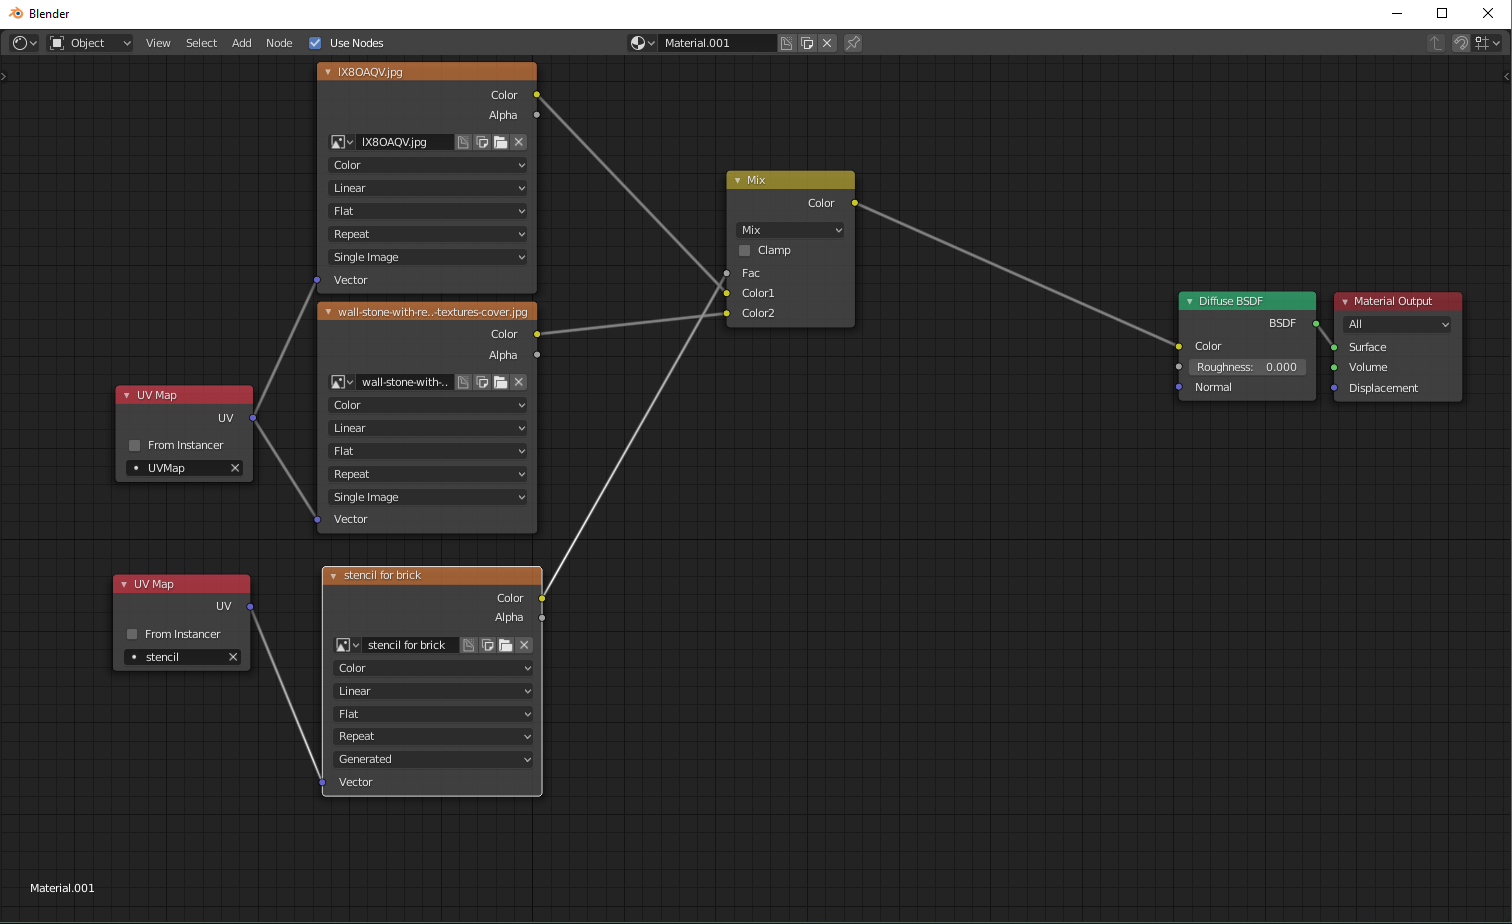 With the Stencil for the bricks in place, we can paint into small patches with a hard curve brush with white and reveal the second brick - I like to try to keep the paint inside the brick shapes from the first image, making it easier to blend them together.
 We repeat the process, adding a stencil and a tiled image for the plaster.
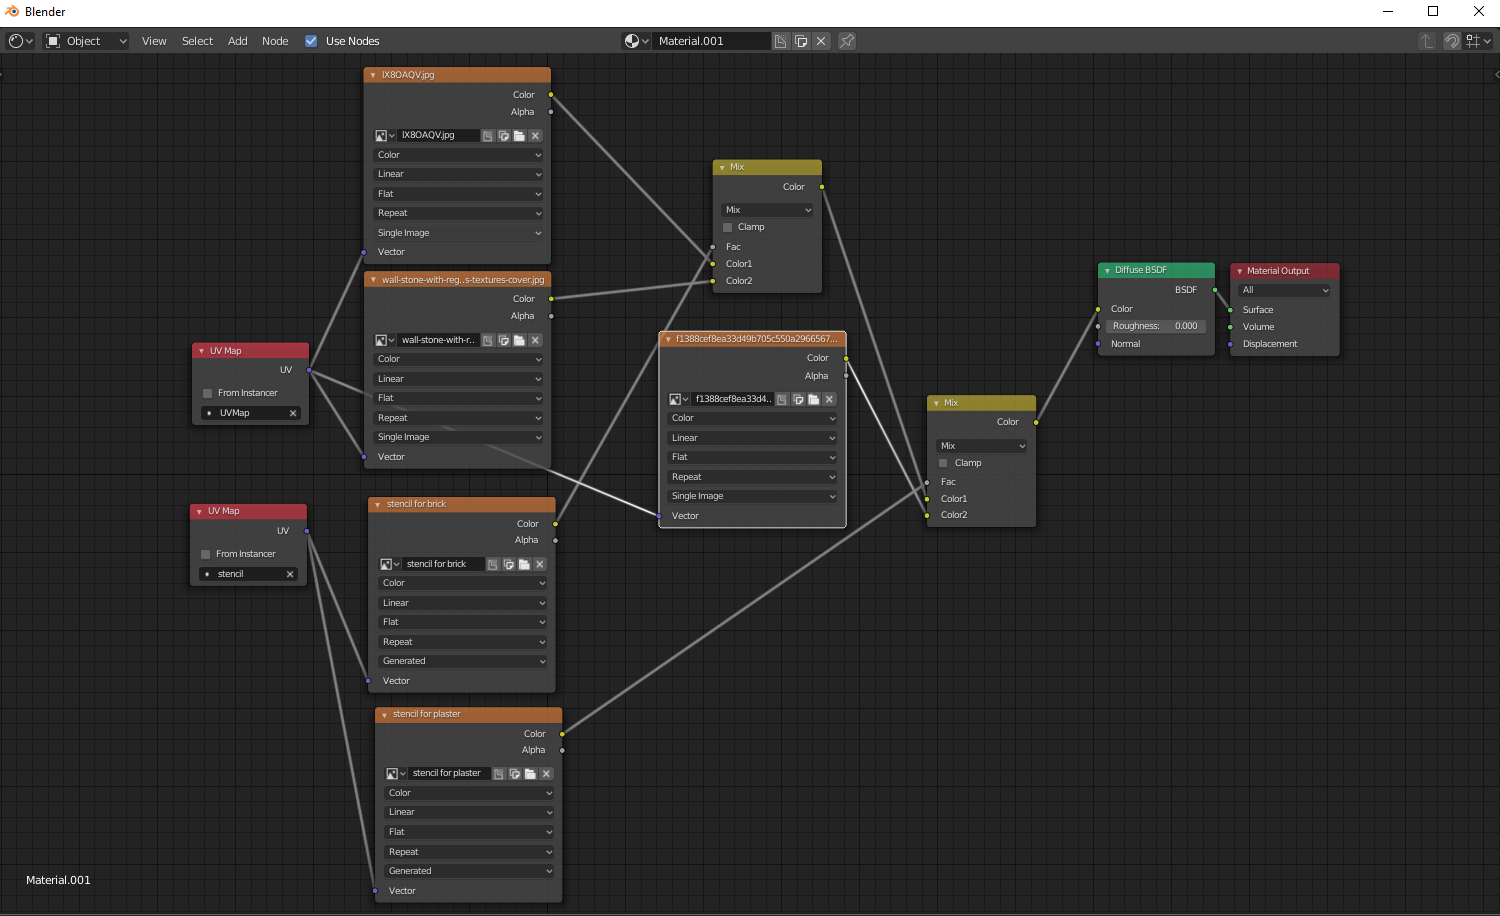 I use a combination of procedural textures here, one set to 3d mapping on the brush at a small scale and another set to tiled at a large scale on the brush mask texture - procedurals are your friend here, allowing you to get interesting effects rather quickly.
 We then can add another stencil and a tiled moss image texture.
 If you make a new texbrush, you can set it to use jitter and wide spacing on the stroke, and set the radius to use pressure, painting in the moss where you want it.

I hope that helps - once you paint your object the way you want, you can use the same method to paint other objects in the scene. How you apply it is up to you, and you can use this same technique applied to mixing shader node groups with the matching tiled normal maps, and you can go so far as to also paint in dirt and cracks on another image multiplied - if you do that, start that one with a white image and paint with black.
Good luck!
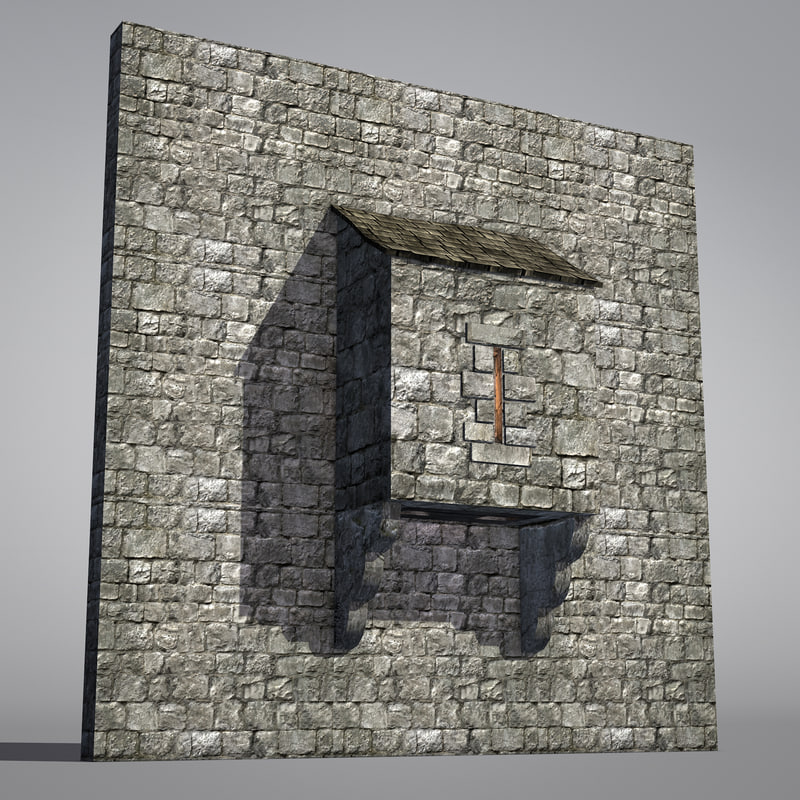
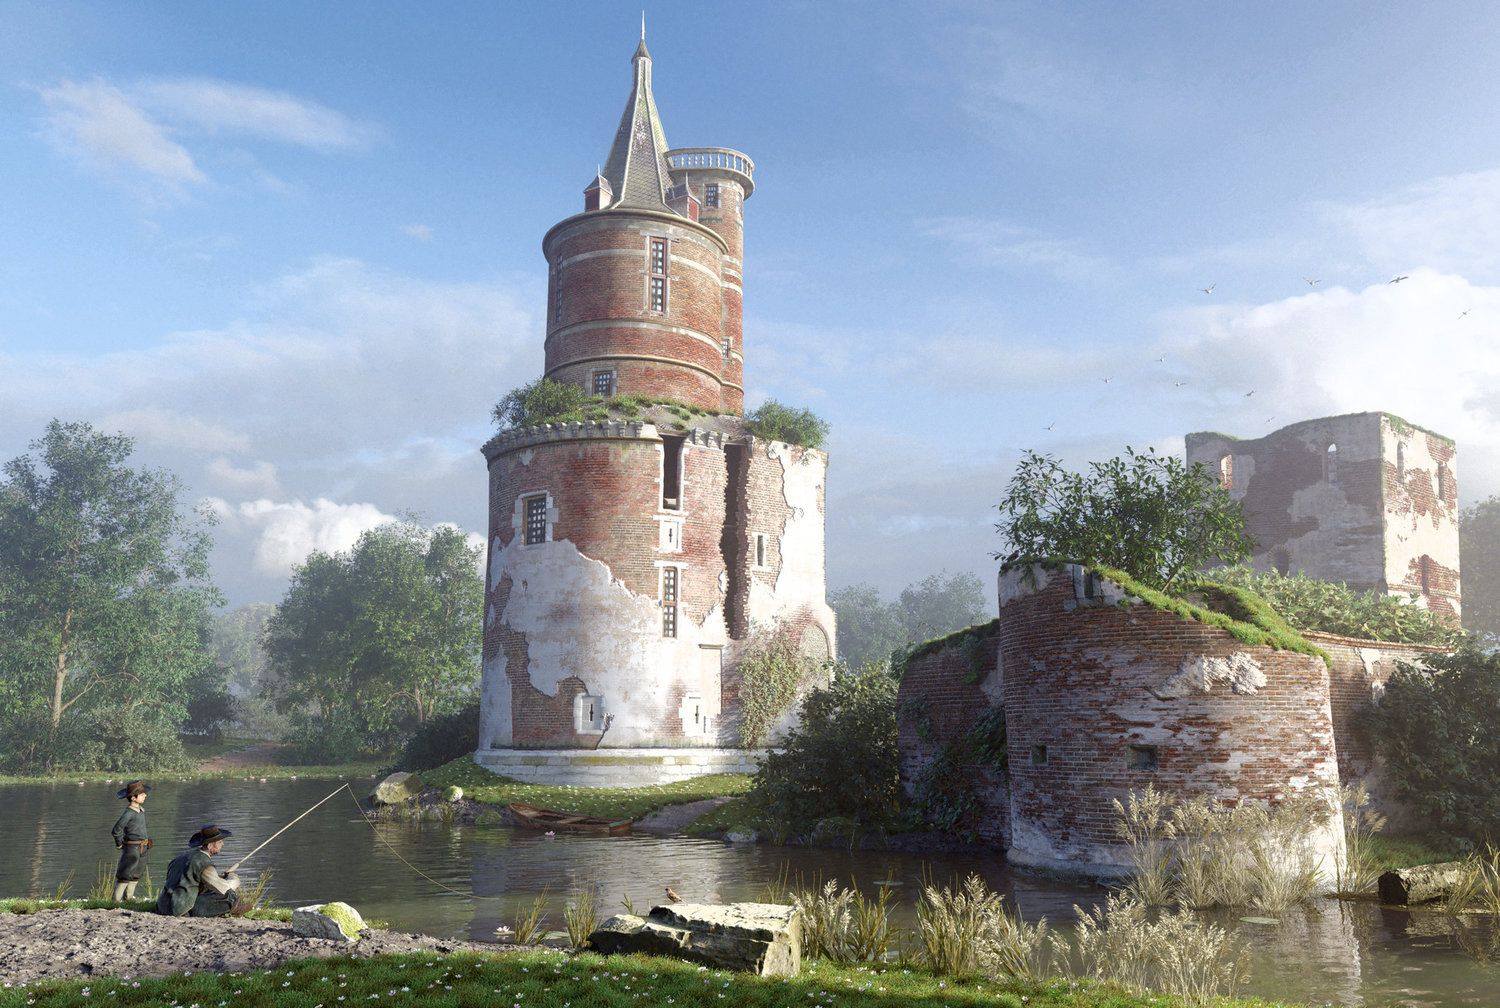 As you can see on the foreground wall, there are some water infiltrations on the bottom, some of the bricks looks broken, the plaster touchs ... everything looks irregular, its realistic.
Or on this one


