0
$\begingroup$

In Blender I shift the UVs in such a way that the 2nd "object" is moved into the texture space. I didn't know how to explain that well, so here is a sample:

enter image description here

Currently I do this by hand which is extremely tedious.

Ideally, I would like to solve this programatically.

To do this, I took a look at the obj as a text file, but I didn't really get it as the file was huge.

To simplify my investigations, I tried to create a simpler geometry, but I wasn't able to create something that would resemble this situation.

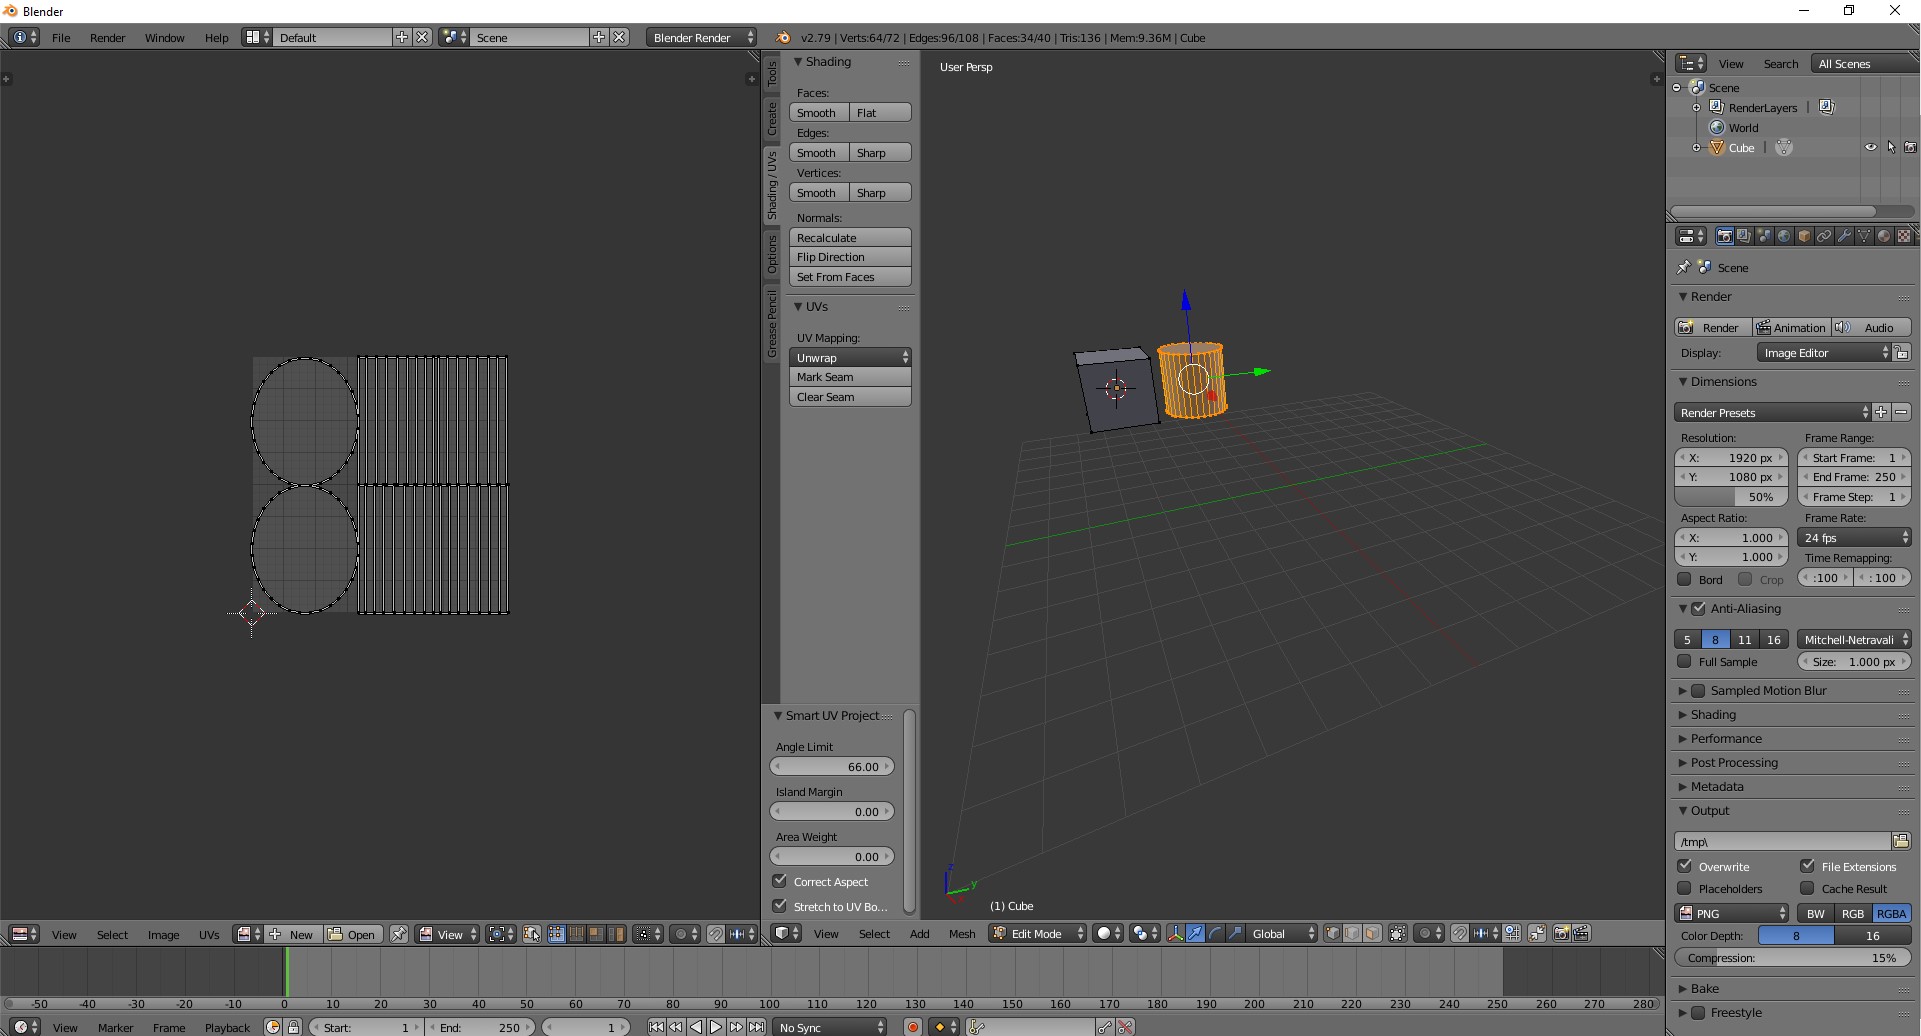
I created a cube and added a cylinder in Edit Mode and unwrapped it, but the UVs were not separated, instead they looked like this:

enter image description here

Could somebody tell me how to create an object that consists of a cube and a cylinder and which have 2 individual UVs that are both shown in the UV editor at the same time (like the very first screenshot)?

Thank you very much!

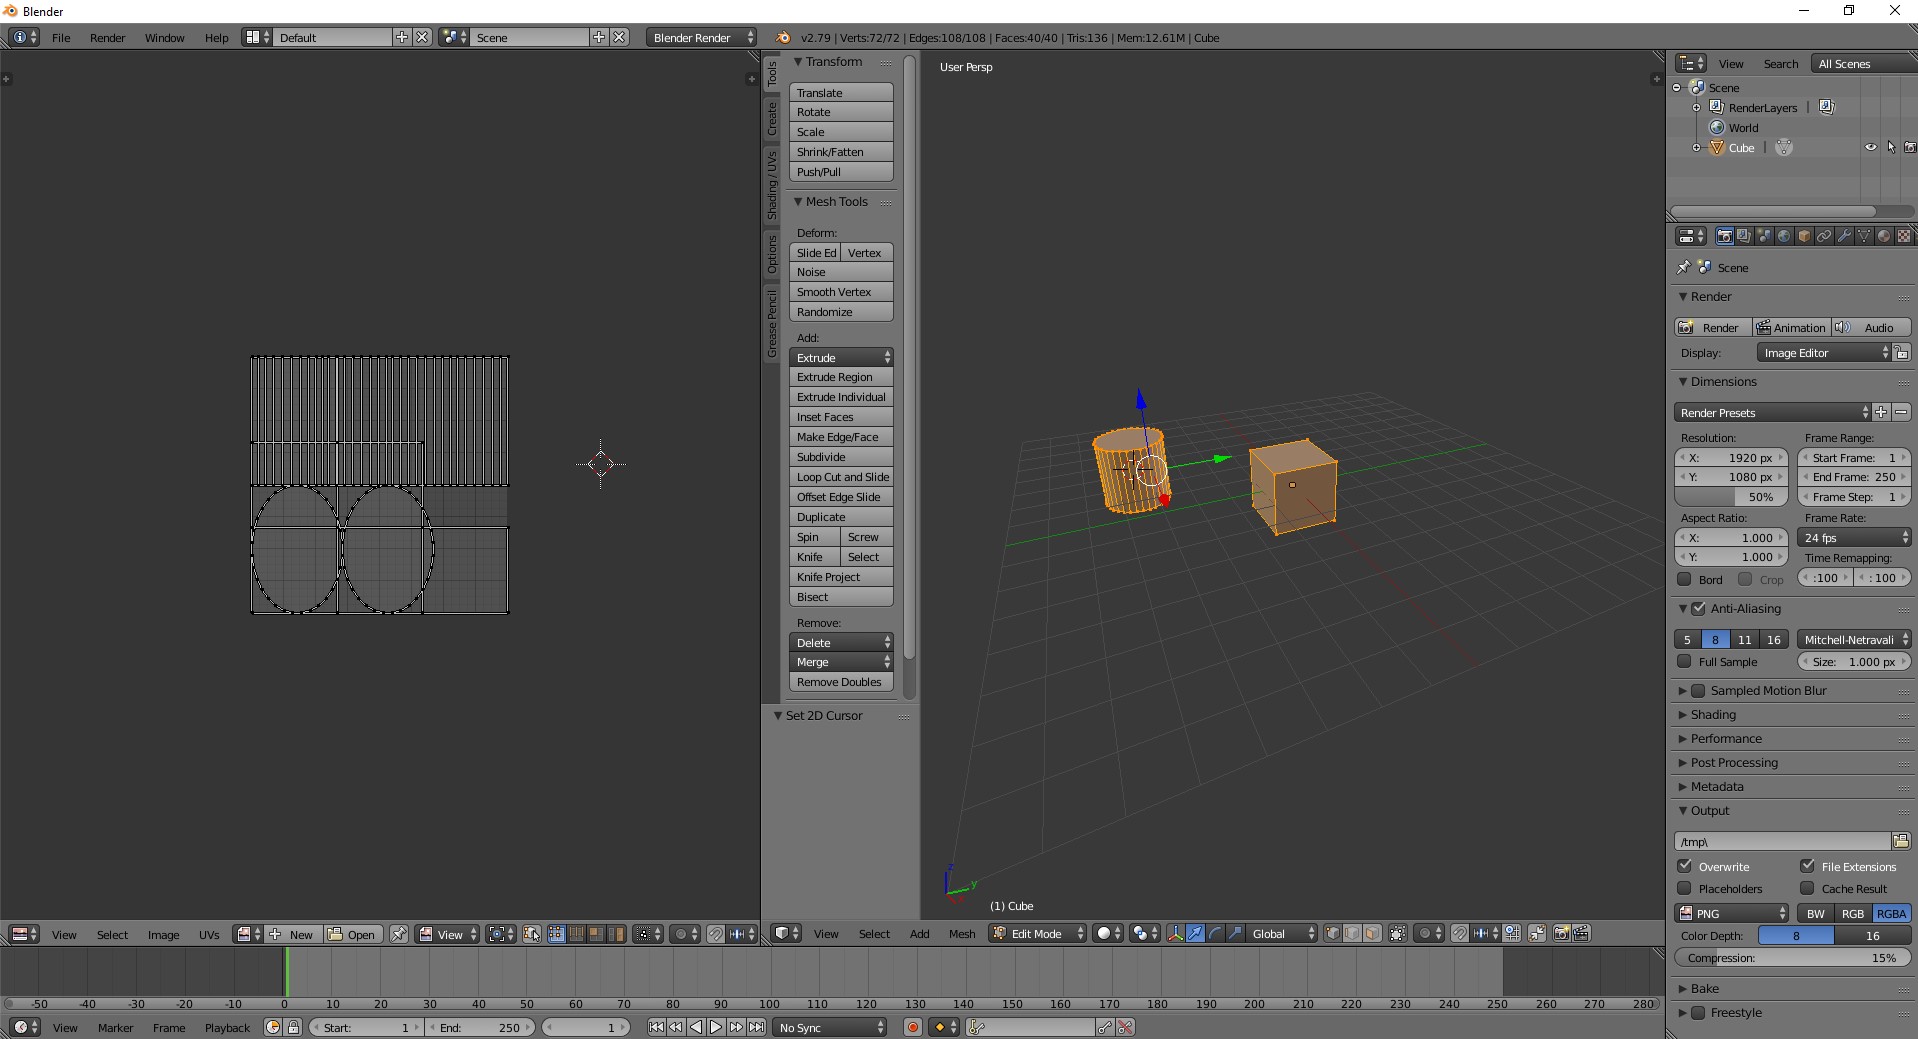
Edit: Here is the end result that I got after the answer (with my modification which I posted a comment about), which is fine:

enter image description here

$\endgroup$

1 Answer 1

1
$\begingroup$

Step 1) Create a cube object, create a different cylinder object.

Step 2) Enter edit on the cube and unwrap it as you wish. Object mode, select the cylinder, unwrap that as well.

Step 3) Still in edit with the cylinder selected, open a UV editor window. 'a' select all vertices. 'g' 'x' '512' to move it 512 pixels in the x axis. If you have an image open, you will need to use a different number of pixels, equal to the x resolution of your image.

Step 4) Leave edit mode. Select both the cylinder and the cube and join them (ctrl j).

For your ultimate goal, you migh find a UV Warp modifier useful. By scaling -1 about the x=1 (UV space, not pixel space) axis, you can achieve something similar to what you want. (Not necessarily the same, as you are probably translating, not mirroring.) Once you create this modifier, it can easily be copied between objects using the ctrl-L menu. Offering this in case this is an easier way to achieve your ultimate goal that scripting is.

$\endgroup$
3
  • $\begingroup$ Thank you, but at Step 3 I see only the cylinder's UVs in the UV pane. If it were as I wished, the box'es UVs would also be visible there. $\endgroup$
    – tmighty
    Commented Jun 24, 2018 at 20:48
  • $\begingroup$ Edit: I created the box, went into Edit Mode, unwrapped it and then still in Edit mode, added the cylinder and unwrapped it as well. Now it's exactely as I wanted. I have 2 overlapping UVs. Perhaps you want to change your answer if you think that this is correct? $\endgroup$
    – tmighty
    Commented Jun 24, 2018 at 20:55
  • 1
    $\begingroup$ I'm glad you got it the way you wanted. It's not surprising that it wasn't how you wanted at step 3, because there were 4 steps. I think the answer that I gave is correct as it stands. $\endgroup$
    – Nathan
    Commented Jun 24, 2018 at 21:02

You must log in to answer this question.

Not the answer you're looking for? Browse other questions tagged .