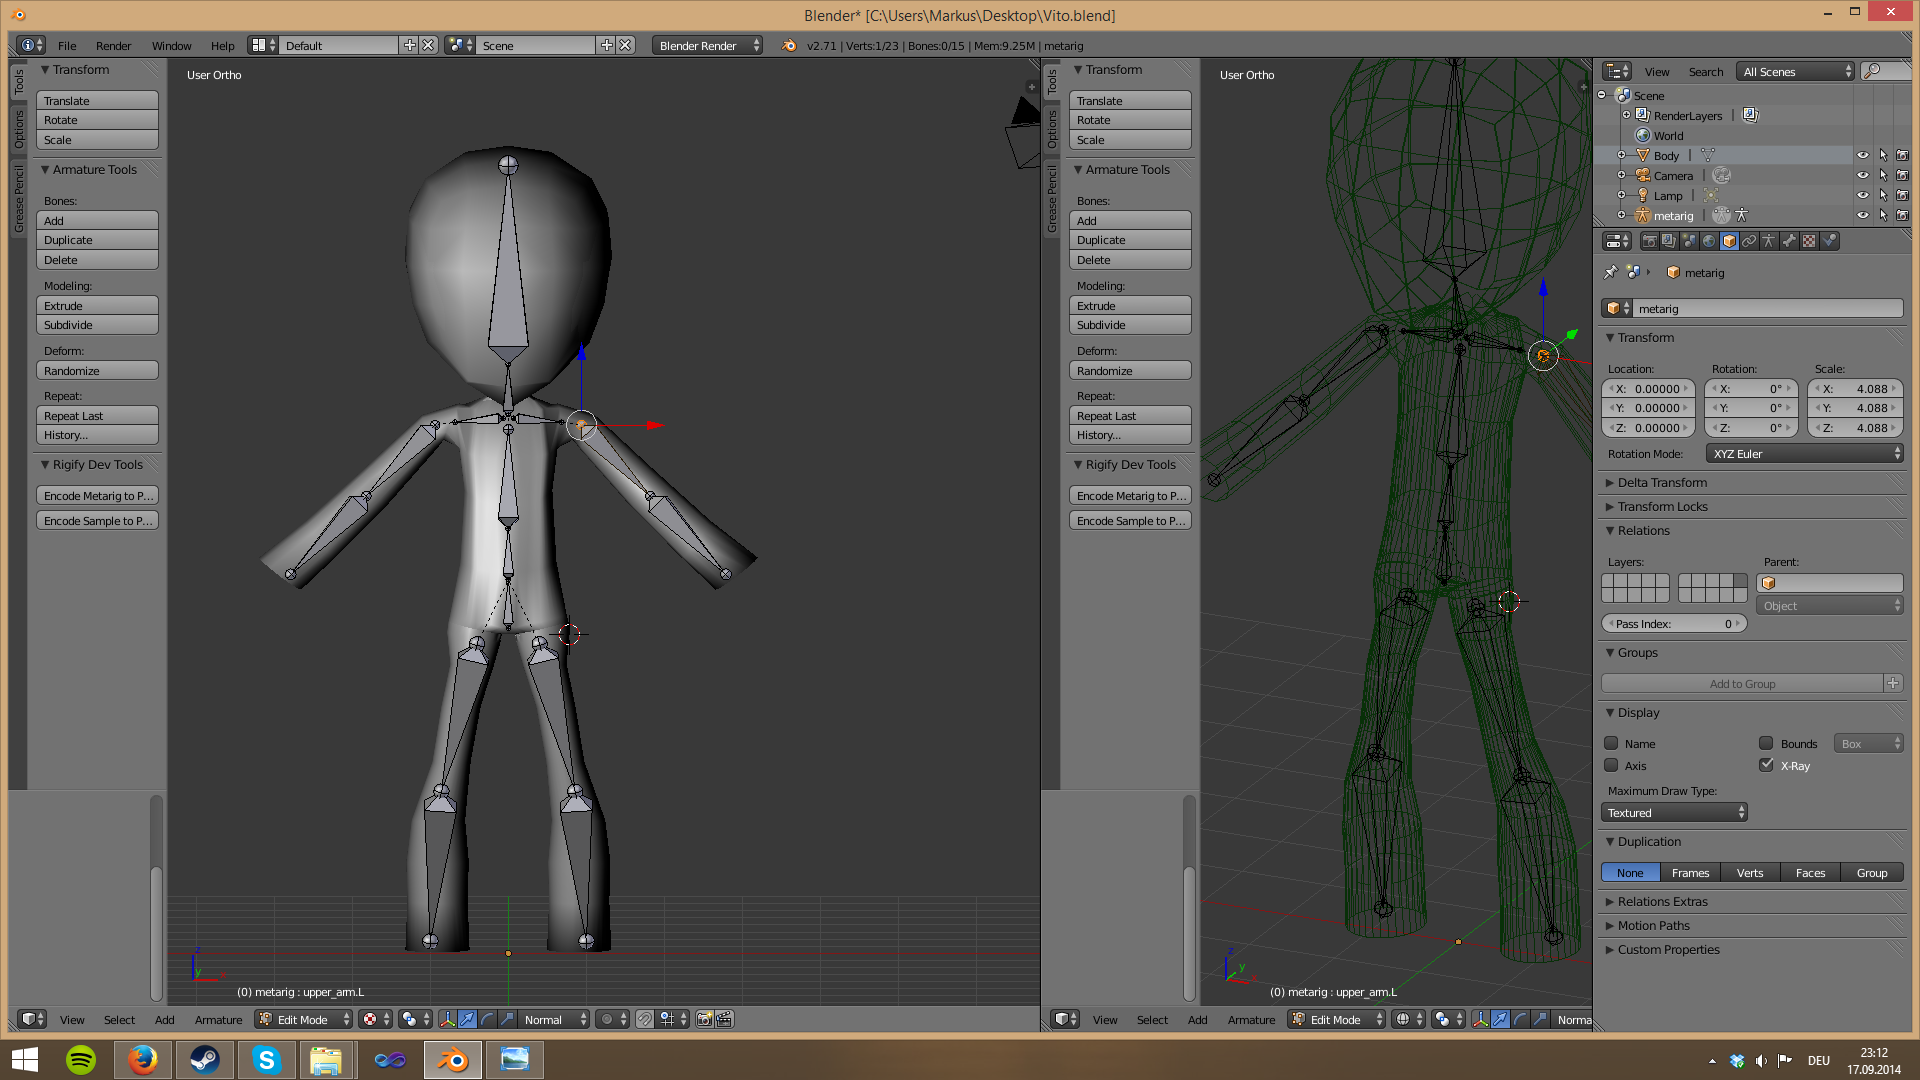
I cant figure out why I get problems rigging this mesh.
I get an error stating
Bone Heat Weighting: Failed to find solution for one or more bones

I cant figure out why I get problems rigging this mesh.
I get an error stating
Bone Heat Weighting: Failed to find solution for one or more bones

I know 2 situations where this problem raises:
When the Object consists of 2 or more separated (not connected) meshes which intersect. This could be solved by fixing the mesh topology, like connecting the intersecting meshes into one single mesh, and by fixing your model to avoid the intersecting areas.
Or try to separate mesh by loose parts (P ⇾ by loose parts) and parent it one by one.
When the object has duplicate vertices. This can be solved by removing doubles in Edit Mode M ⇾ By distance (W ⇾ Remove Doubles in Blender 2.7x)
I do not know the exact reason why the algorithm fails in these cases, and if there are other cases as well where it fails. However, it must be related to ambiguities while calculating the weight ratios for the involved vertices.
I took a quick look into the blend file that was provided by the OP. I found the head of the character has many duplicate vertices (about 320). Removing doubles solved the issue in this particular case.
I removed two duplicate verts from my model and it helped.
When that alone did not fix it, I also removed the Subdiv Modifier and was able to generate automatic weights. I had been able to assign envelope weights beforehand.
A few extra things that I've seen cause autoweight failure:
Non-manifold geometry. In particular, edges that connect 3 or more faces. These can be found by using the "select non manifold" operation in edit mode on vertex or edge mode and changing it to operate only on "multiple faces" (but really, you should be fixing anything non-manifold, with the occasional exception of "boundary" if you know what you're doing.)
Degenerate quads. By this, I mean quads where three or more verts are collinear. This usually happens from somebody being overzealous with advice to make everything a quad, and not having a great idea how to do that. If you have 3 collinear vertices, just dissolve the center one and live with a triangle. A triangular quad is worse than a triangle anyways.
Vertex density. You see this when people, usually beginners, try to weight dynotopo sculpts. The reality is you shouldn't try to rig a dynotopo sculpt to begin with! Even if you manage to get weights, a dynotopo sculpt is too vert heavy to pose. If you want to rig a dynotopo sculpt, do it via mesh deform from a low poly, or bake its normals to a low poly. I consider 100k verts to be a generous upper limit for vert count in a mesh I want to autoweight. (Saddle shapes seem to be especially vulnerable to vertex density-related failure.)
Scale. And by this, I don't mean object transforms of the mesh or armature, but literally, how big your mesh is in Blender units. If you make models to the "recommended" scale of 1.0 unit = 1.0 meter, you will regularly encounter autoweight failure. If you instead make models to something like 10 units = 1m, your autoweights will work. Of course, if you're having trouble with this and don't want to change your scale, you can always scale up (armature + mesh), autoweight, and then scale back down. I can see no reason why actual world scale should cause problems with autoweights, but it does. I believe it's linked to vertex density in 3) above, as denser meshes seem to require larger scales for autoweights.
I found that my vertices were too close together once I used the relax option twice from the W menu, right click bottom option in 2.82a, my rig and model paired perfectly, only a little tweak on the head and jaw bone.
As an update to this very useful question, in 2.92 I often run into this after a major sculpting session, when I'm trying to attach my mesh to an armature. Sculpting with dyntopo can give you a crazy vertex count that is easy to screw up, but we have a few new features that can come to the rescue.
"Magic button" methods like the earlier ones tend to come with a price—while triangulation and quads-from-tris works for the most part, sometimes I'll have an irrevocable count of additional triangles in my mesh which it just can't merge into quads. Remesh works reliably, but destroys the sculpture and again, gives me an absolutely unreasonable vertex count.
To begin, duplicate the mesh (Select and ⇧ Shift + D in Object mode). Then, apply Remesh to the duplicate, on sharp, with just enough iterations to cover the region of your armature's control.
Don't worry about what it does to your duplicate's geometry. (Feel free to play with the other settings if they work better in your situation.) You will now have a mesh which will reliably animate, but loses all of the character of the original.
The next step is to parent the armature to the new mesh. (Select the mesh, then the armature, then Ctrl + P). Select With Automatic Weights. You're now almost done, the new mesh should animate with your armature well.
Go back to your original, and add a Data Transfer modifier. (It should be in the top left corner for 2.92.) What this does is transfer features of a different mesh to their best match in the host mesh. You'll want to check Vertex Data and Vertex Groups, on Nearest Vertex for mapping mode. Since ultimately bone weights are just vertex groups, and we've created automatic ones for our duplicated mesh, this will copy them over to our original.
Click Generate Data Layers so it does its job. Go make a coffee, it's probably going to be a bit before it's finished. You can verify that it's doing its job afterwards, but expect significant delay, as we still need to do the next step to make it efficient—apply the modifier. Go back to your modifiers in Object mode, select Data Transfer, and hit Ctrl + A to apply it. (Again, expect a wait on this; it's just the result of your very detailed mesh, it is working.)
Once Data Transfer is applied, you can delete your new mesh and work with your original. In my experience, no matter how bad your mesh topology might be, this will do the job for animation.
For as long as the link works, I go over this in detail on my blog.
You can still get your hands dirty.
The other option is to pick apart your mesh by selecting part of it in edit mode, ⇧ Shift + D-ing it, and parting by selection ( P); and then trying to animate the chunk you duplicated off until you've found the location of the offending geometry. It can take a while, but it will allow you to efficiently identify the problem and make a manual change to fix it. (Remember that there are often multiple issues, not just one.) The remesh-and-transfer method above works in most cases.